|
|
|
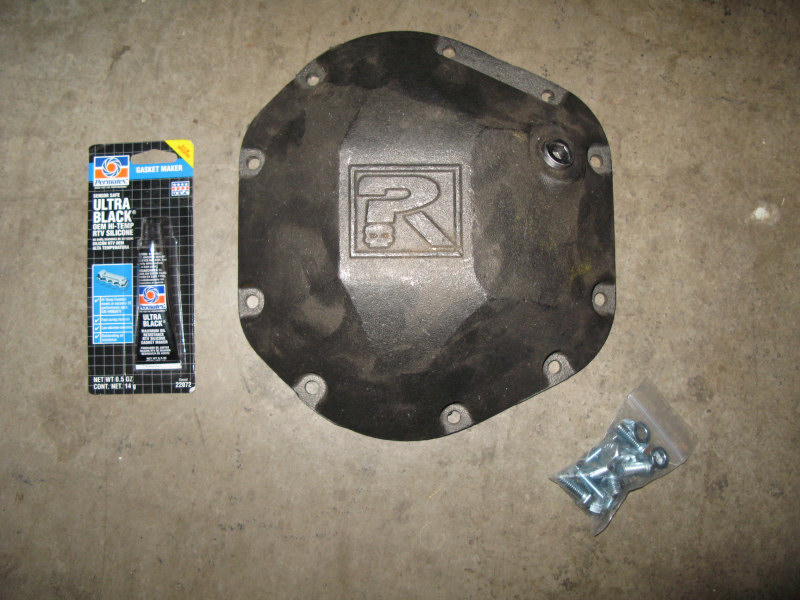
The Mod:Replace the front and rear differential covers with Riddler Differential Covers. What it does:Protects the differential from rock damage and provides additional support for the ring and pinion. Photos:What you get:
Cleaned up with using a spray on brake cleaner:
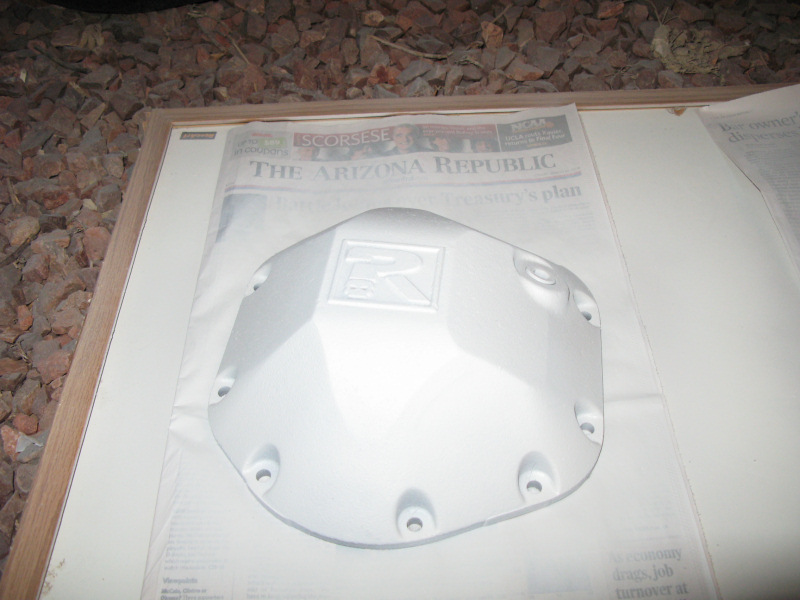
The filler plug is not stainless, so it needs to be painted too. I screwed it in all the way before painting. I also set the covers on a flat surface and put them on newspaper. With these setup no paint got on or into the inside surface. First, two coats of primer:
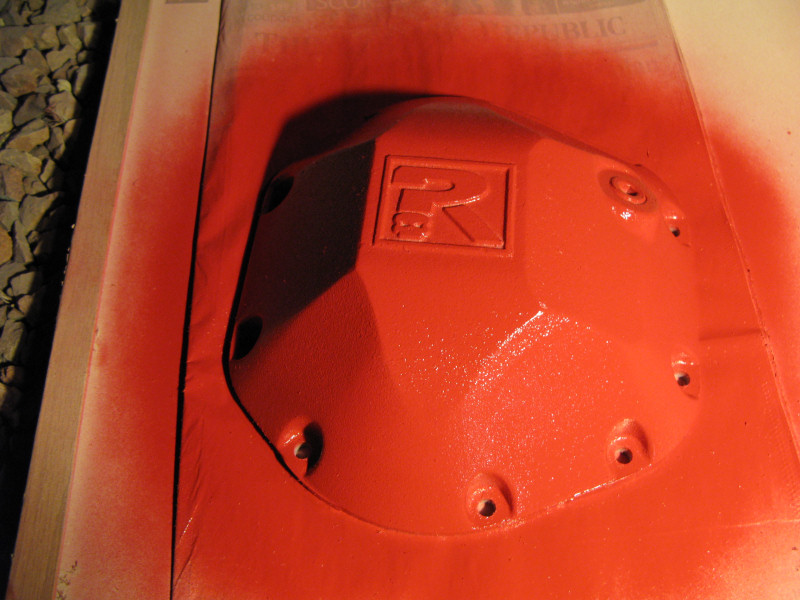
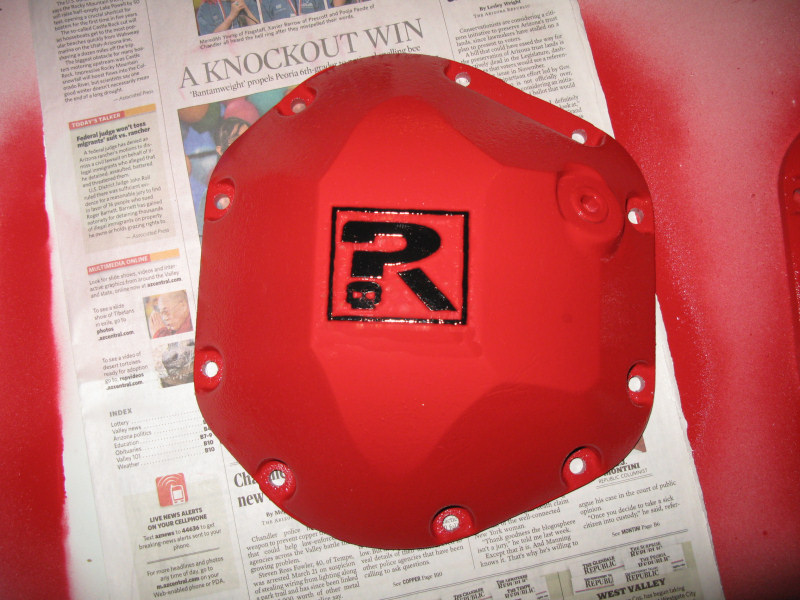
One coat of Sunrise Red:
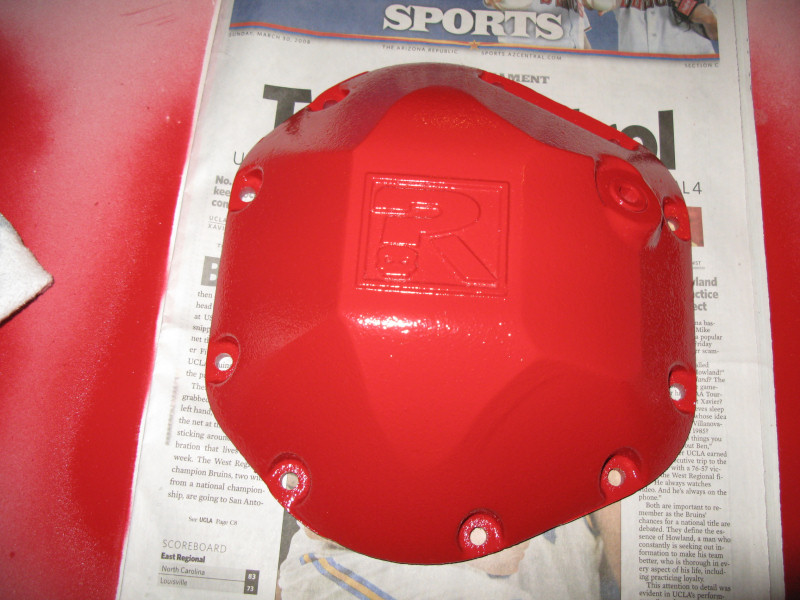
Final coat of paint dry, and moved off the painted newspaper:
Spray some paint in a small cup and hand brush on the black paint:
Stock front:
Stock rear:
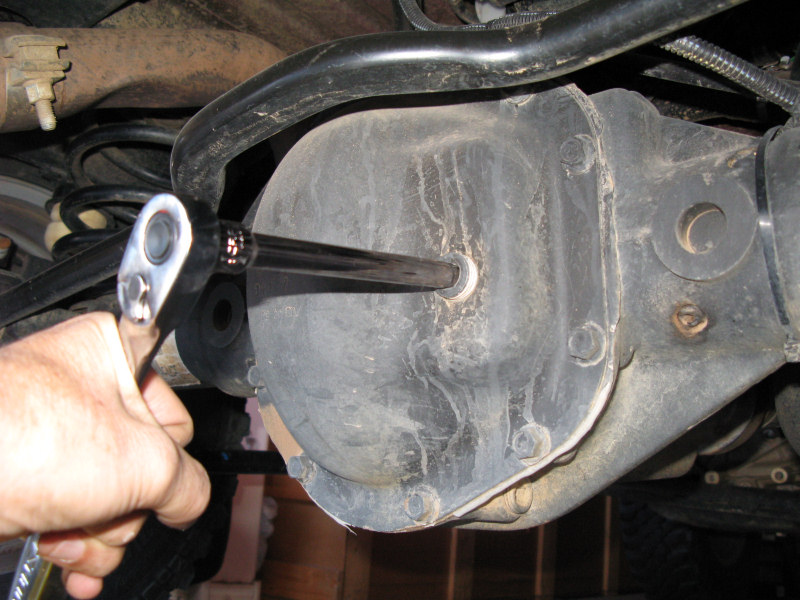
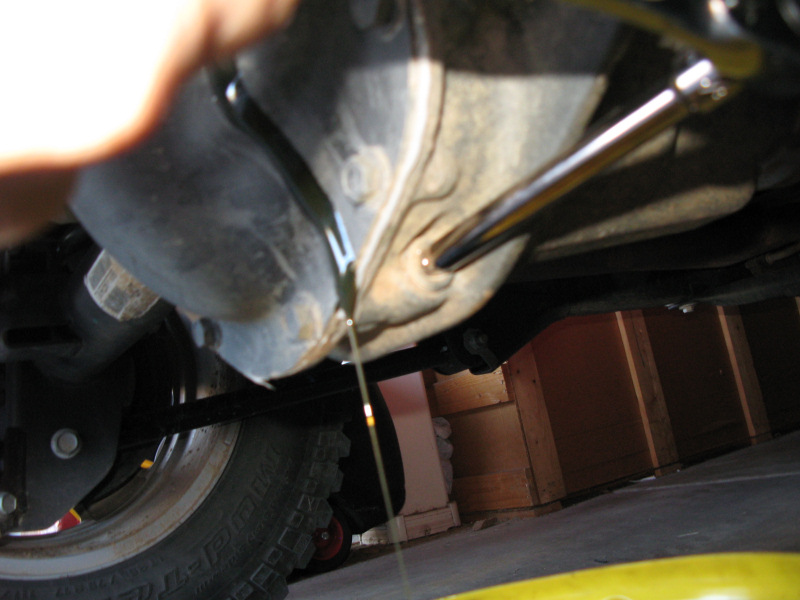
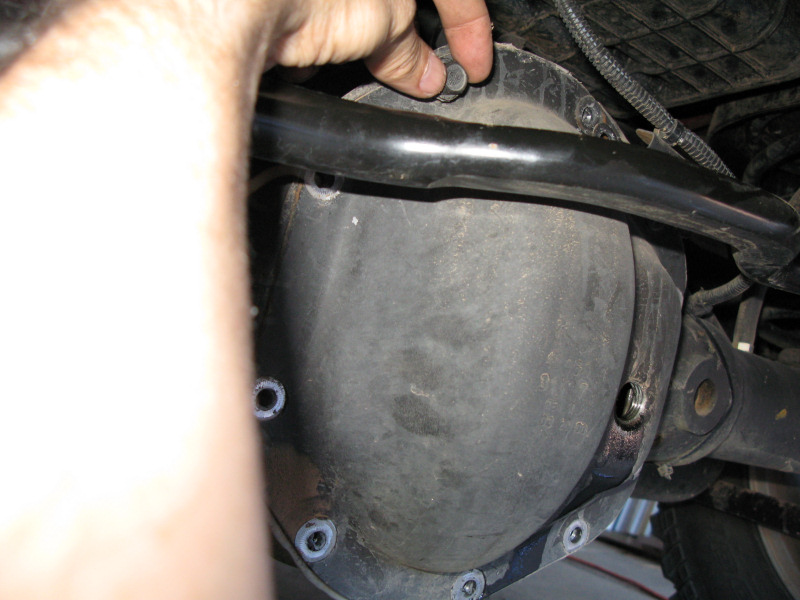
With something under it to catch the oil, take off the filler plug (3/8" ratchet end):
Next, take of the drain plug:
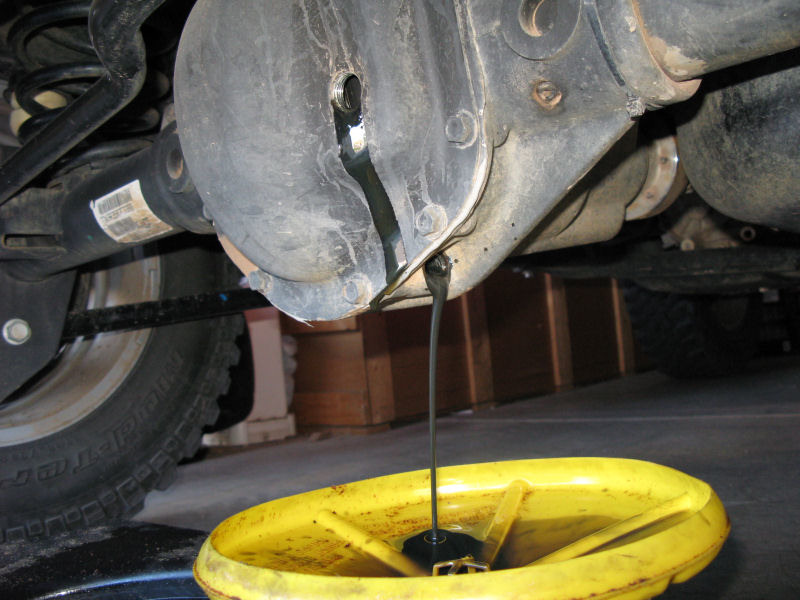
Only 3600 miles, but the oil looks pretty dirty in the rear (the front didn't look bad):
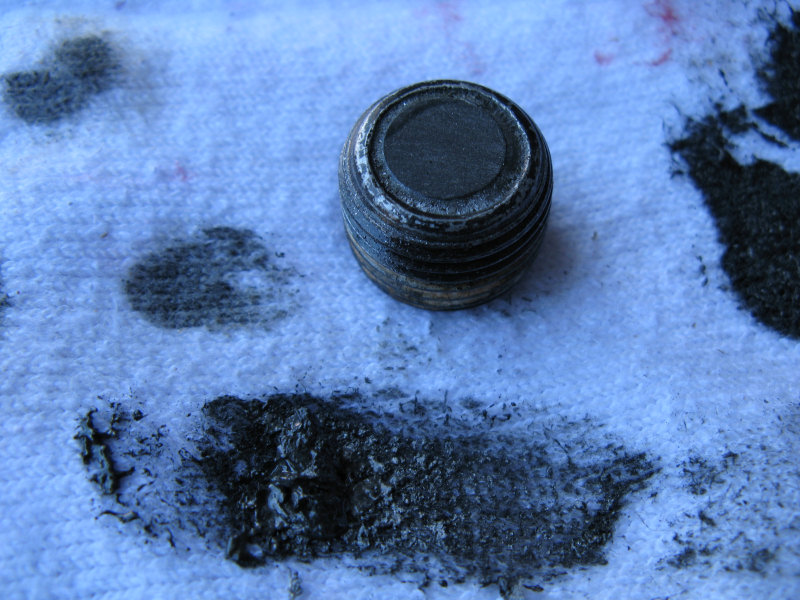
The drain plug has a magnet in it. There was a pretty good buildup of metal on it:
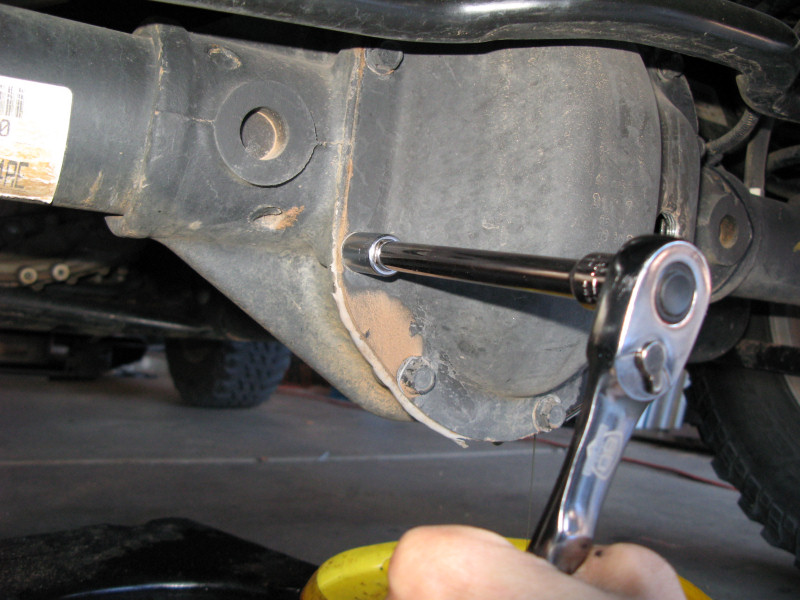
Remove all bolts:
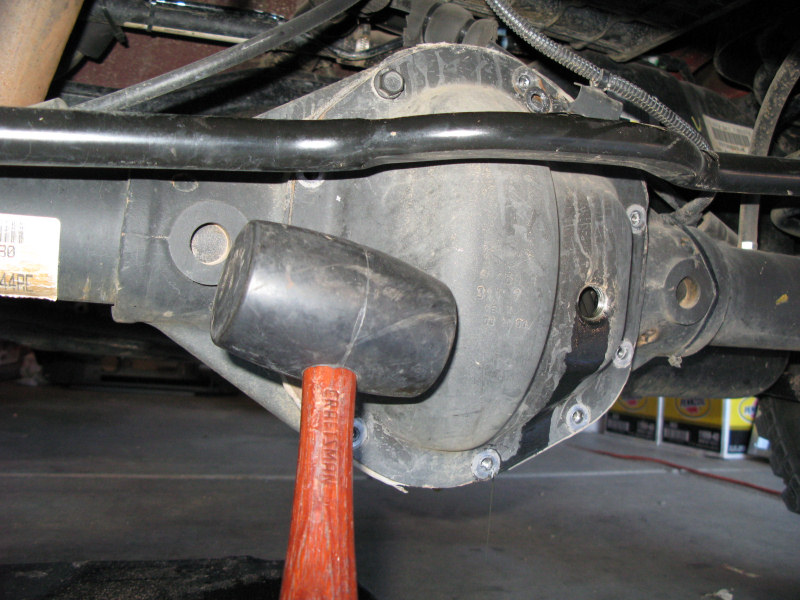
Loosely put the top bolt back on (it will keep the diff cover from flying around when you knock it off in the next step)
Bang the diff loose. The rubber mallet may or may not work - you may need to bring out a heavier hammer if it doesn't work:
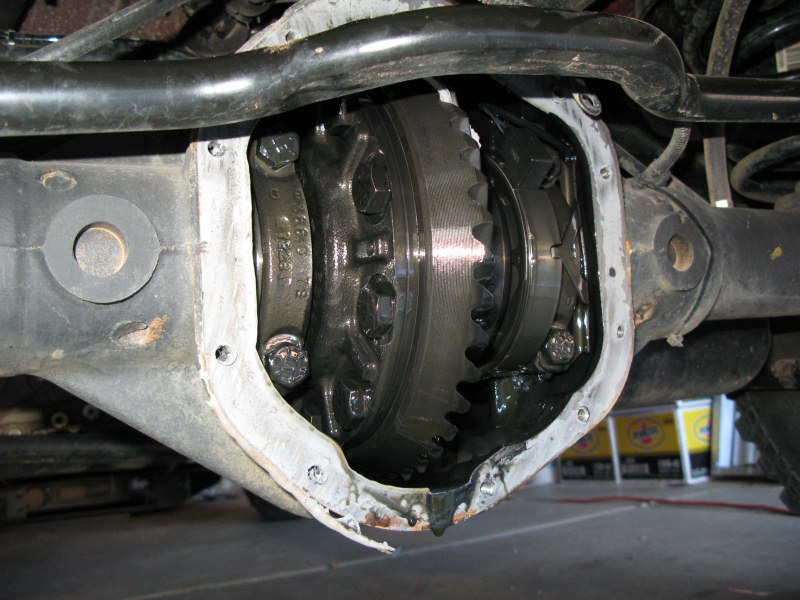
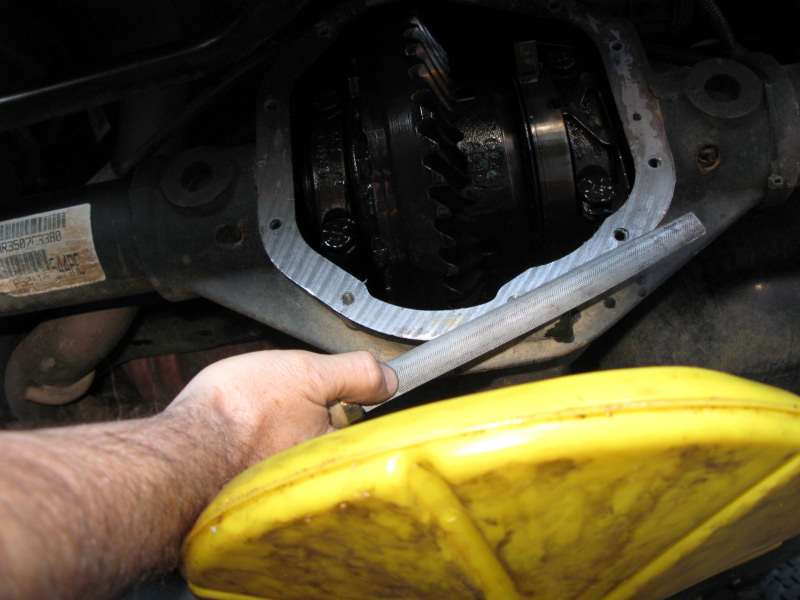
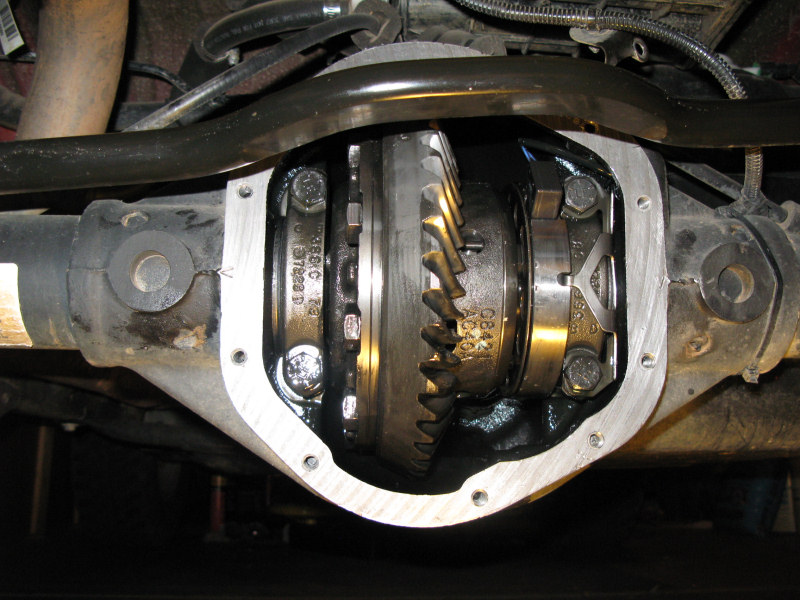
What it looks like with the cover off:
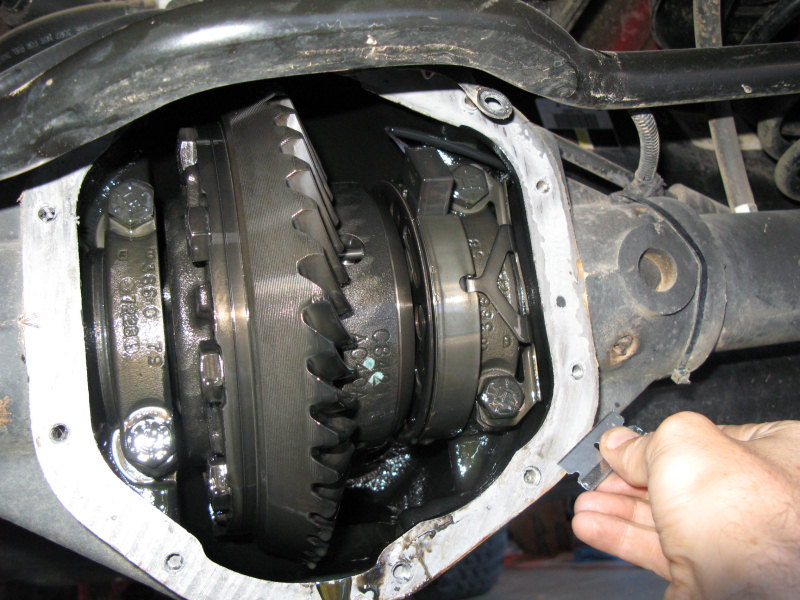
You need to scrape of the old adhesive. I used a straight edge razor blade. Try to keep the adhesive out of the differential. I also used a fine emery cloth to get the final small pieces off:
If you banged up the bottom of your diff (like me) you should file down the high spots so you get a better seal:
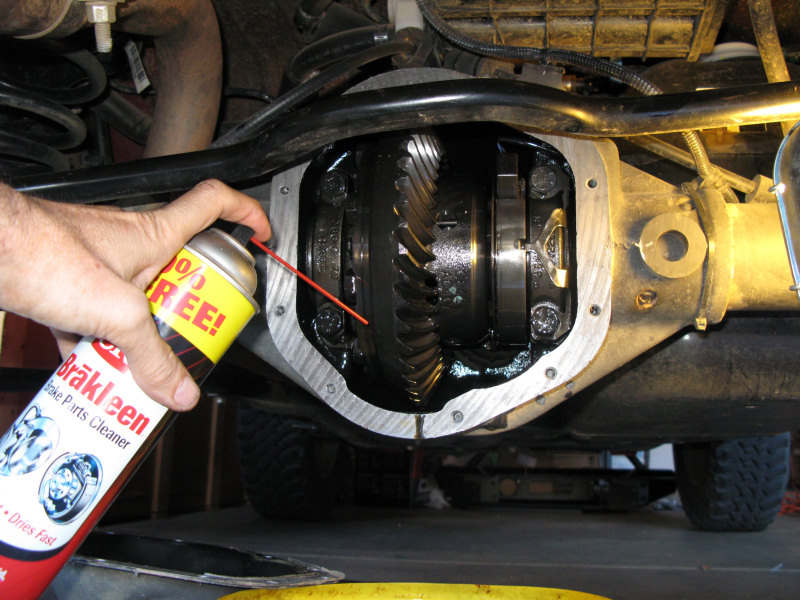
Use some brake cleaner to clean out the bits of adhesive that you accidently got into the differential. When everything is cleaned out use the brake cleaner on the mating surface to ensure it is completely clean:
I also reached into the bottom of the diff with my finger and pulled out as much oil/break cleaner/etc before making the final clean of the mating surface with the brake cleaner. All clean and ready for the new diff cover:
Clan the surface of the new cover with the brake cleaner, and when dry apply the adhesive in even strips and circle each hole:
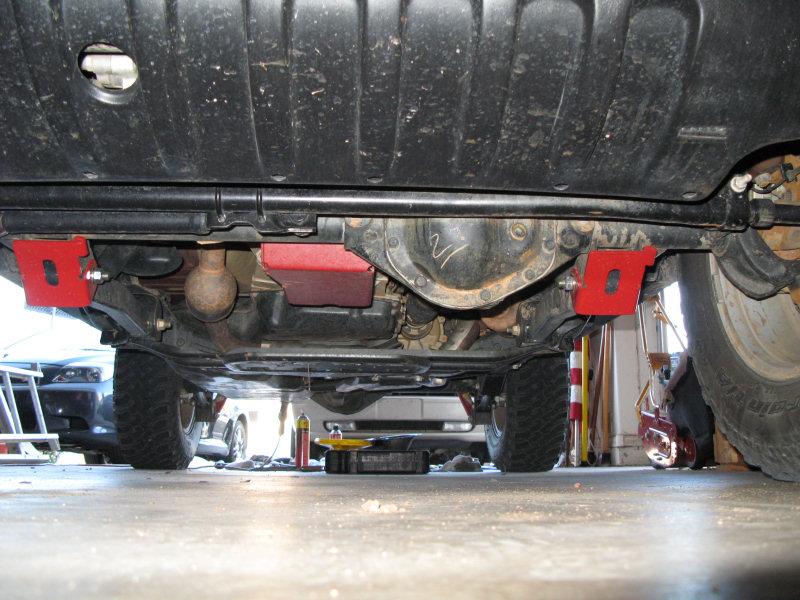
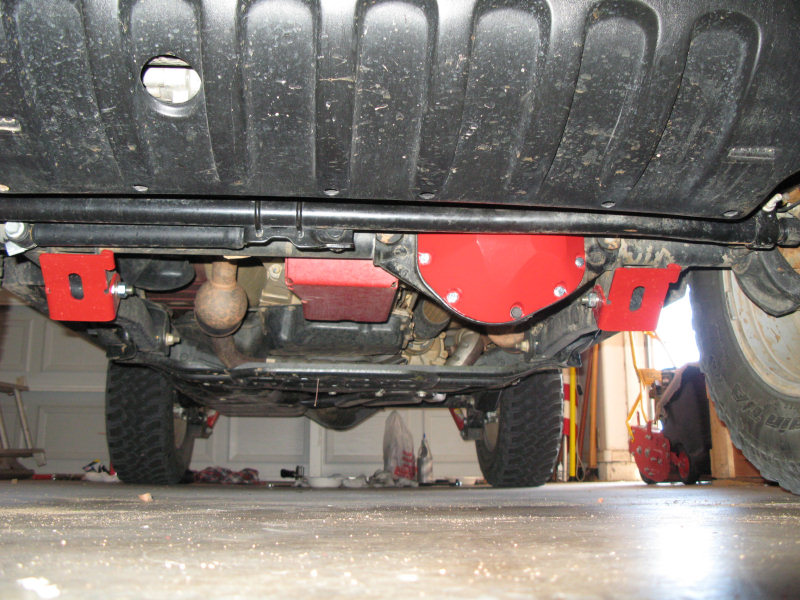
Bolt everything back on. The Factory Service Manual says to use 30 ft./lbs. of torque. I only felt confirmable with 20-25 ft./lbs. of torque. Also, it was impossible to torque all of the bolts on the front (too many things in the way). The drain plug bolt is the one with the magnet. I wrapped it with some Teflon tape before installation. I then filled the front diff with 1.5 quarts of Mobile 1 75w-90 and the rear with 2.5 quarts. The Factory Service Manual calls for 1.35 quarts in the front and 2.375 quarts in the rear. (Note: in the Summer I got a little overflow of oil in the front, so I'll probably go with 1.45 up Front, and leave 2.5 in the Rear next time). I re-used the stock filler plugs because they have the 3/8" square socket hole instead of a hex head hole. I also used Teflon tape on the filler plug Here's the final front diff:
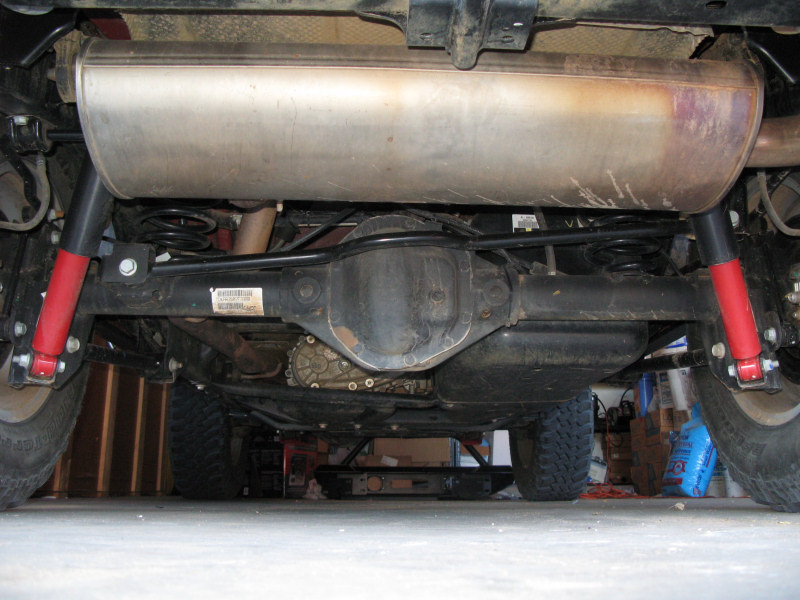
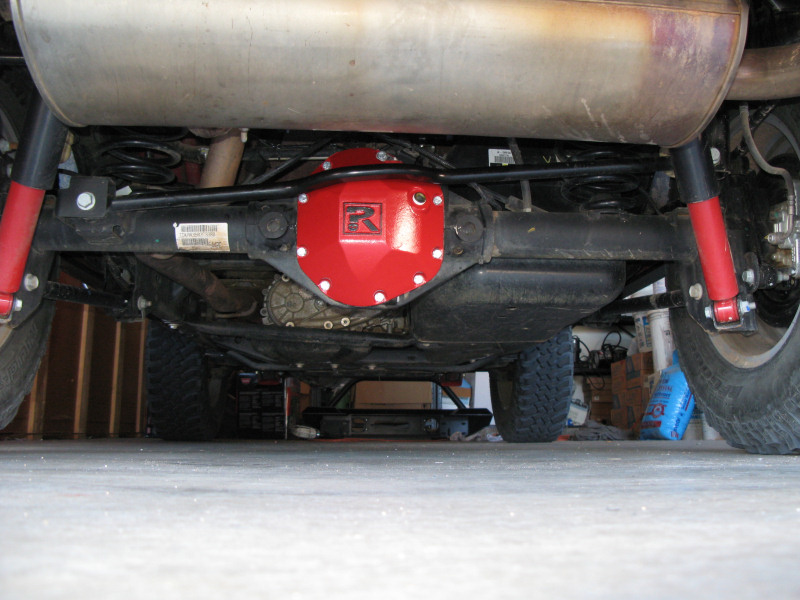
Here's the final rear diff:
Update 10/06/2009: After installing Yukon 5.38 Gears I filled the front diff with 1.375 quarts of Mobile 1 LS 75w-90 and the rear with 2.5 quarts. The Factory Service Manual calls for 1.35 quarts in the front and 2.375 quarts in the rear.
Update 05/19/2011: I found that Valvoline 75w-90 SynPower Full Synthetic Gear Oil meets or exceeds API GL-5 and also API MT-1 and SAE J2360, and have switched to it. If you have any questions or comments about this page click here to send email.Last modified: May 20, 2011 12:33:54 AM |