|
|
|
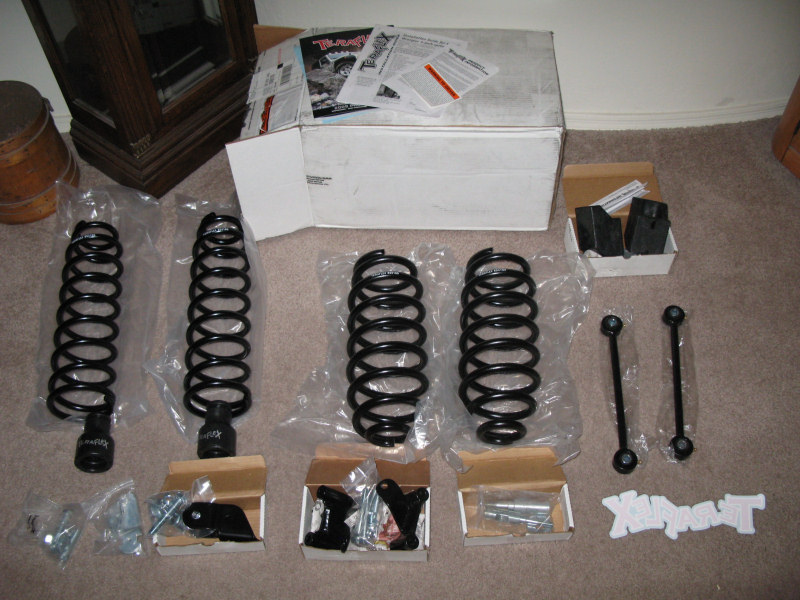
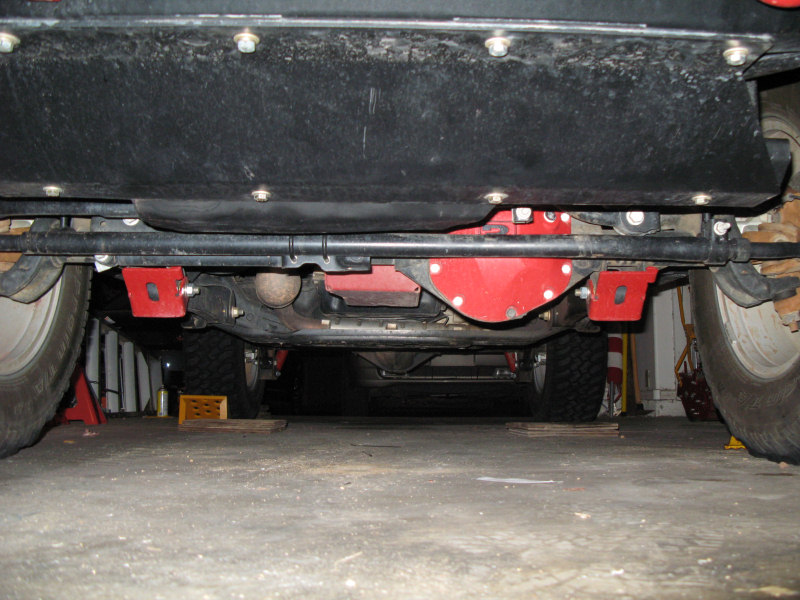
The Mod:Lift the Jeep. What it does:Allows for clearance of larger tires and reduces scraping on the underside of the body and frame (not the axles). Photos:What you get:
Suspension information (Fender measurement - Ground to bottom edge before curve inward on plastic fenders on center of wheels, Rock Rail - Ground to bottom edge of Rock Rails):
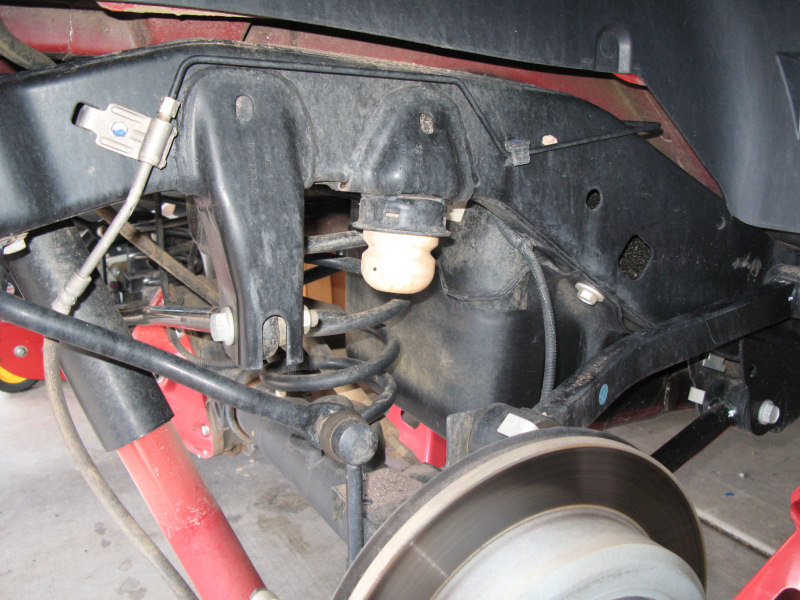
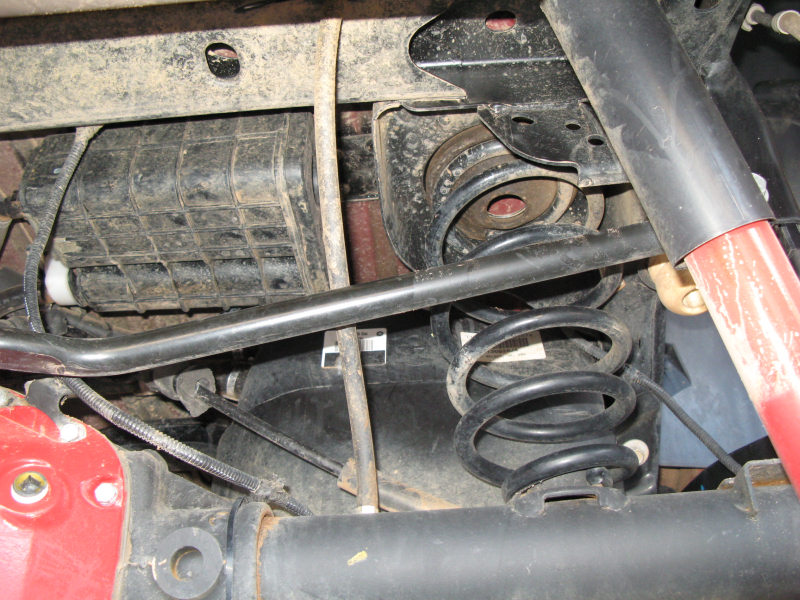
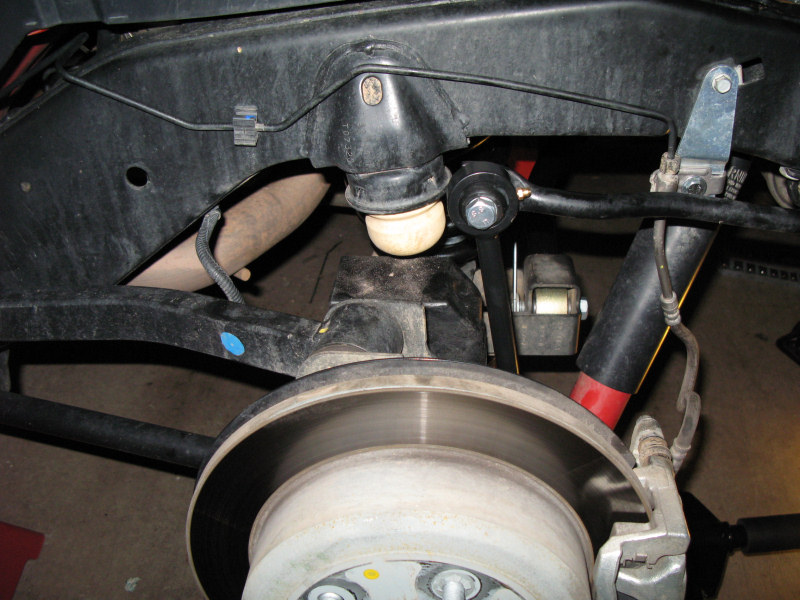
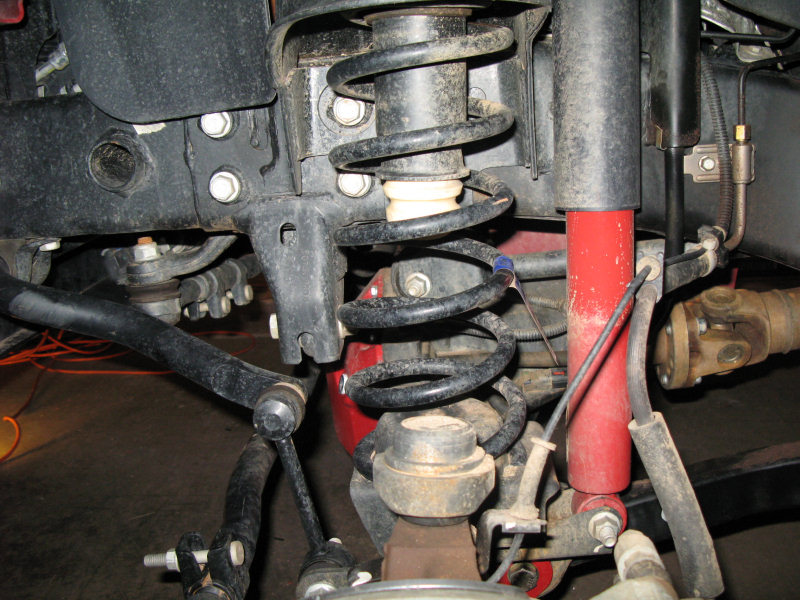
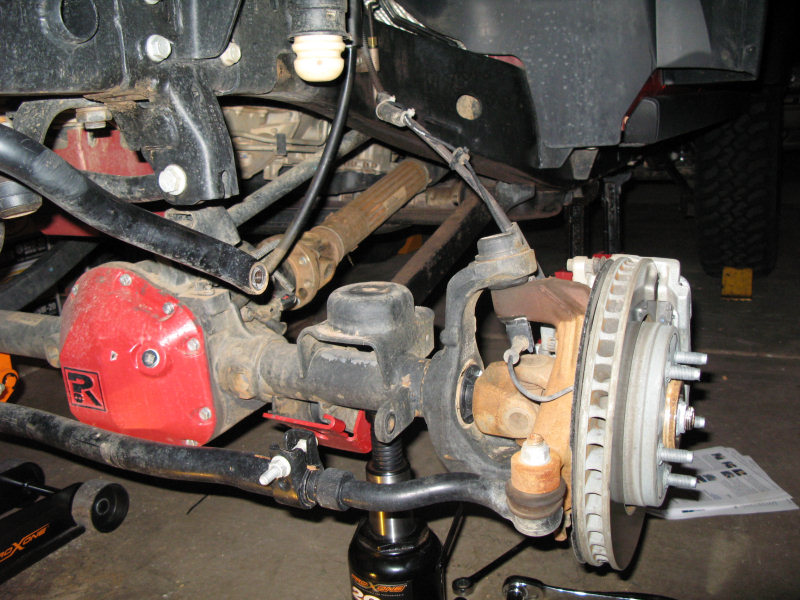
First, some stock pictures - flexed passenger side:
Flexed passenger side:
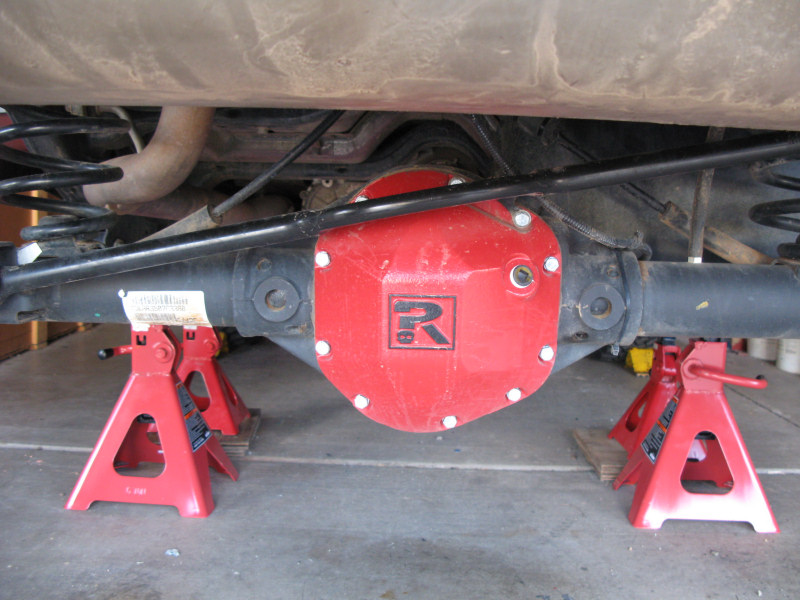
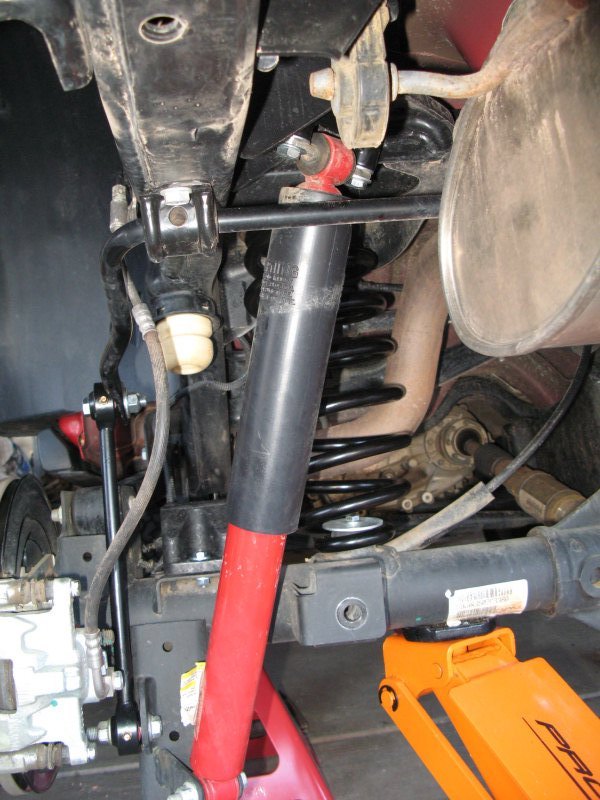
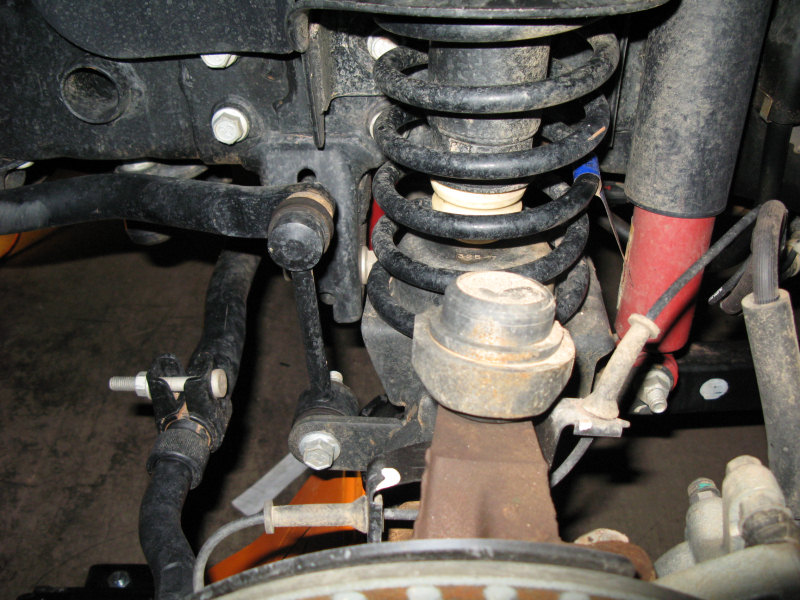
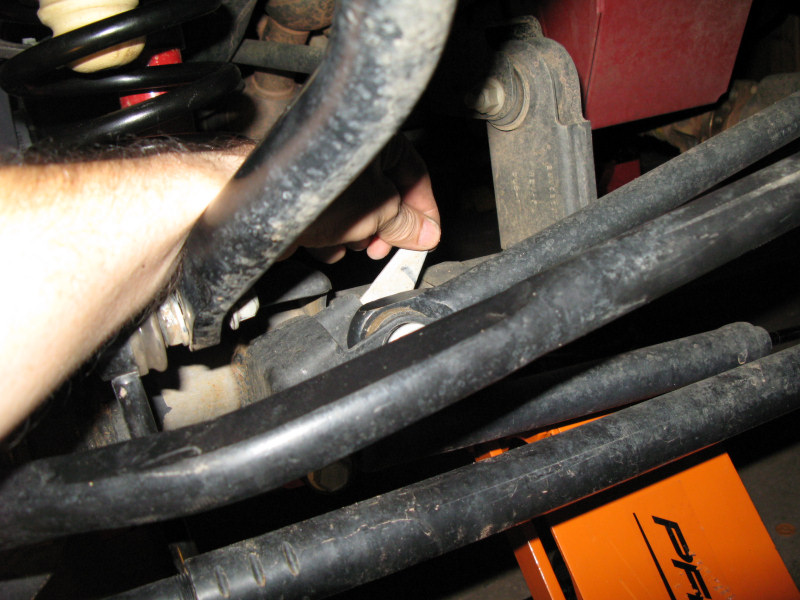
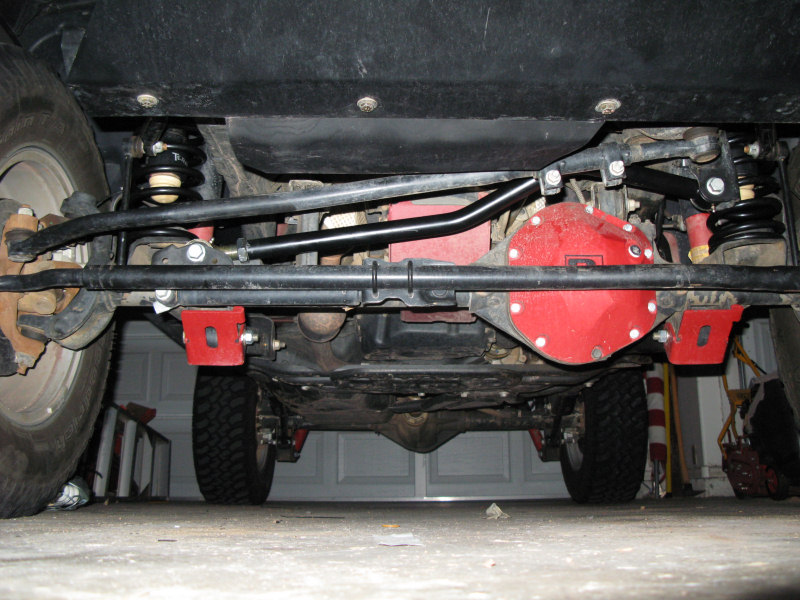
Track Bar:
Flexed drivers side:
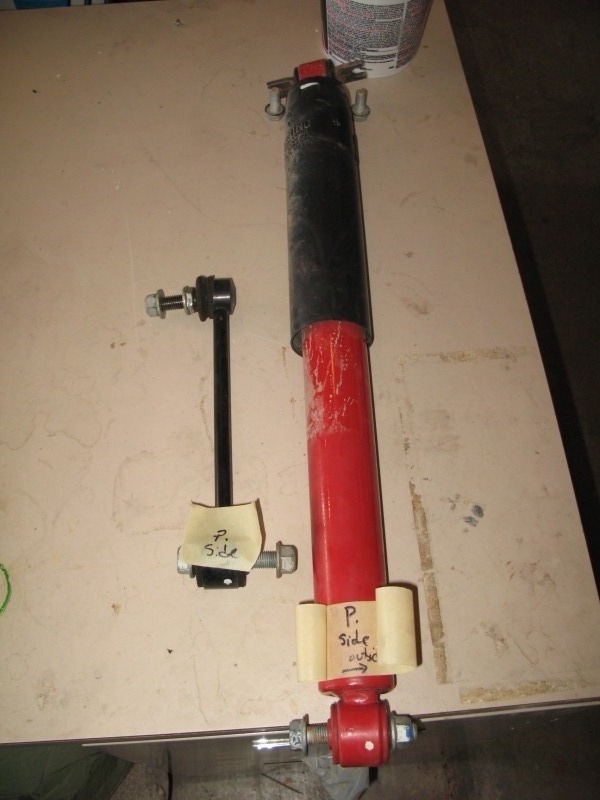
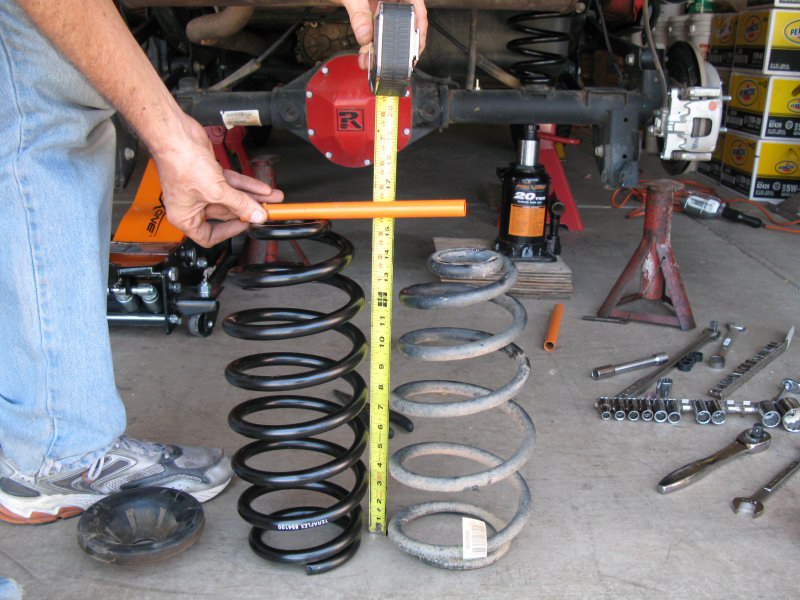
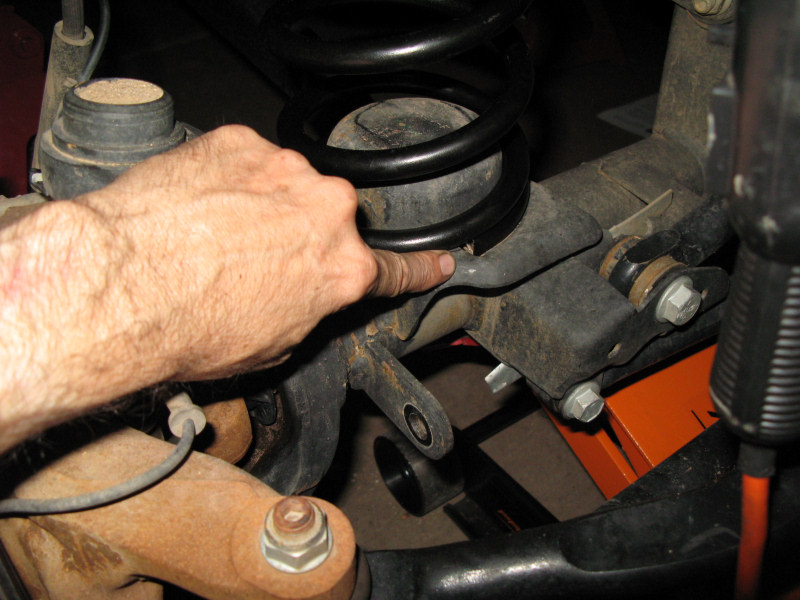
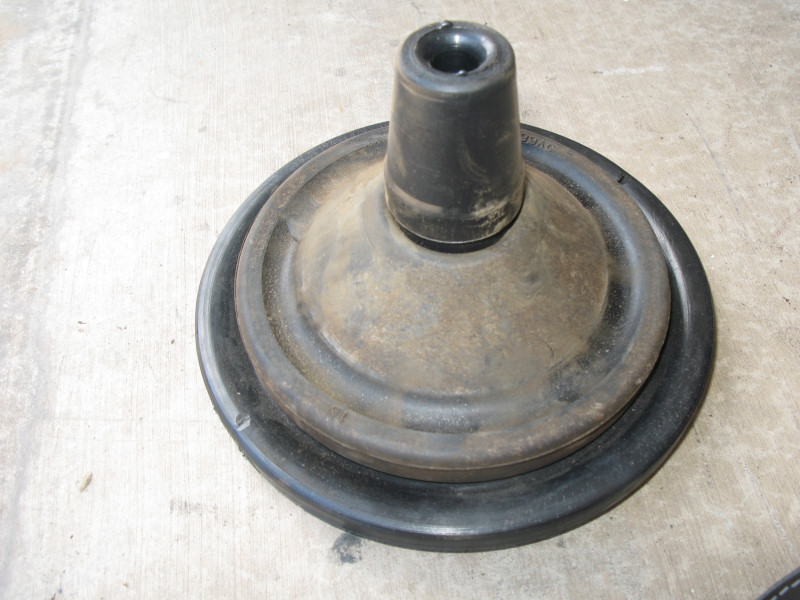
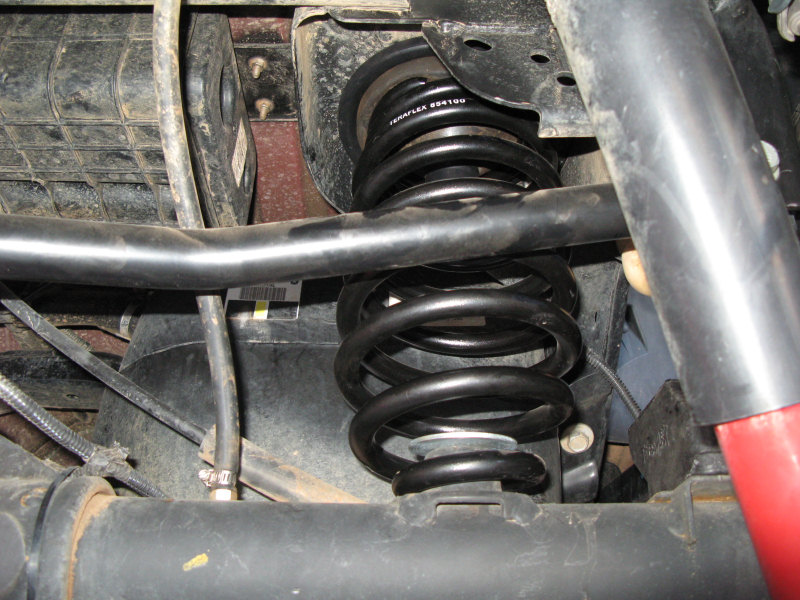
Passenger spring:
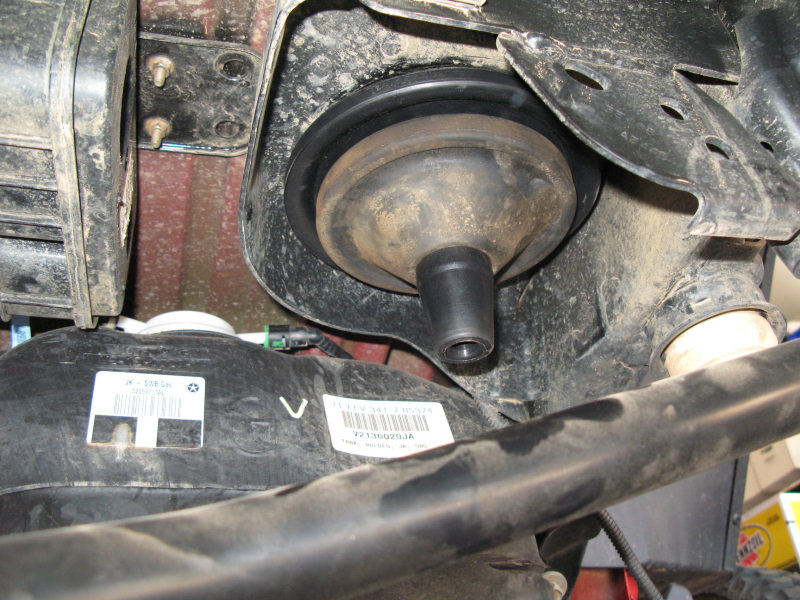
Sway bar link and shock removed:
Drivers side compressed:
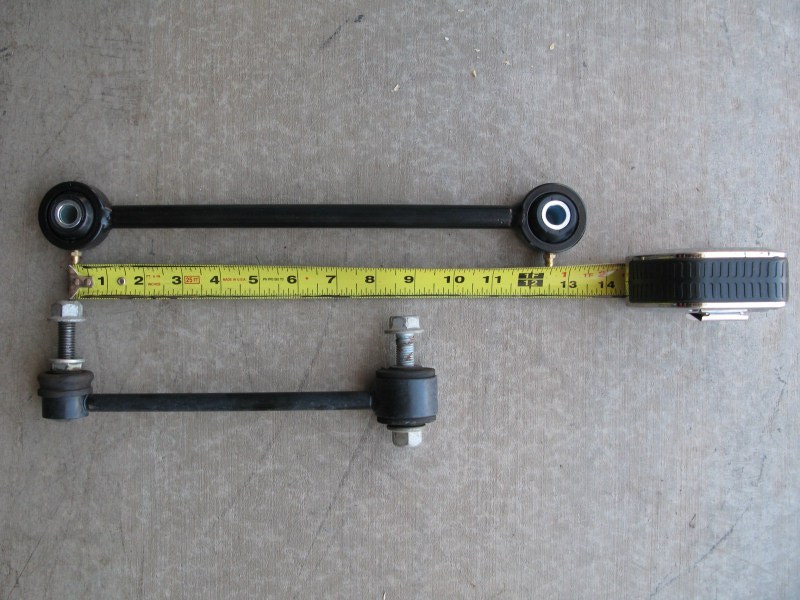
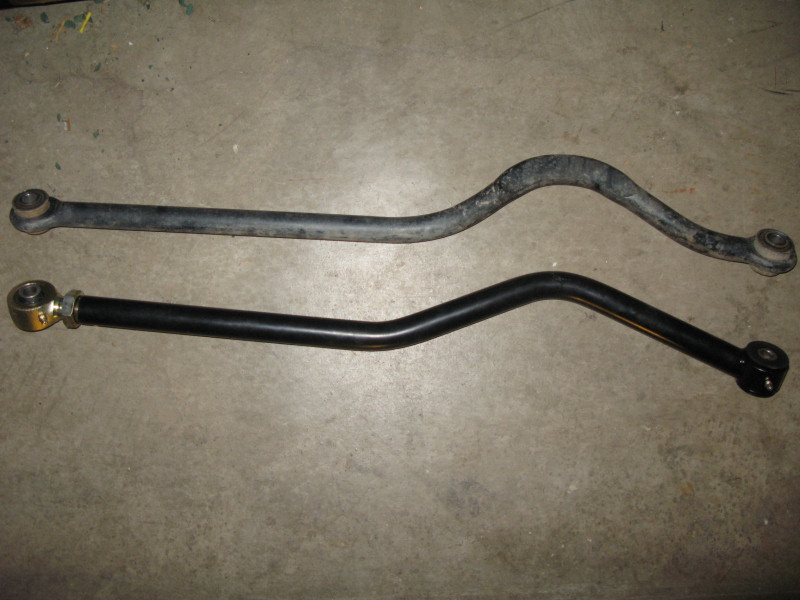
Stock track bar on top, Currie adjustable track bar on bottom:
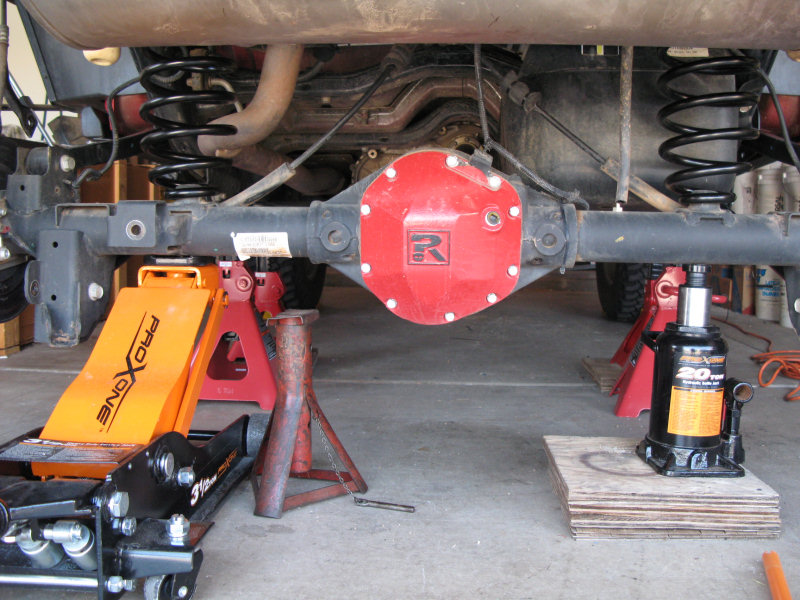
Passenger side - everything removed:
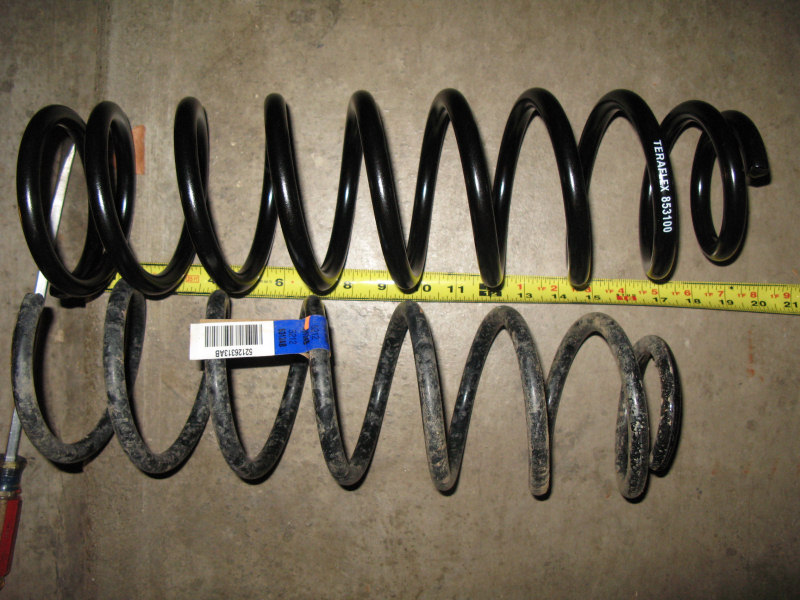
New spring on left, old spring on right:
New springs on both sides - note I purchased a small clamp (not pictured) to keep the breather hose connected:
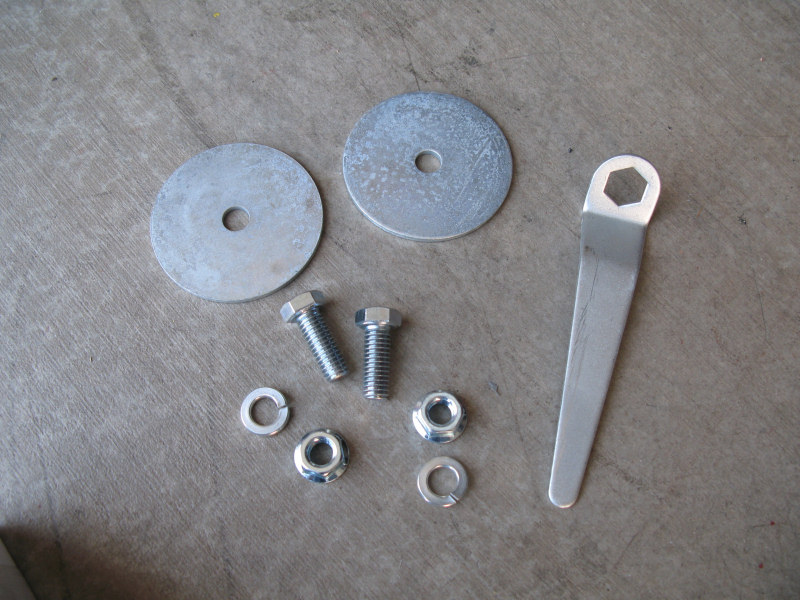
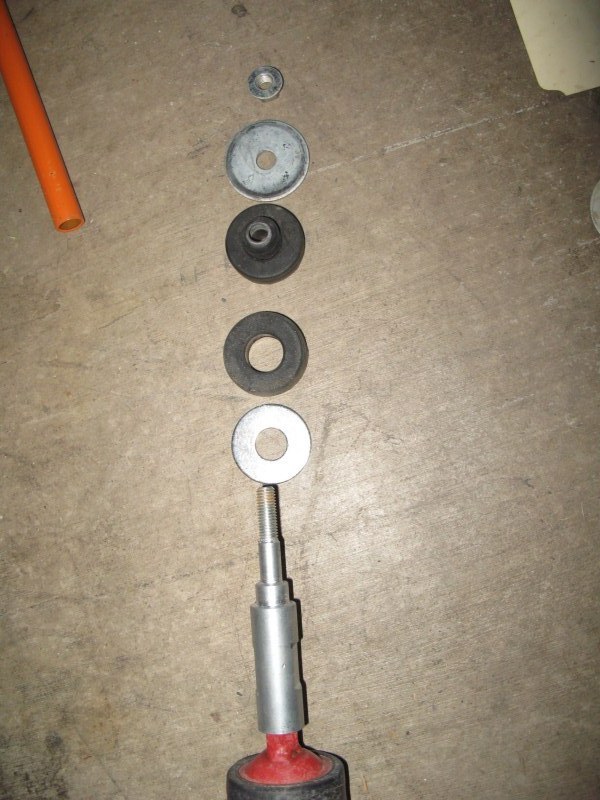
Spring hold down parts (not included in original kit, shipped by TeraFlex for free):
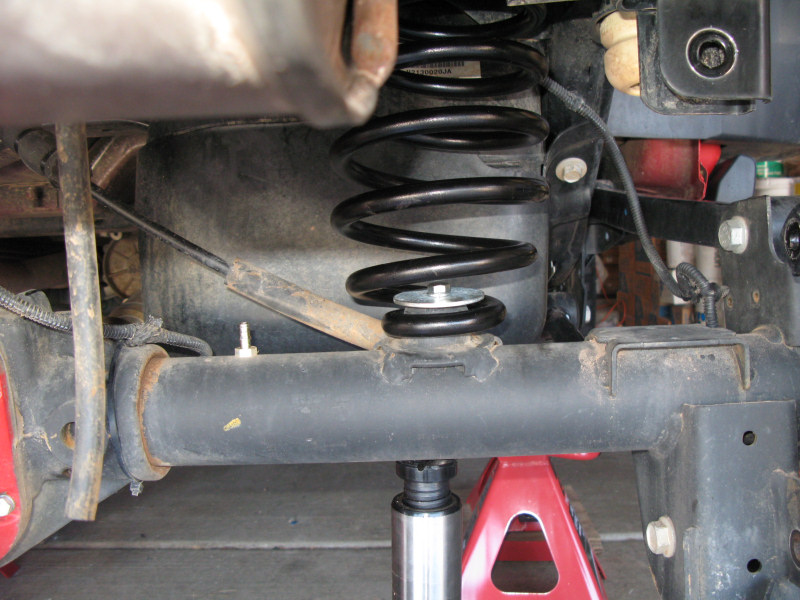
Spring retainer hardware installed on passenger side:
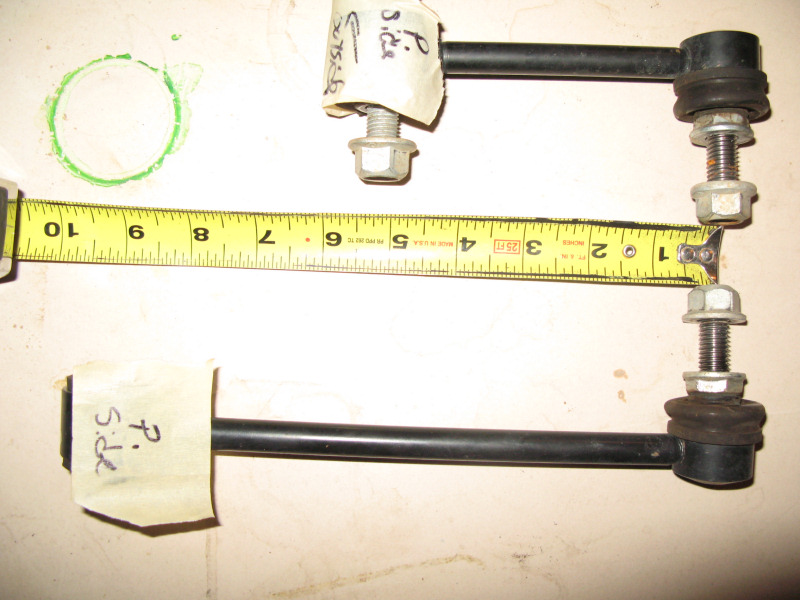
New sway bar link on the top and original sway bar link on bottom (will be used on the front):
The instructions said to install the sway bar link on the inside of the bracket and sway bar, but when I tried to fit it in the inside of the bracket it rubbed on the bracket because the hole for the link was too close to the bracket - so I moved it to the stock (outside) position. This move forced me to get spacers:
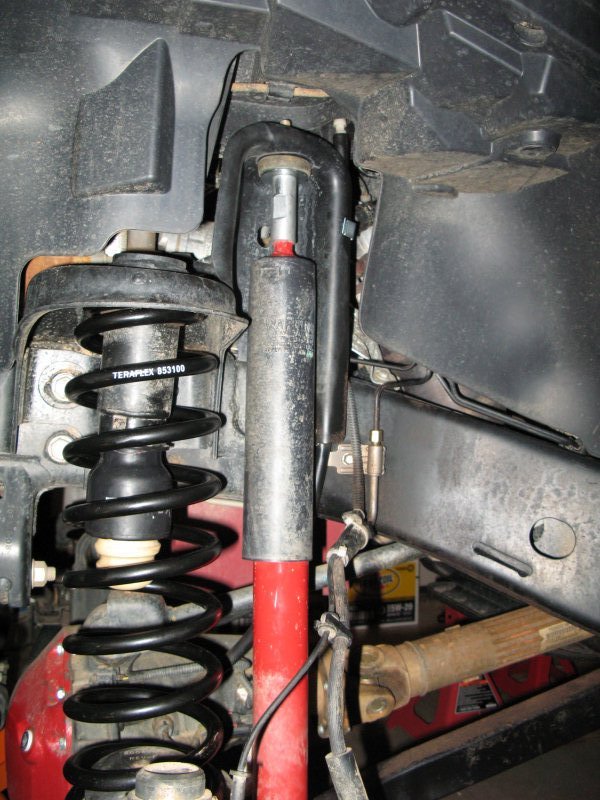
Drivers side with the new shock extenders just visible at the top:
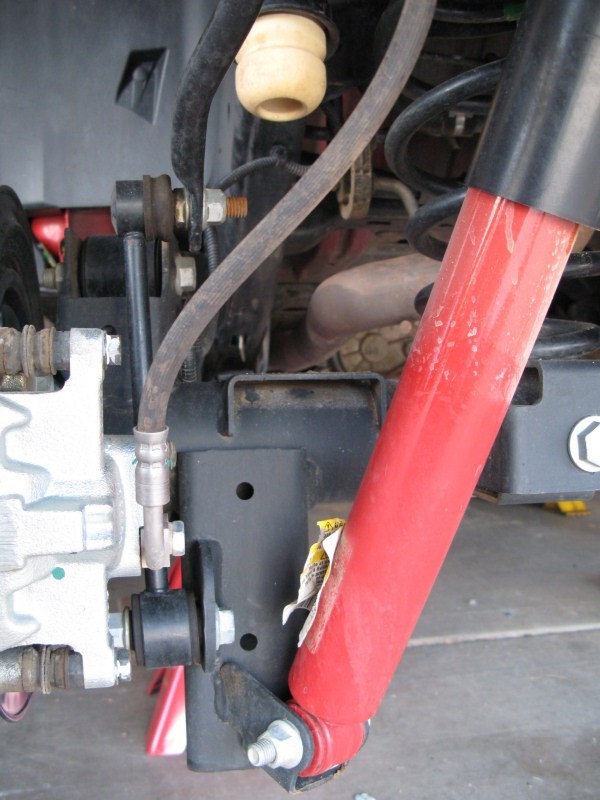
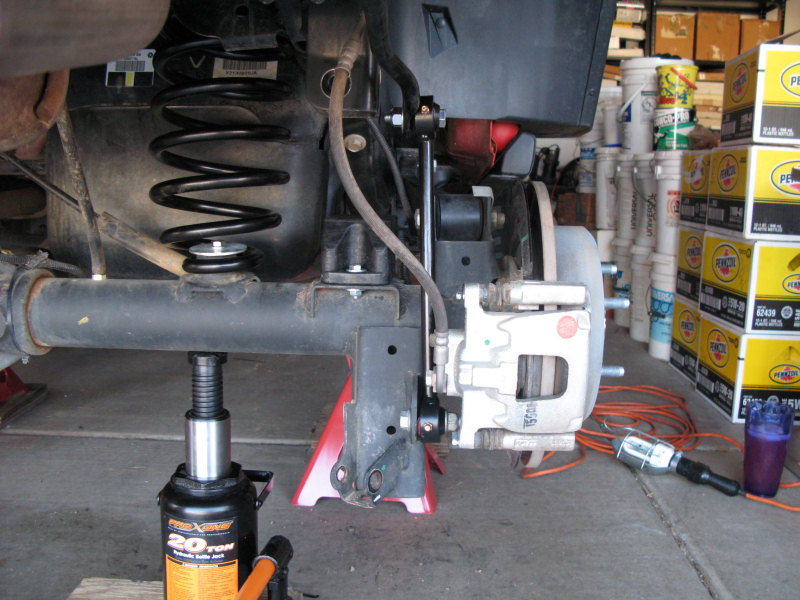
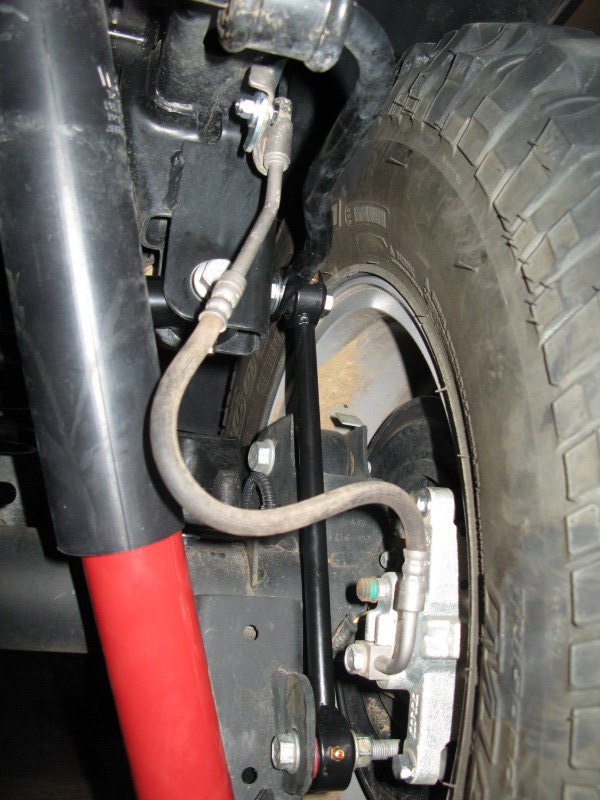
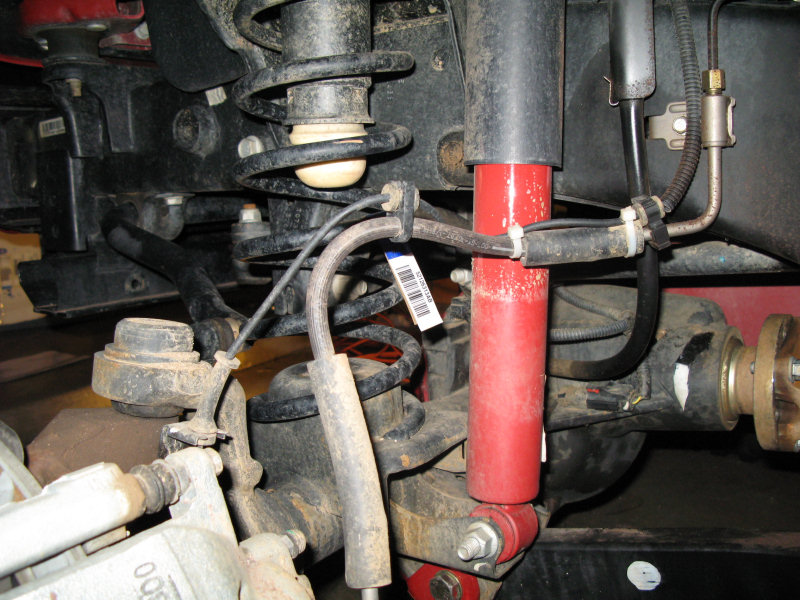
Passenger side flexed with new brake line relocation bracket::
Driver side compressed:
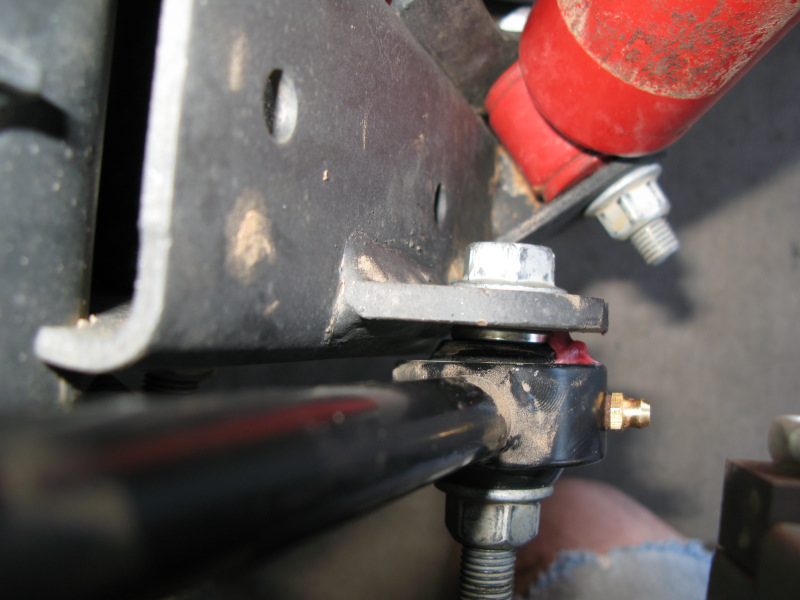
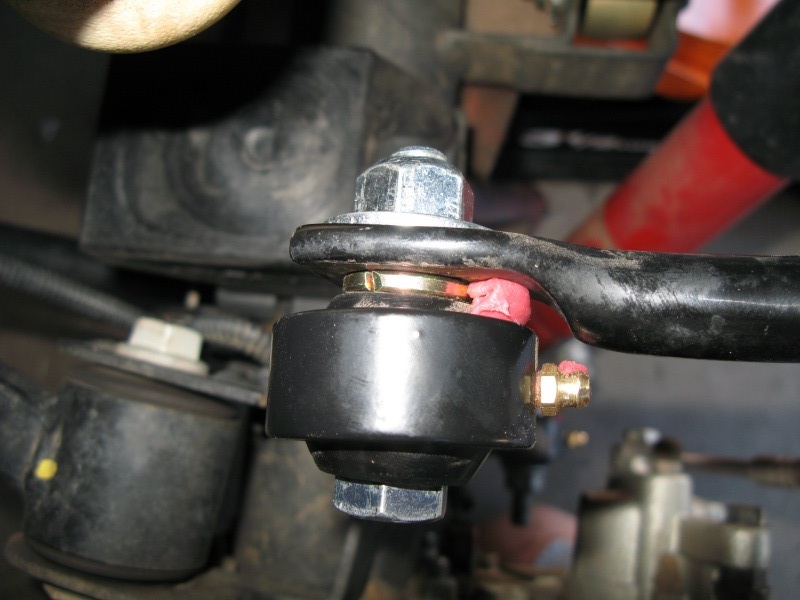
Passenger side - no rubbing, but there's only 3/8" clearance from the nut on the top of the sway bar link and the wheel, so I need to get spacers:
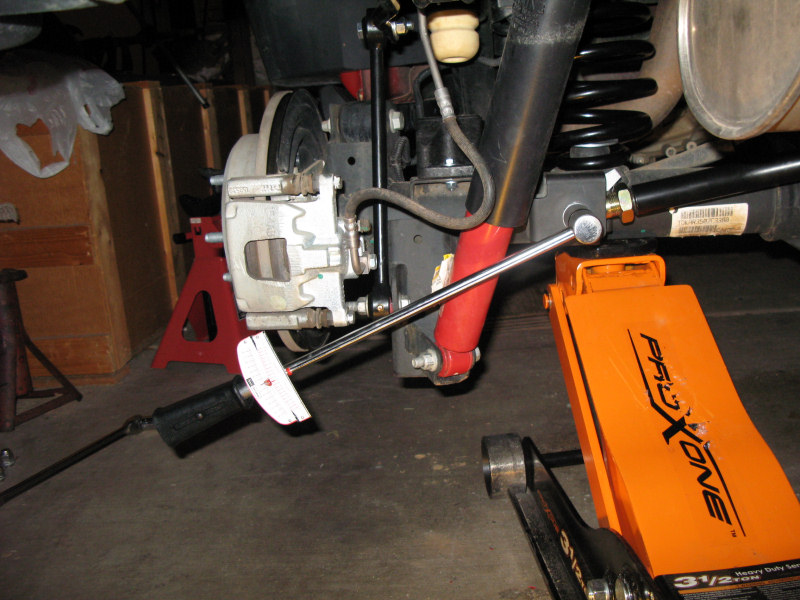
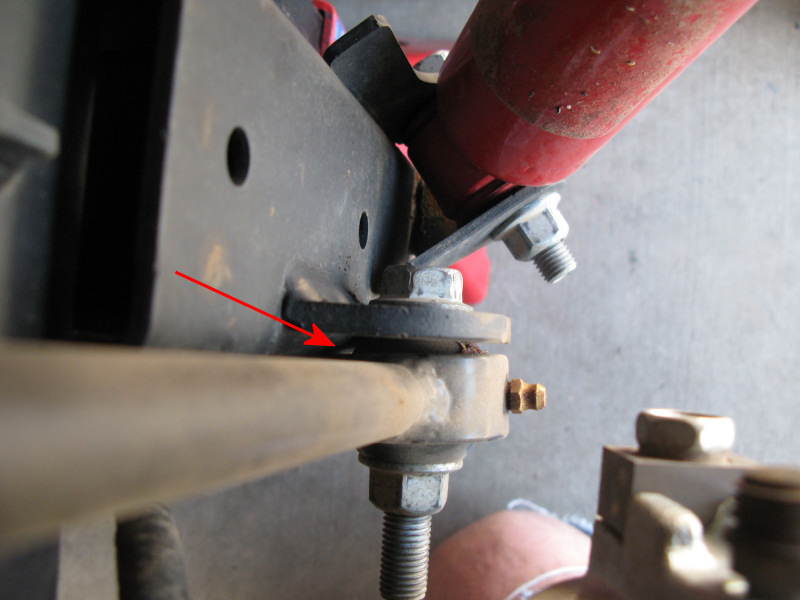
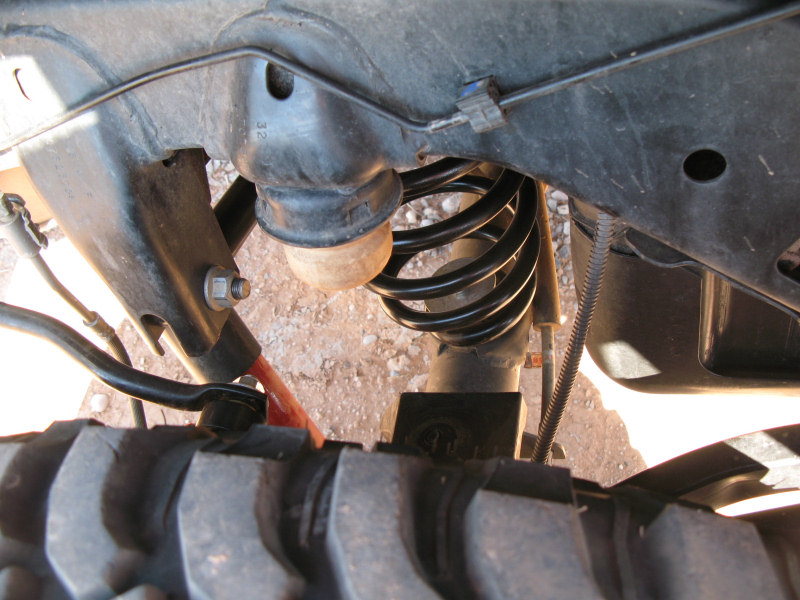
The track bar bolt can be easily removed when the drivers side is raised to a level where the bolt slips out. Once the axle is centered it needs to be torqued down - easiest with the wheels off. Also the jam nut on the track bar needs to be tightened:
Finished - except for the spacers, tightening the jam nut and adding the clamp on the breather hose:
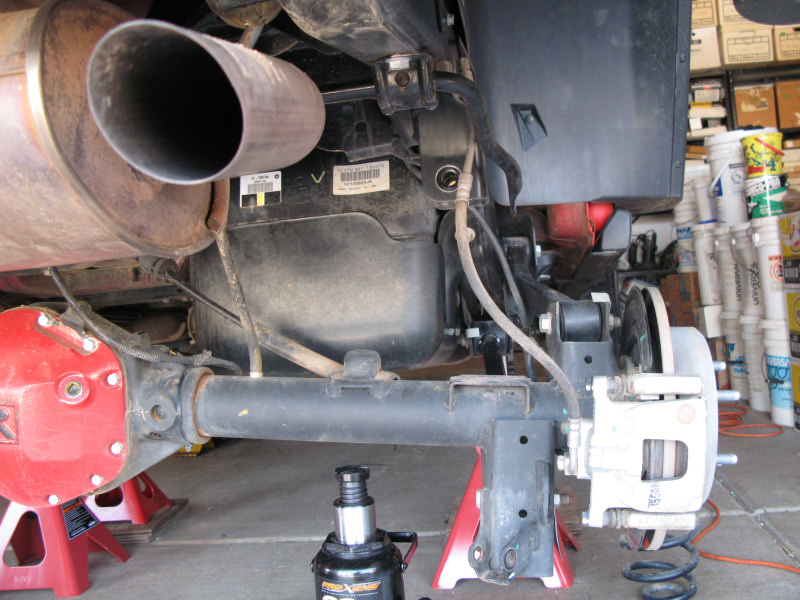
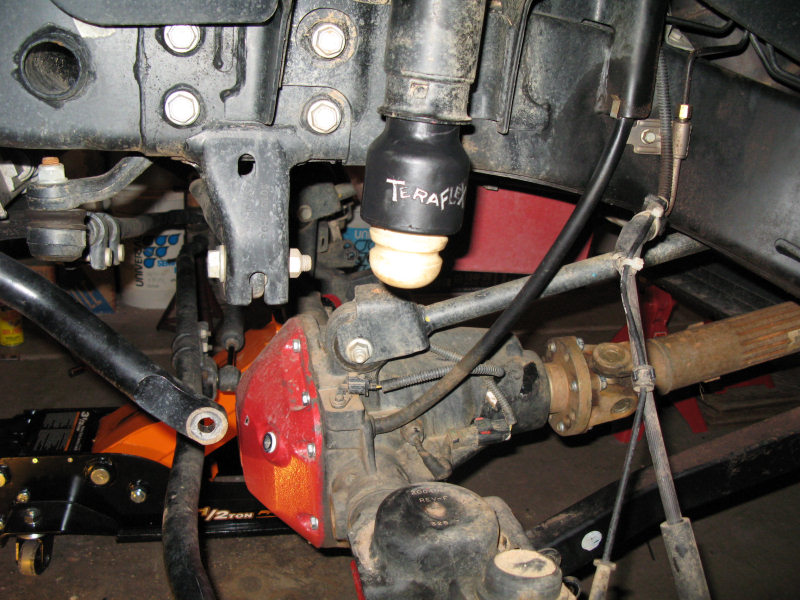
On to the front. First stock shots:
Driver side compressed:
Driver side compressed:
Driver side flexed:
Driver side flexed:
Driver side flexed:
Top of driver side shock - note there should be a washer and rubber spacer just under the nut (not visible):
New spring on the top, old spring on the bootm:
Driver side with all parts off and ready to install the kit:
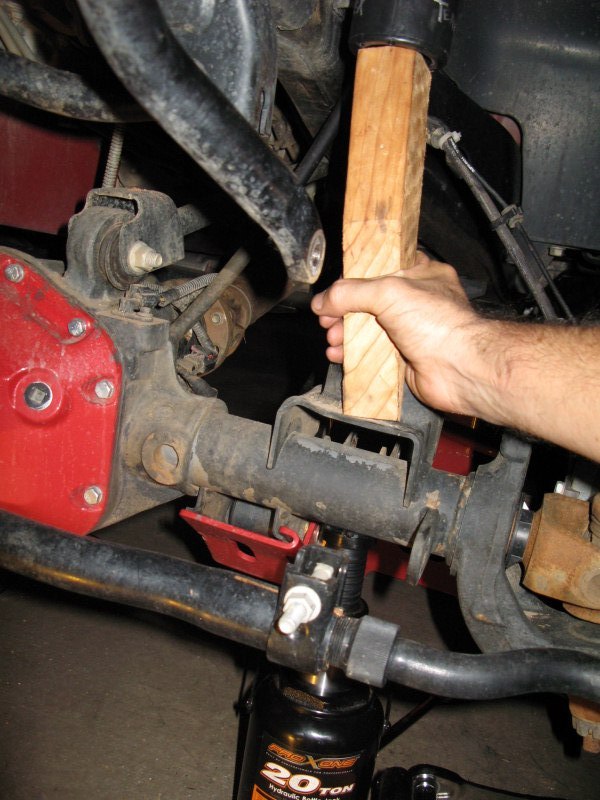
It's pretty hard to get the new bump extension to seat, so I used a small block of wood and a jack to press it in place:
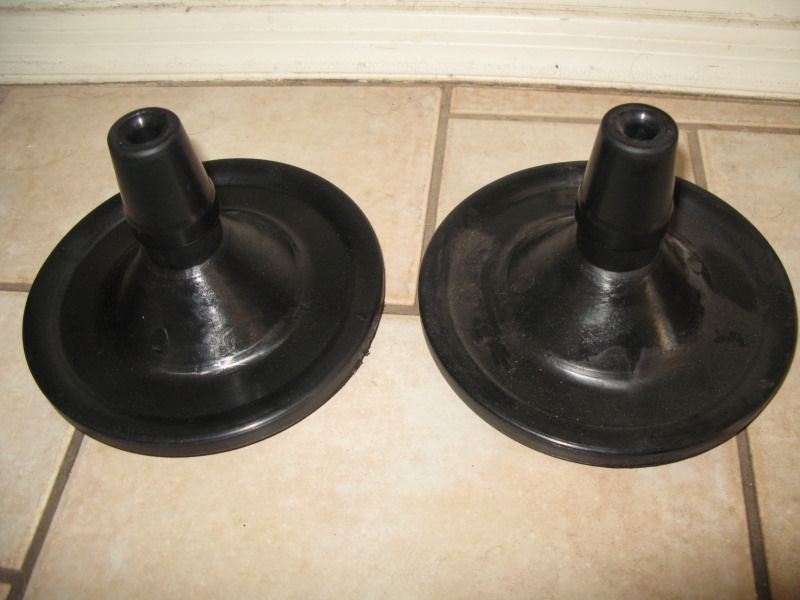
The stock bump stop easily presses into the new one:
Got the spring in, but it wasn't easy because you have to fit the bump stop through the top of the spring at a bad angle. It would have been a lot easier to put the spring in without the bump stop in place, but I don't know how hard it would be to press the bump stop into place with the spring installed. Don't worry about the spring shifting - it's because the axle isn't centered yet - it will straighten up later:
Make sure you align the bottom of the spring with the groove/stop in the bottom bracket:
Here's the hardware (old and new) for the shock extension:
Driver side with shock and extension installed:
Stock front sway bar link (top) and stock rear sway bar link (bottom) that will be installed on the front now:
For easy removal of the track bar lift the passenger side until the track bar bolt is loose:
Stock track bar on top and Currie adjustable track bar on the bottom:
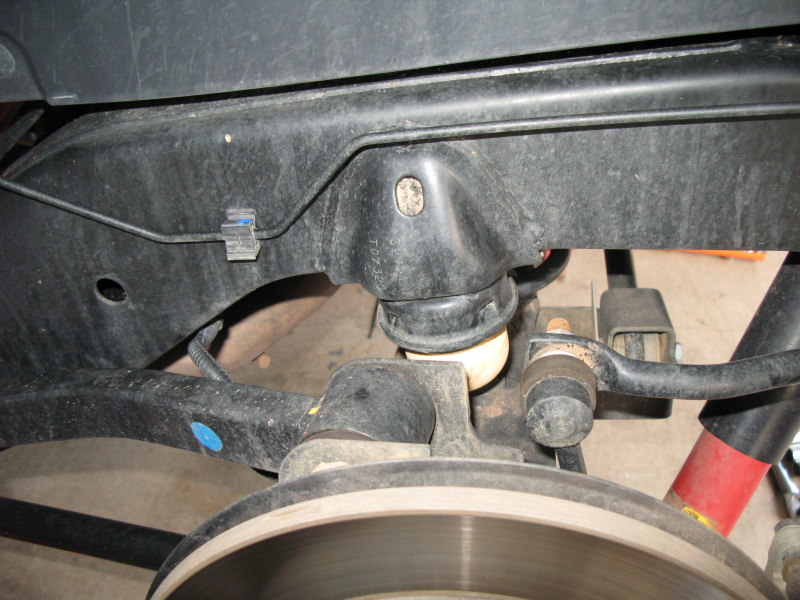
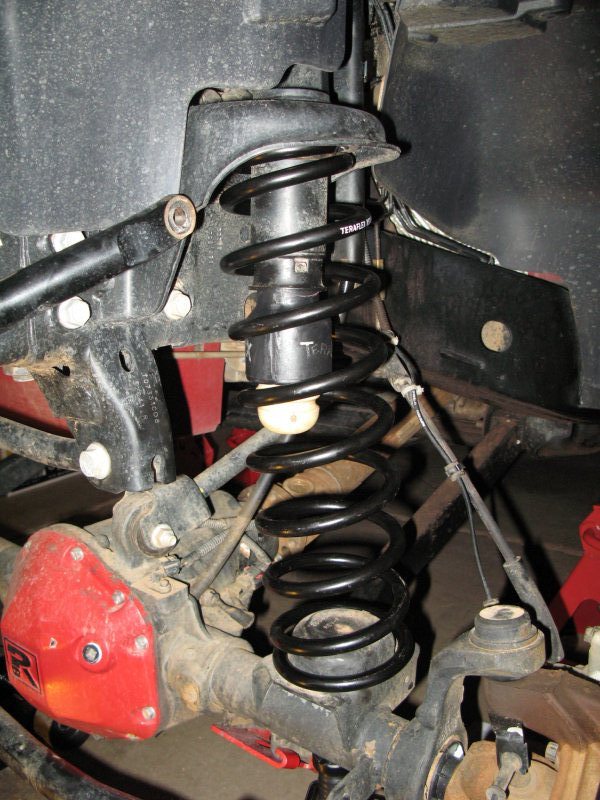
Driver side finished with sway bar locked:
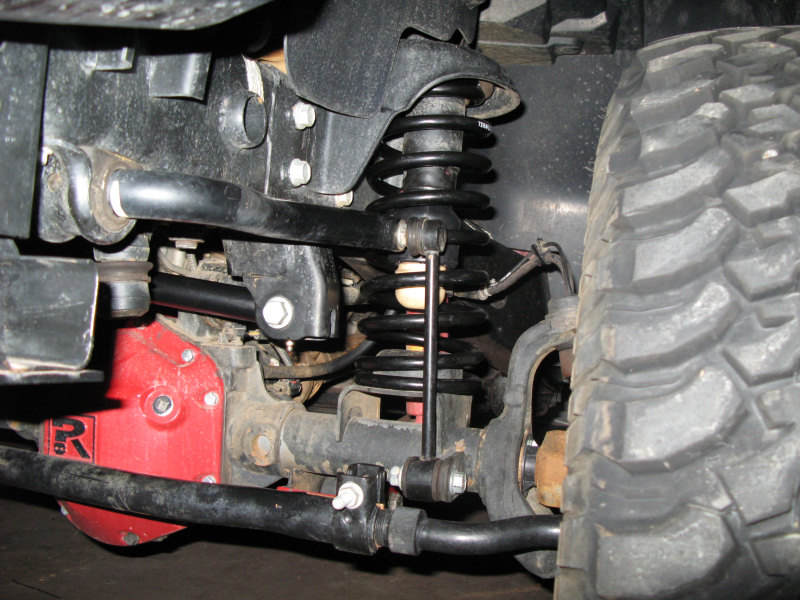
Passenger side finished with sway bar locked:
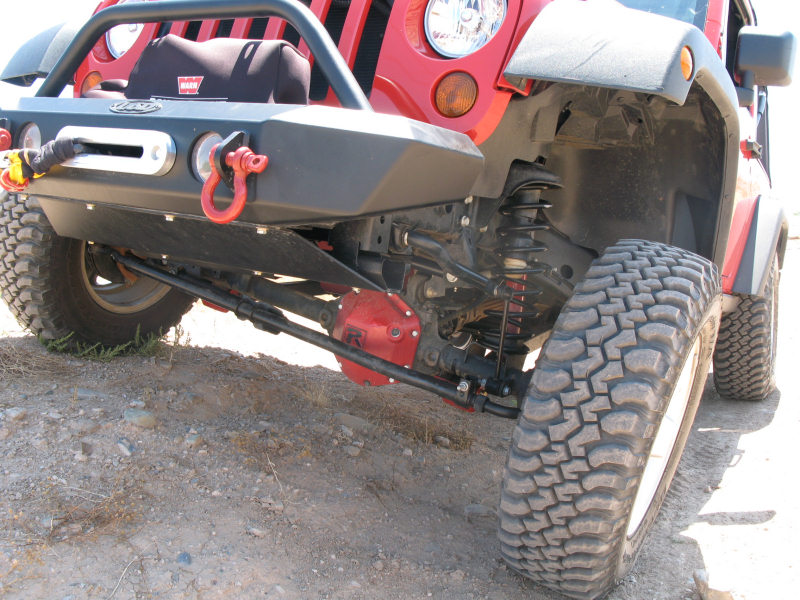
Front view finished (don't forget to adjust the Drag Link and Headlights):
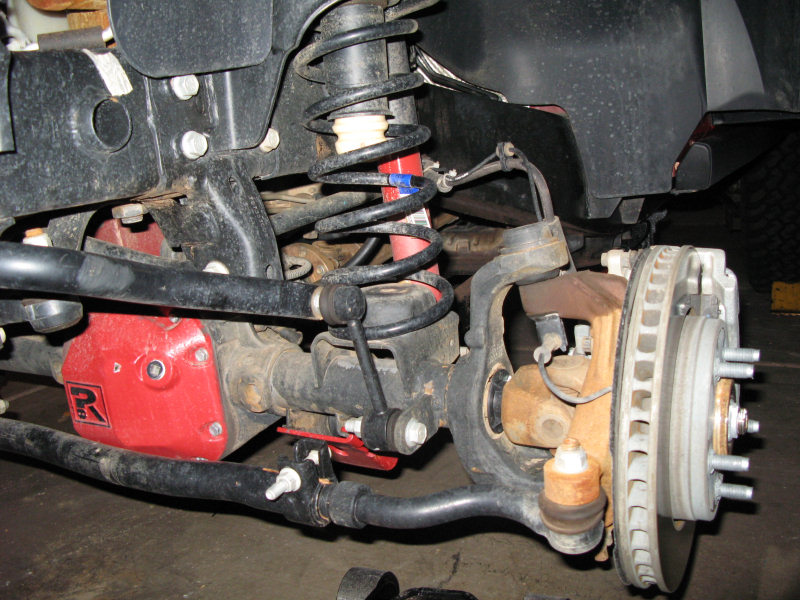
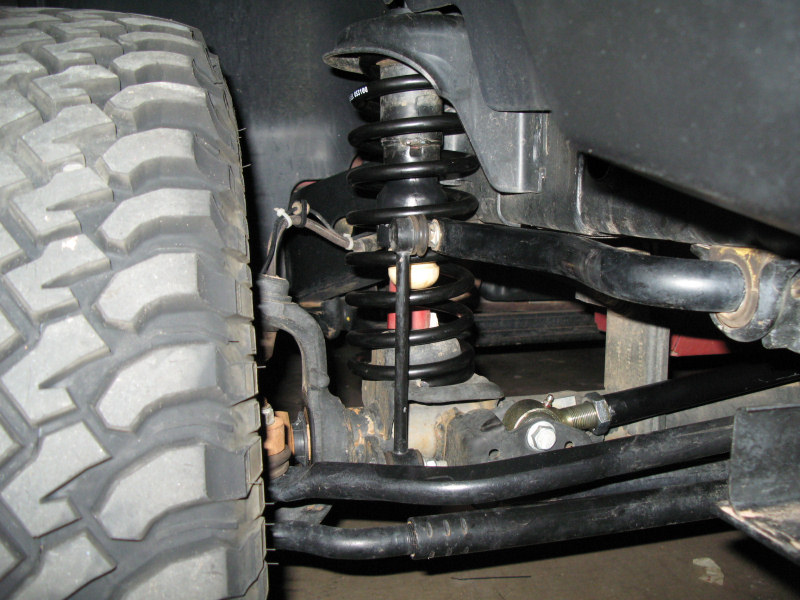
A flexed view of the front:
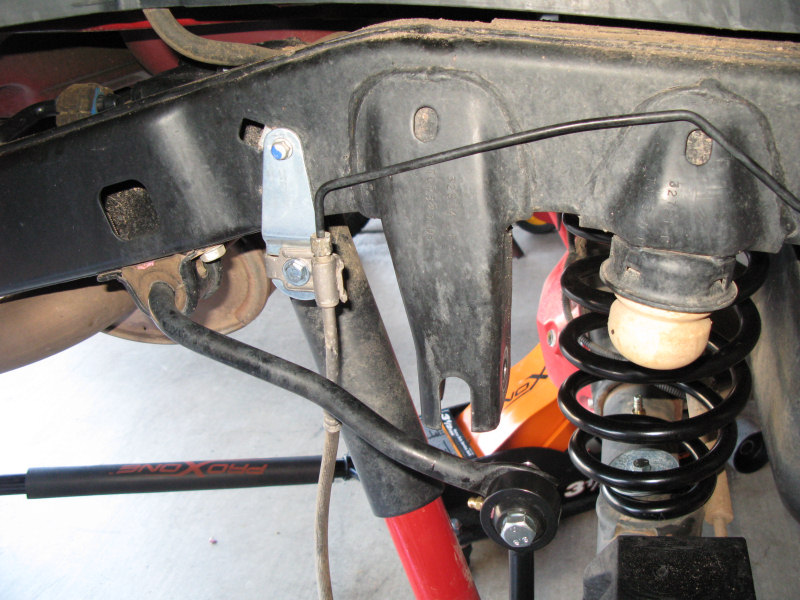
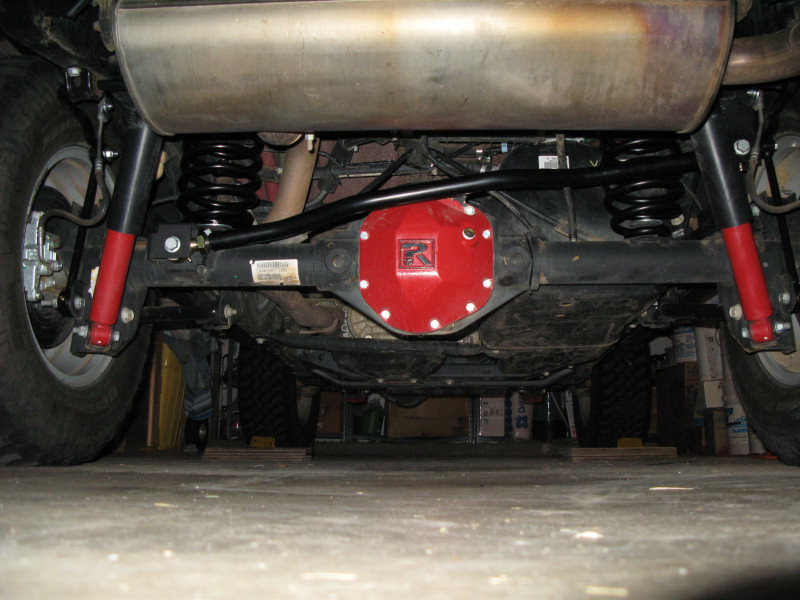
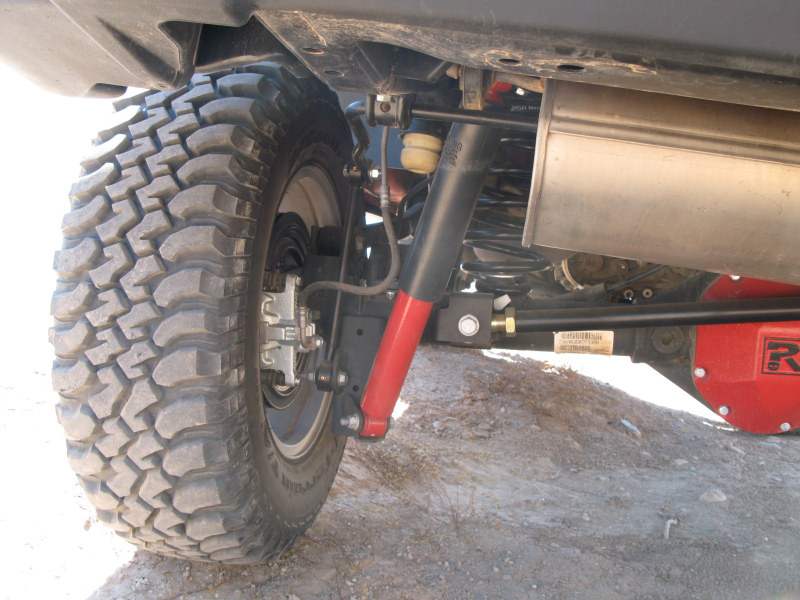
A flexed view of the rear:
Update 8/23/08 - Added 0.5" rear spacer above the spring (to make the rake more like stock), added some washers to the rear sway bar links (the lower part of the links were barely rubbing), and added more slack to the rear electrical wires. First the spacers - here are the 0.5" TeraFlex rear spacers:
With the stock piece inserted:
Inserted in place:
With the spring back in place:
Next, the washers - the arrow is pointing to the location were the links rub:
With a washer in place (actually a lock washer that was bent to make it flat):
There room for greasing the top link now too:
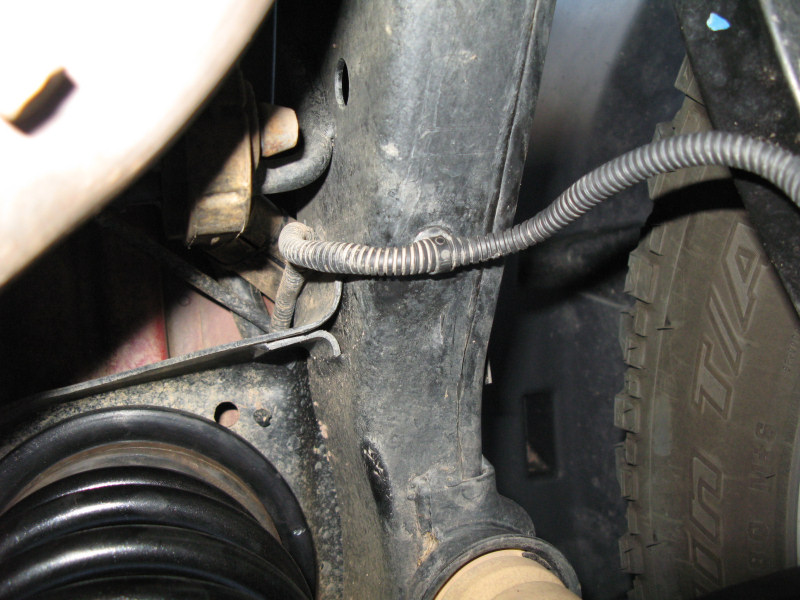
Finally more slack - when flexing I noticed the electrical bundle was fairly stretched (you can see it to the right of the spring):
I think that if you can flex even more the plastic plugs would pull free (to protect the wire bundle), but why chance it? I checked under the body/frame and noticed a good amount of slack on the inside of the frame, so I slid some of the slack to the outside:
If you have any questions or comments about this page click here to send email.Last modified: February 20, 2011 12:45:45 PM |