|
|
|
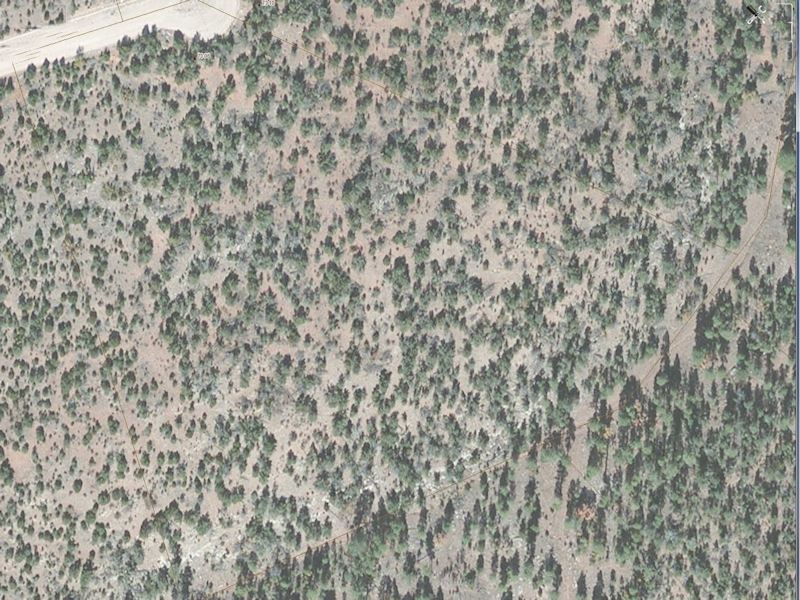
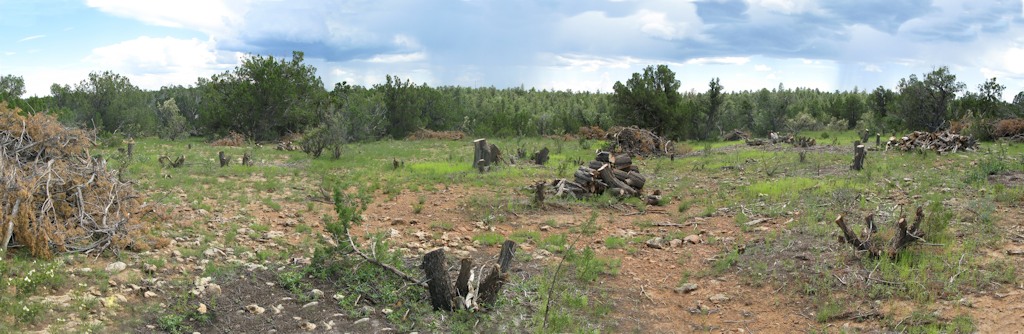
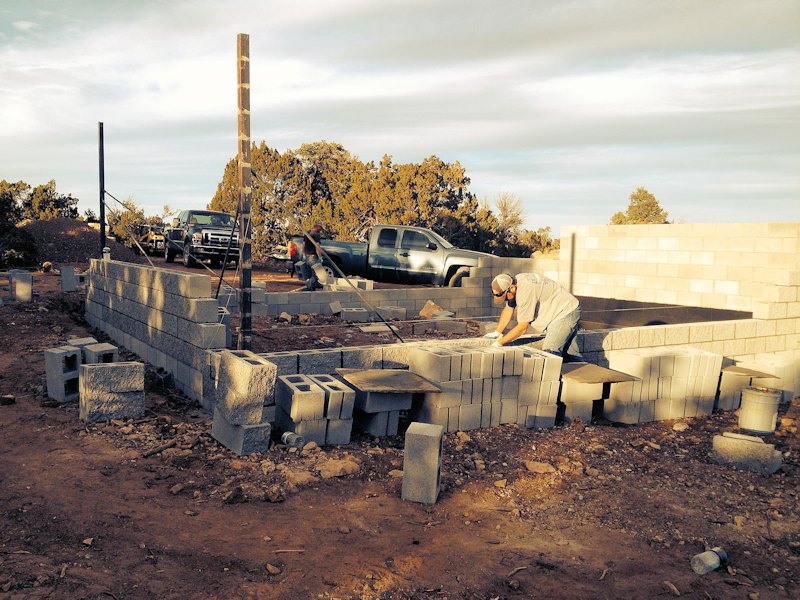
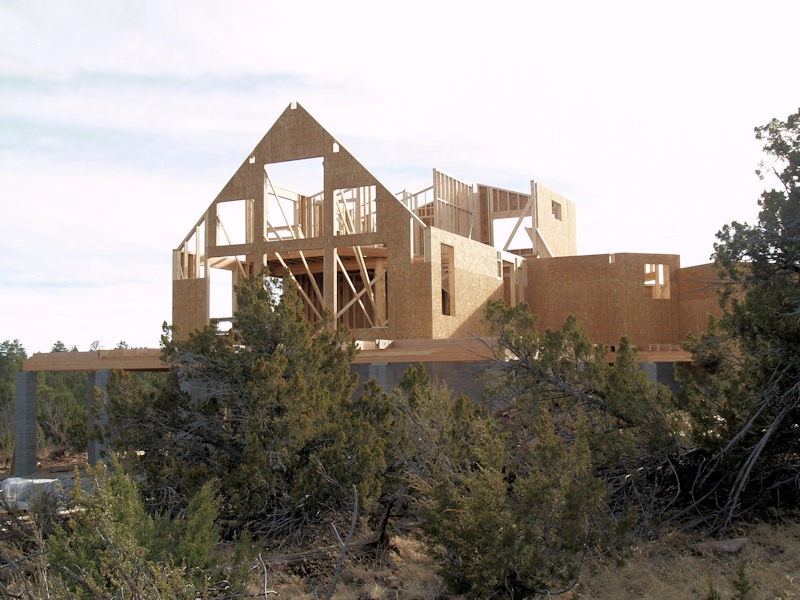
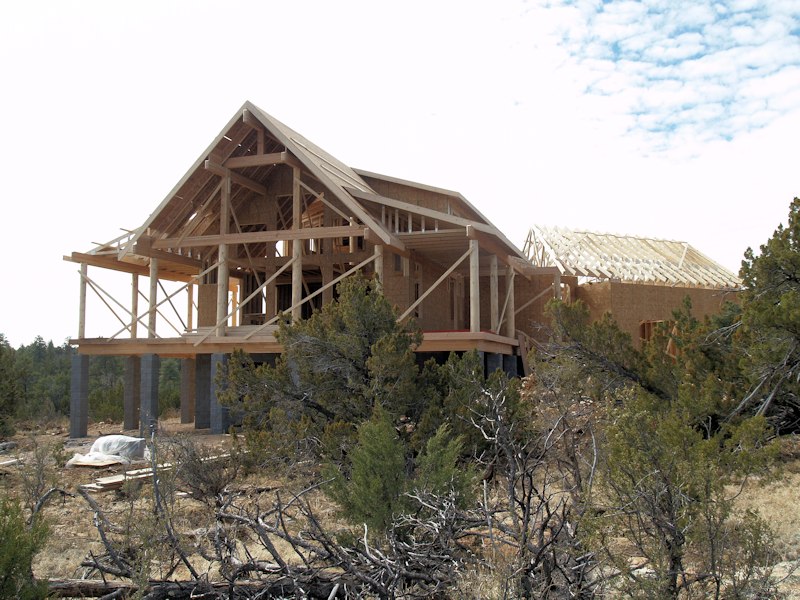
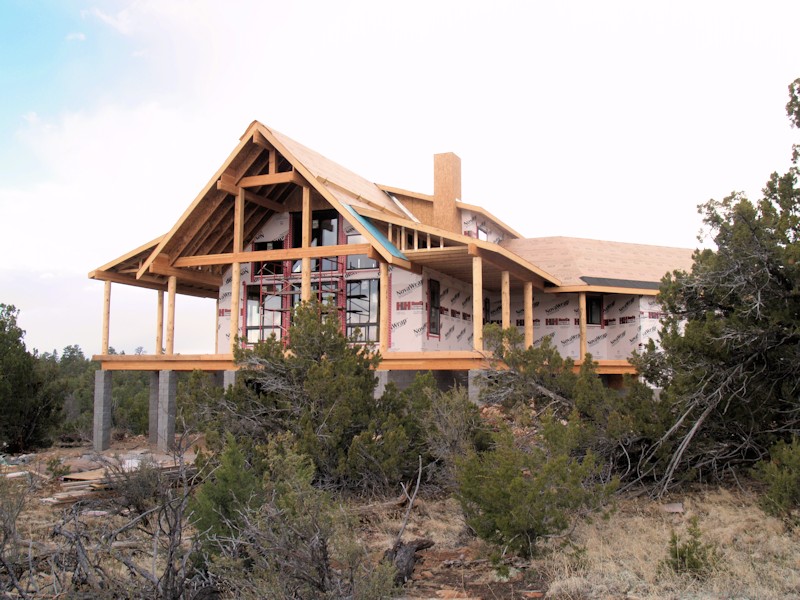
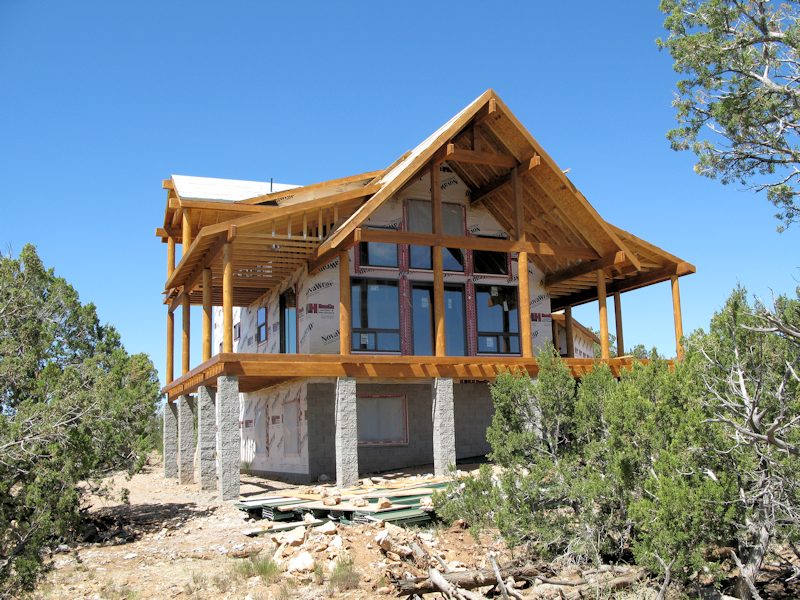
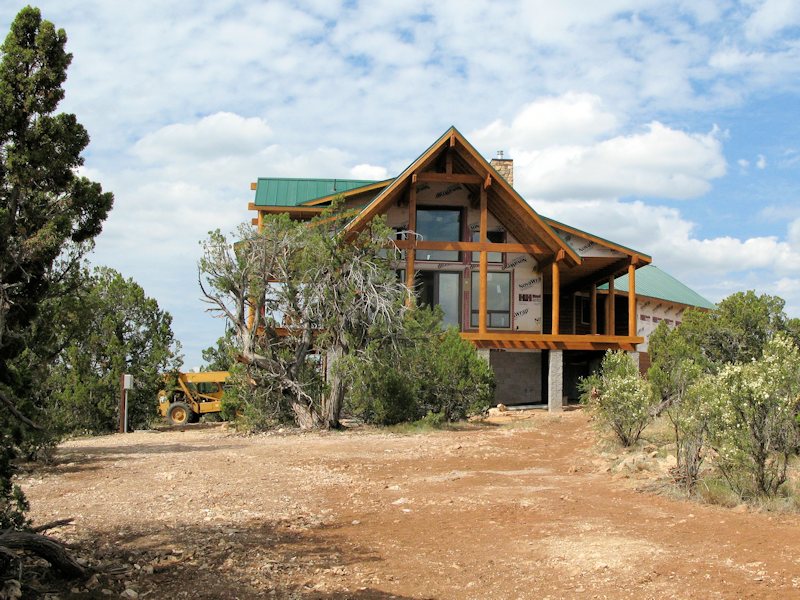
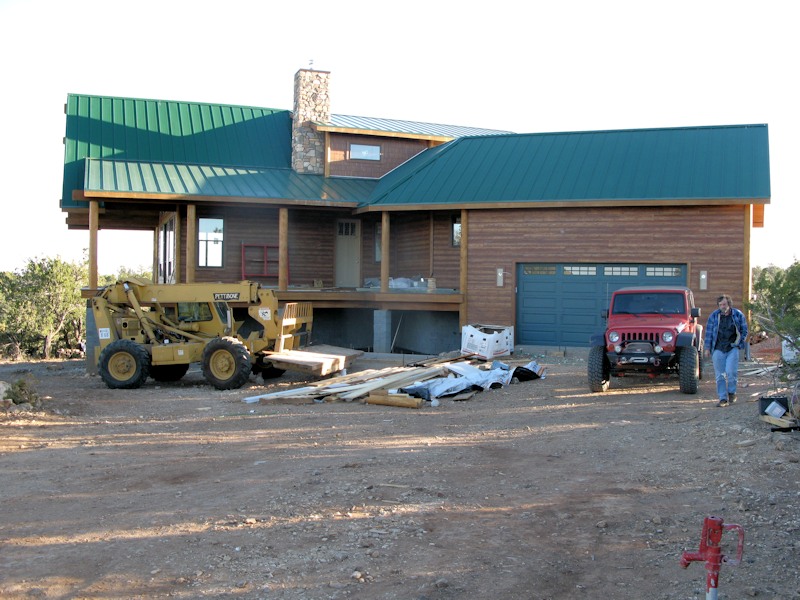
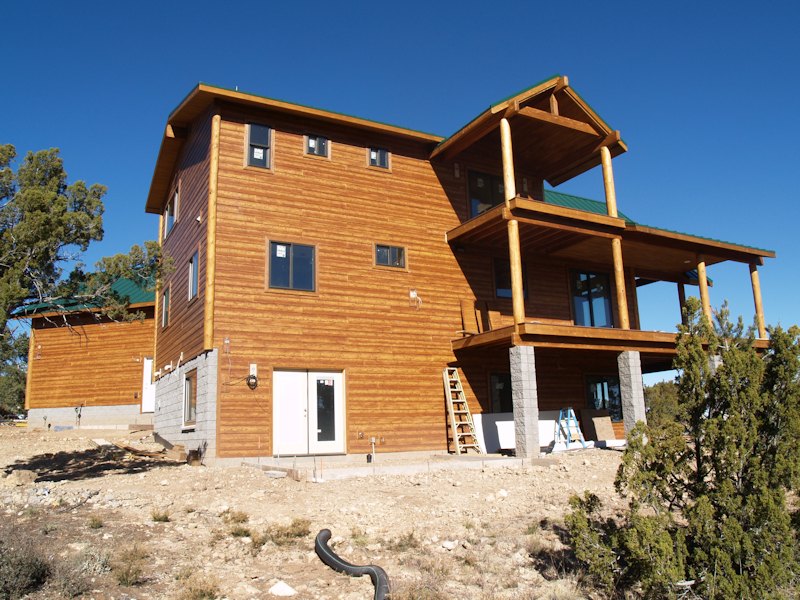
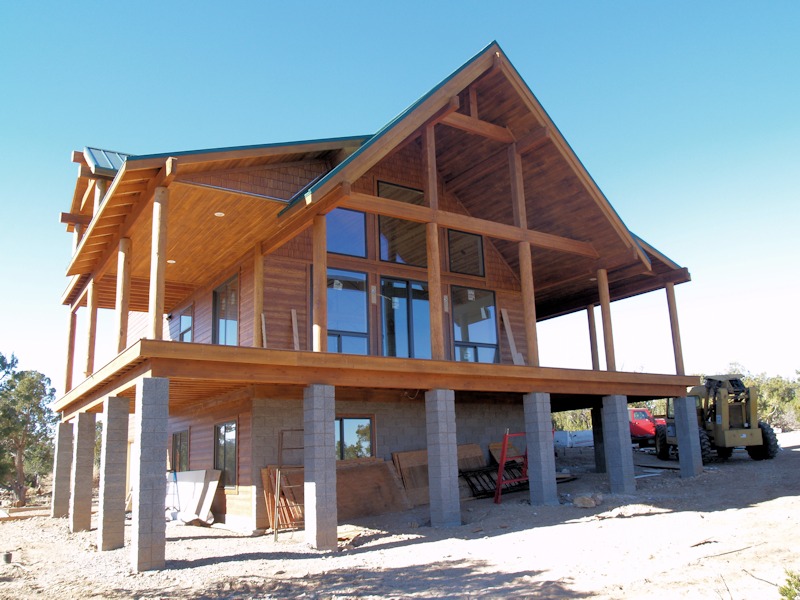
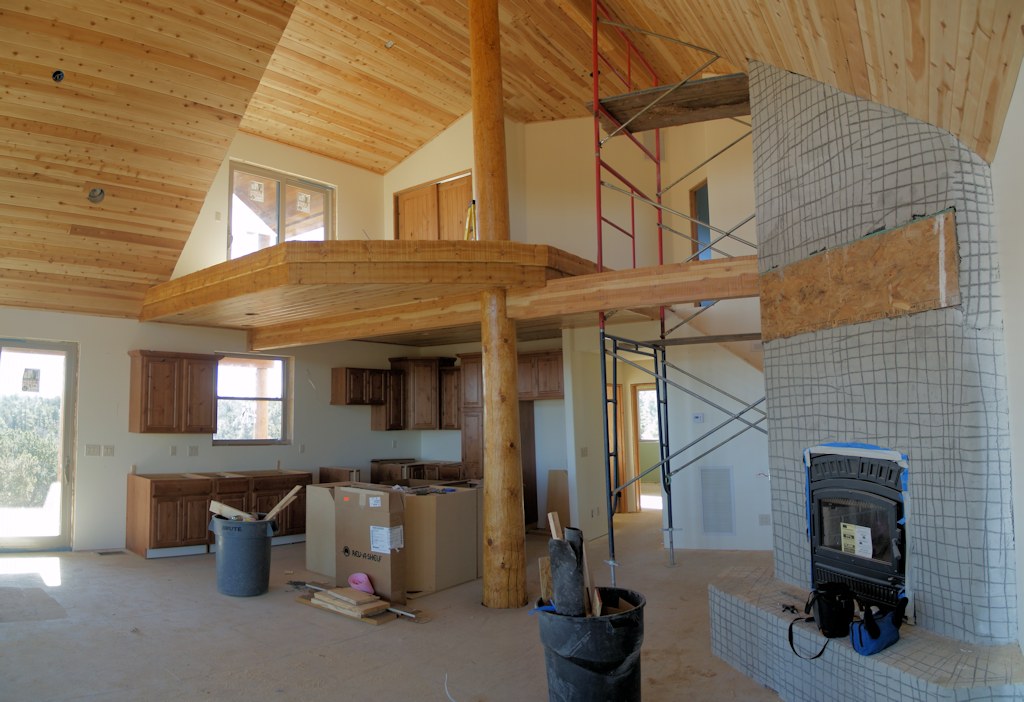
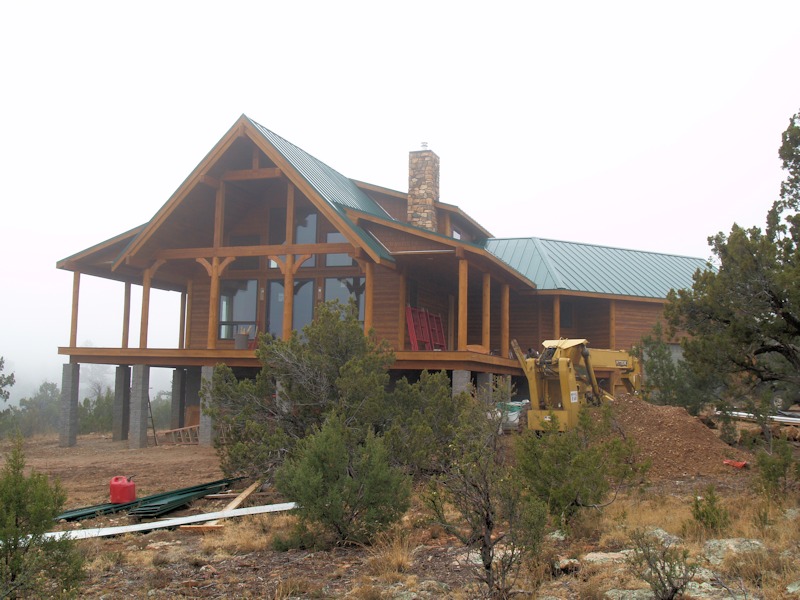
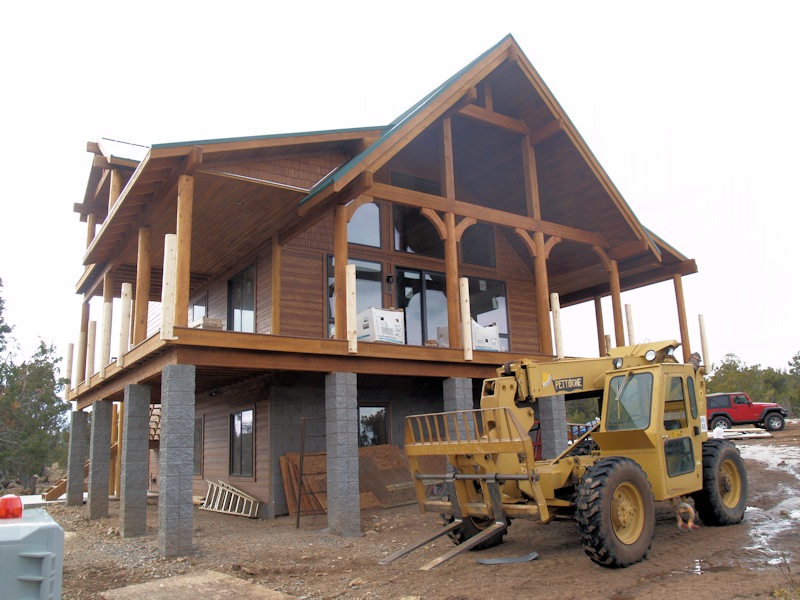
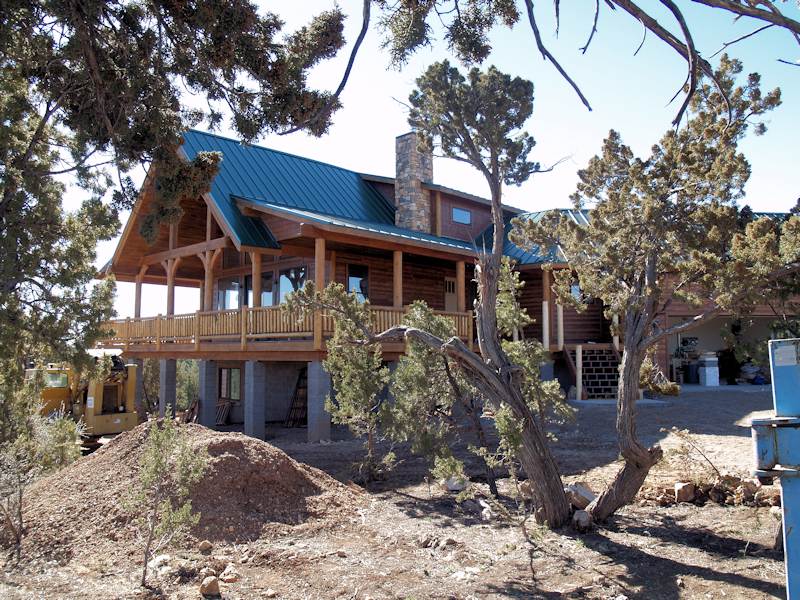
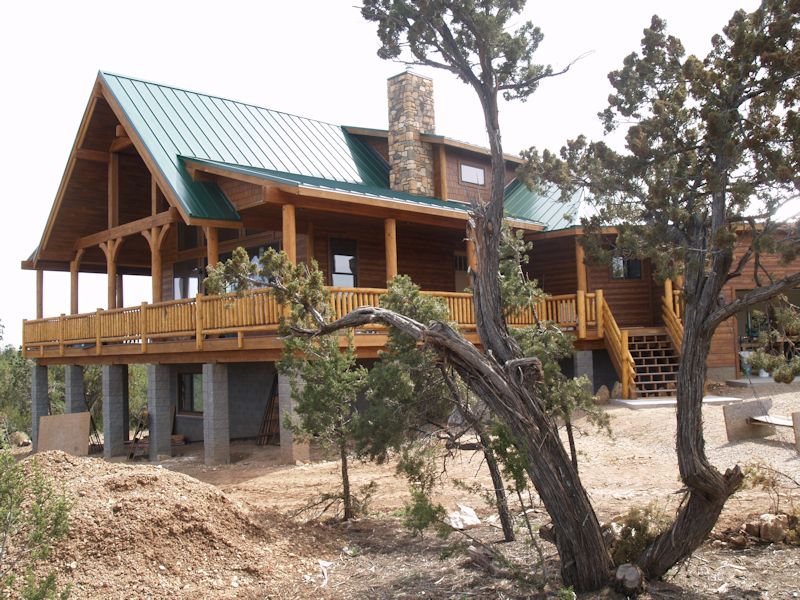
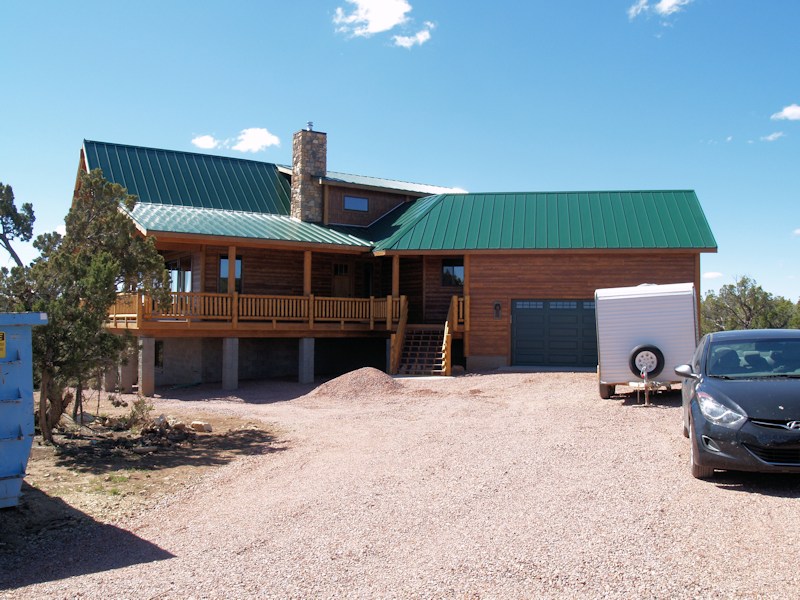
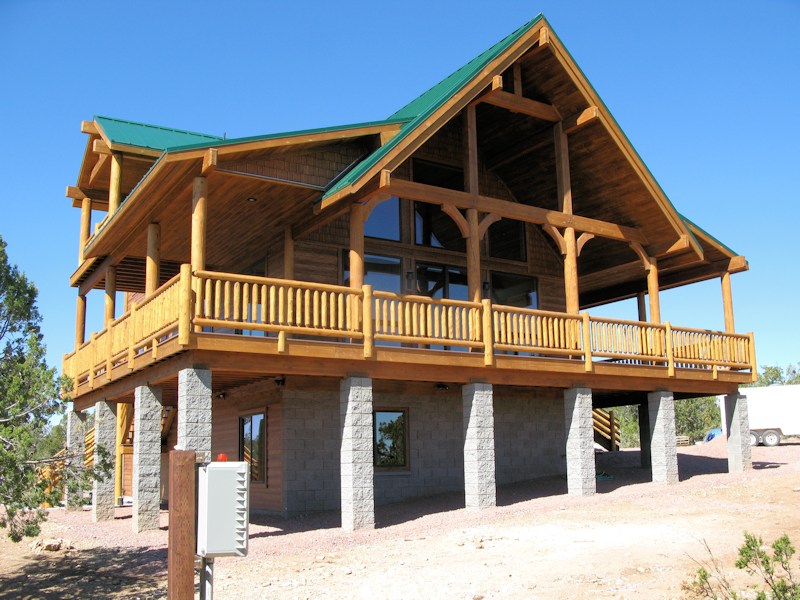
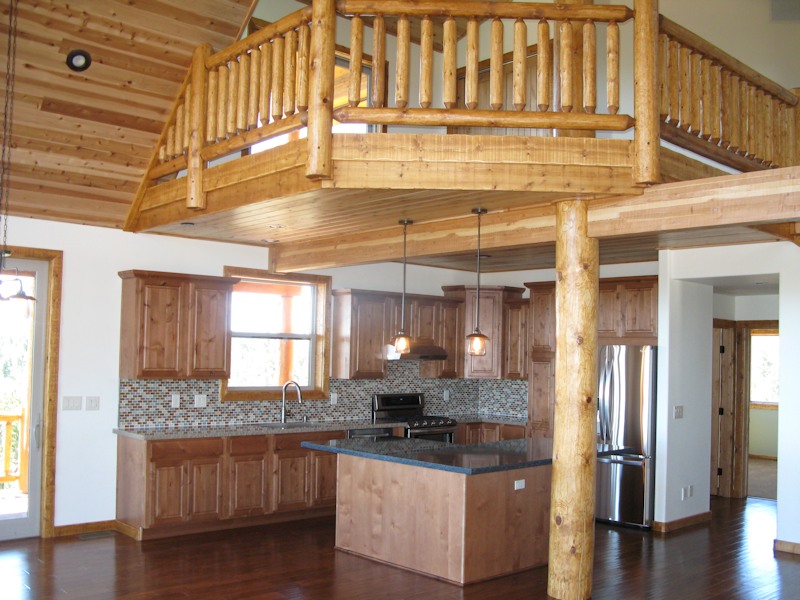
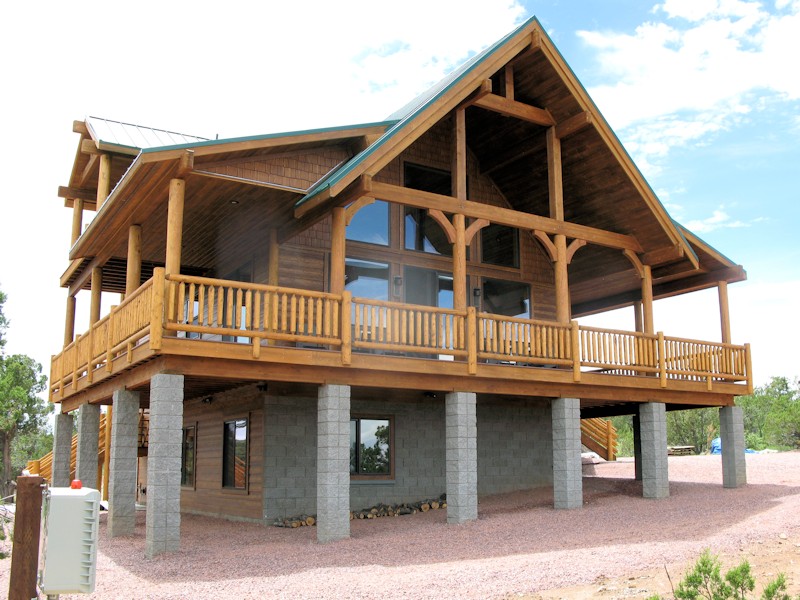
Here are some picture of building in Northern Arizona.
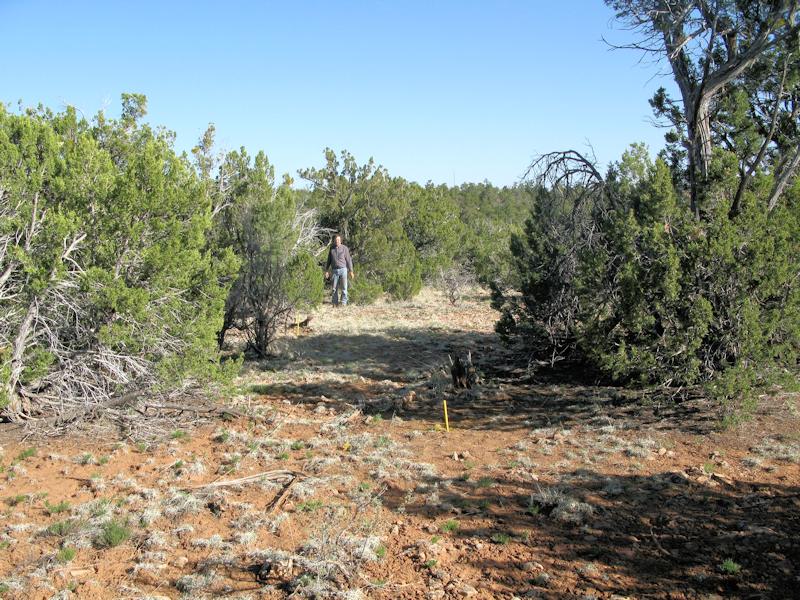
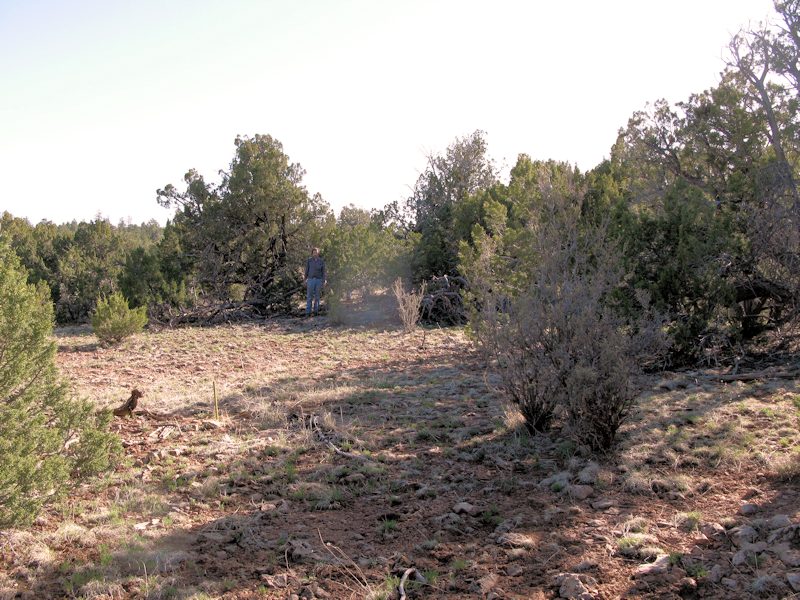
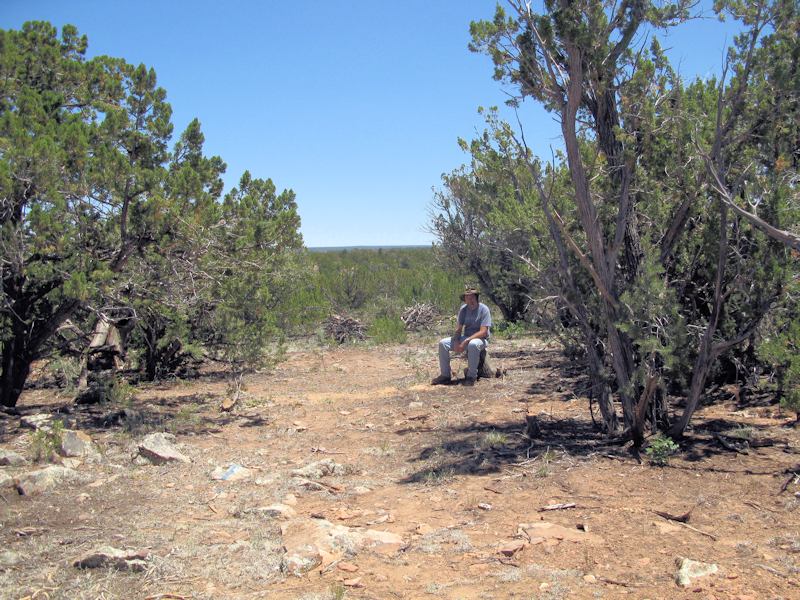
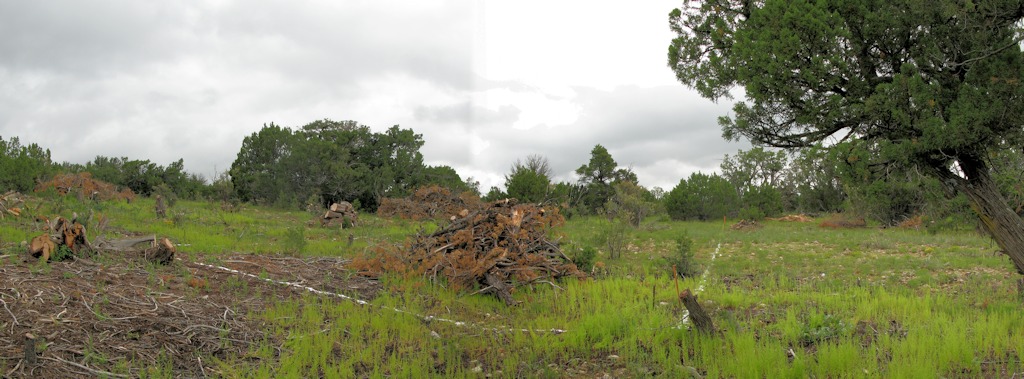
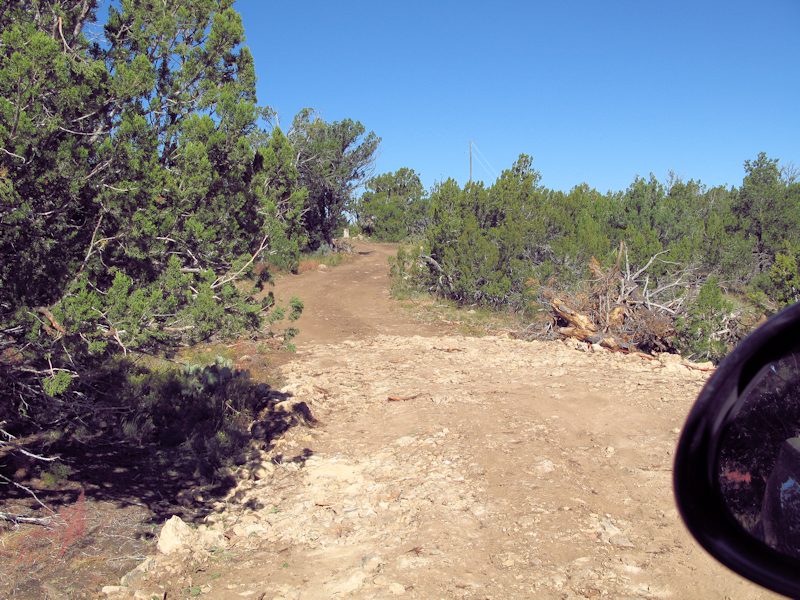
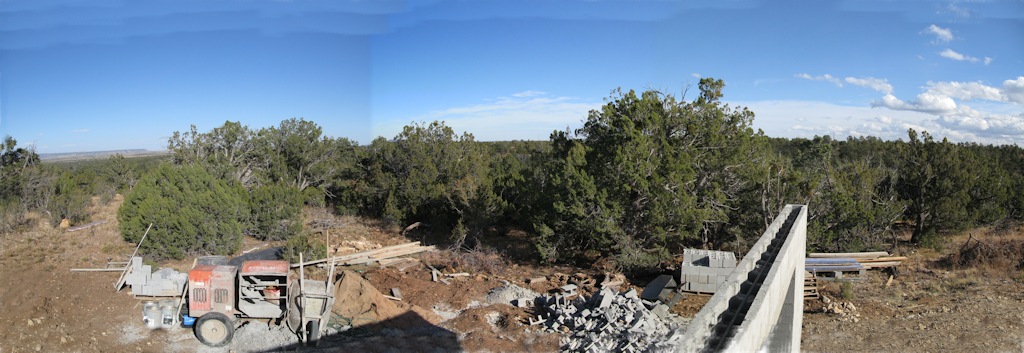
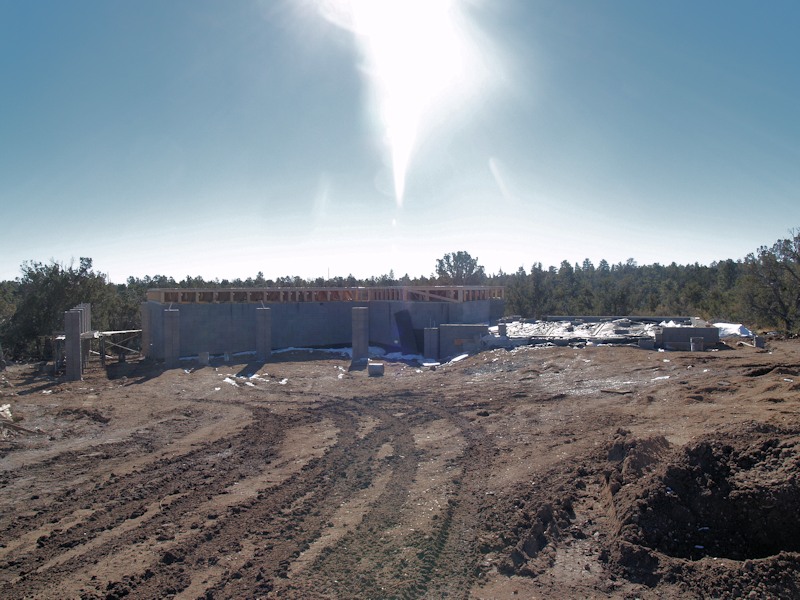
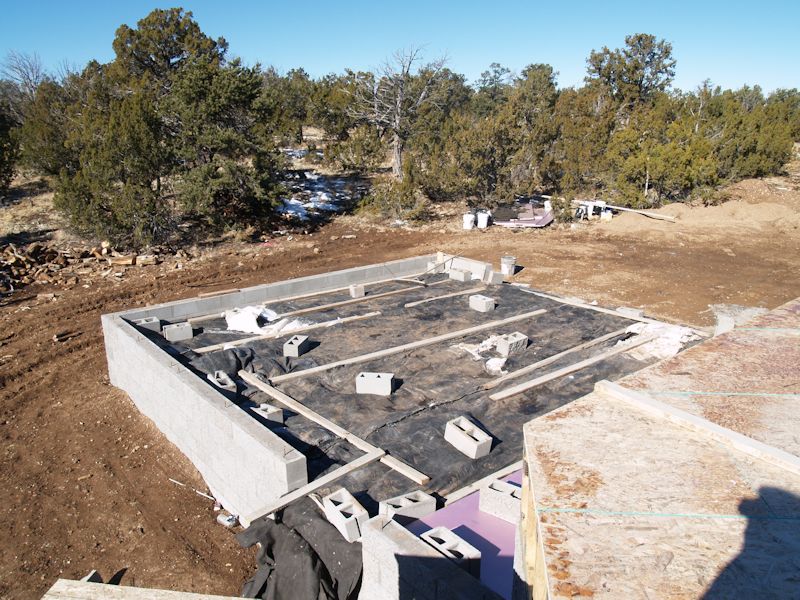
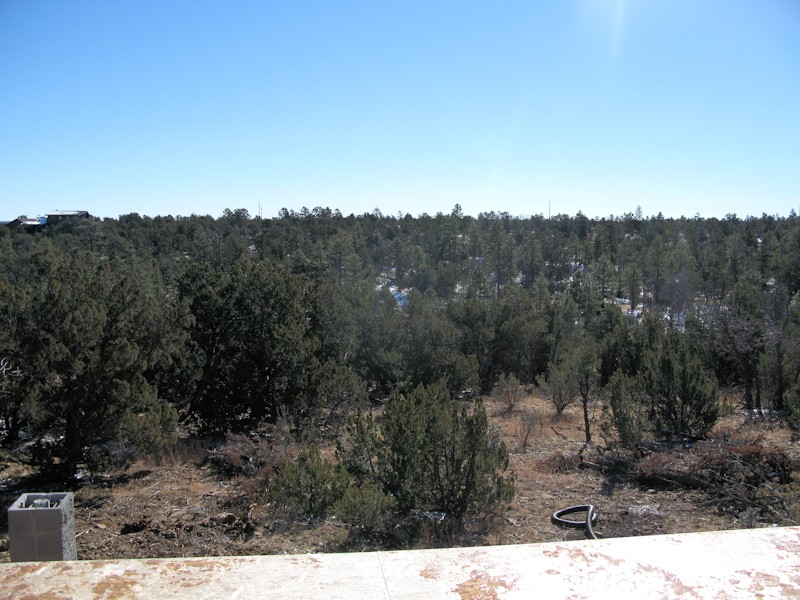
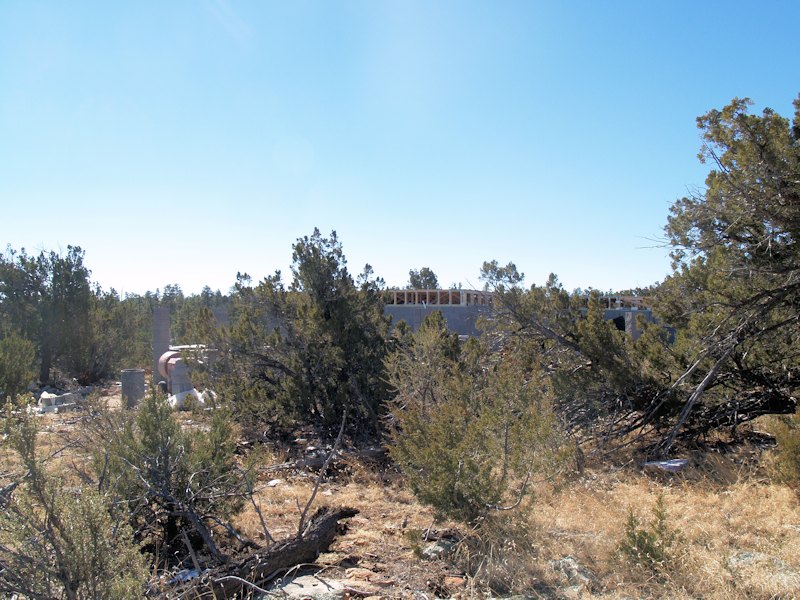
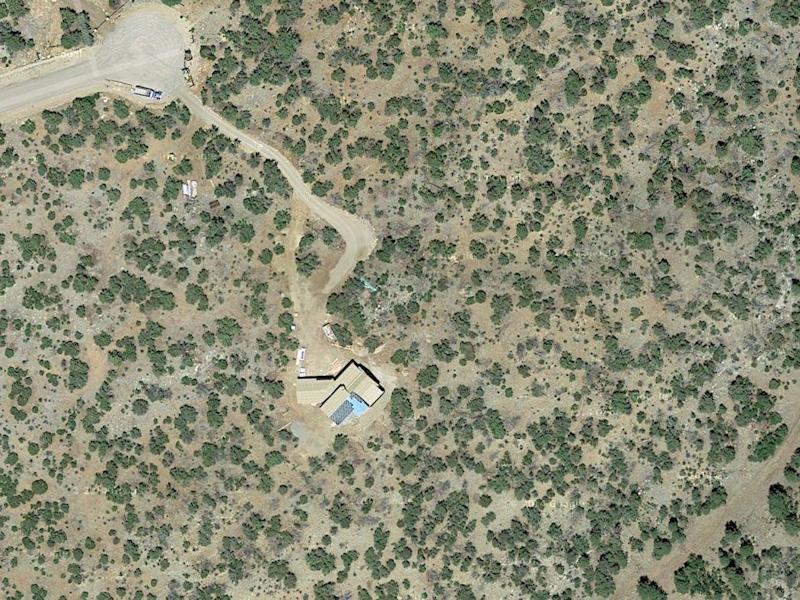
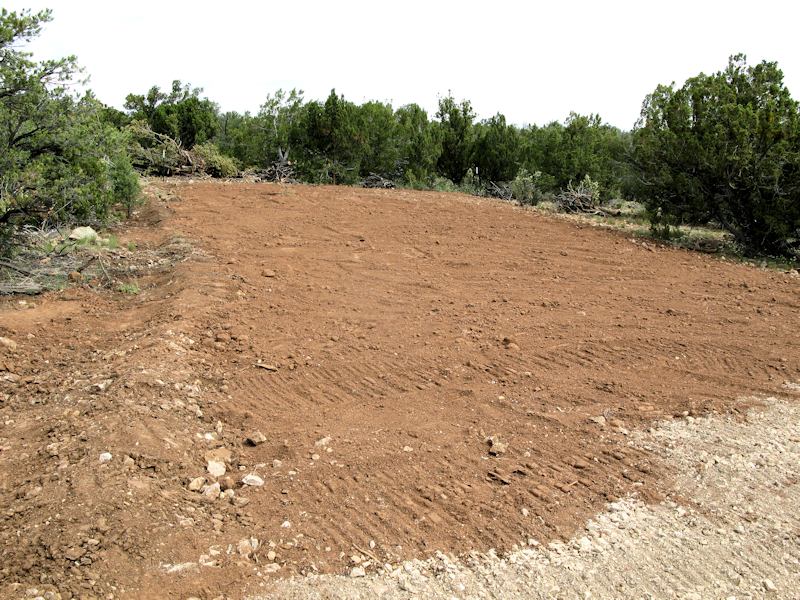
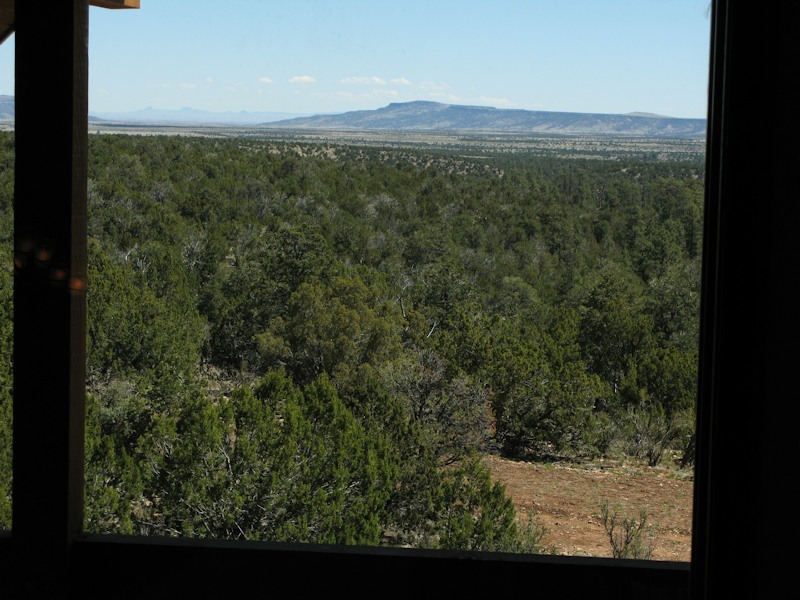
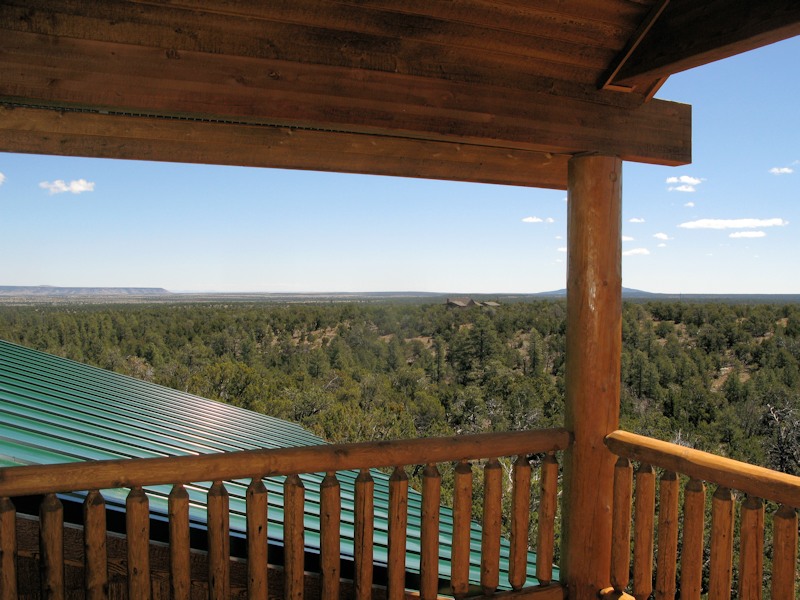
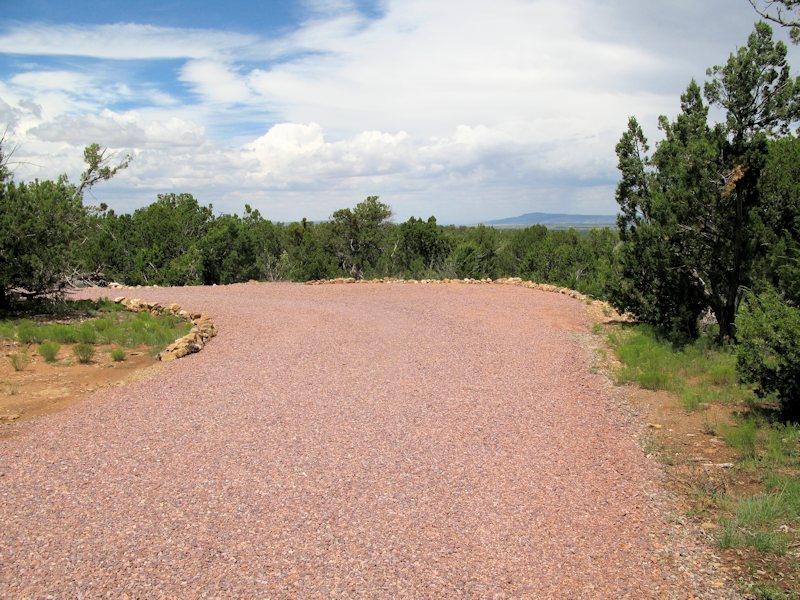
November 2012 - View of the land from above:
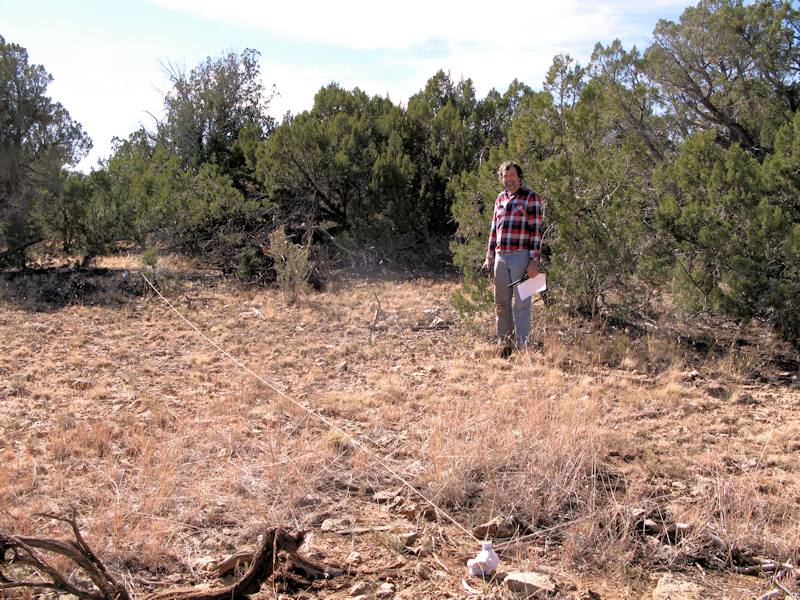
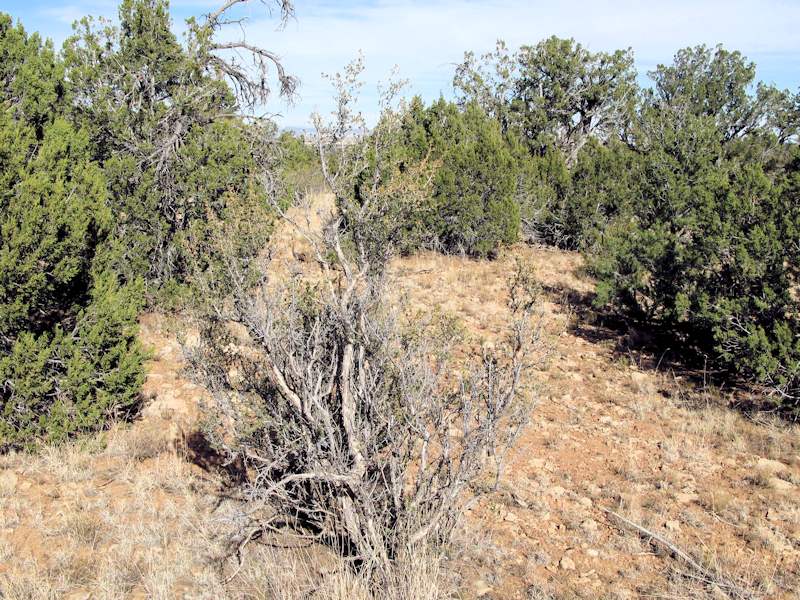
November 2012 - This looks like a good place for the back of a house:
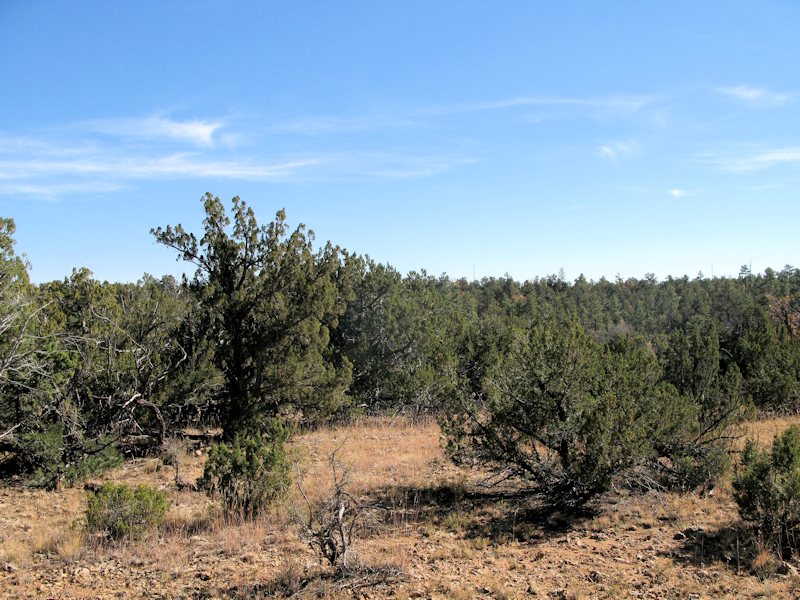
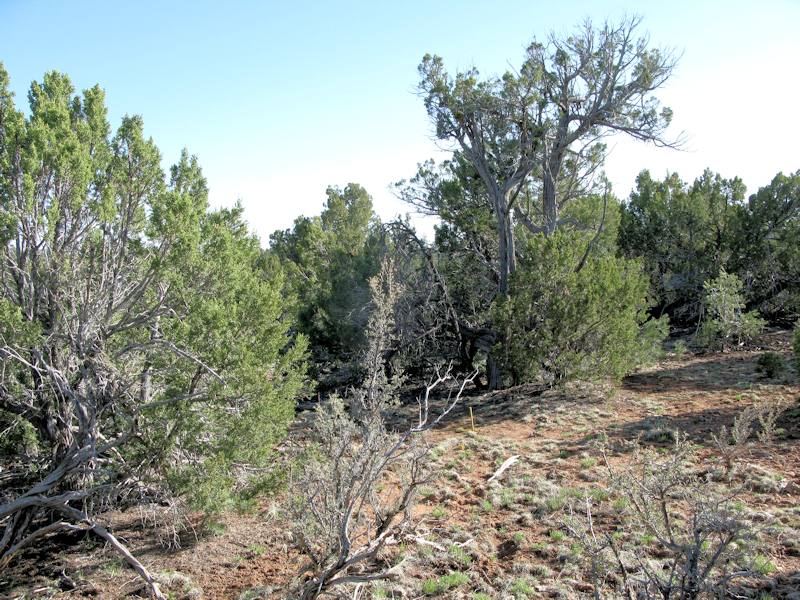
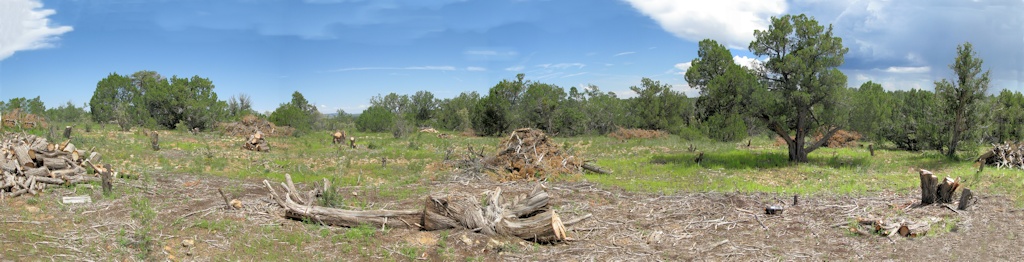
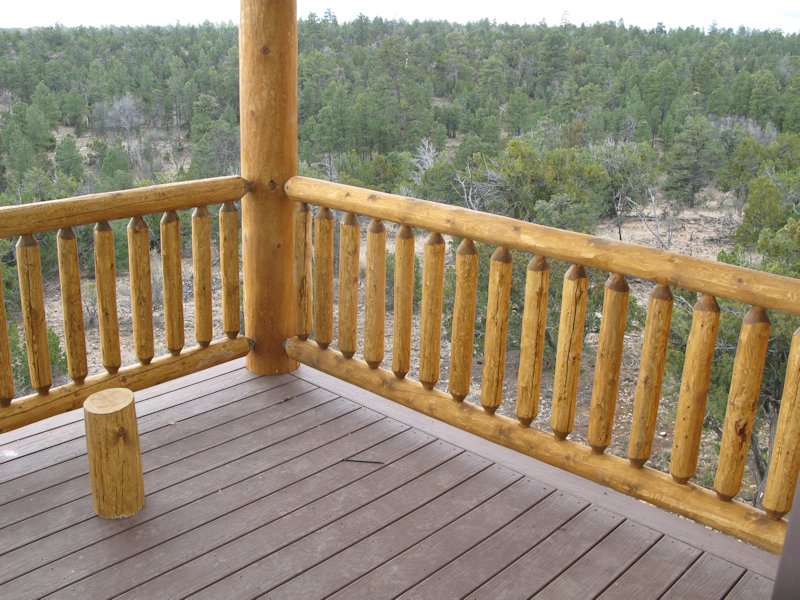
View out back:
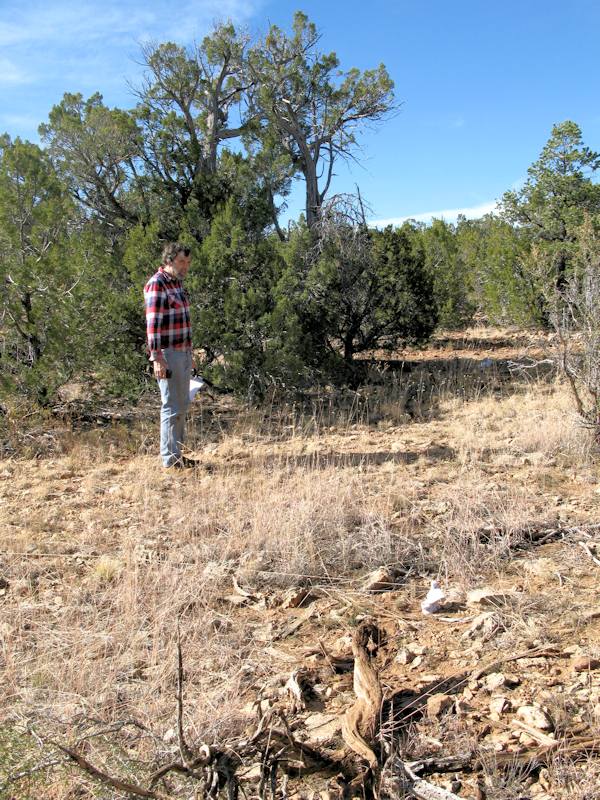
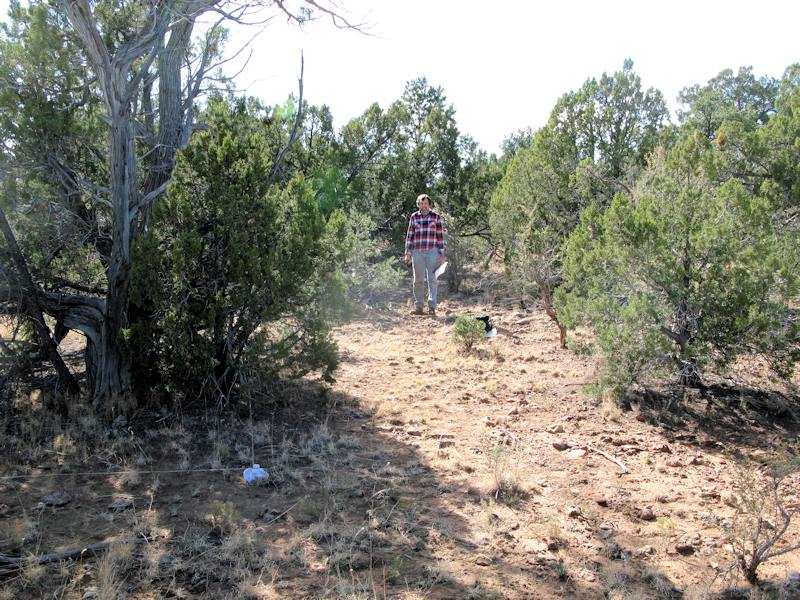
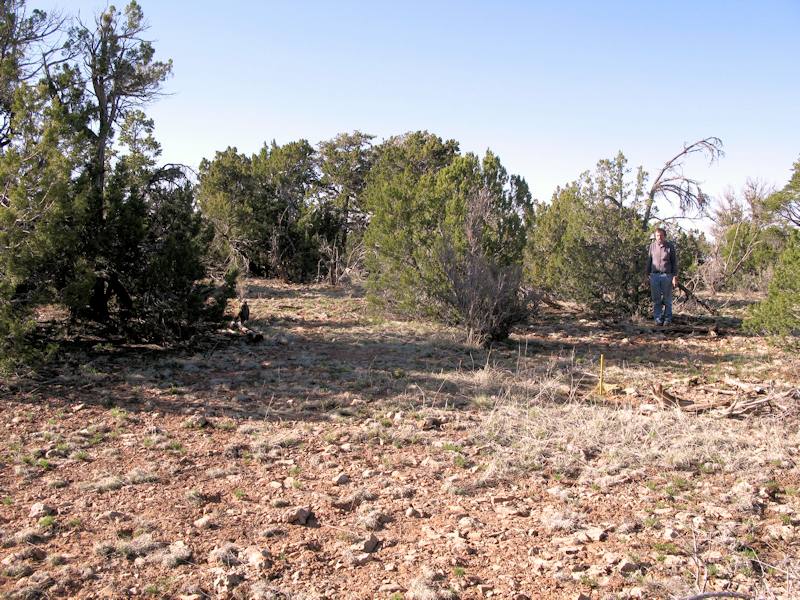
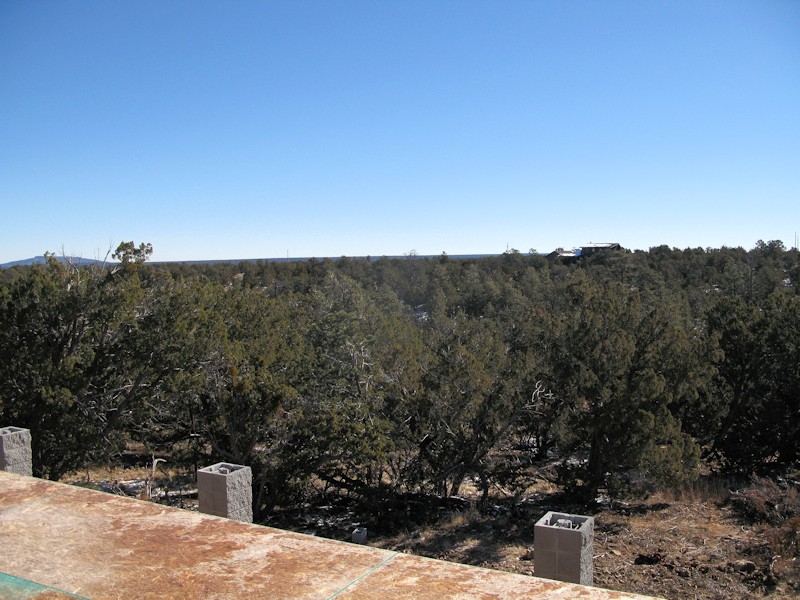
This looks like a good place for a side of a house:
View from the side which is a bit restricted at this point:
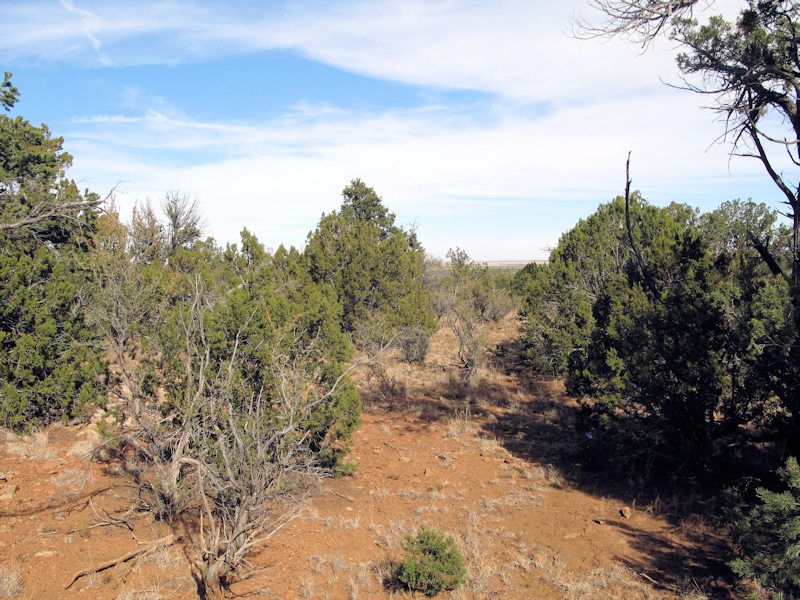
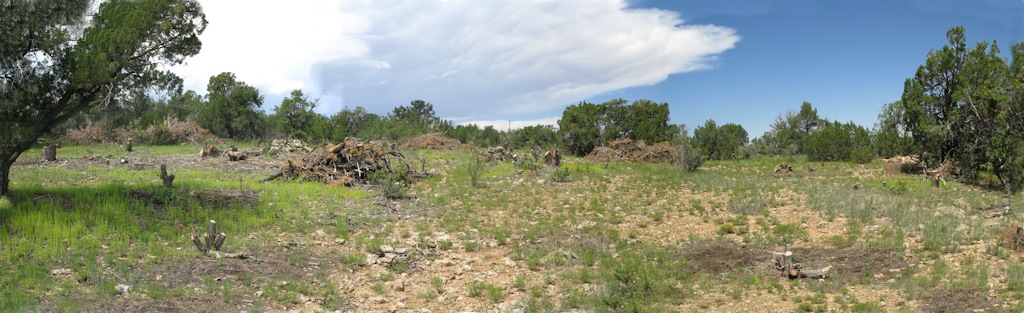
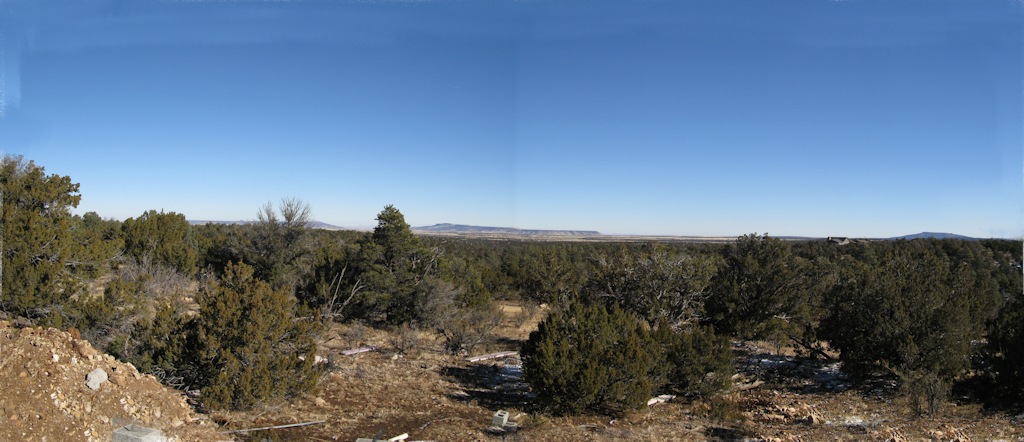
A mud room and garage could go here:
View from the area:
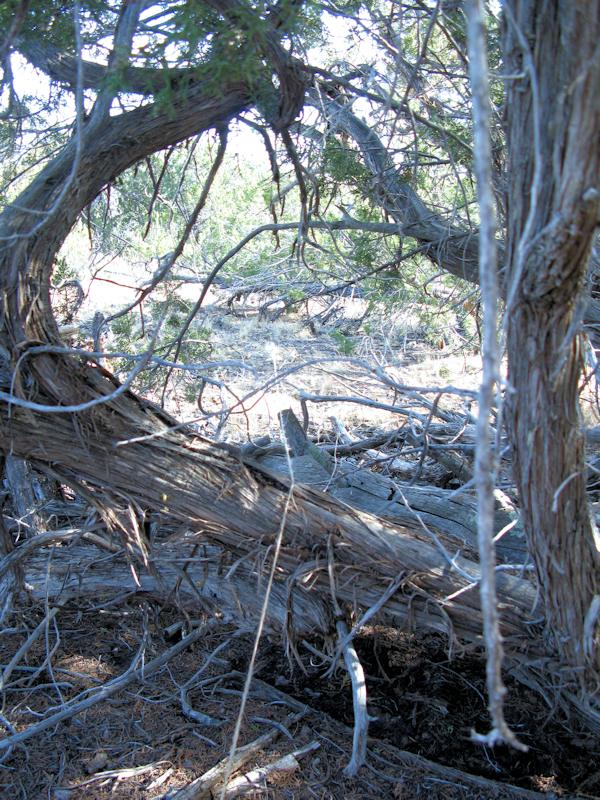
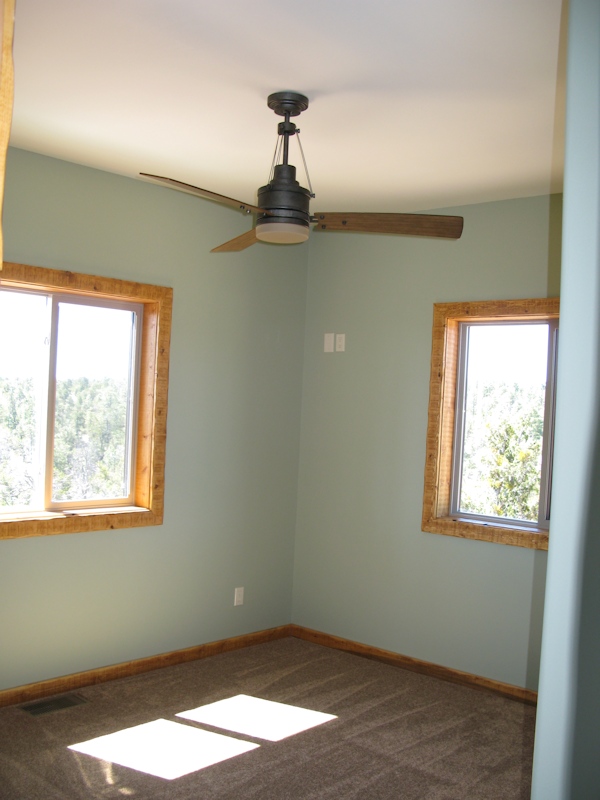
Some trees in the bedrooms:
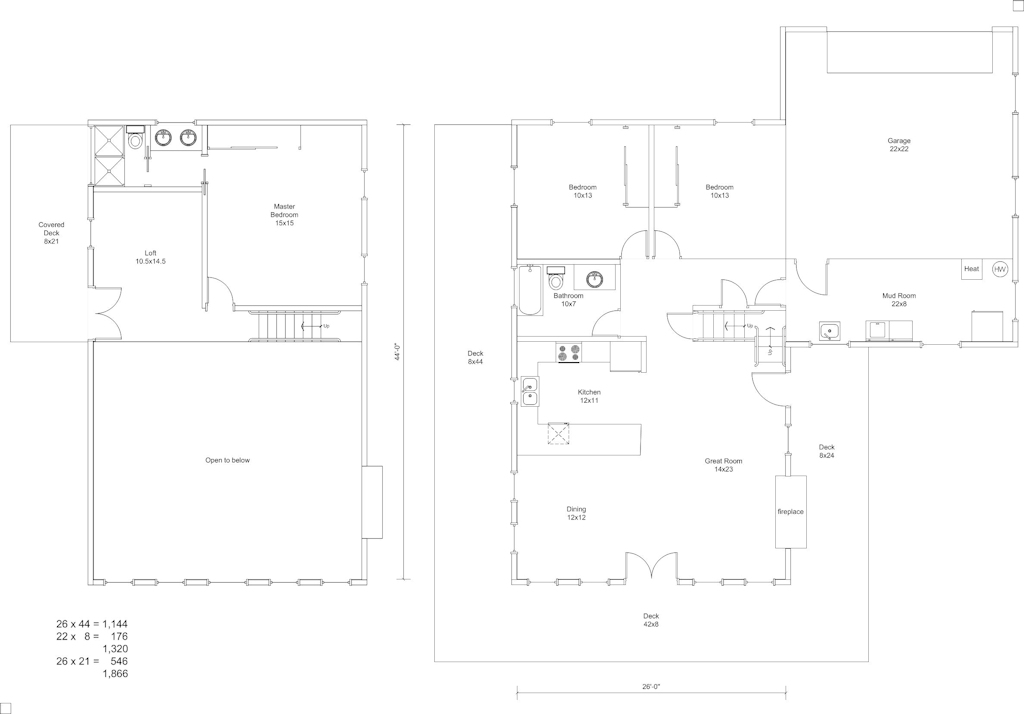
December 2012 - An initial floor plan:
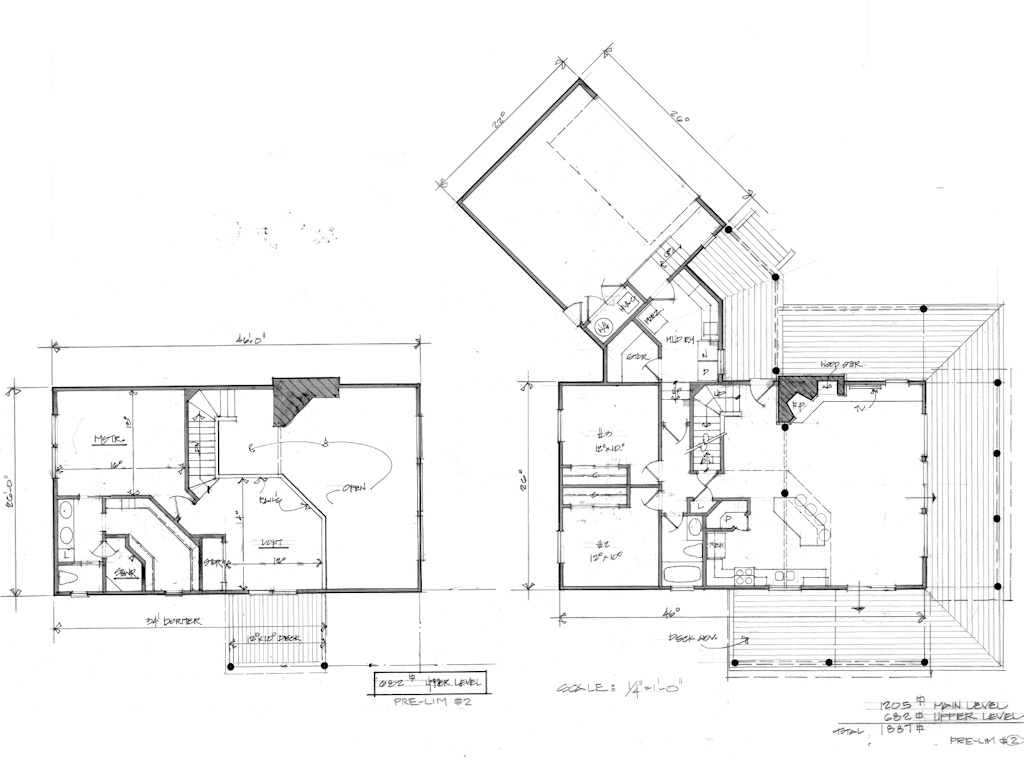
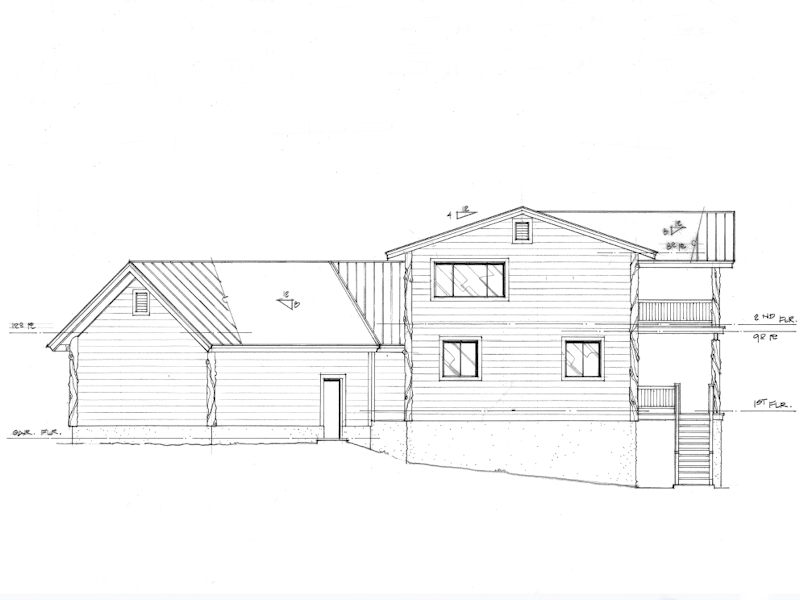
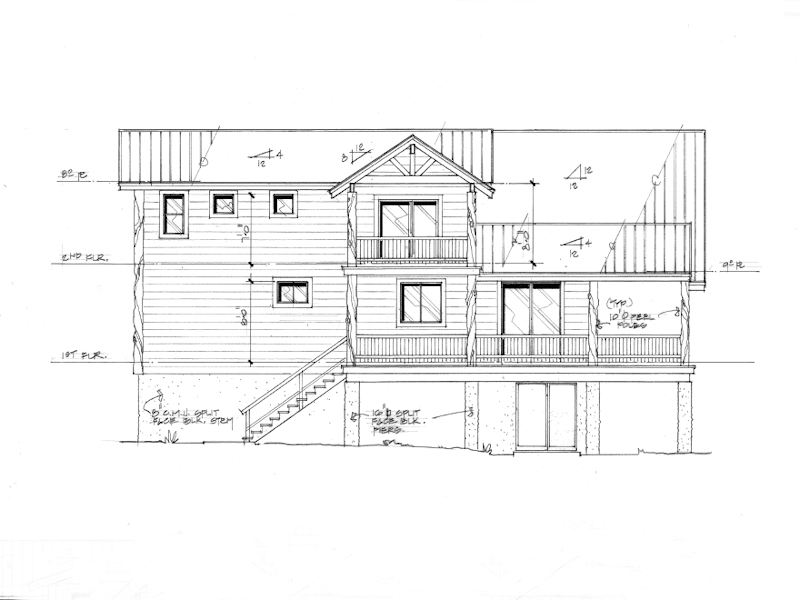
February 2013 - A professional took the plans and with our inputs:
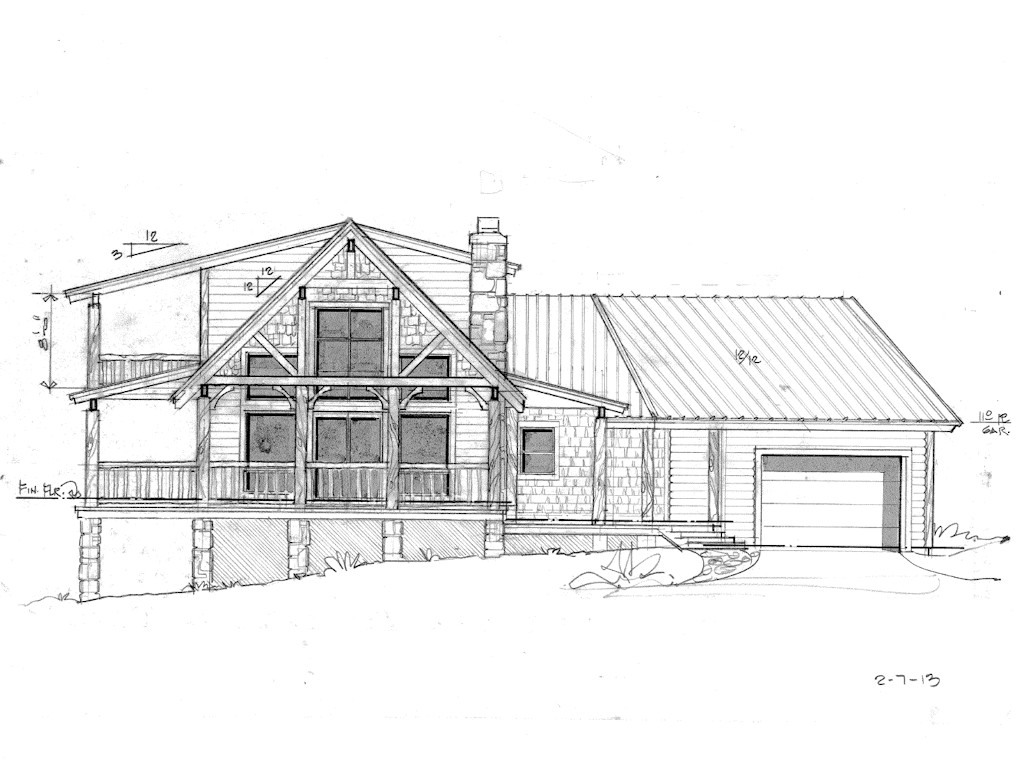
Elevation from the side:
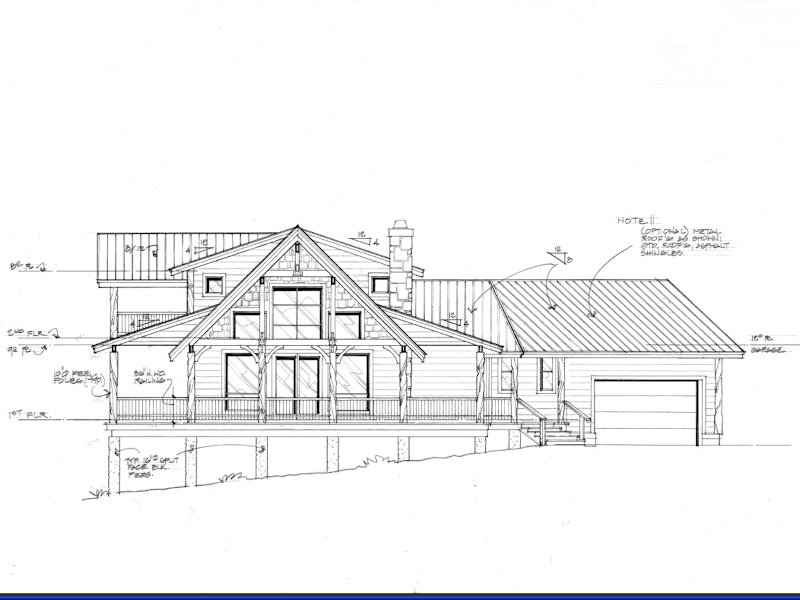
March 2013 - Updated Front view:
Updated Left view:
Updated Right view:
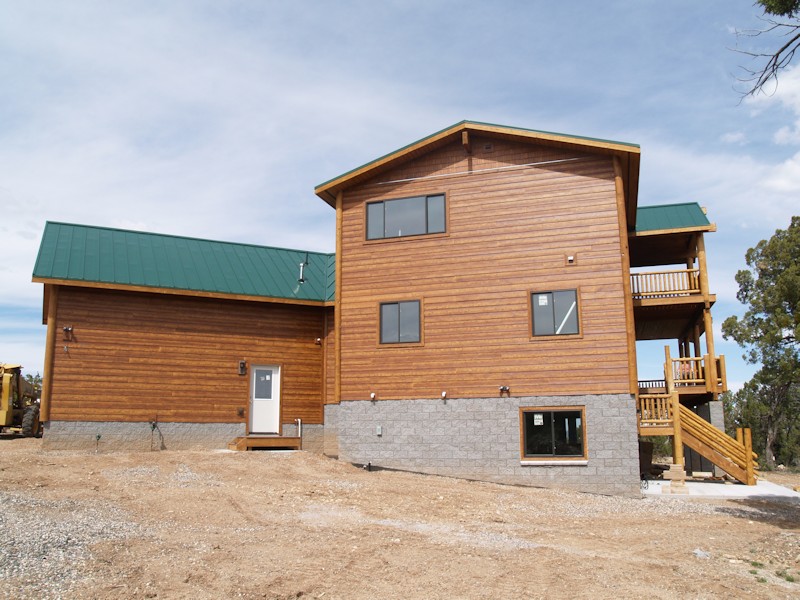
Updated Rear view:
April 2013 - Looking along the front of the house from the garage:
Looking from the back of the house along the dining room edge:
Looking toward the dining room/living room side of the house:
Looking across the front of the house from the living room:
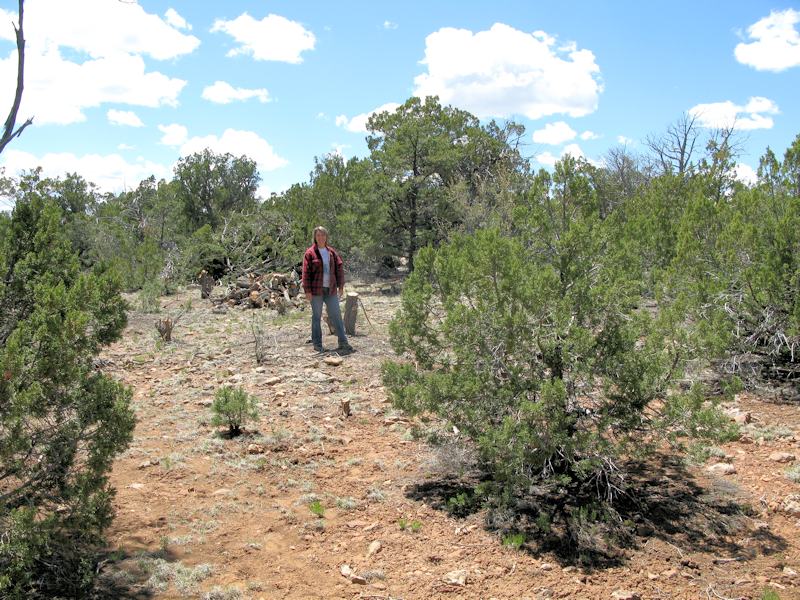
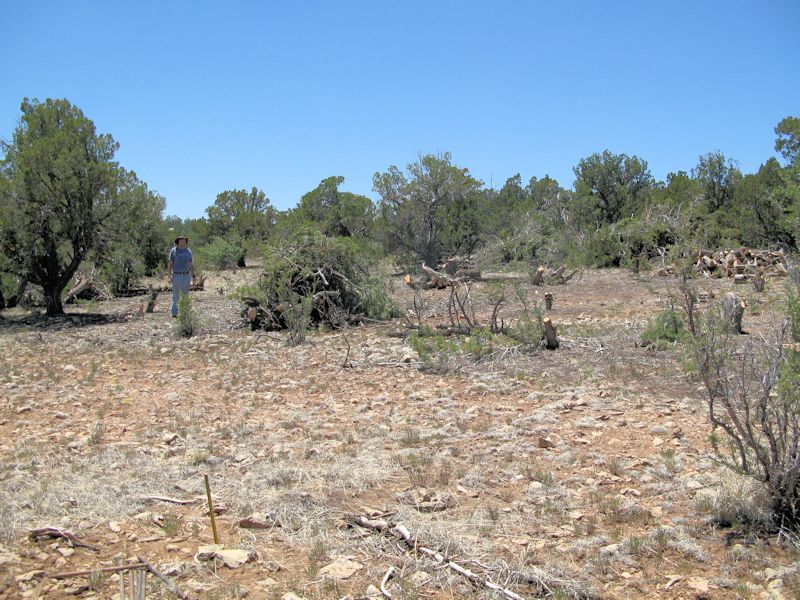
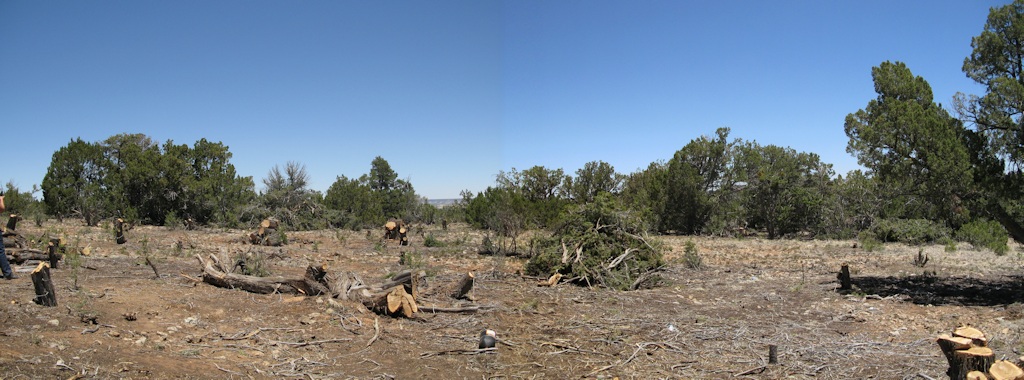
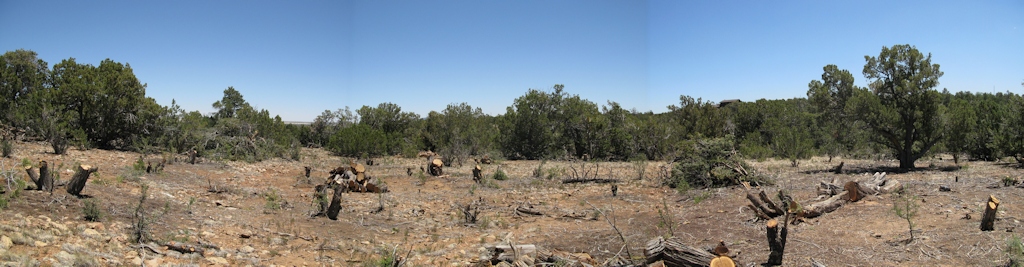
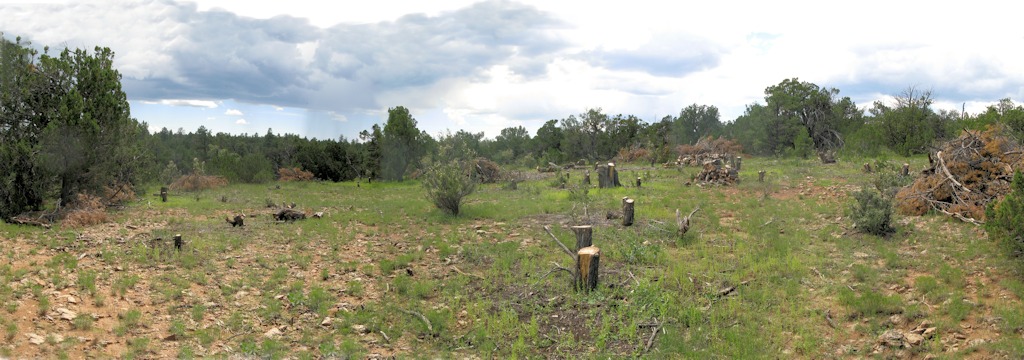
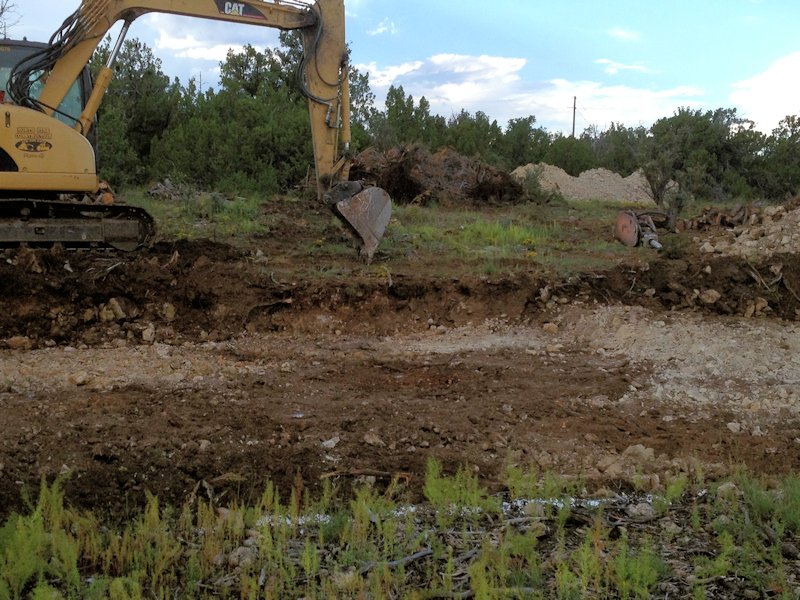
May 2013 - Some of the trees in the area have been cleared:
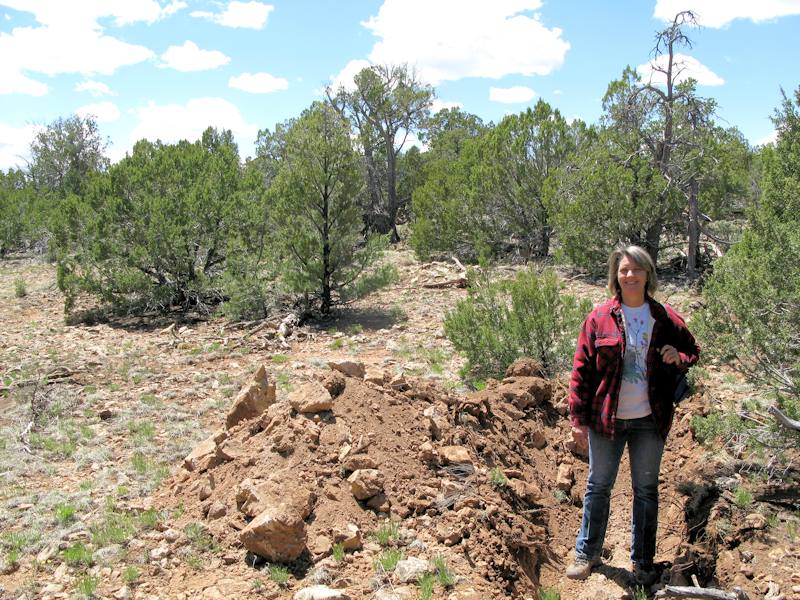
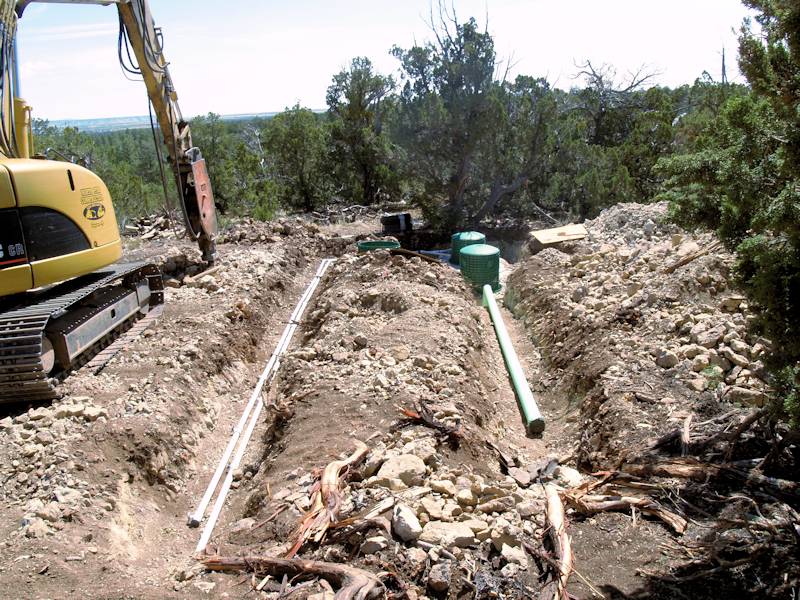
And a test septic hole was dug:
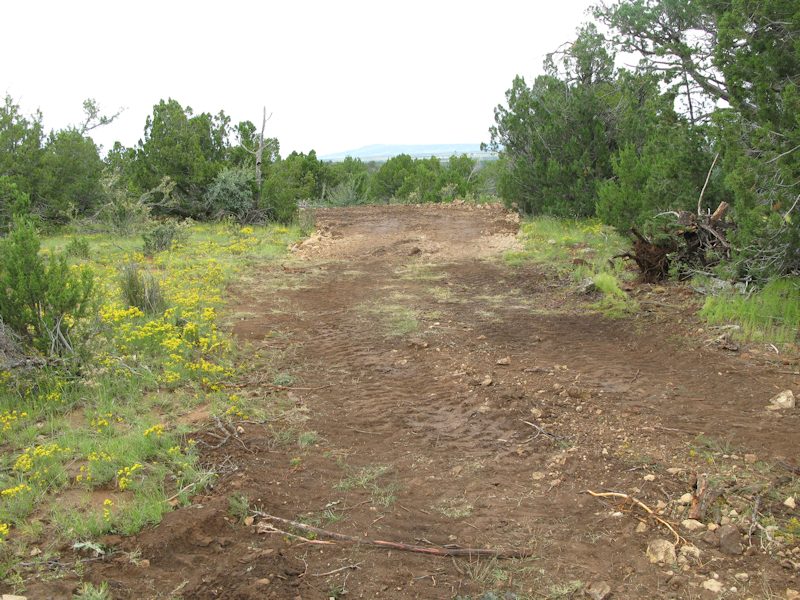
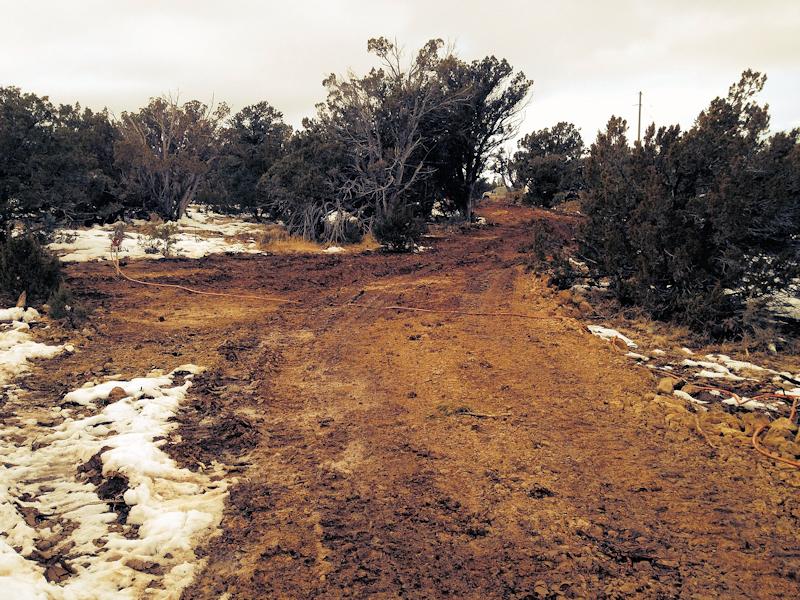
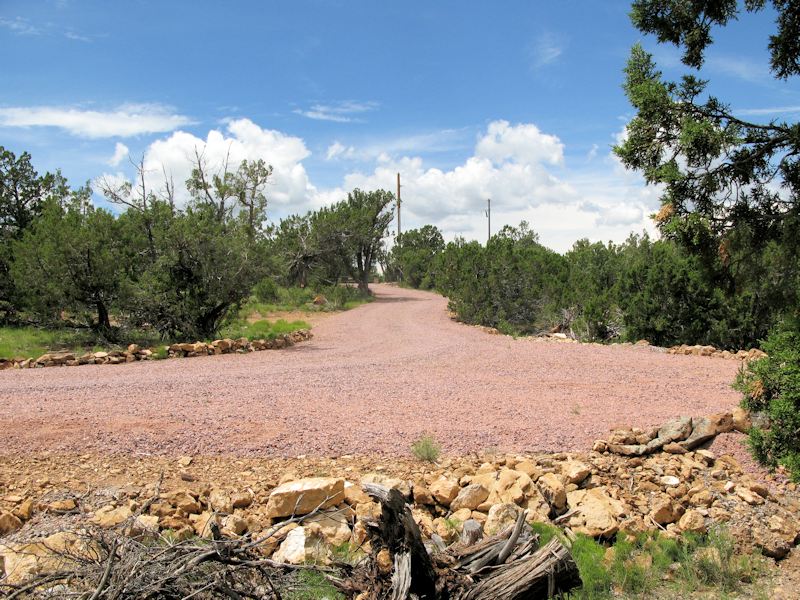
Late June - starting work on the driveway just off the road:
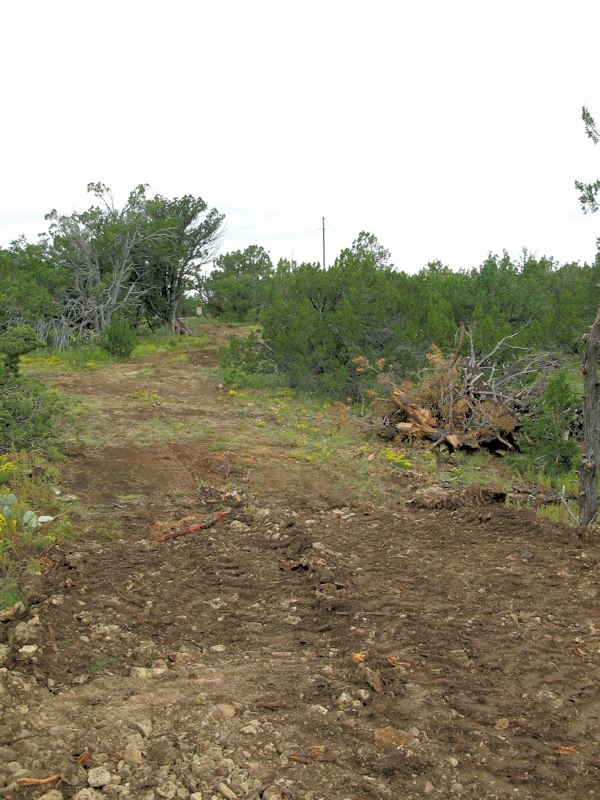
More vegetation cleared - looking along the back of the house:
Looking from the bedrooms toward the house:
Looking from the front entrance to the house:
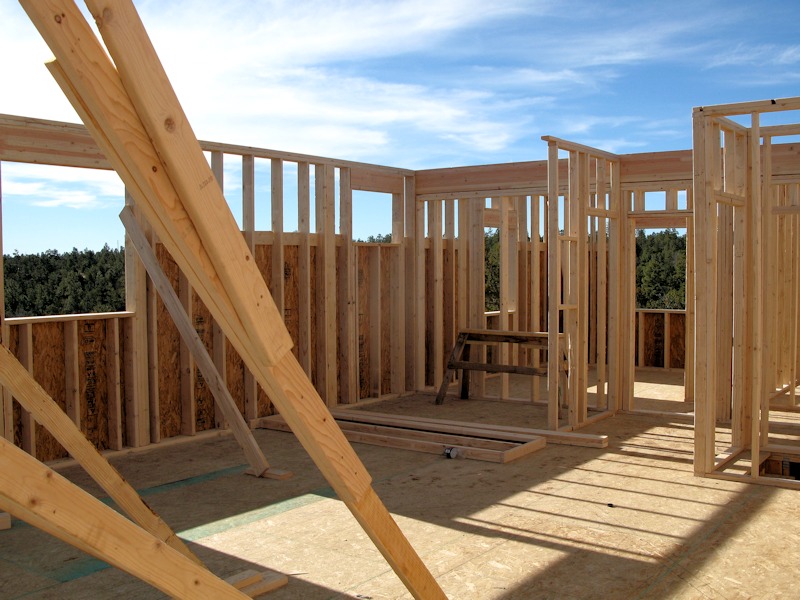
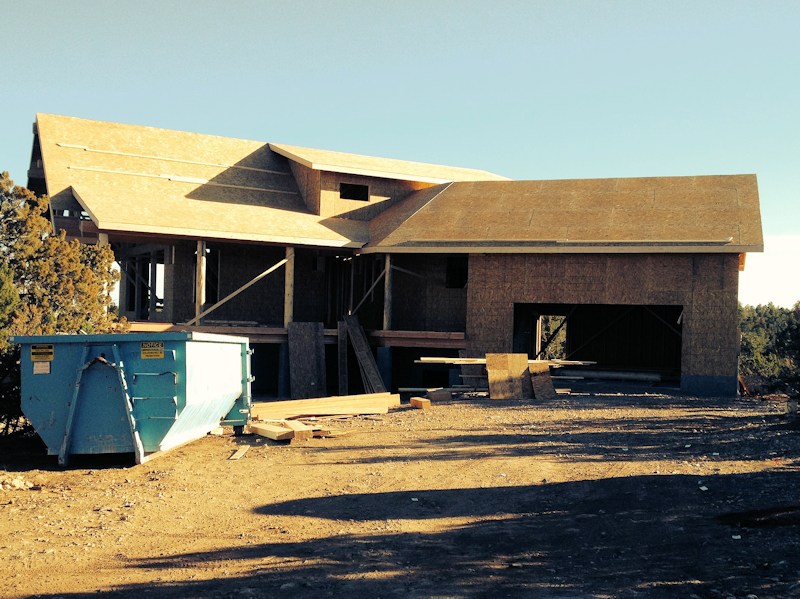
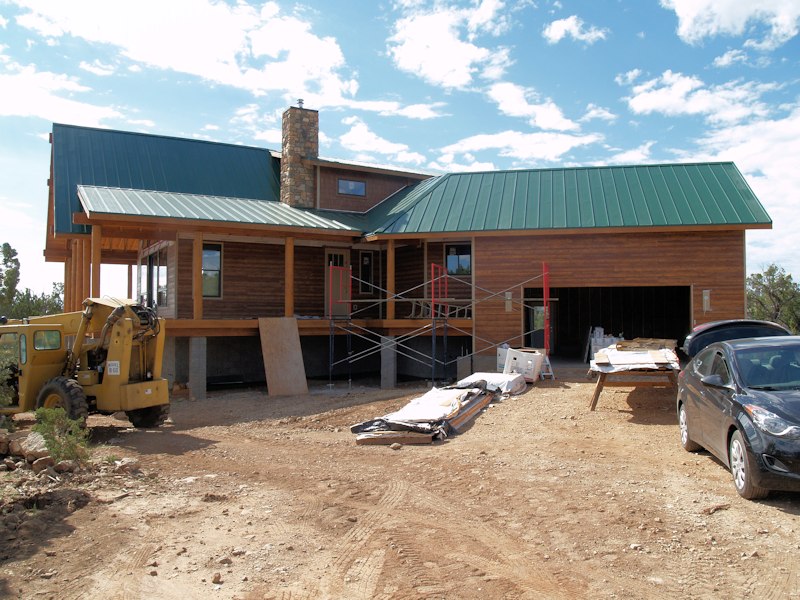
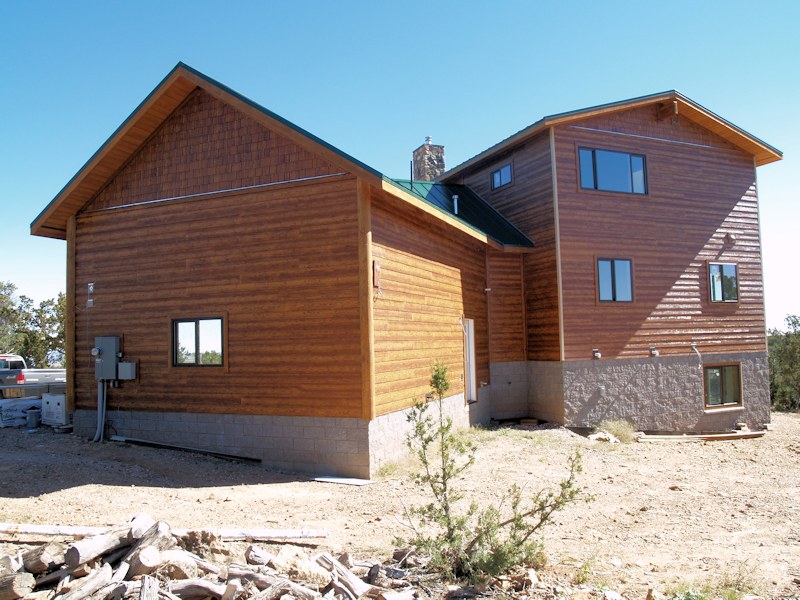
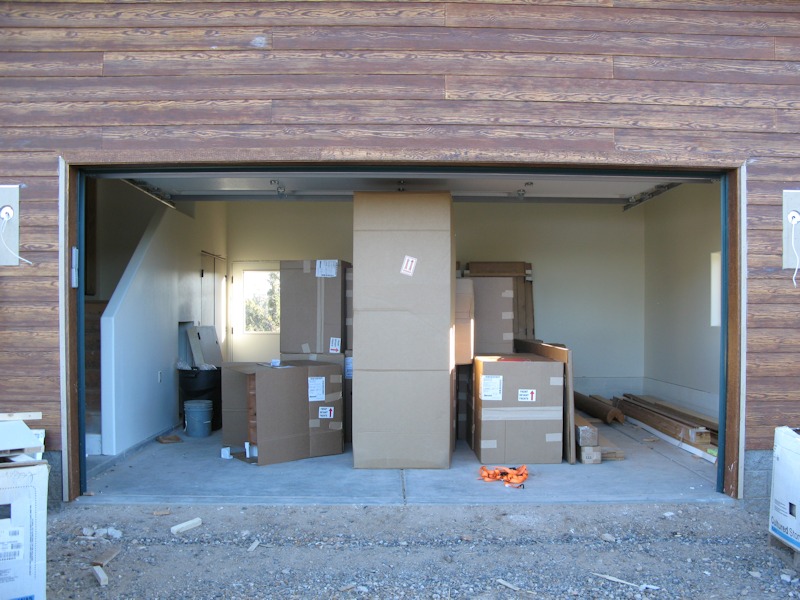
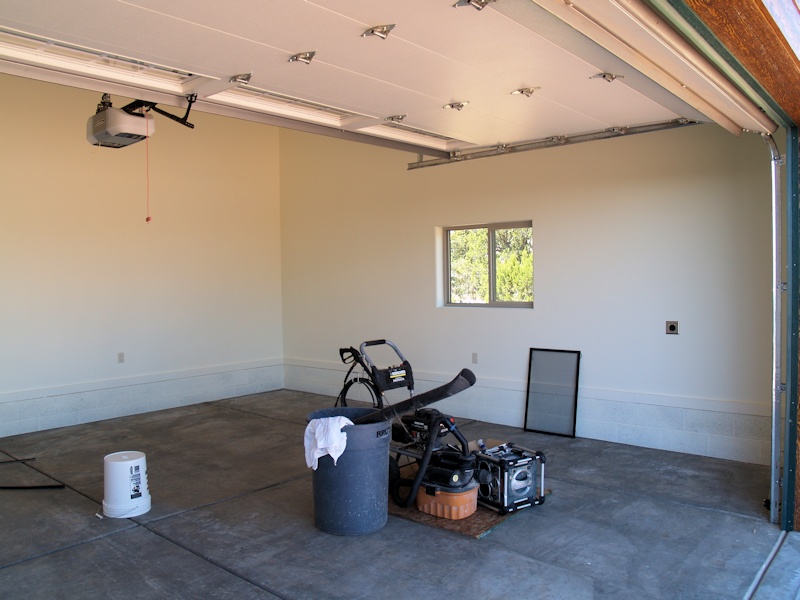
08/18/13: Almost ready to start building. Looking from the front of the house - the pile of wood to the right is where the garage will be located):
Looking from the bedrooms wall - the pile of
wood to the left is where the garage will be located and the pile of wood
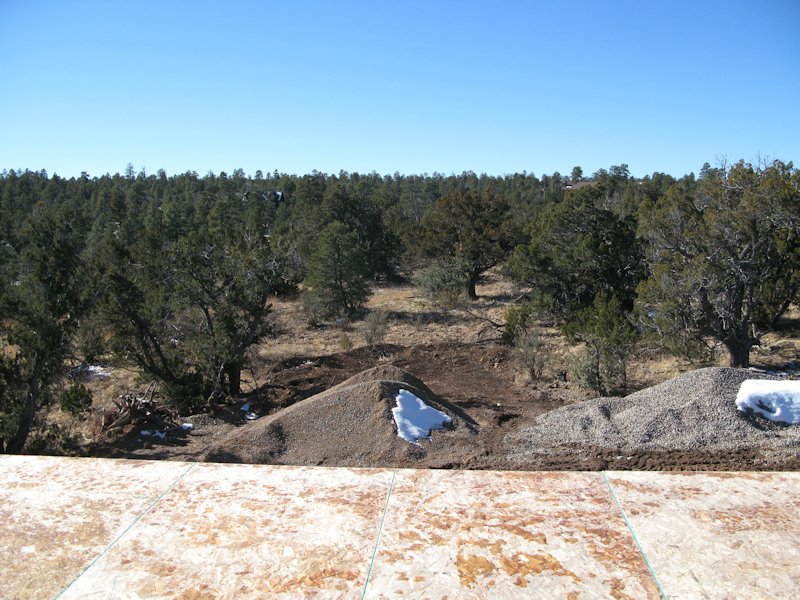
Looking toward the back of the house:
Looking toward the deck and arched roof over the living room and dining rooms will be here:
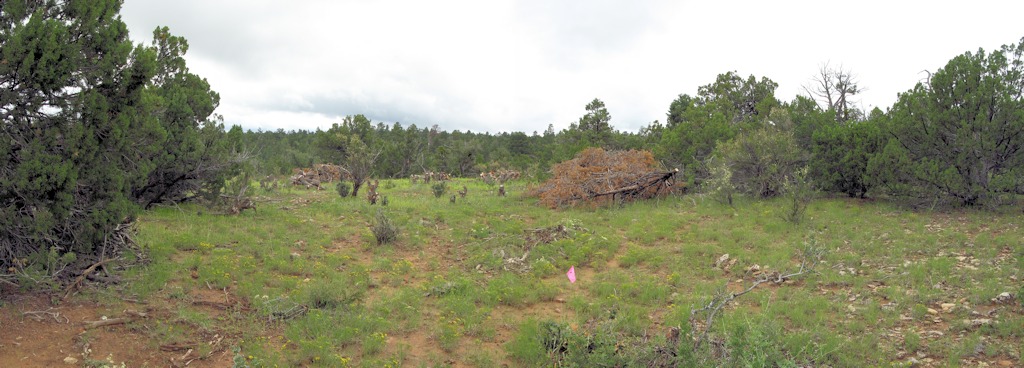
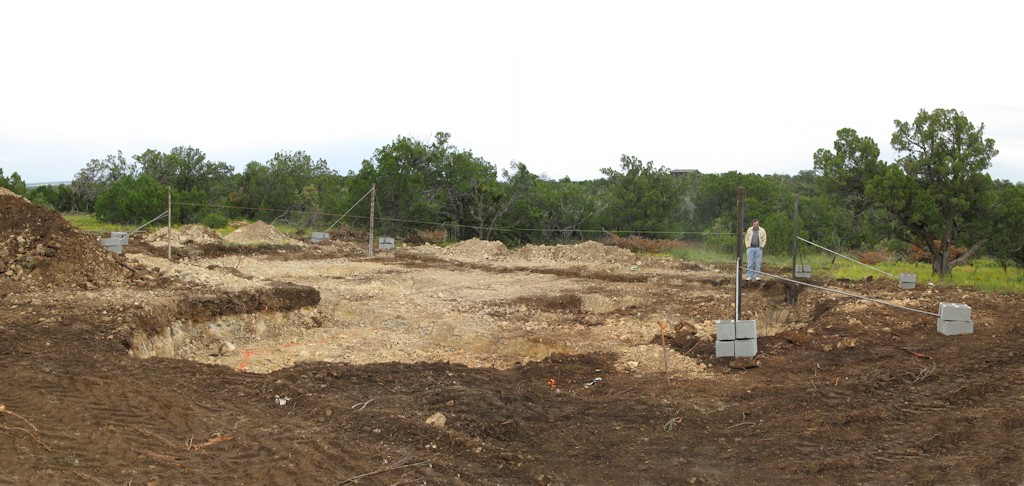
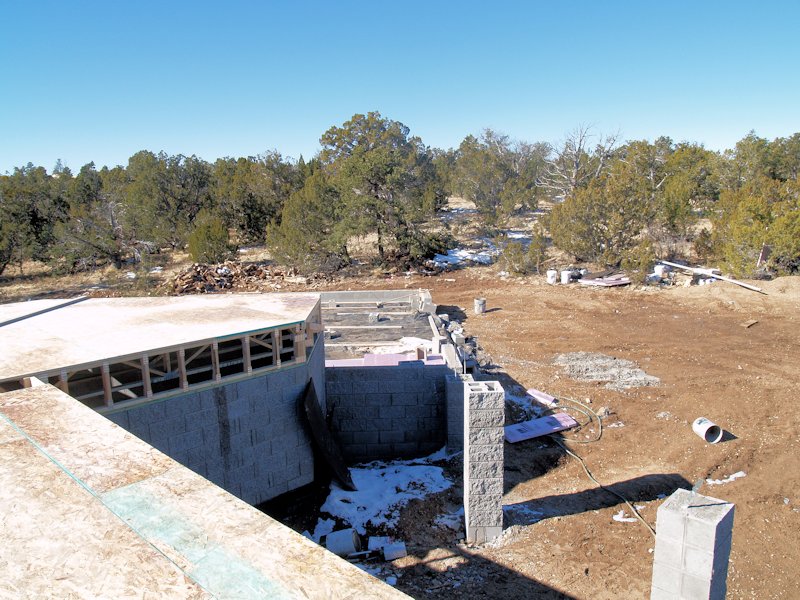
08/25/13 - The builder came out and marked the basement to be dug out - standing in the garage looking toward the house:
Looking toward the rear bedroom and along the rear of the house:
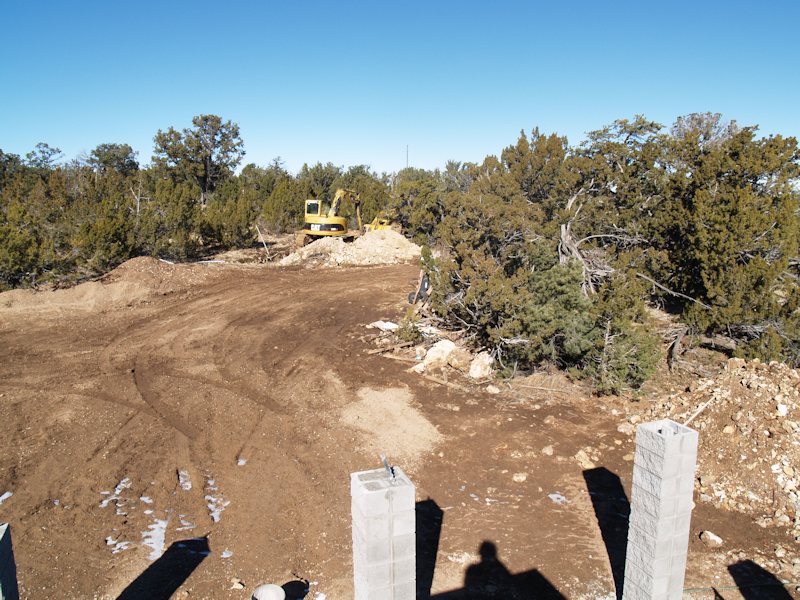
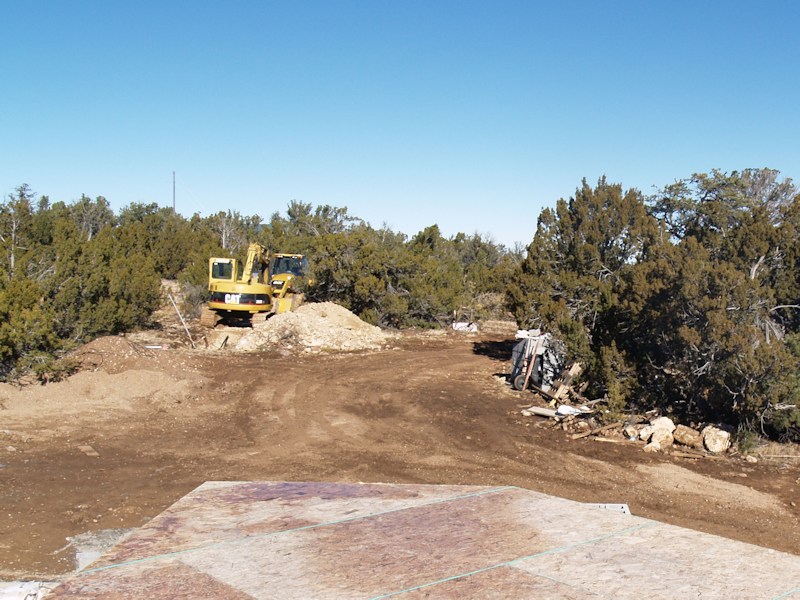
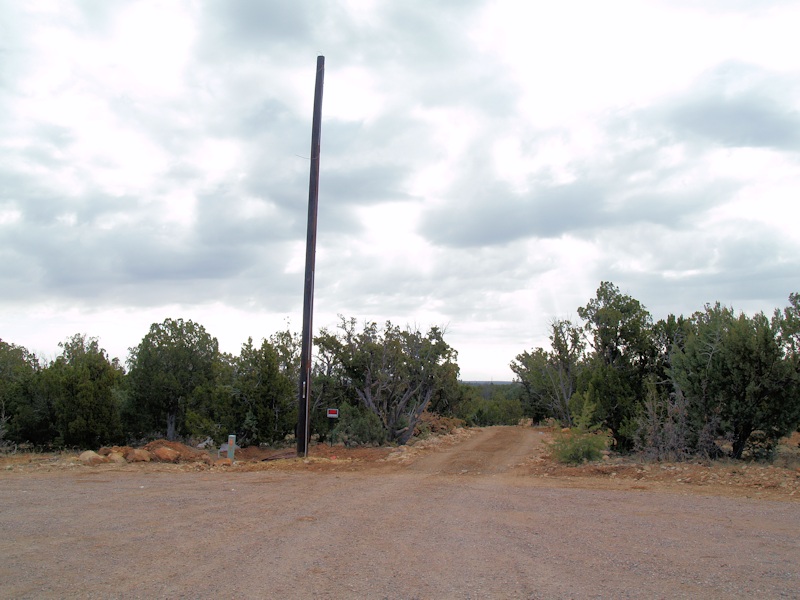
The pink flag is where the transformer may go, the house is by the piles of trees to the left:
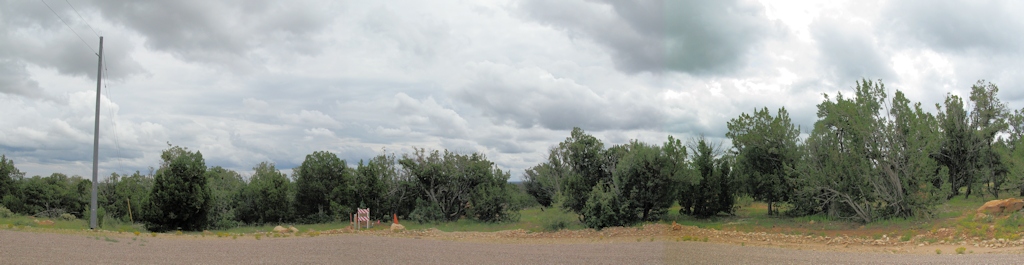
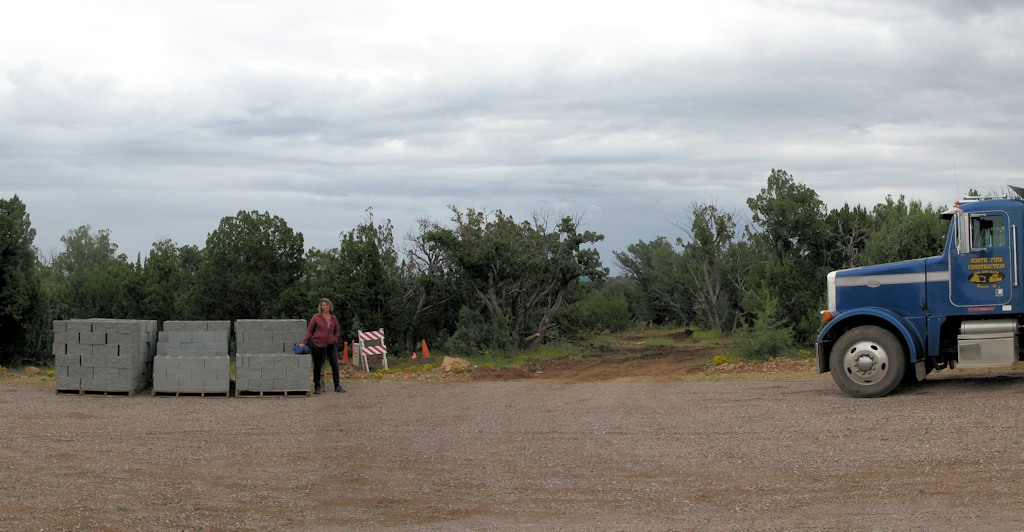
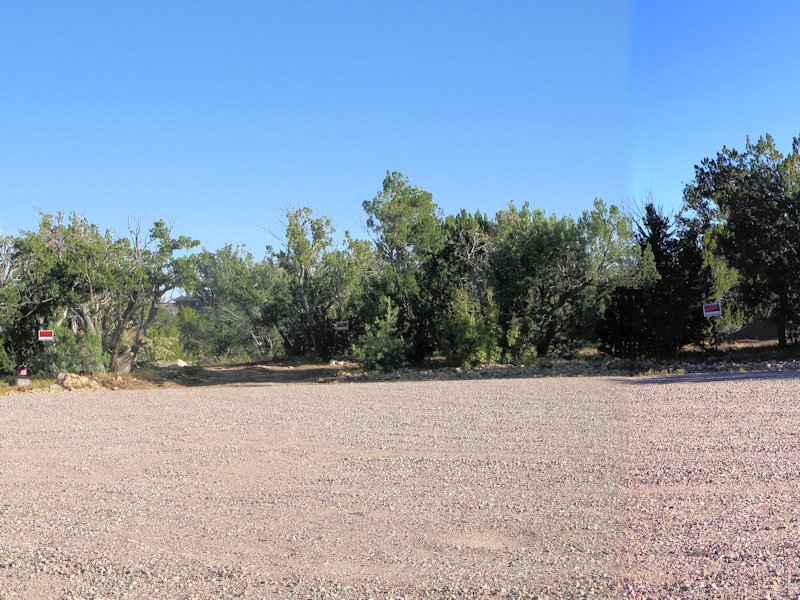
In the cul-de-sac looking toward the driveway entrance. A new pole will be set near the cone, and the driveway entrance/gap is in the center of the photo:
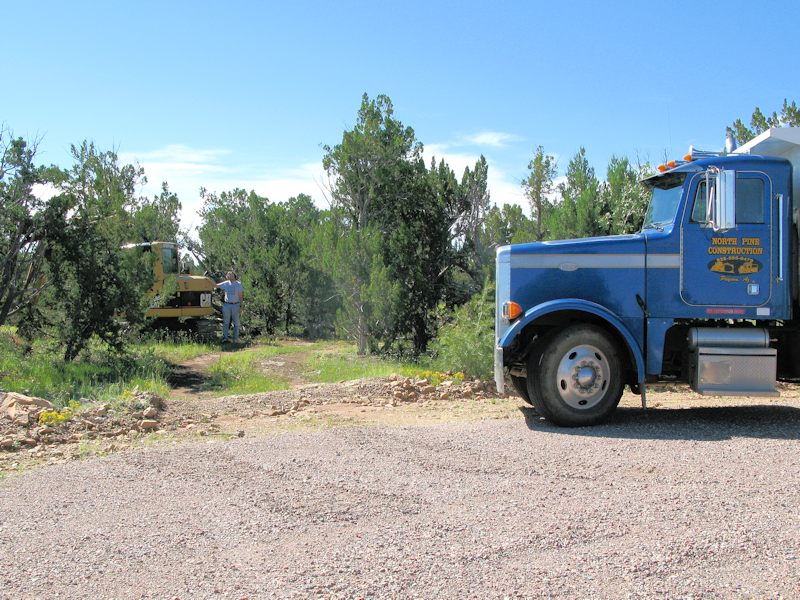
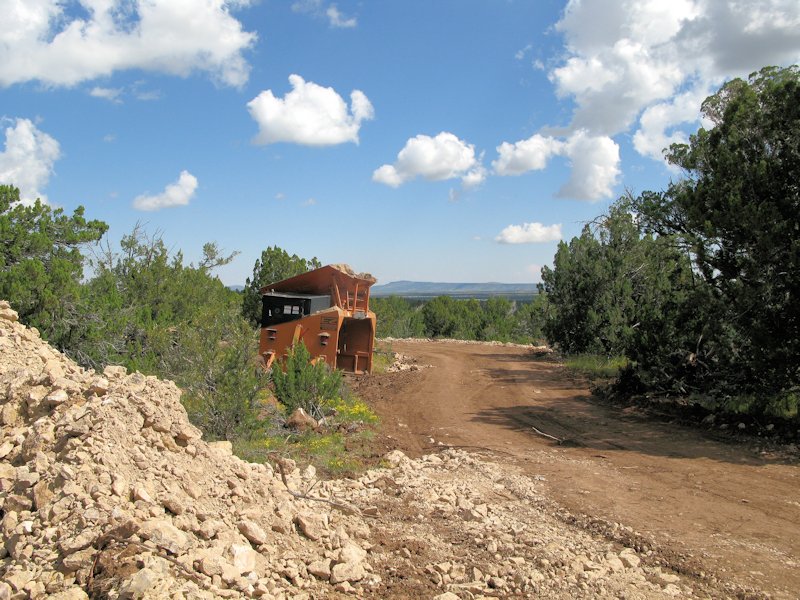
9/2/2013 - Looks like there's some equipment ready to be used - as soon as it stops raining:
9/4/2013 - They broke ground!
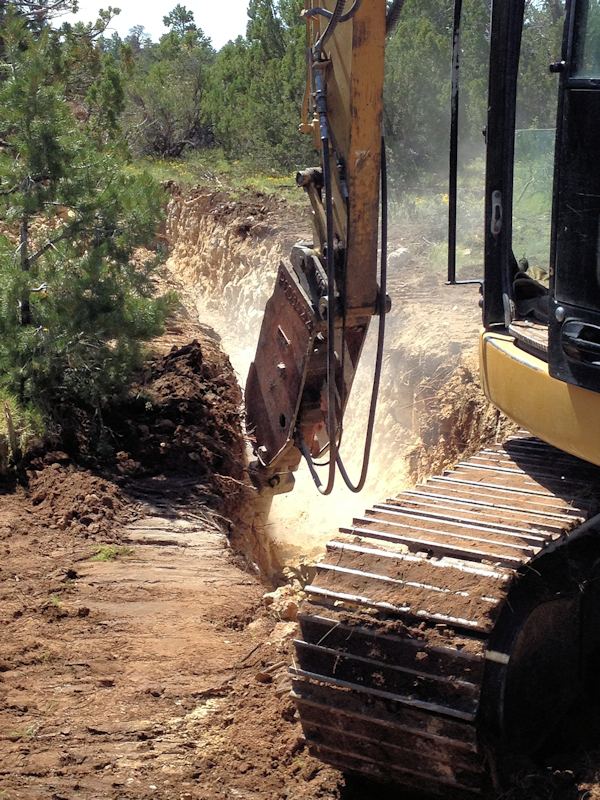
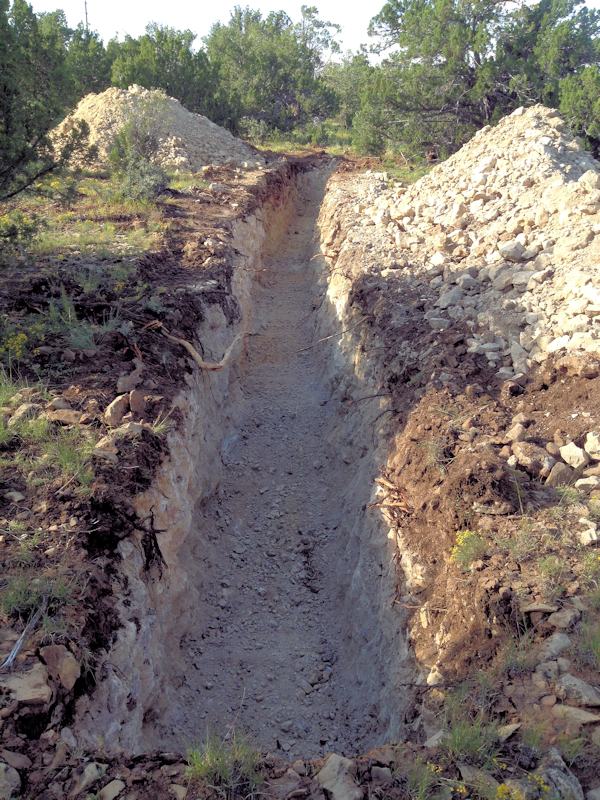
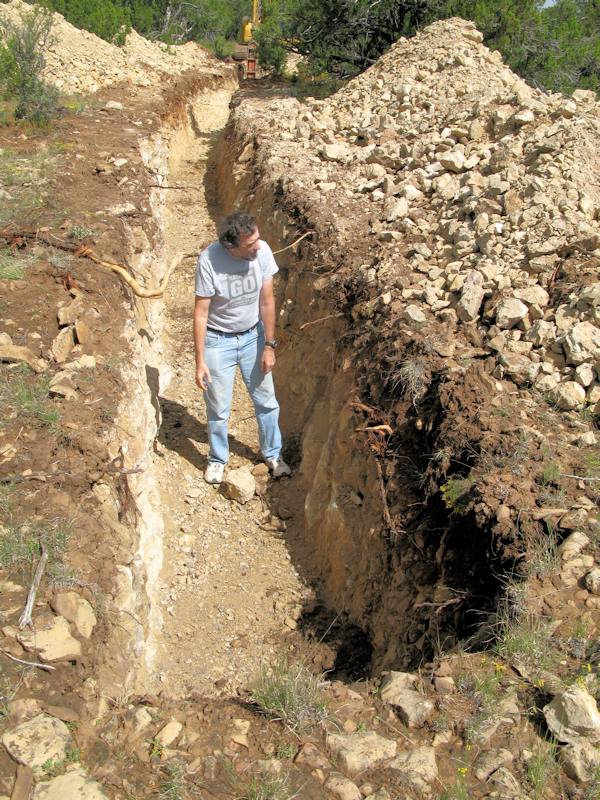
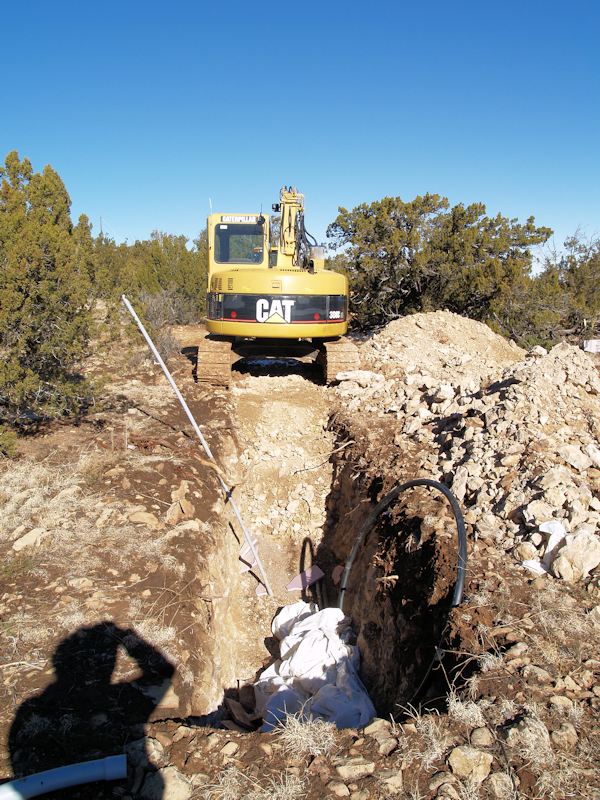
Working on the four foot deep trench that runs from the street to the house.
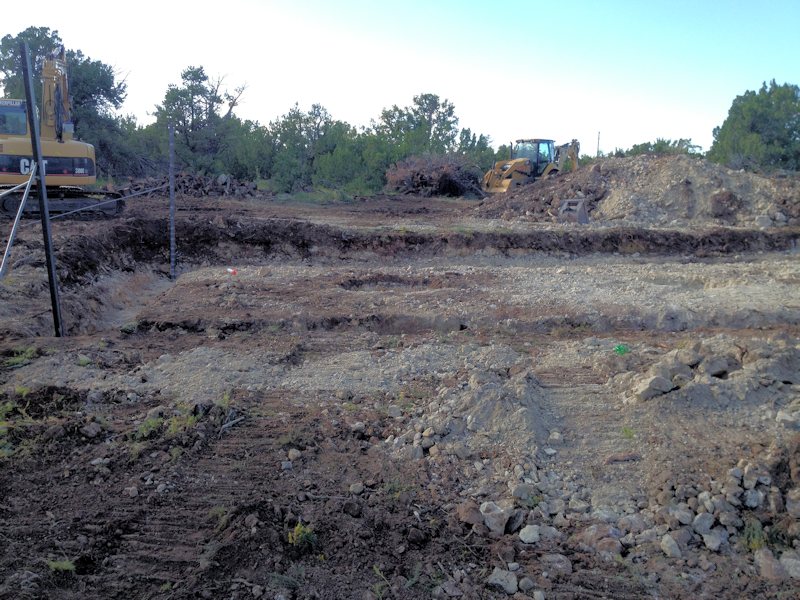
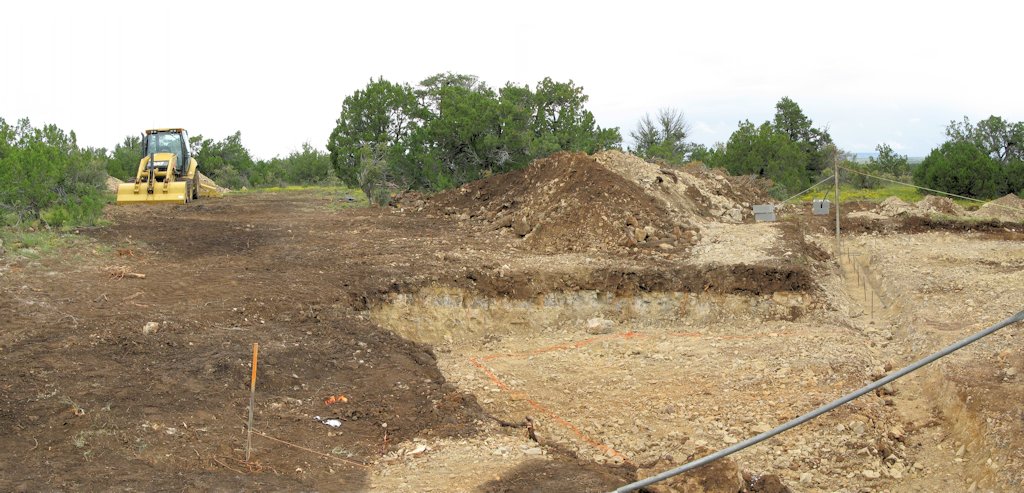
Looking from the rear of the house toward the street - digging out the basement:
9/6/2013 - Standing where the
transformer will be placed, the trench looks like
it had a lot of rock in it.
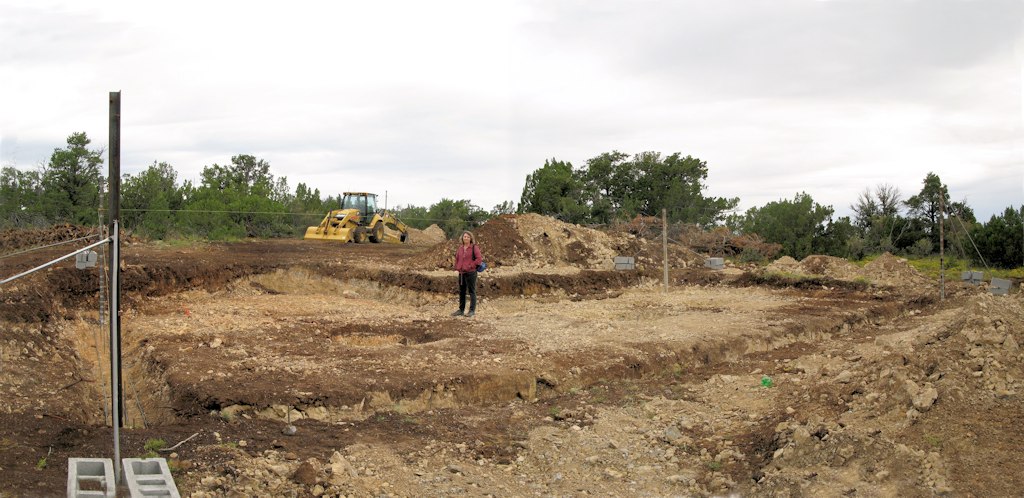
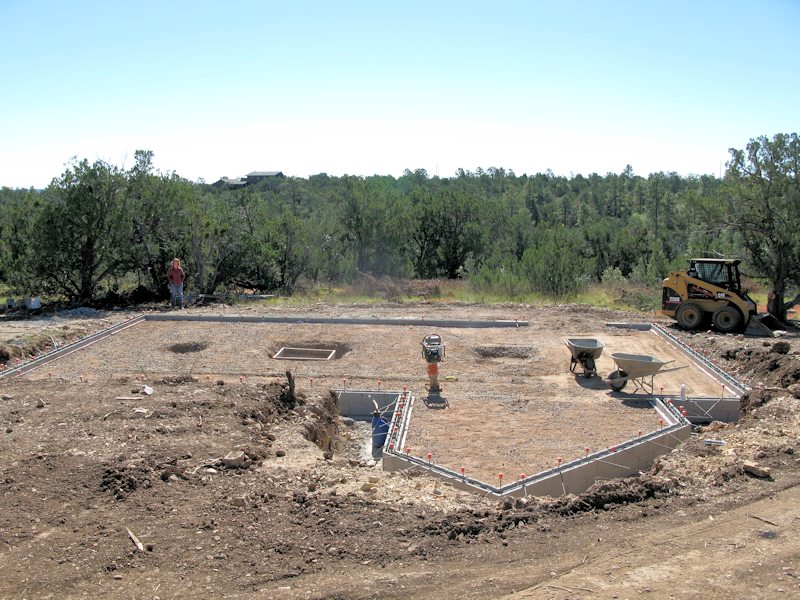
Still working on the basement - two tractors now:
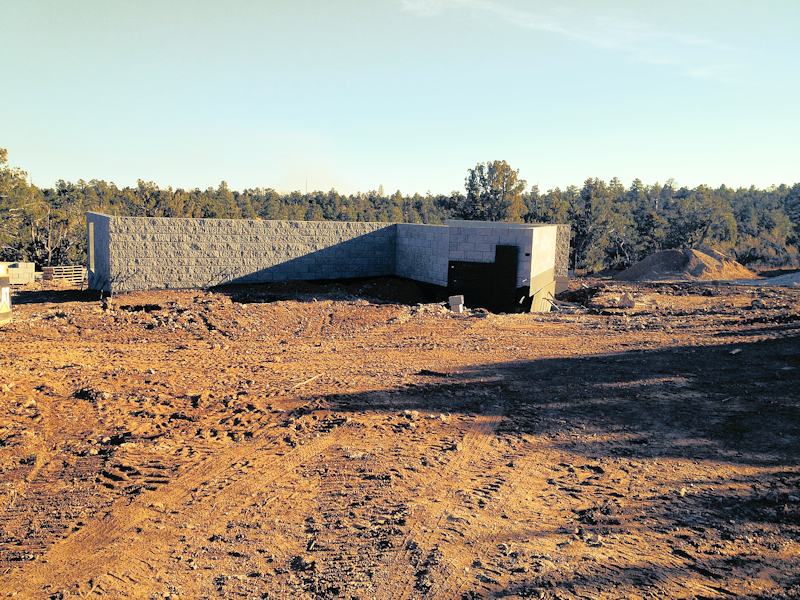
9/8/2013 - We came up to meet with
the builder today and see the work he did. They put this
Standing in the garage looking toward the mid room - the basement is all dug out and the most of the footers are dug and rebar is placed.
Standing in the corner of the rear bedroom looking at the house - in the basement:
Standing in
the garage, the mud room is in the center area (orange paint). The driveway is
heading up on the left side
Heading up the driveway toward the street - the driveway turns left at the trees:
Around the tree looking up the driveway towards the street:
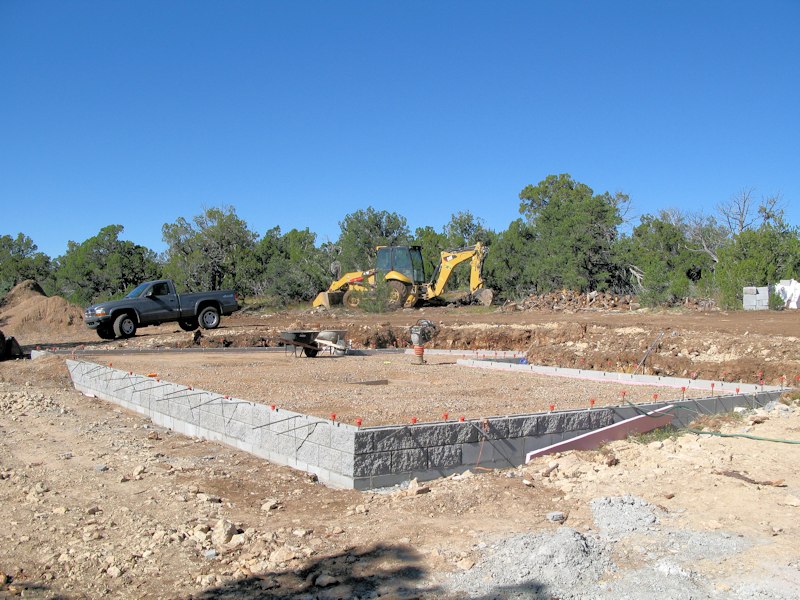
From the street looking down the driveway - they already delivered some block for the basement walls:
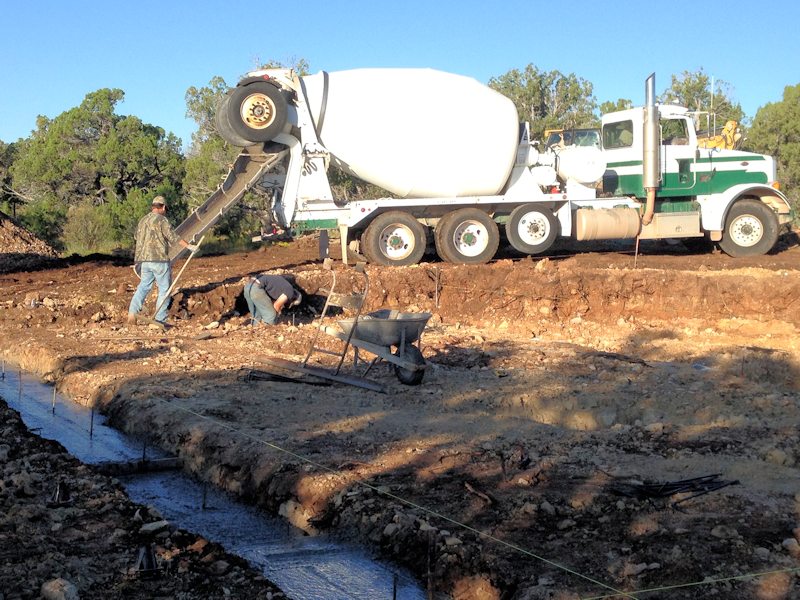
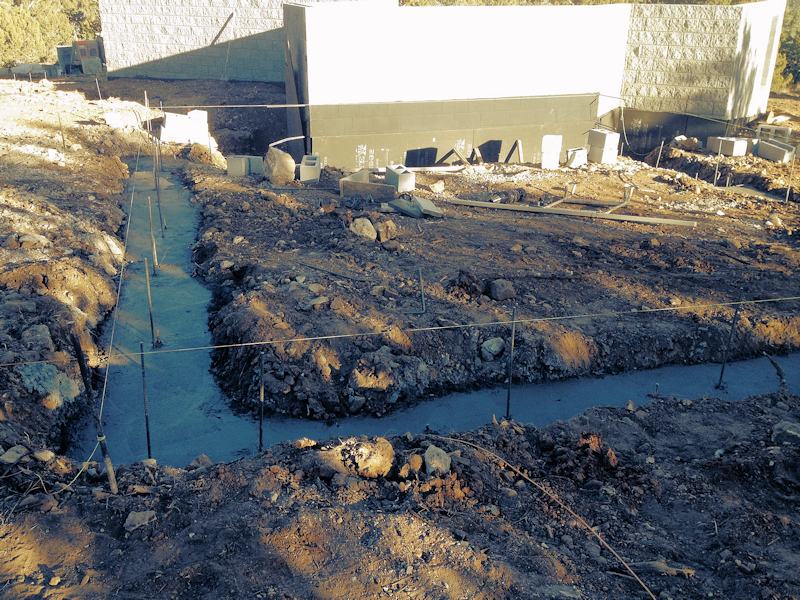
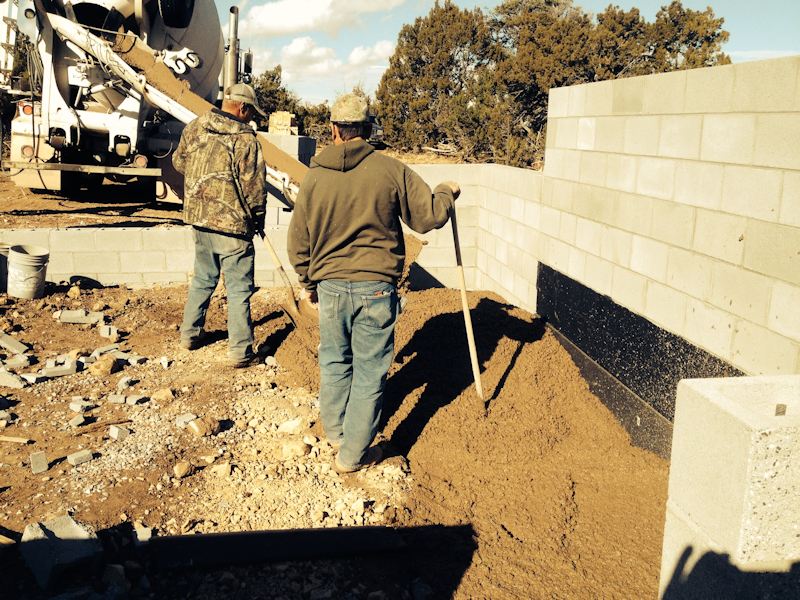
9/8/2013 - They got a break in the weather so they could get the cement truck back there to pour the footings:
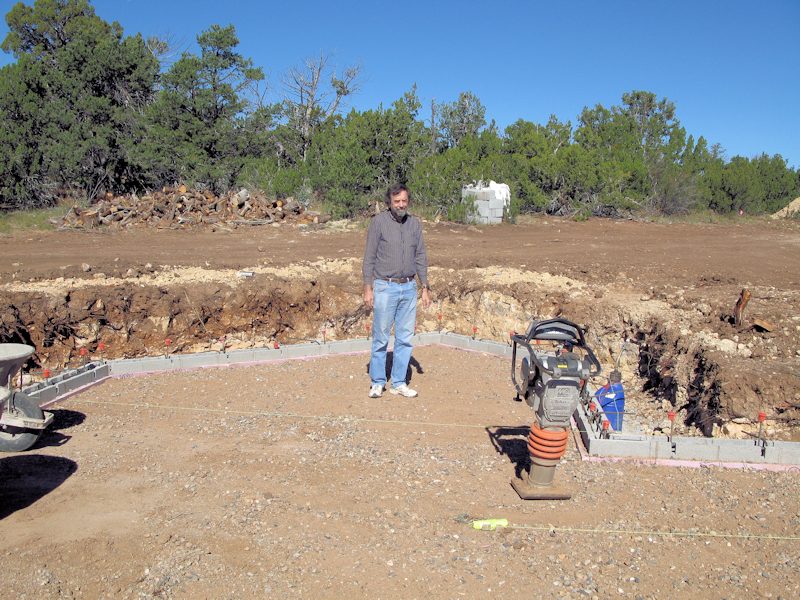
9/15/2013 - Cleaning out some rocks that fell into the trench - it's also longer now:
Some new equipment along the driveway:
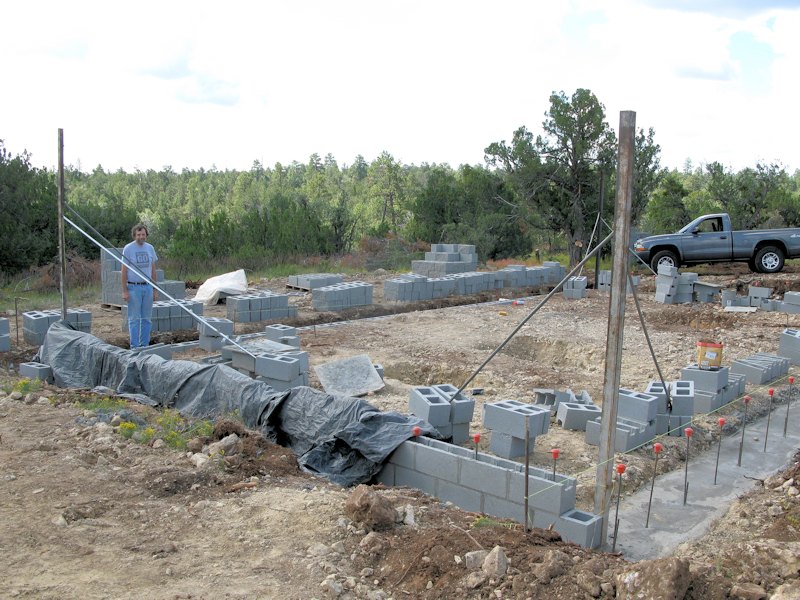
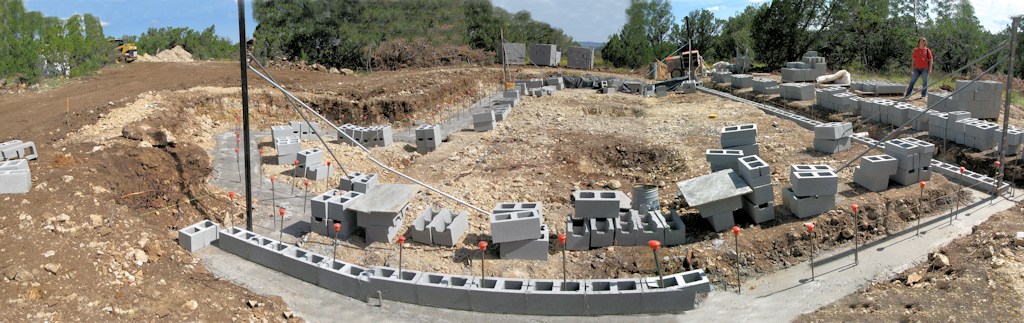
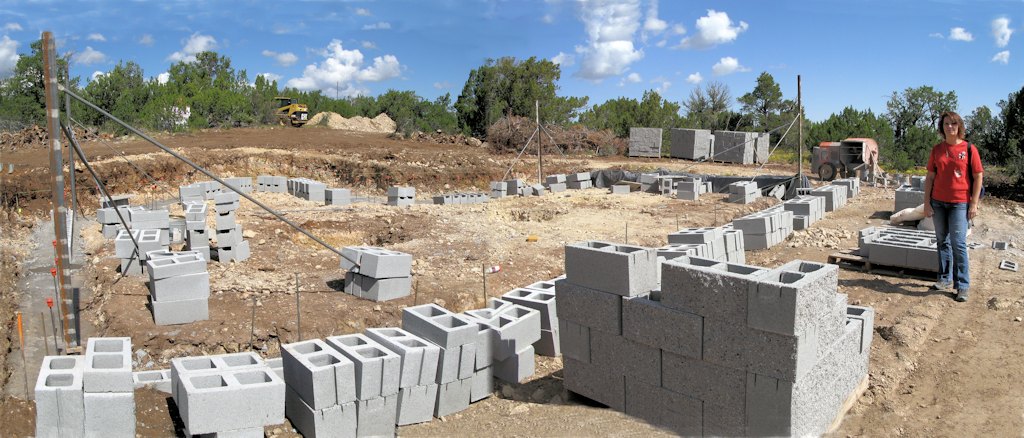
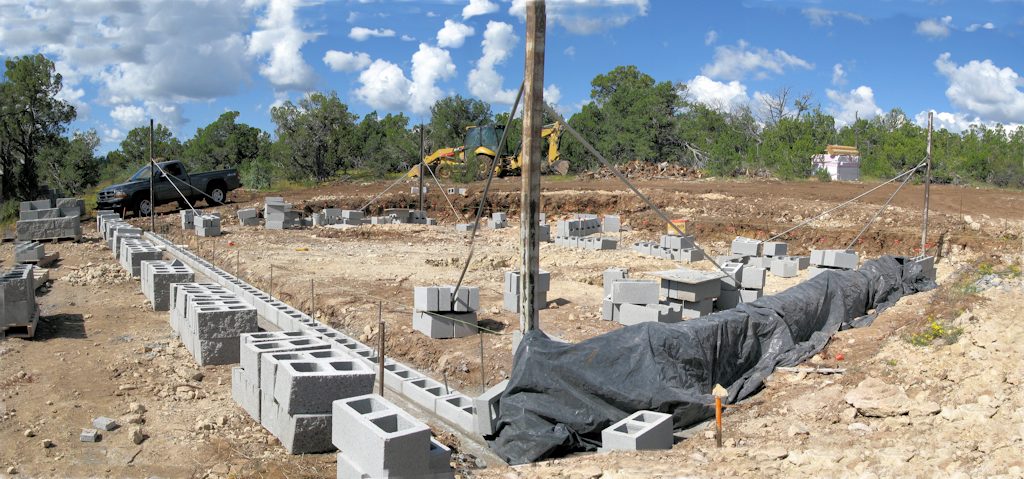
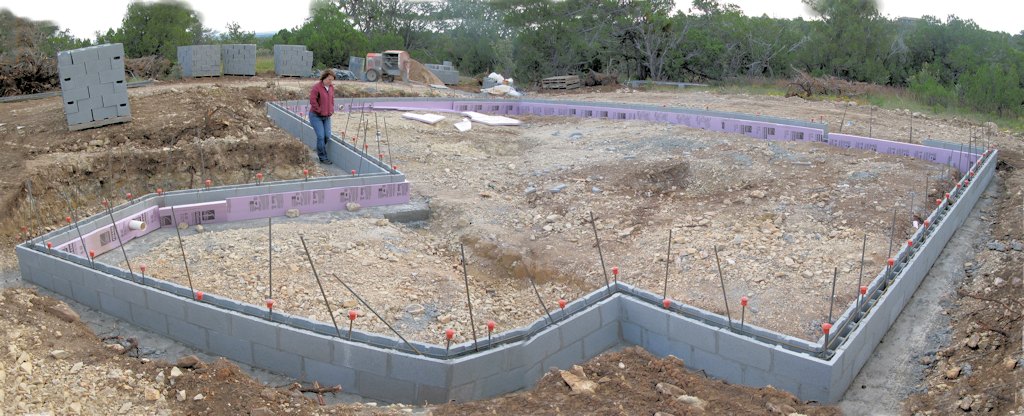
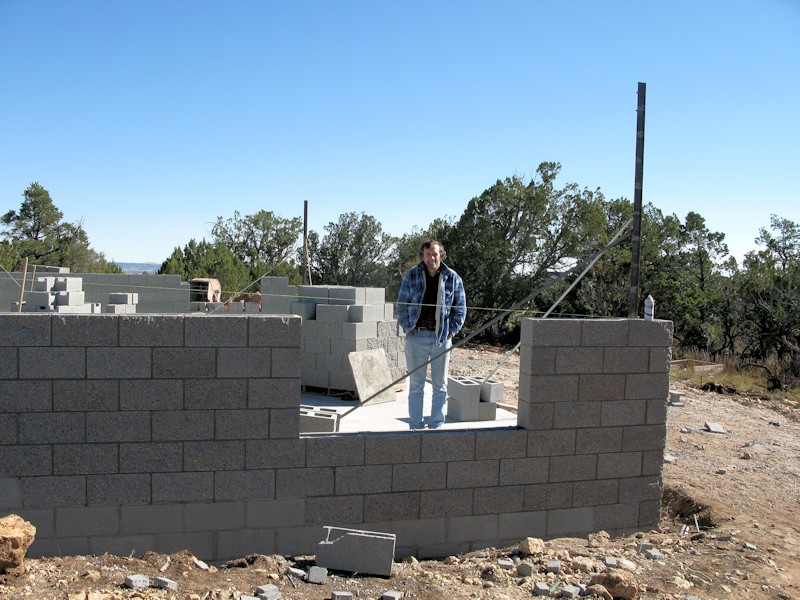
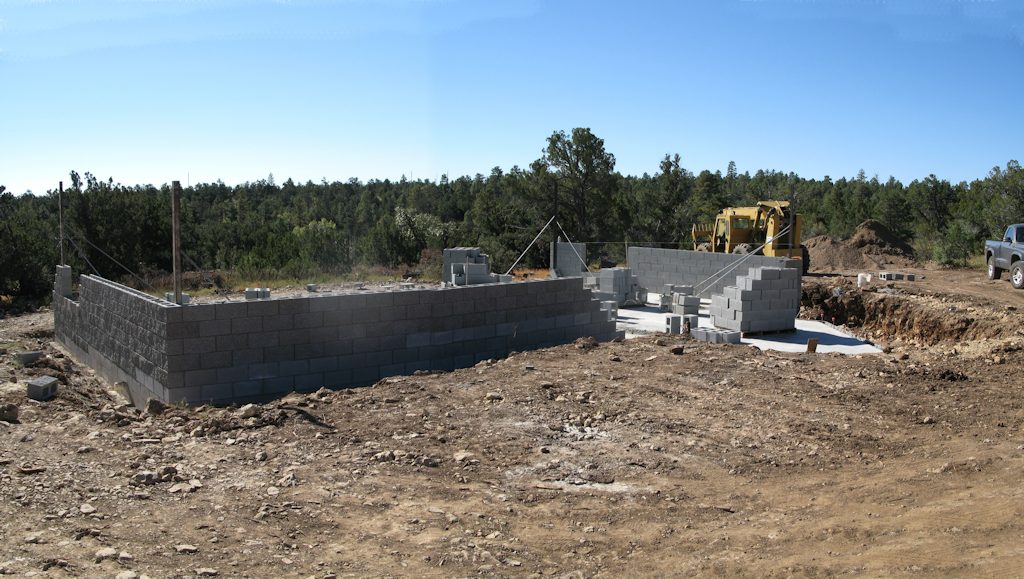
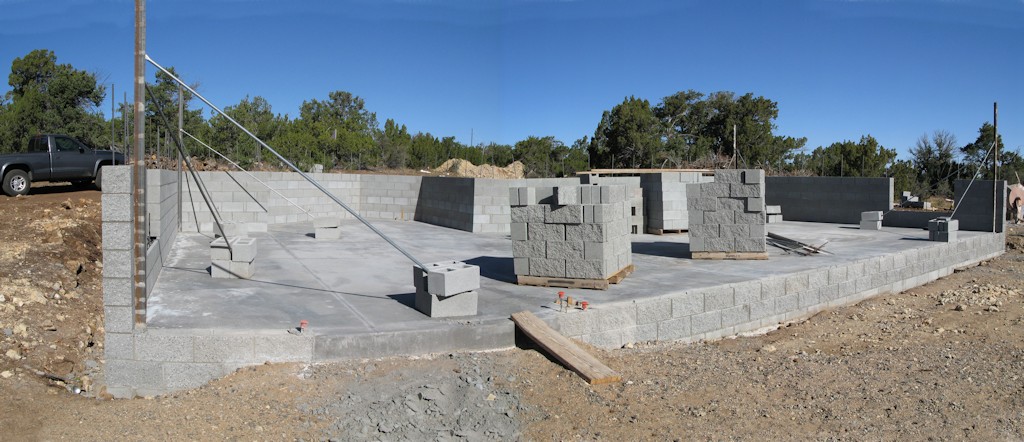
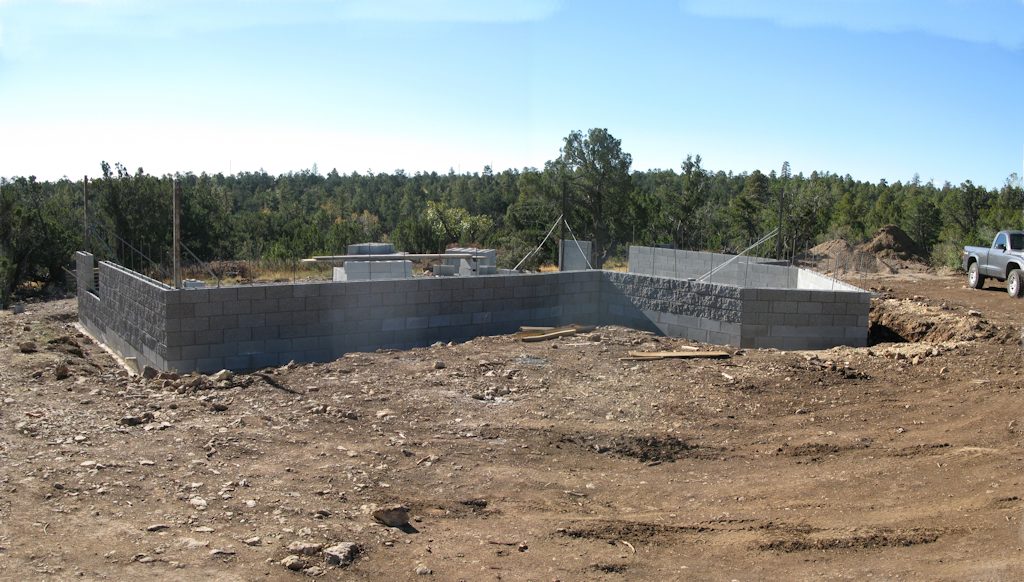
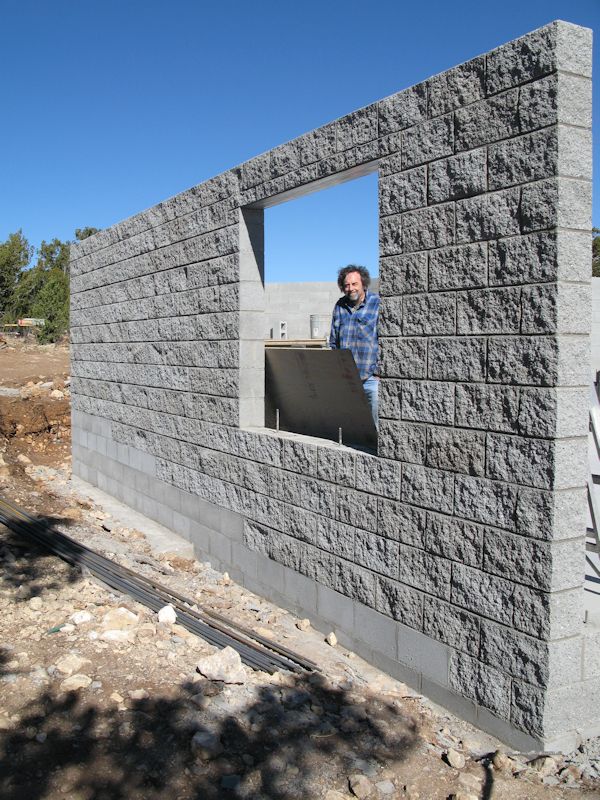
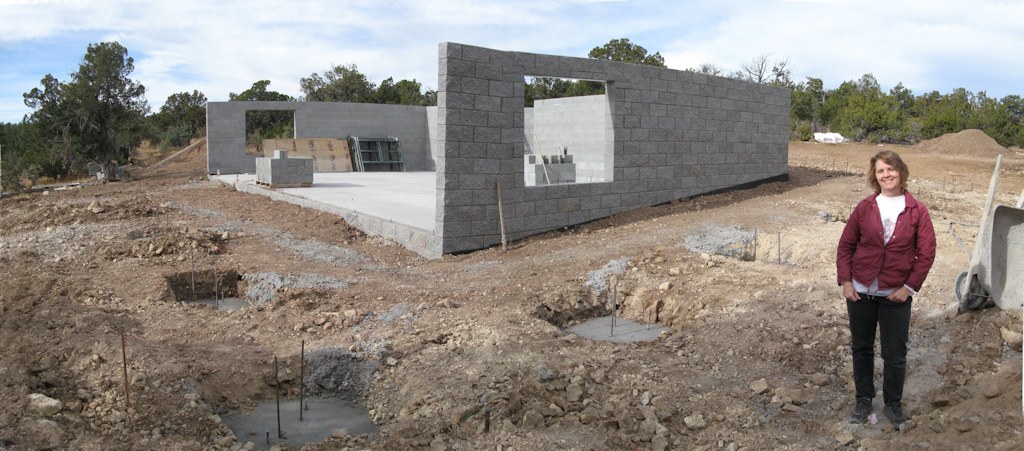
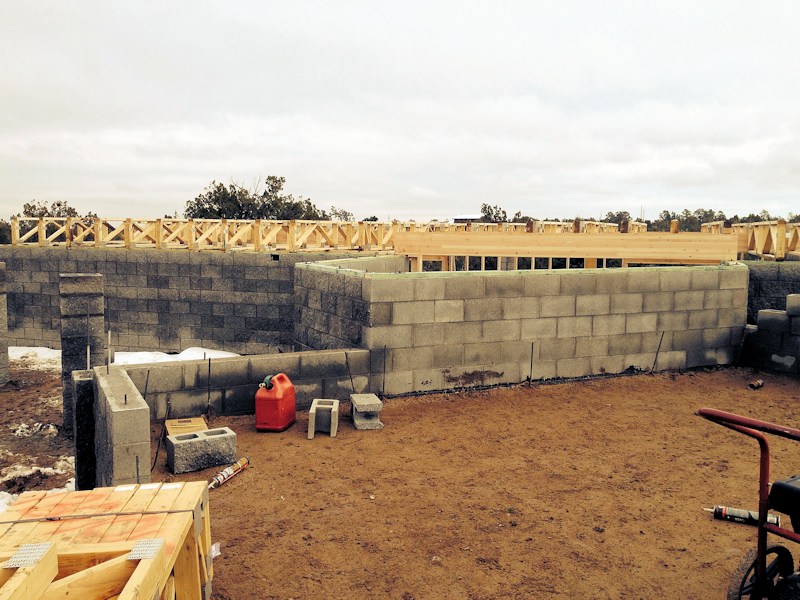
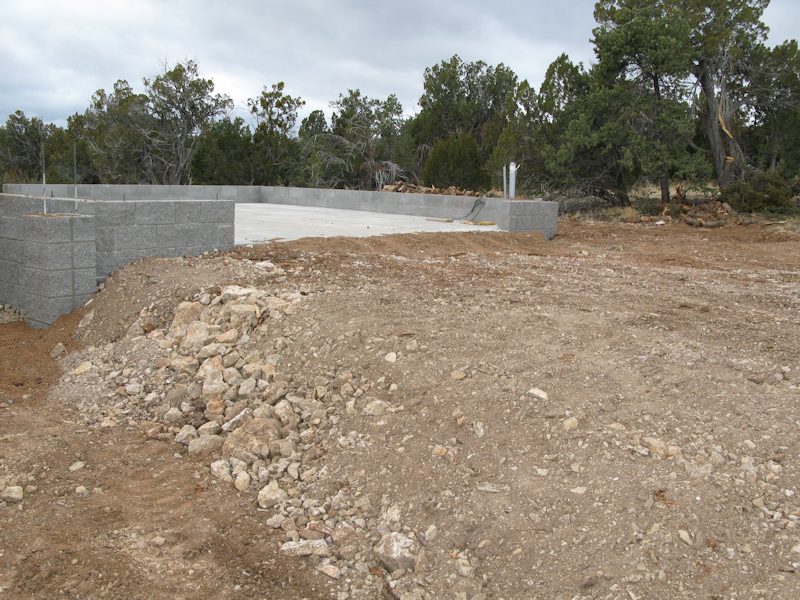
Down at the home site standing near the dining room corner - they started laying block on the footings:
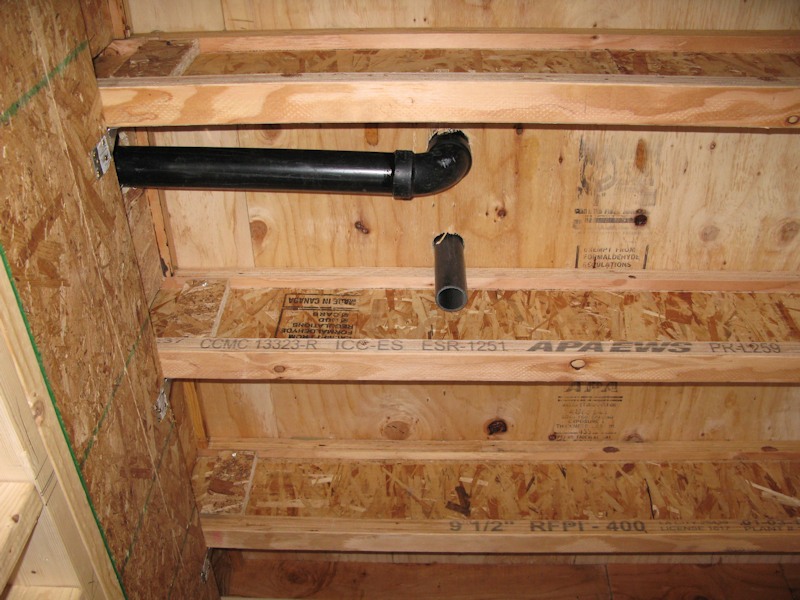
Standing at the corner of the rear bedroom looking along the rear of the house. The pipe is for the septic:
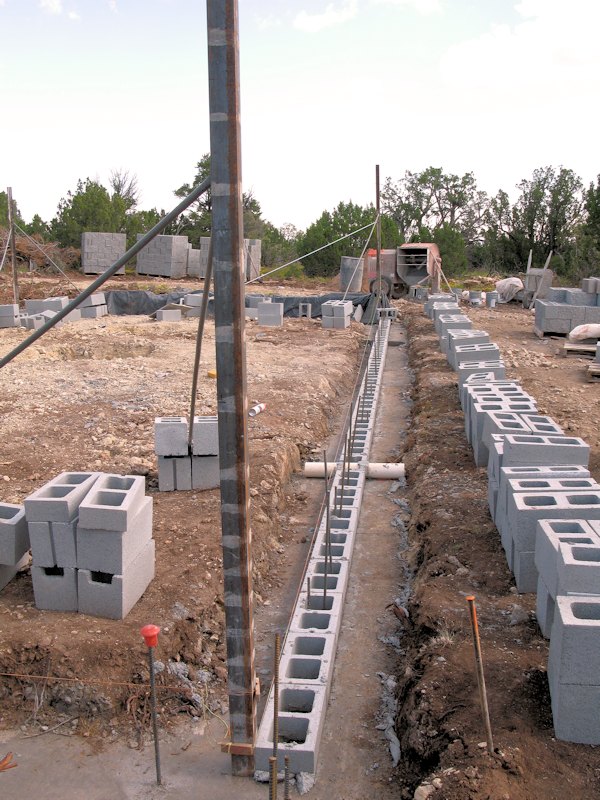
Looking toward the bedrooms wall (the wall looks curved, but it's actually straight):
At the corner of the rear bedroom - looking on the left side of the house and to the right, the rear of the house:
At the dining room corner of the house - to the left the rear of the house, to the right the dining and living rooms:
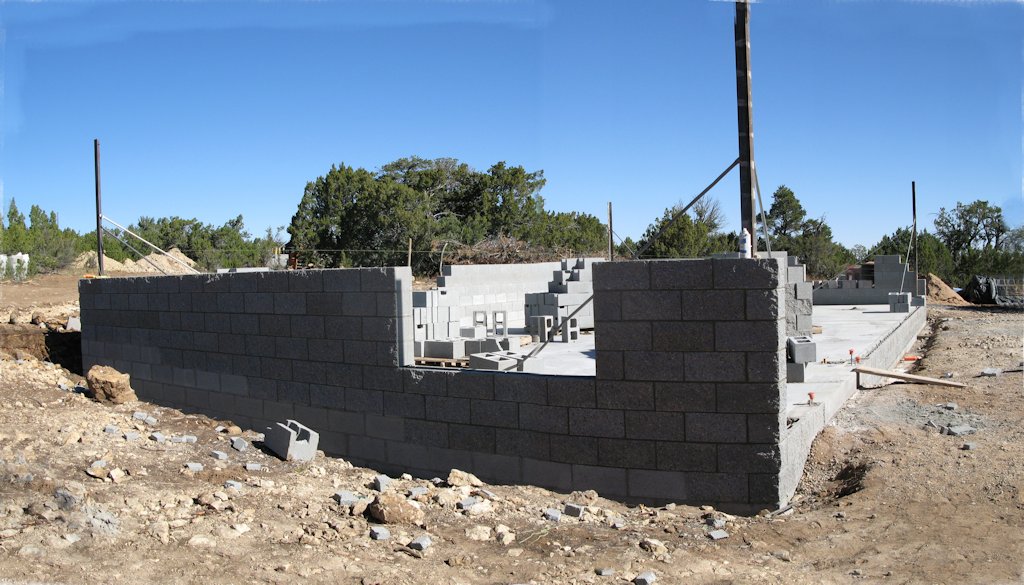
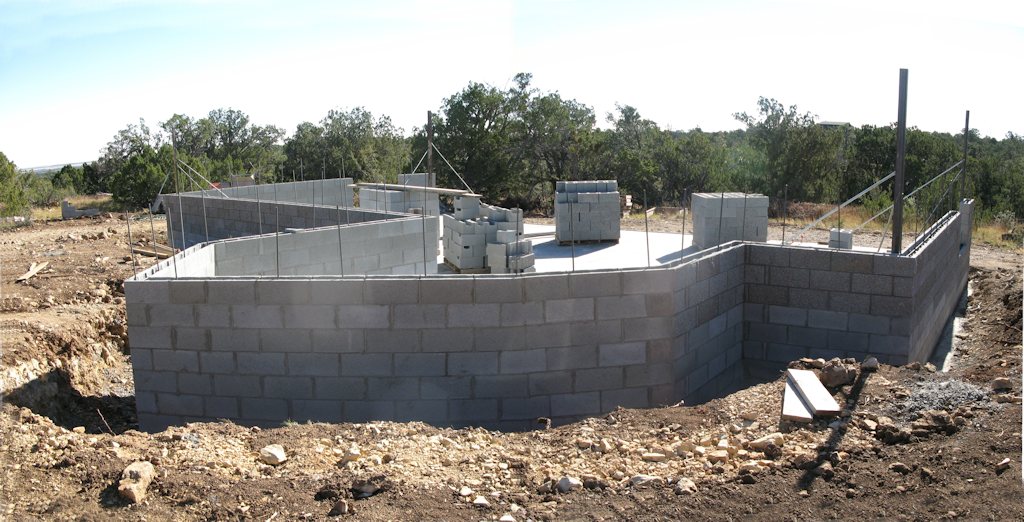
9/22/13 - Picture from the rear
bedroom corner of the
house - the gap is for the door into the basement. You can see some
Picture from the garage looking toward the mud room (to the left) and bedrooms (to the right):
Picture from the dining
room corner of the house - to the left the rear of the house, to the right the
dining and living rooms.
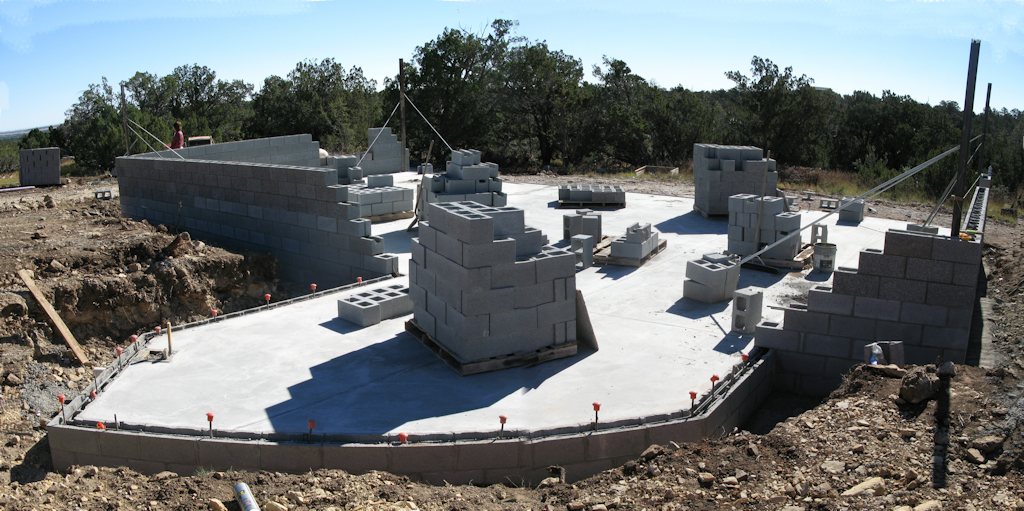
9/29/13 - Standing the basement below the mud room:
The mud room is the pointed area, the front door will be just to the left of it. They're preparing to pour the basement slab later this week:
Picture from the dining room corner of the house - to the left the rear of the house, to the right the dining and living rooms:
The driveway looking from the turn in the driveway up toward the street:
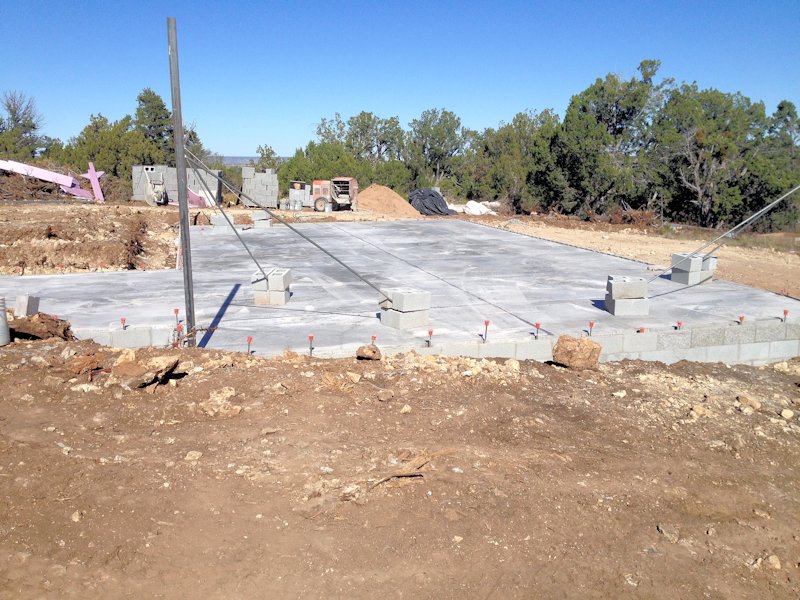
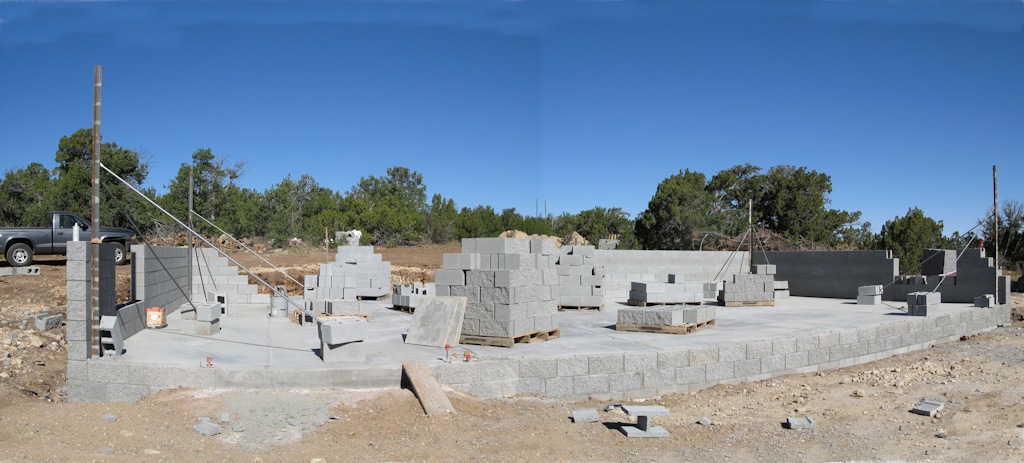
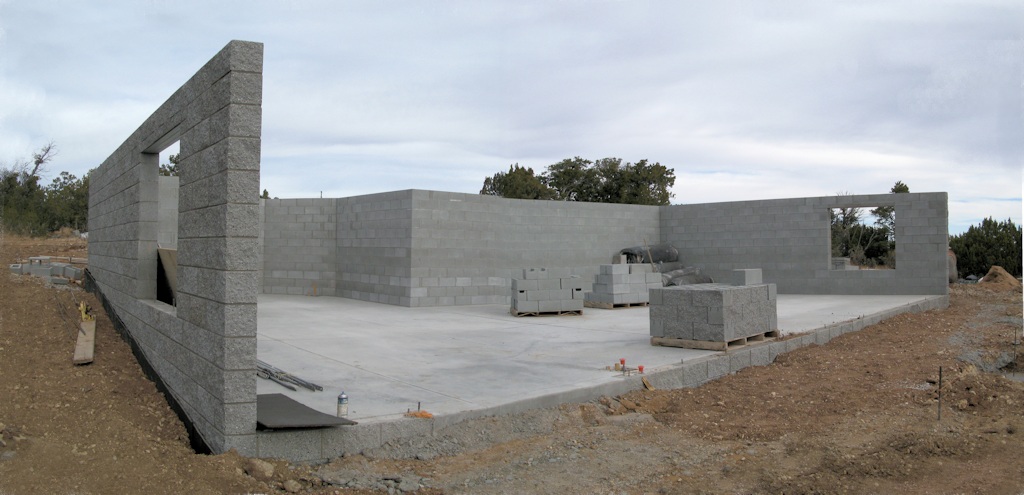
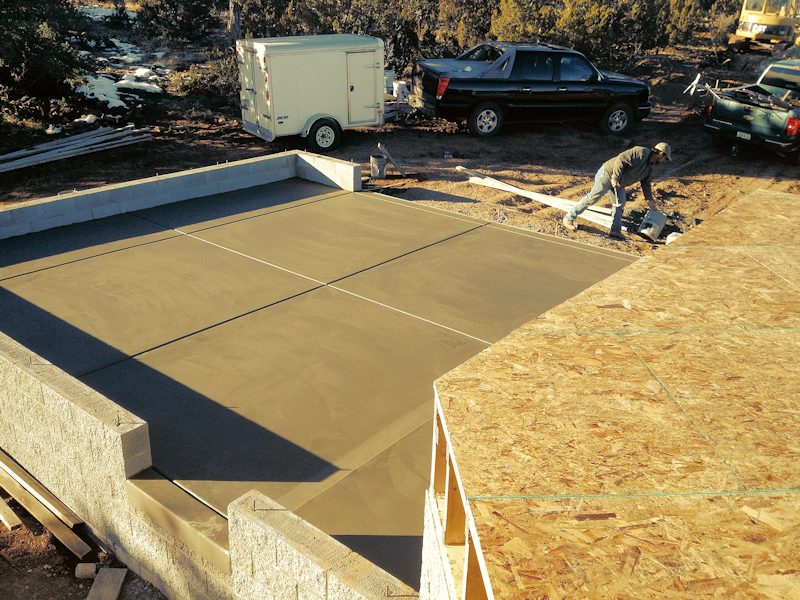
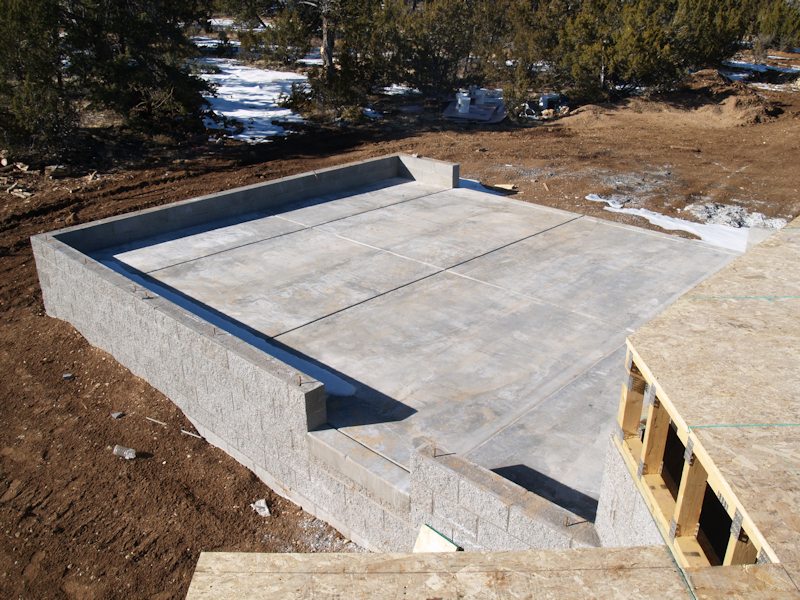
10/2/13 - The basement has a floor:
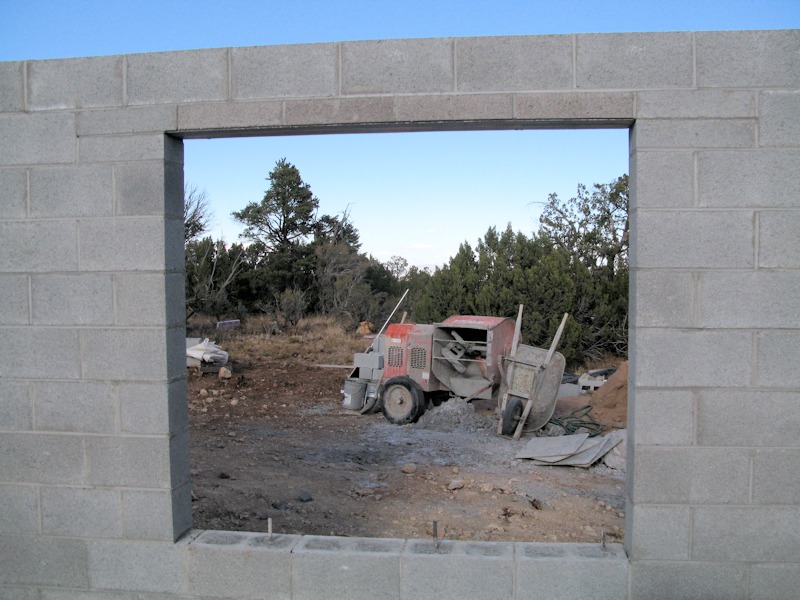
10/6/13 - Looking out of a partially completed window opening in the basement:
Picture from the basement under the dining room corner of the house - to the left the rear of the house, to the right the dining and living rooms:
Picture from the basement under the living room on the left toward the front entrance and mud room in the center and right:
In the garage area looking at the area of the basement under the mud room:
The basement that will be under the side bedrooms:
The back wall of the basement will be wood and stucco:
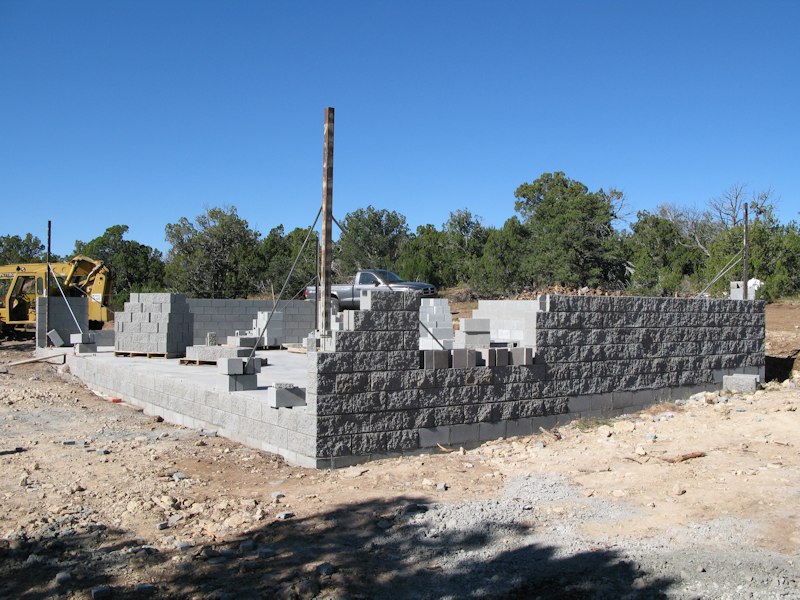
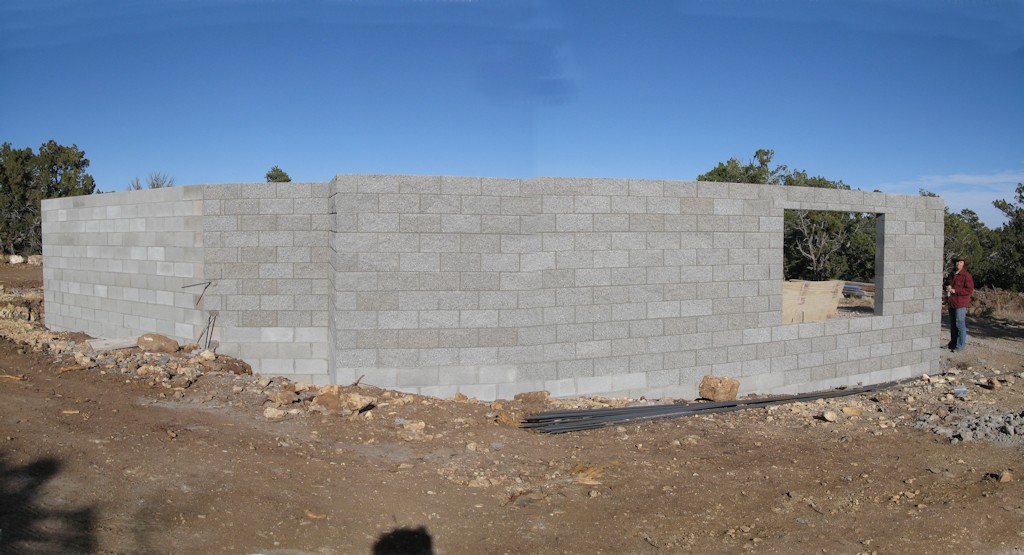
10/13/13 - The walls are ready to be filled with cement. The back wall of the basement will be wood and stucco:
In the garage area looking at the area of the basement under the mud room:
Picture from the basement under the living room on the left toward the front entrance and mud room in the center and right:
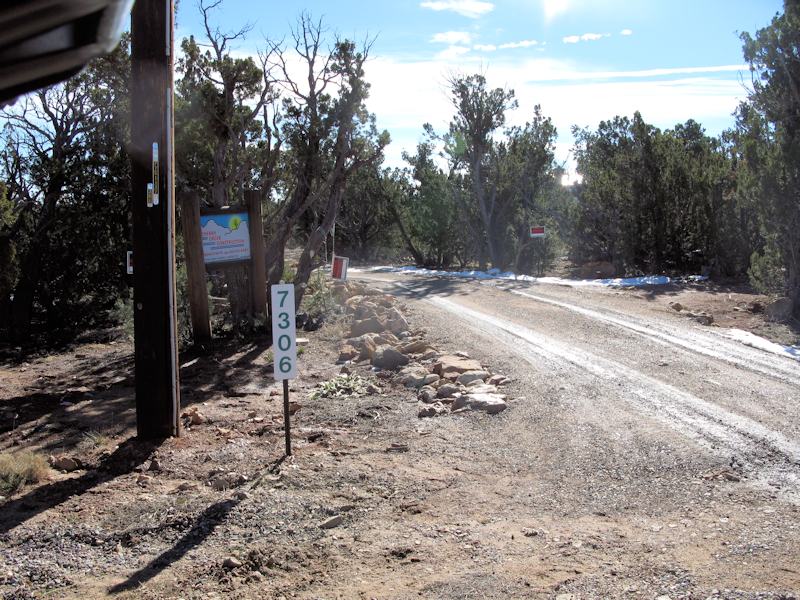
Added Private Property, No Trespassing signs:
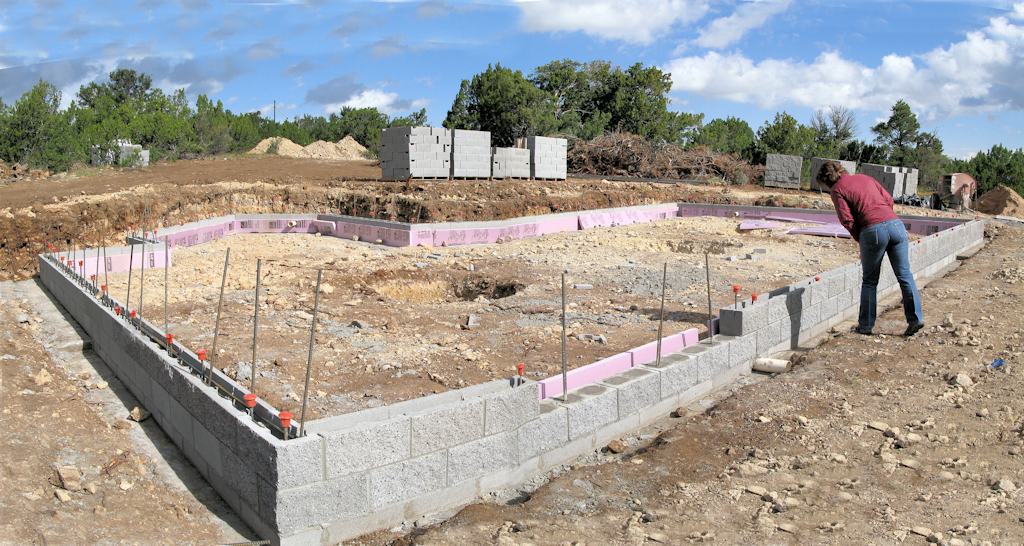
10/28/13 - Looking out the window that will be under the bedrooms. The walls just need the final fill of cement:
10/28/13 - Looking out the window that will be under the dining room:
The wall that will be under the bedrooms. There's some rebar sticking out of the wall where the garage will be attached:
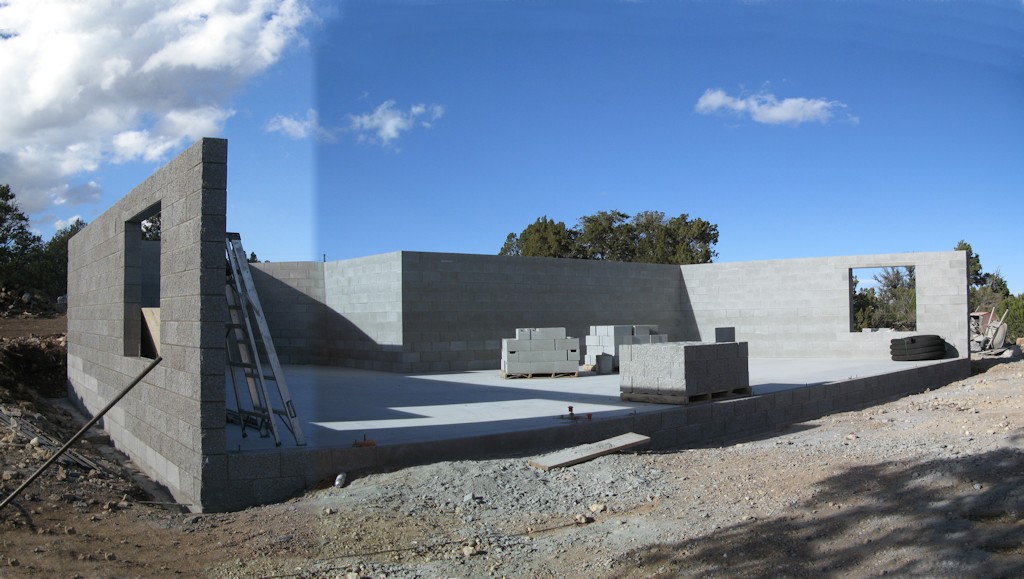
10/28/13 - The back wall of the basement is open, but the other walls are done:
At the edge of the top of the dining/living room wall:
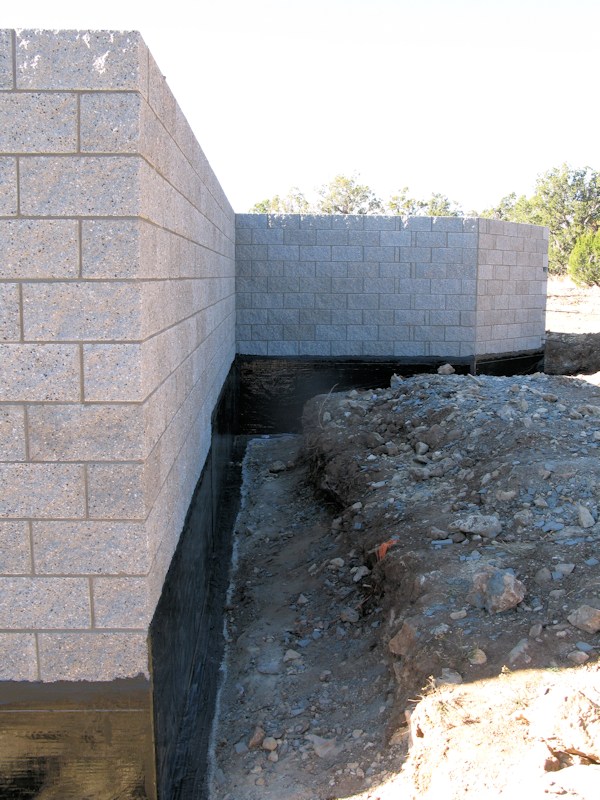
10/28/13 - Primer and rubber sheeting have been added to keep the moisture out of the basement:
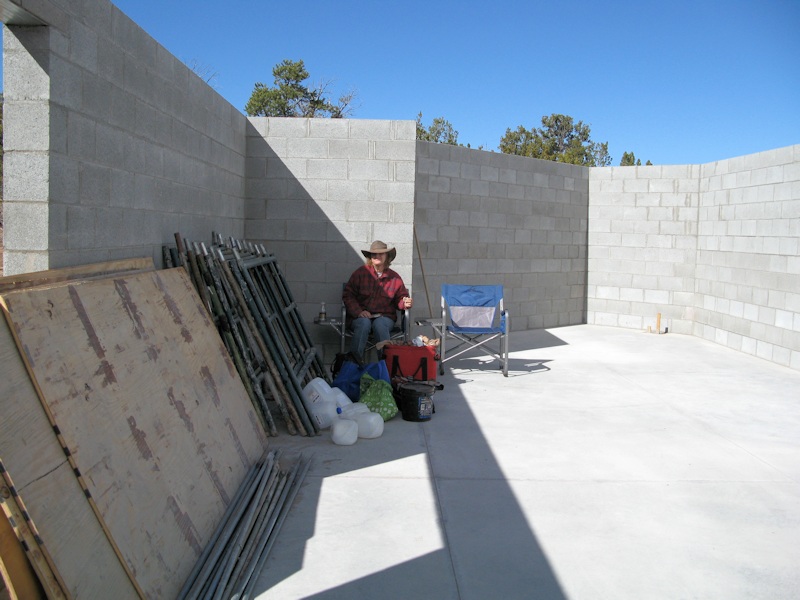
Time to eat some lunch in the basement:
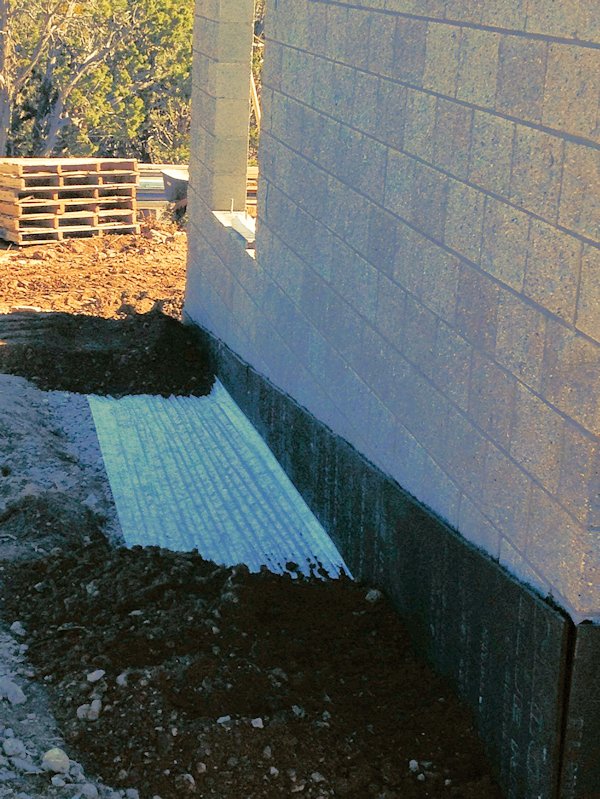
11/6/13 - A backer board was
placed over the rubber sheeting for protection, then the French drain
11/7/13 - The dirt is pushed up to
the walls and the footers for the garage (to the right of the walls)
11/8/13 - Poured the garage footers today:
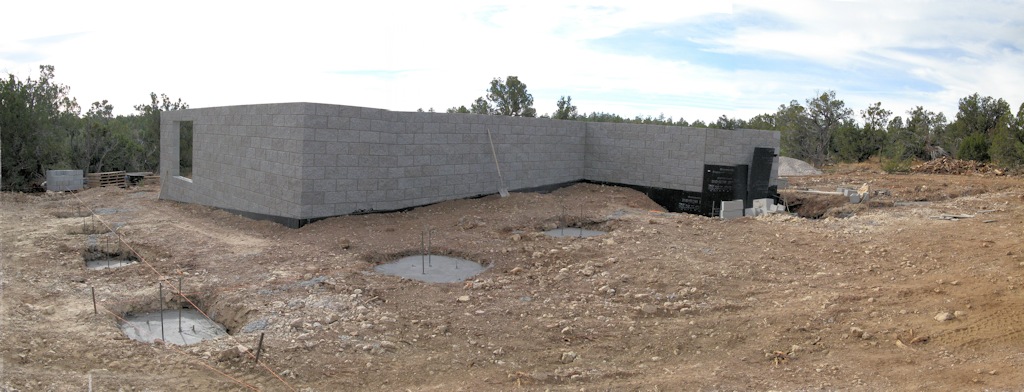
11/10/13 - A lot was done this past week. The French drain is in:
A lot of the dirt is pushed up to the planned level the walls of the basement:
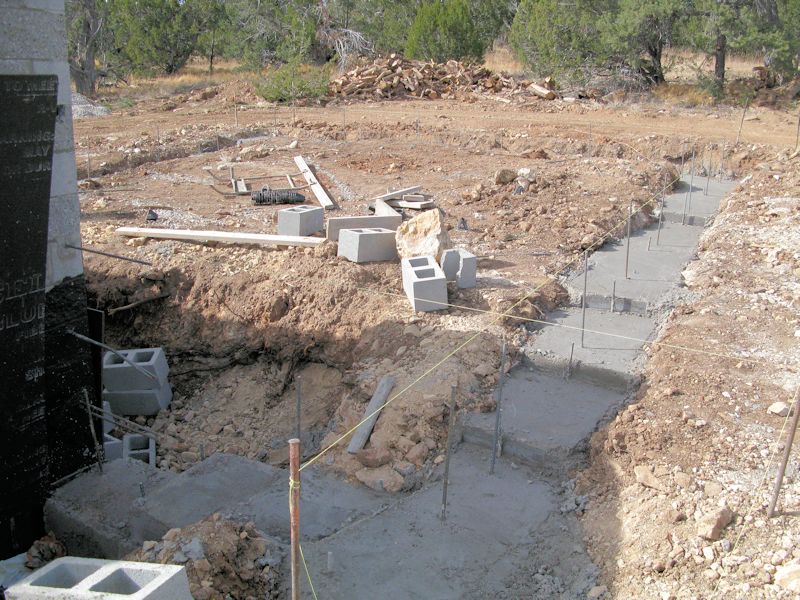
From the front of the house at the family room corner, you can see some of the footers for the deck in the front and side:
At the dining room corner of the house, the footers on the side and rear for the deck:
The footers for the garage are stepped down to the footers for the house. The block and footers tie to the house with the rebar in the wall:
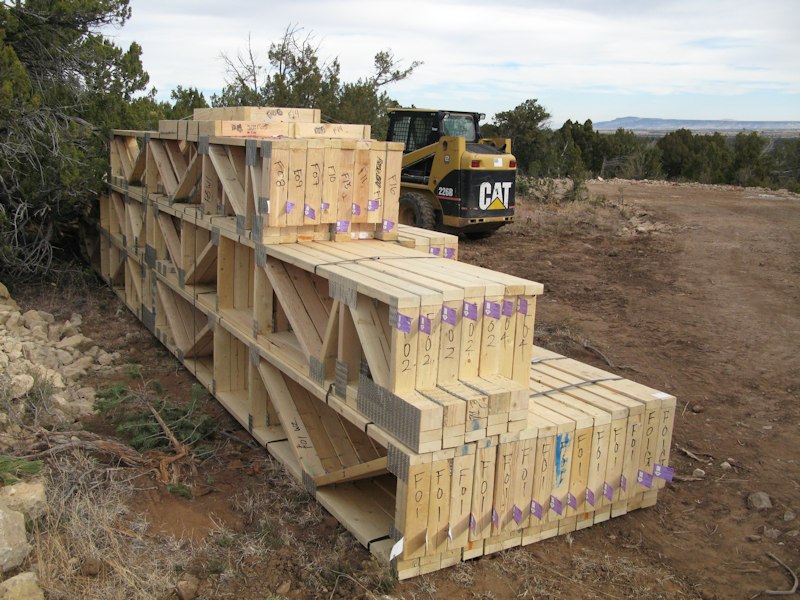
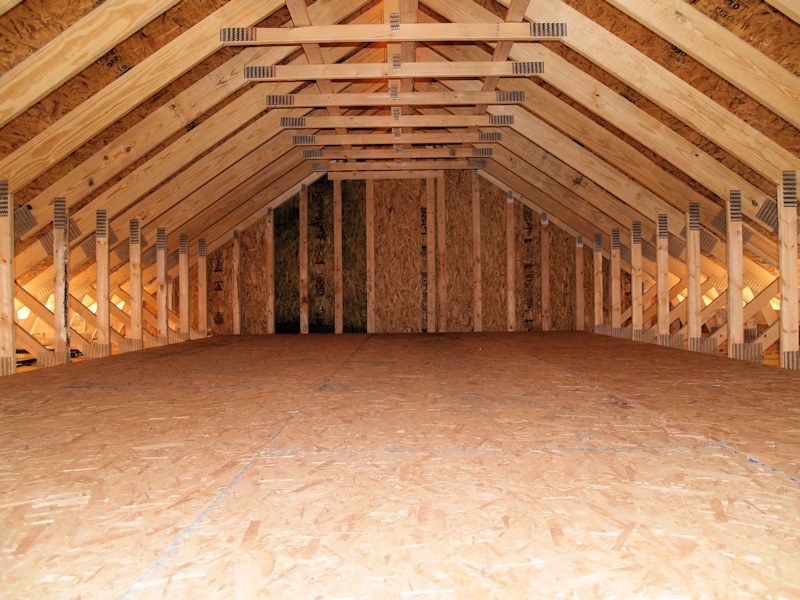
The custom truss work that will be placed on the basement masonry to support the first and second floors:
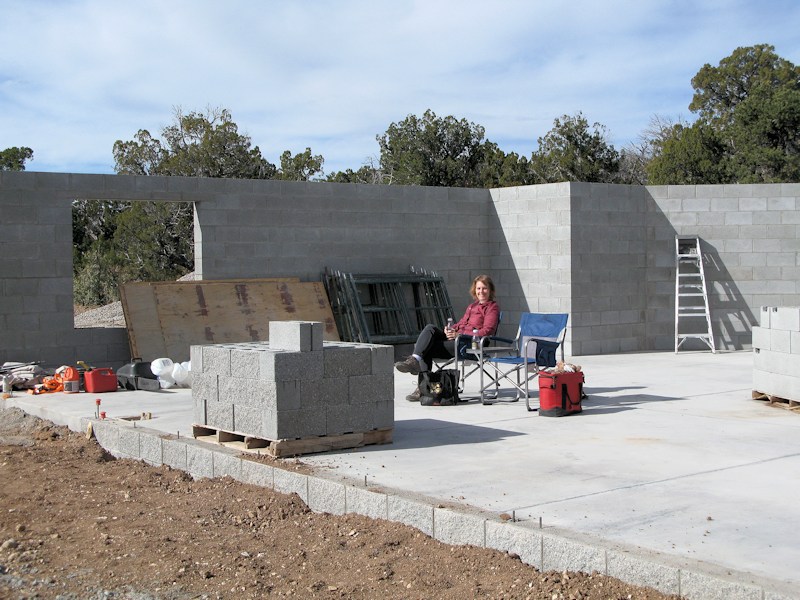
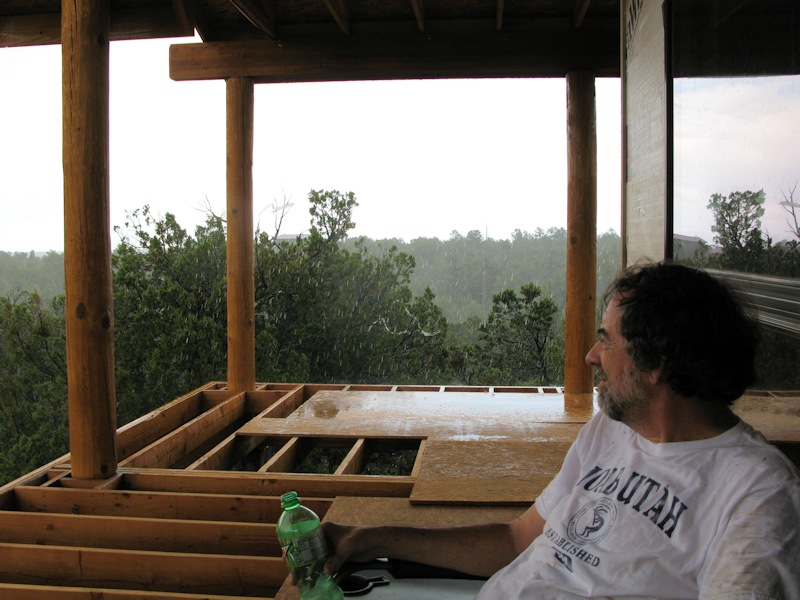
Enjoying the morning before going out to clear wood:
11/12/13 - Got a lot of the garage done today:
11/18/13 - Filling in the big hole between the garage and the basement with slurry mix (also grouted the finished block today):
11/25/13 - They dug the trench
last week and had to wait for the snow to somewhat
11/26/13 - They filled in the
trench from the street to the start of the original trench
11/27/13 - Here's the view up the driveway toward the street. The hydrant is on the left with a hose coming out of it:
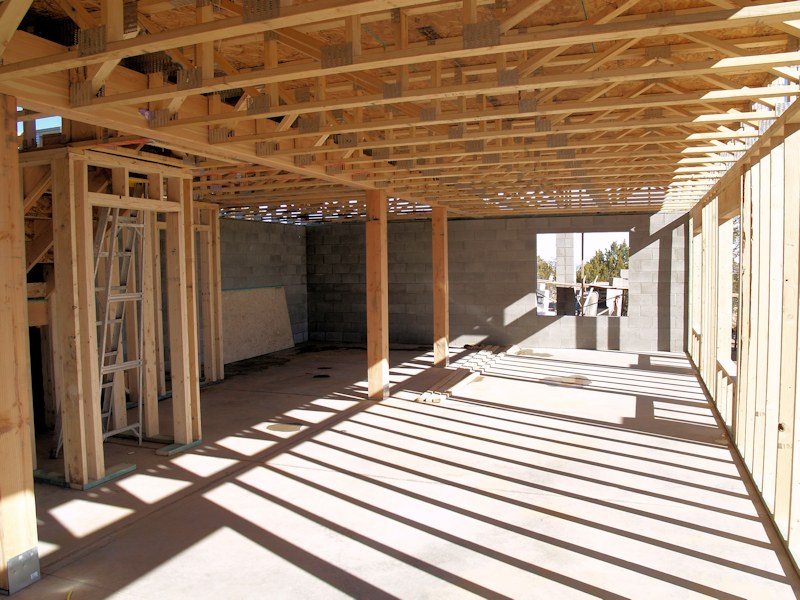
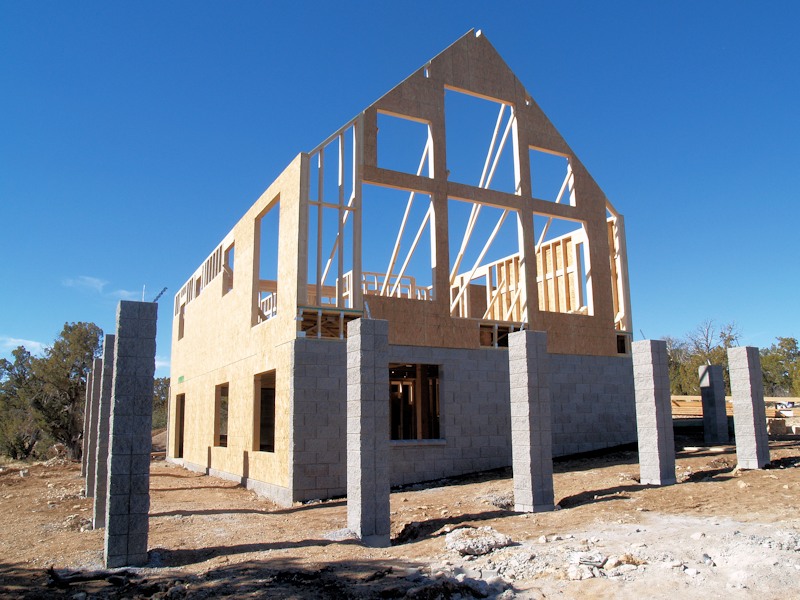
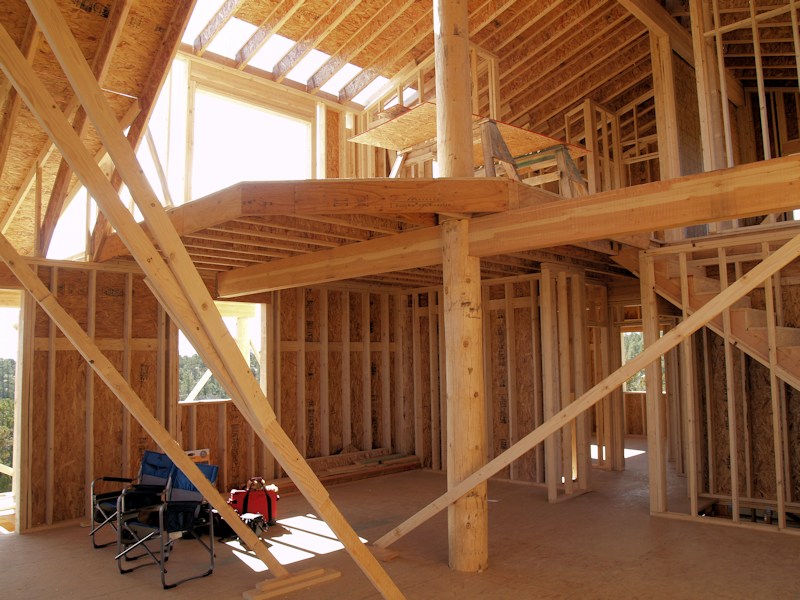
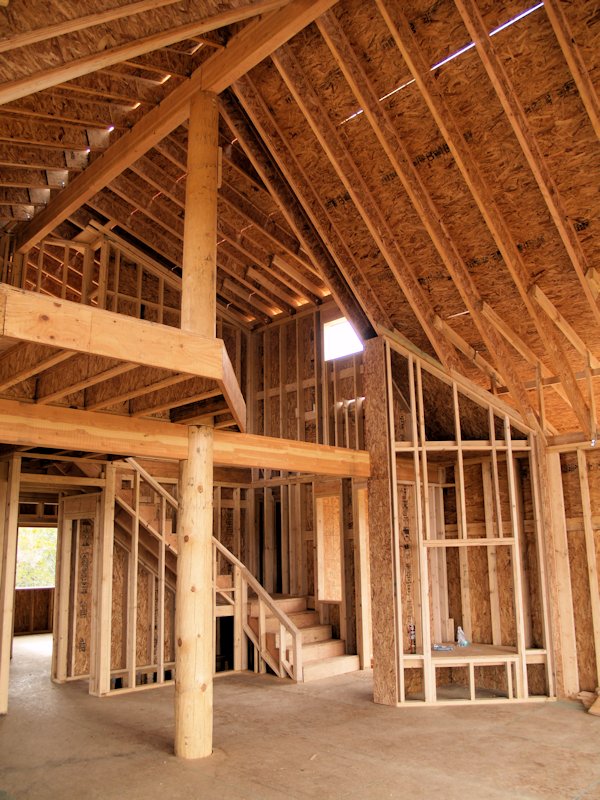
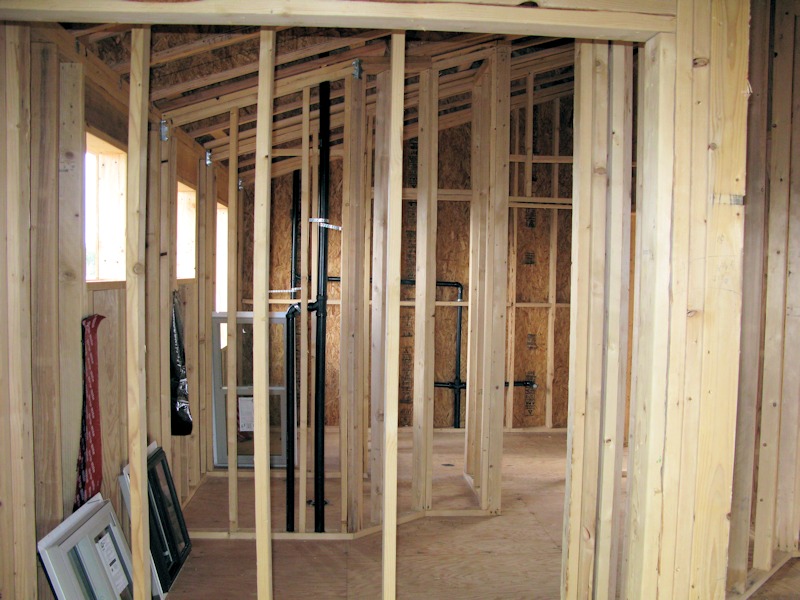
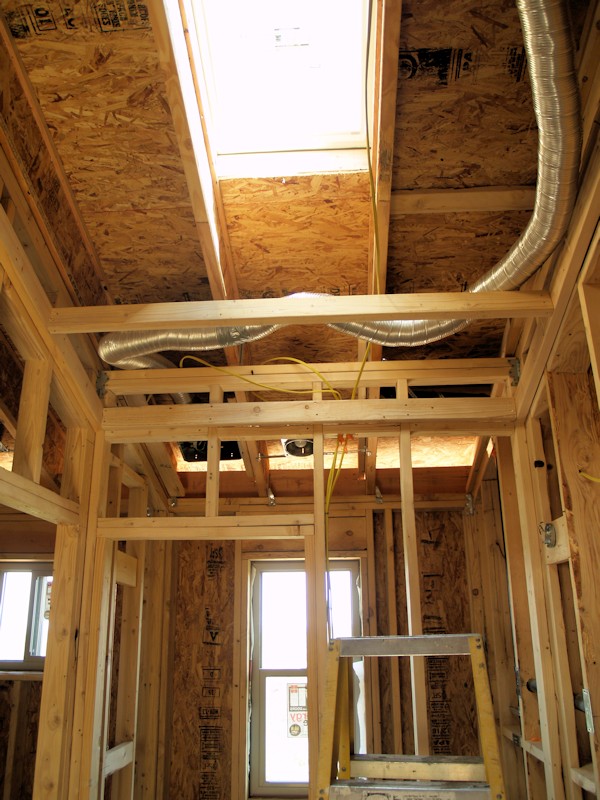
Oh yeah, the framers stopped by today and did some work :)
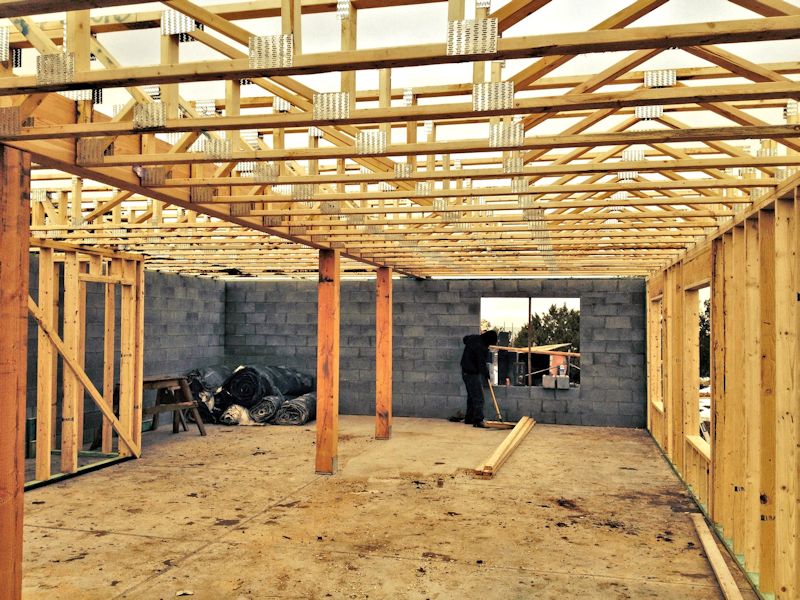
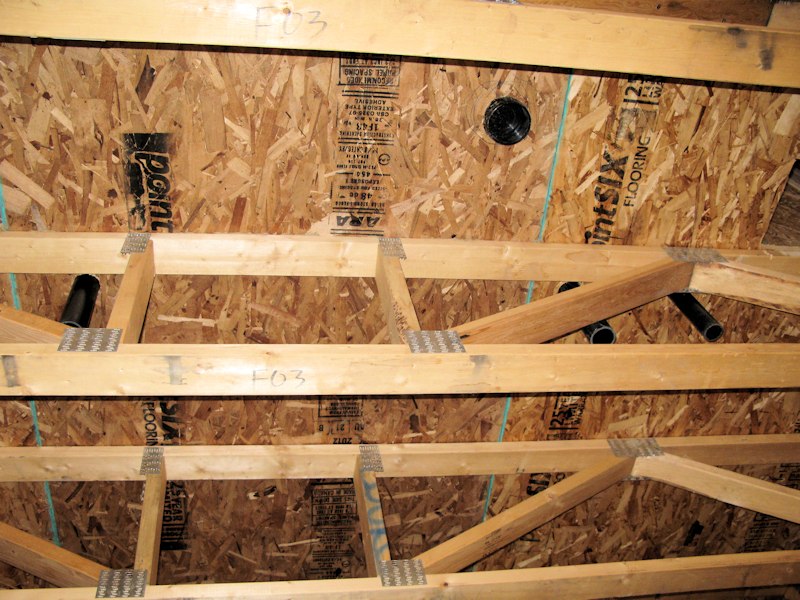
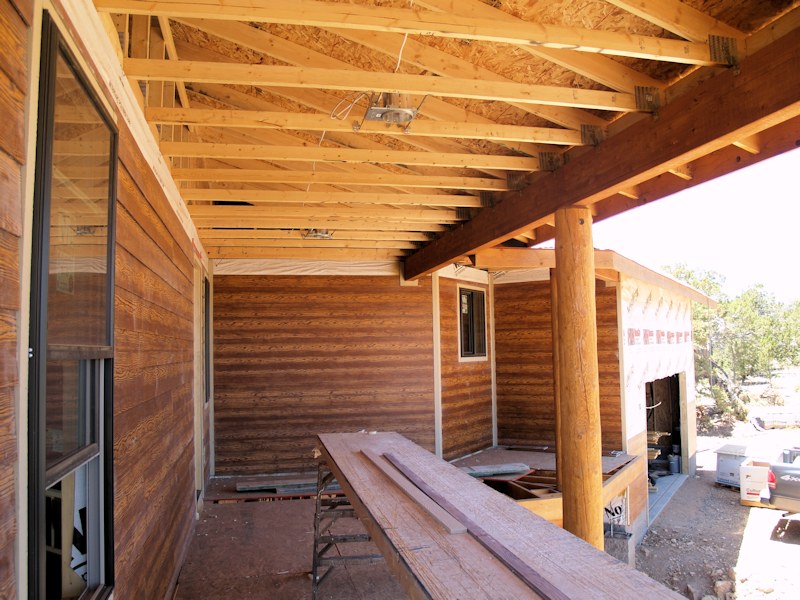
Inside the garage looking back toward the mud room and floor trusses over the basement:
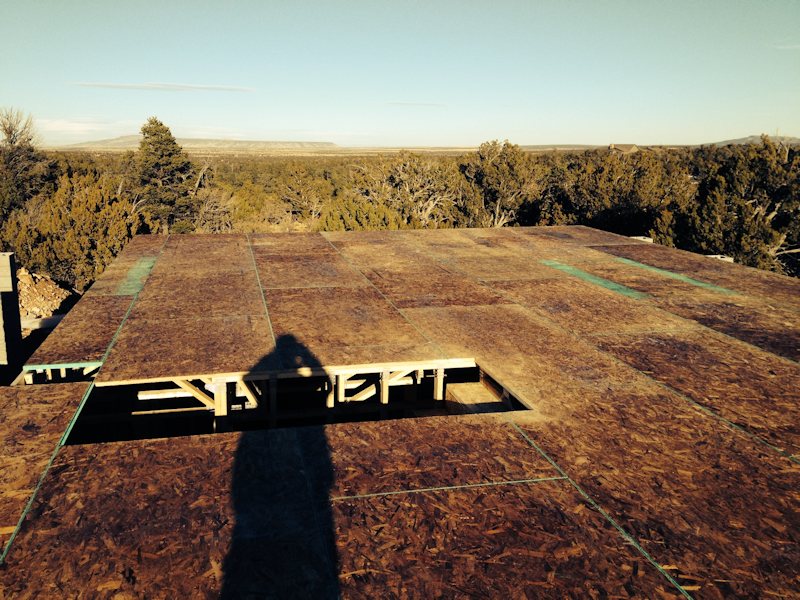
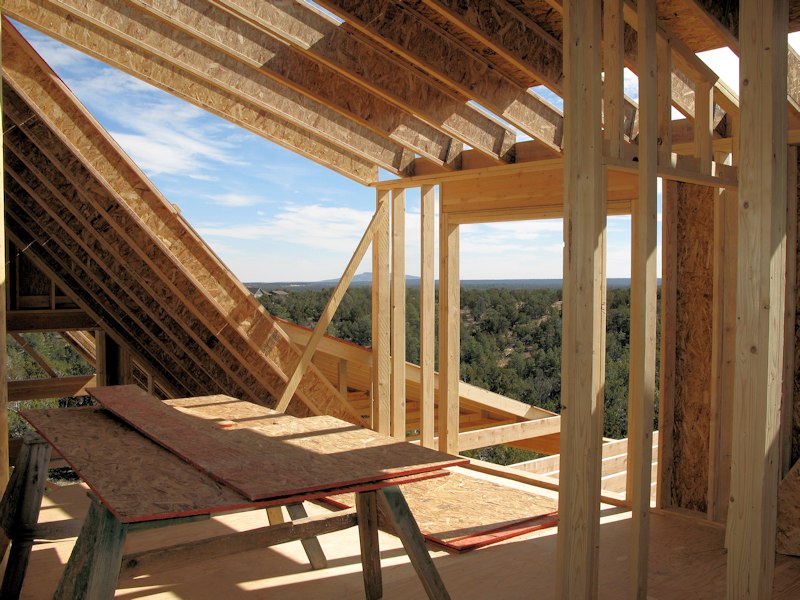
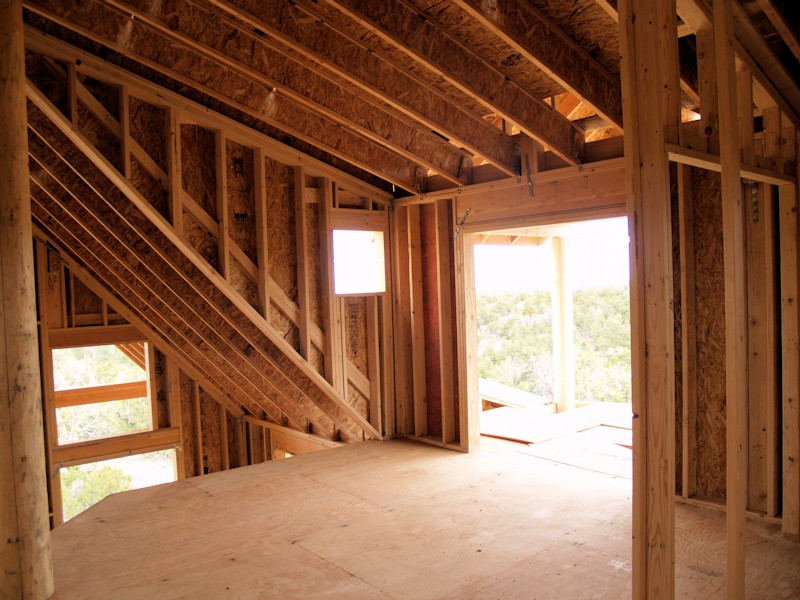
12/3/13 - The sub-floor is in
(it's wet from sealant that was added to the surface). The big opening
They were also able to finish the
garage slab before the bad weather hits. Before they headed
12/6/13 - We were able to get up there today and see how things were going. Here's the trench near where the transformer will be located:
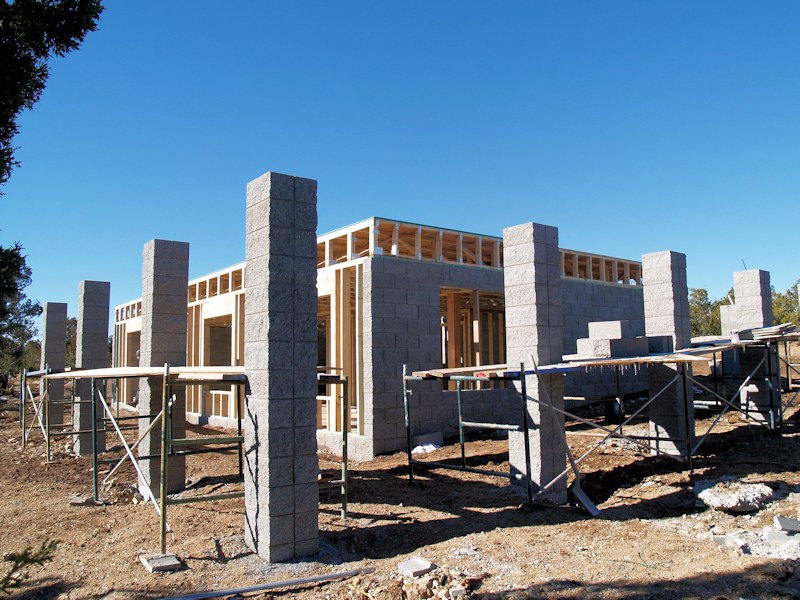
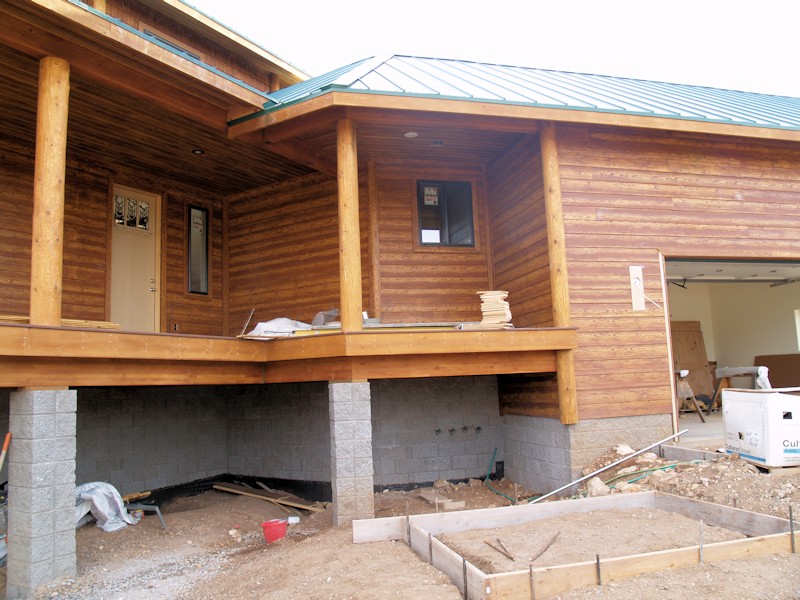
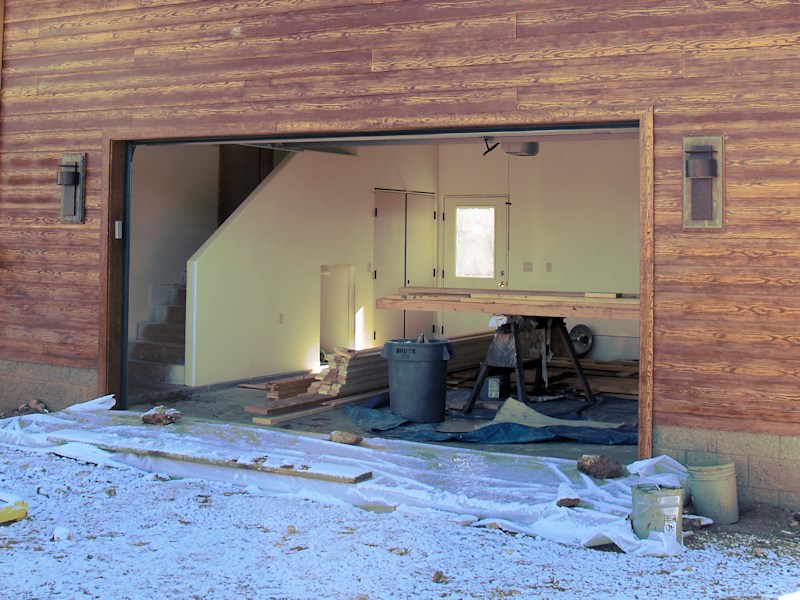
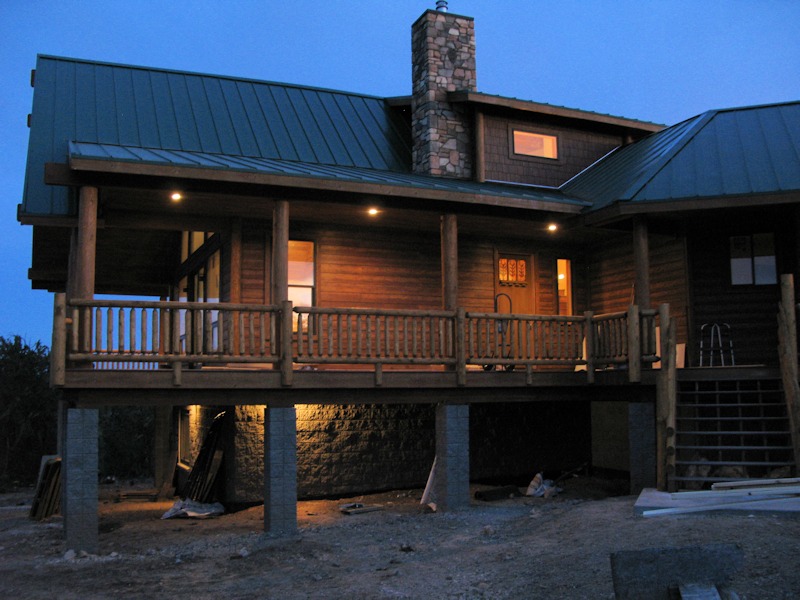
The front of the house - the garage is to the right and the front door will be up on the deck near the first large post in the center of the picture:
A closer view of the garage (still has blankets on the cement), and the deck behind it will be the entrance to the mud room:
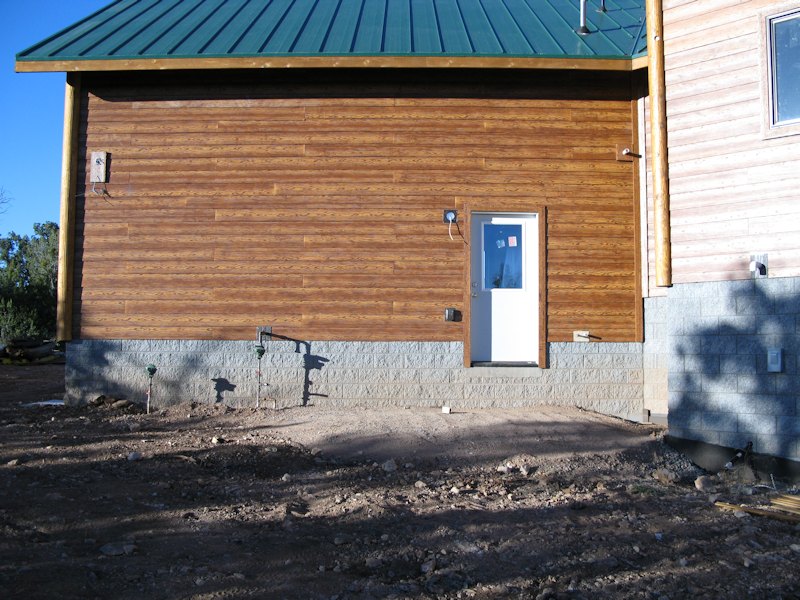
The rear of the garage, the rear door has the blanket spilling out of it, the deck to the right is where the first floor (mud room) is located:
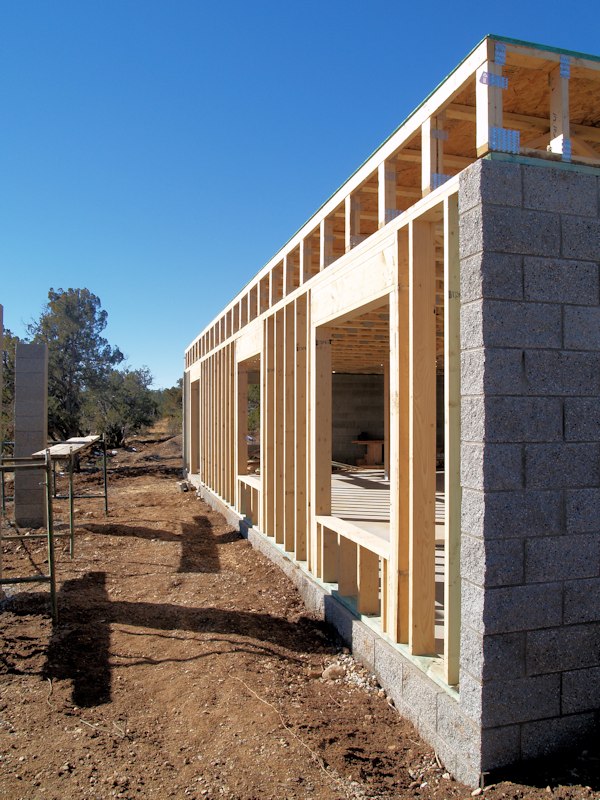
The bedrooms will be just above this wall:
The dining room and family room will be just above the wall on the right. The posts are for the deck:
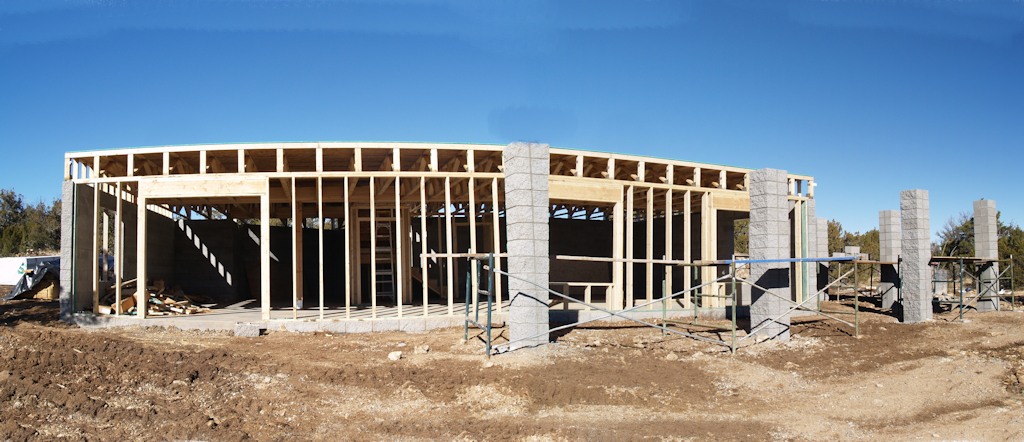
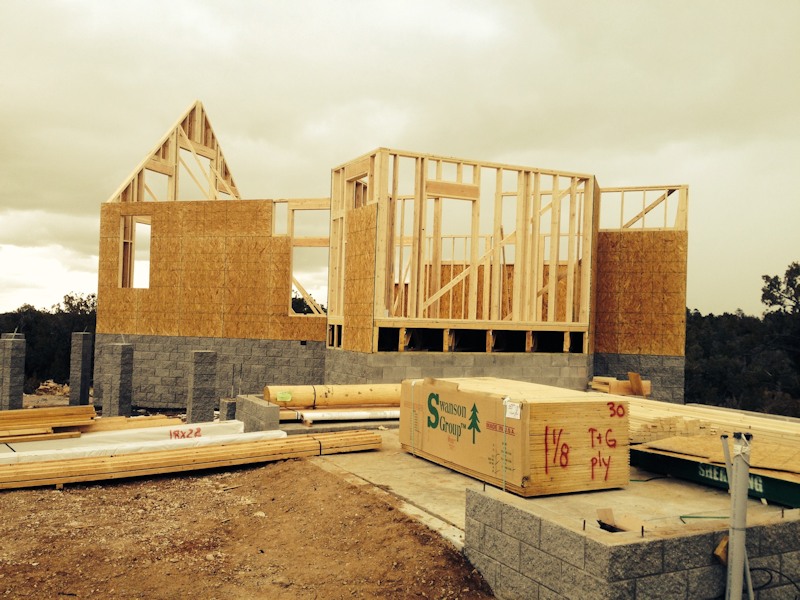
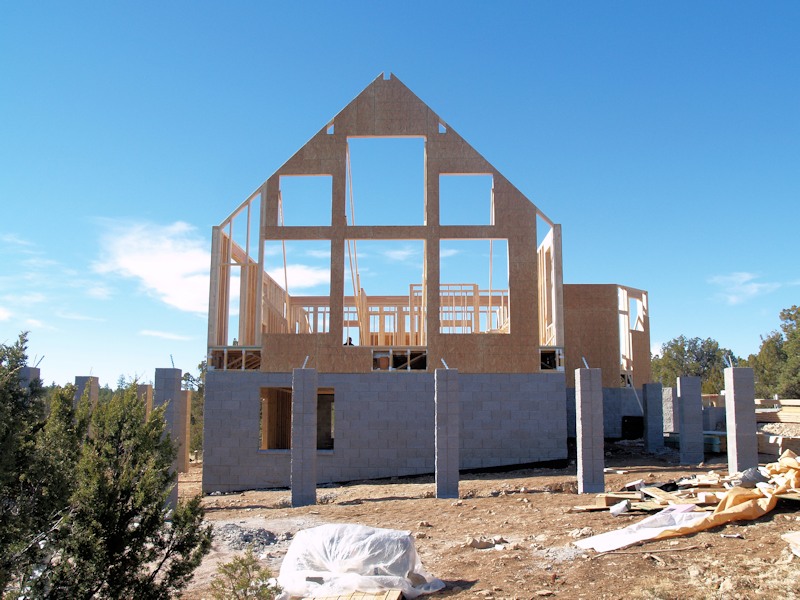
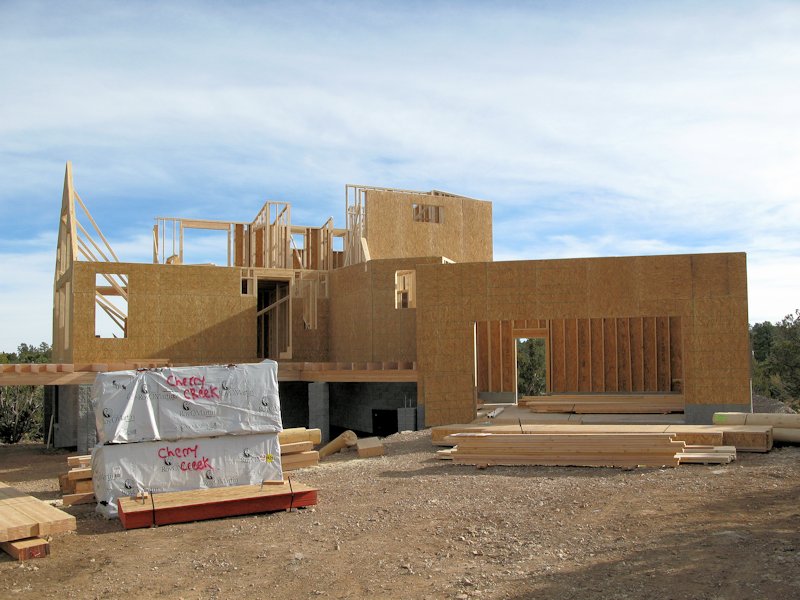
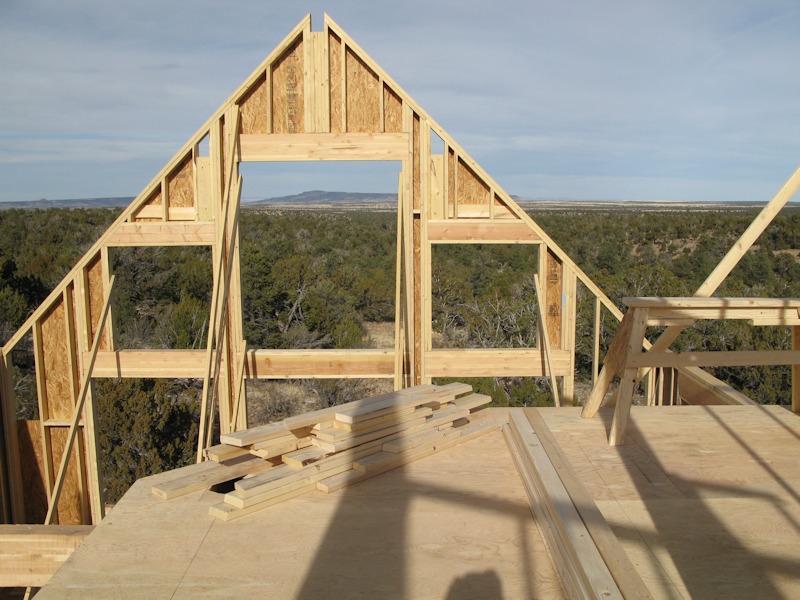
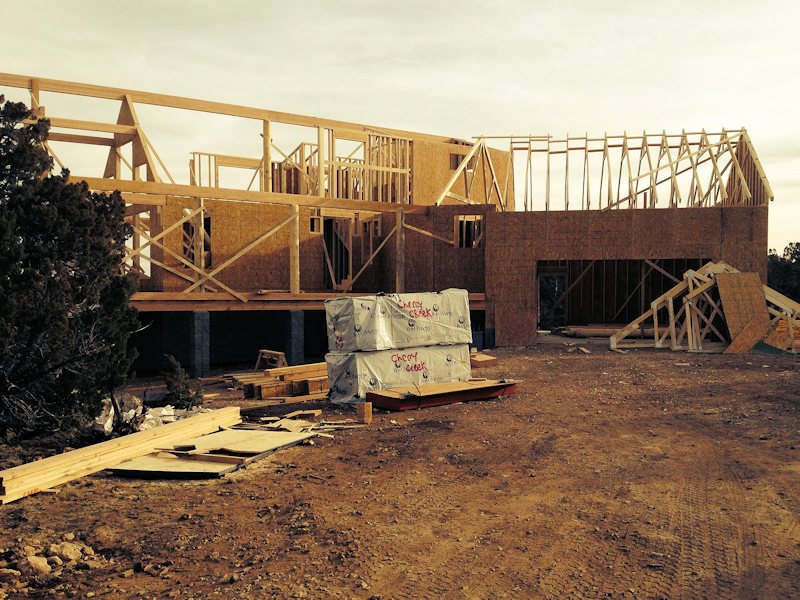
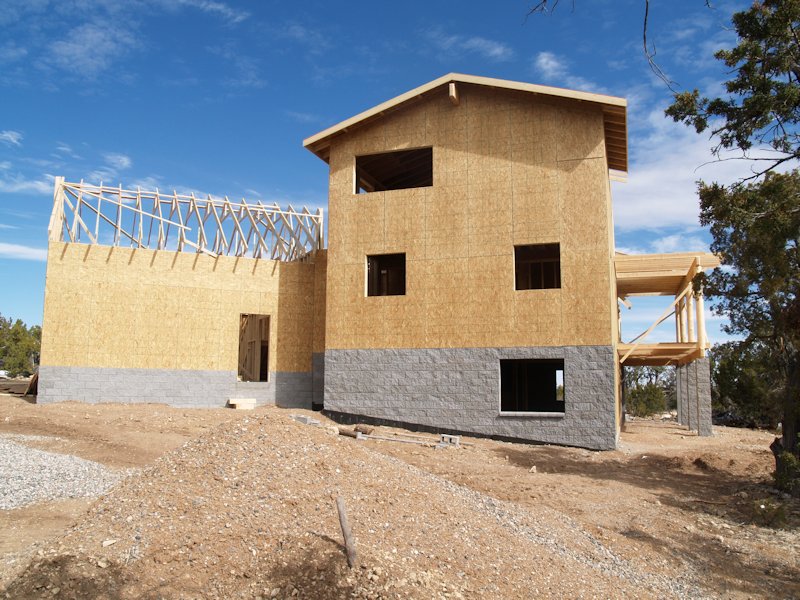
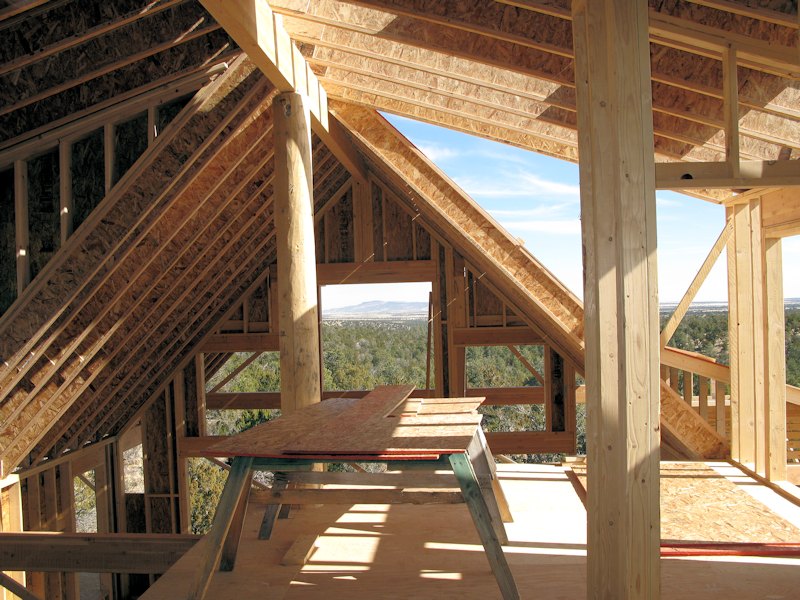
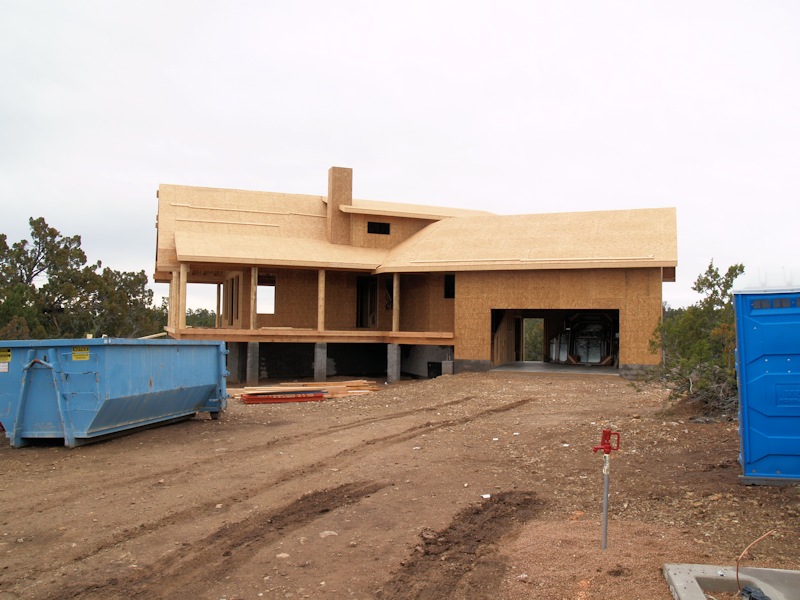
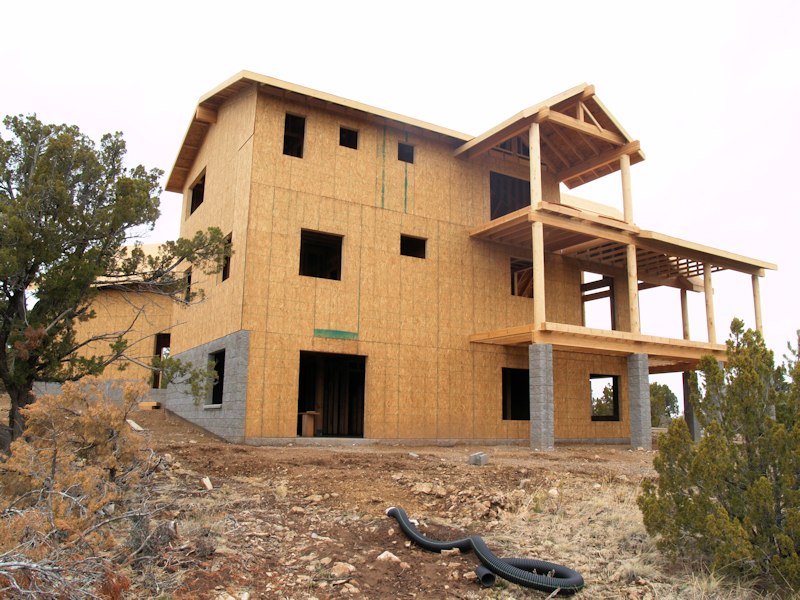
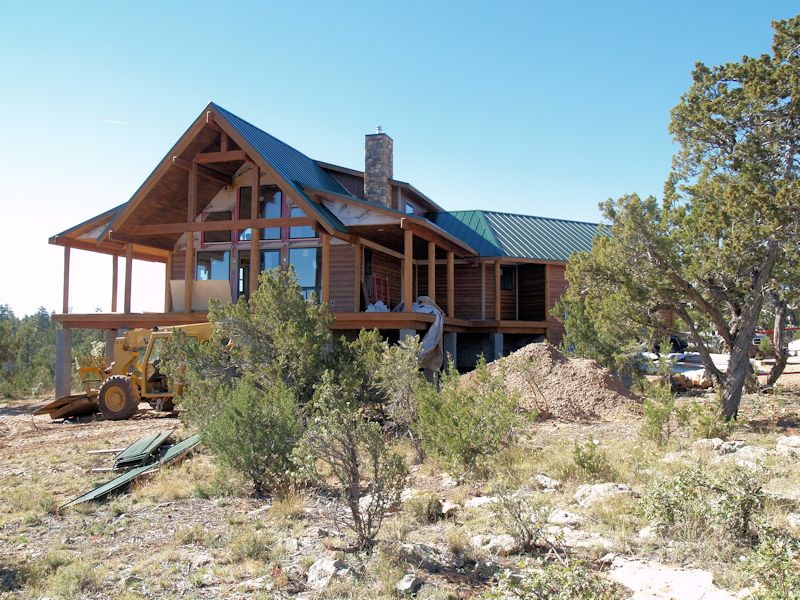
The back of the house - it's framed in now:
A closer view of the framed rear of the house:
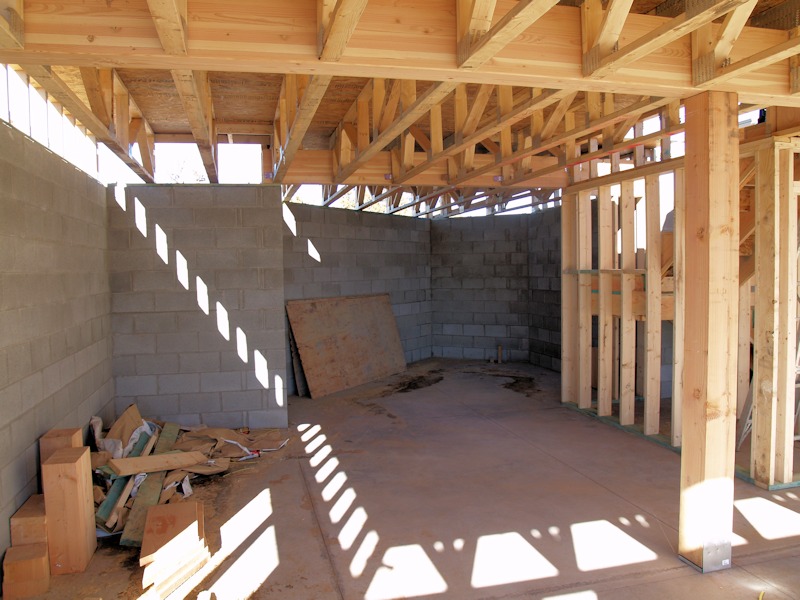
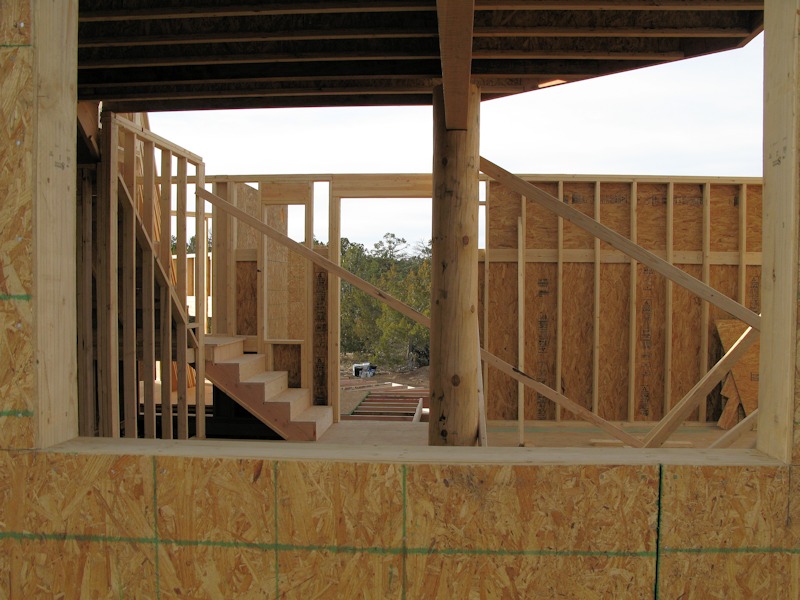
Inside the basement - the mud room is above the funny alcove:
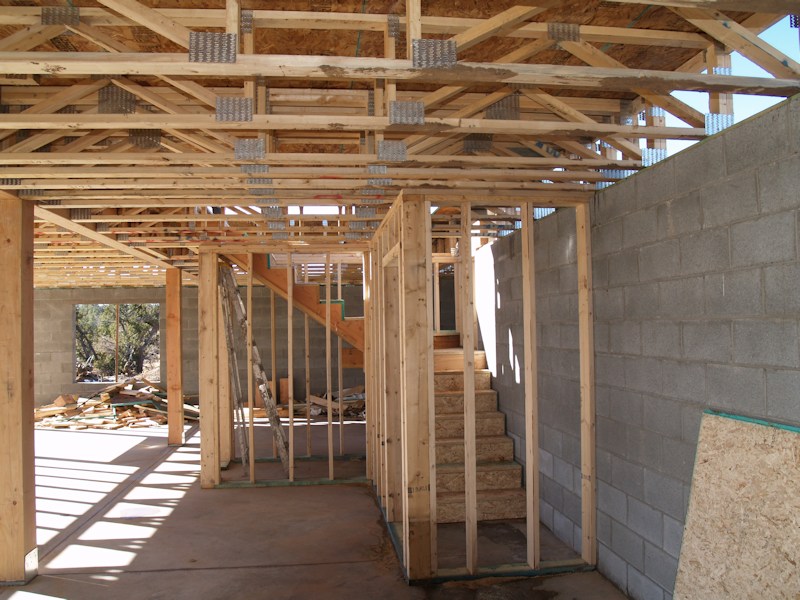
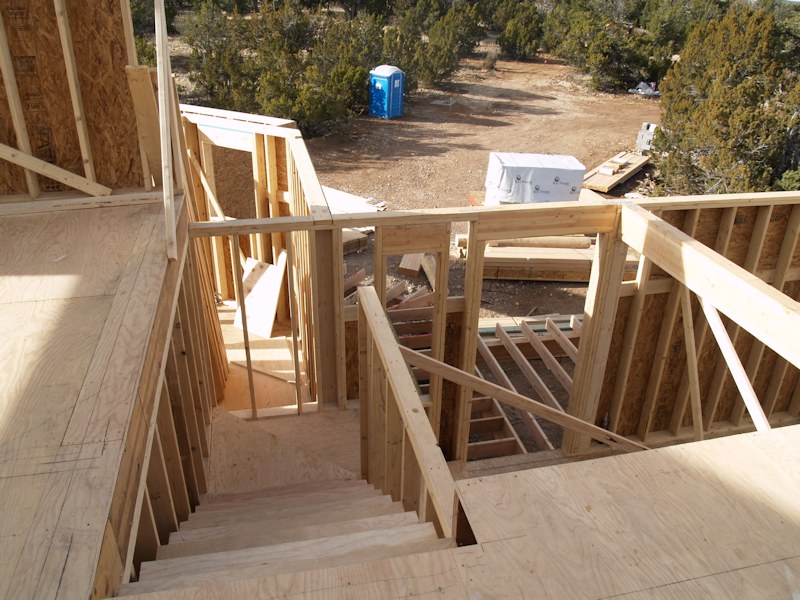
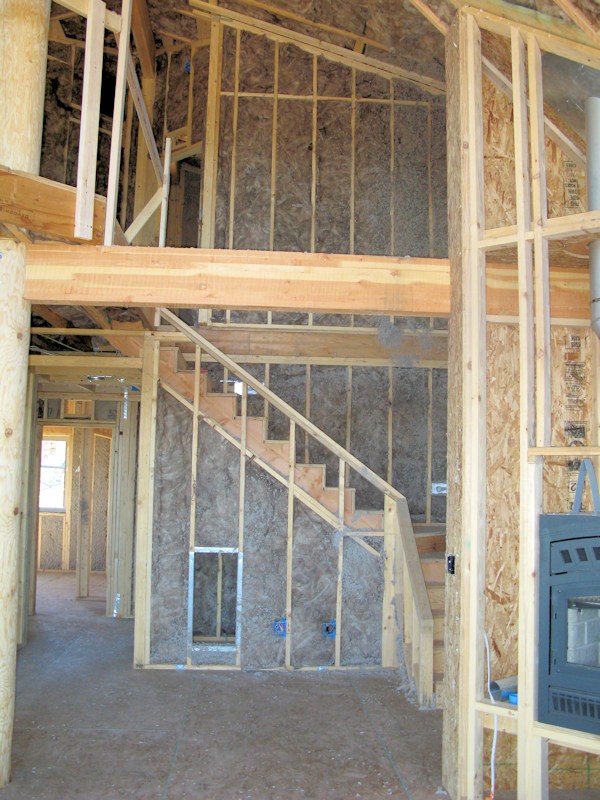
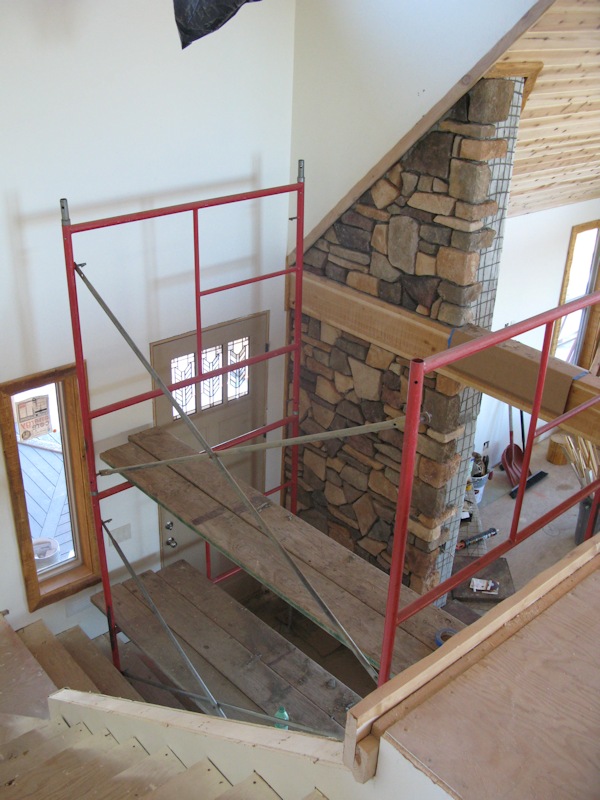
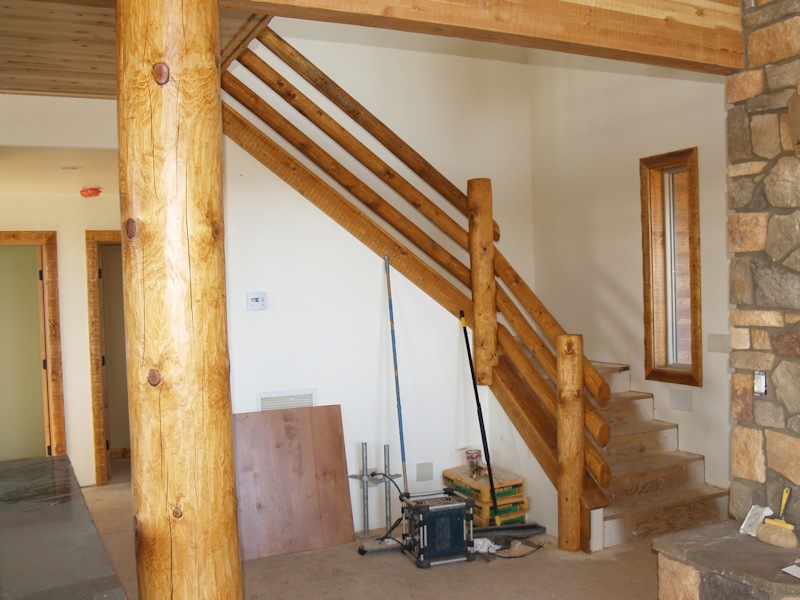
The stairs to the first floor are to the left, the main beam is up inside the custom truss work (they hang on the beam):
A view of the stairs from the other side:
The rear wall from the inside:
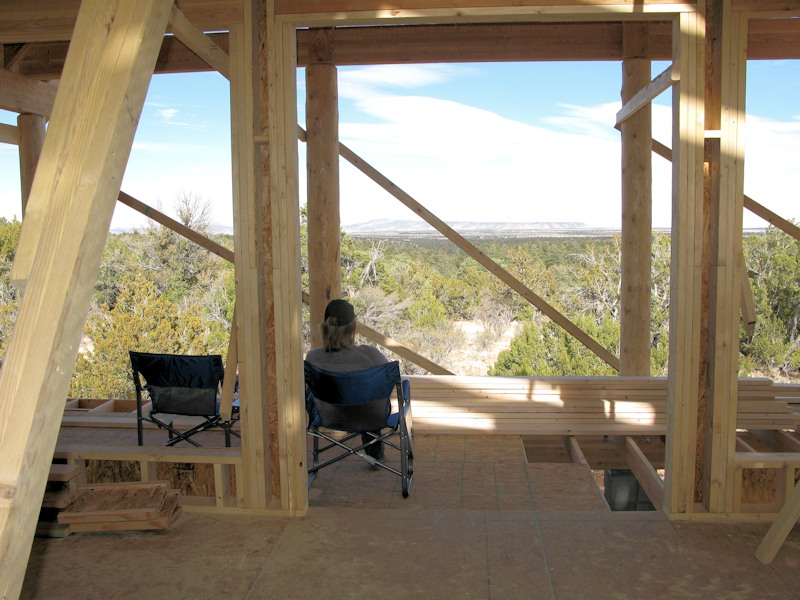
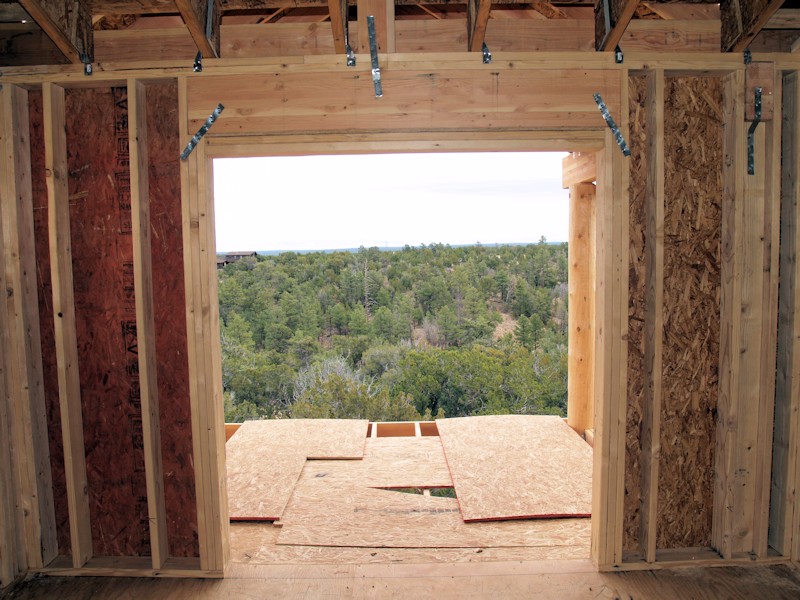
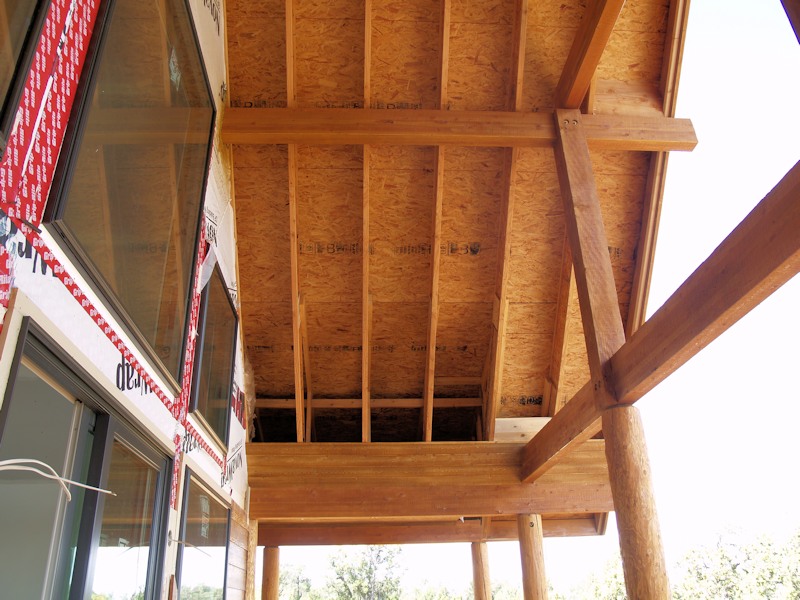
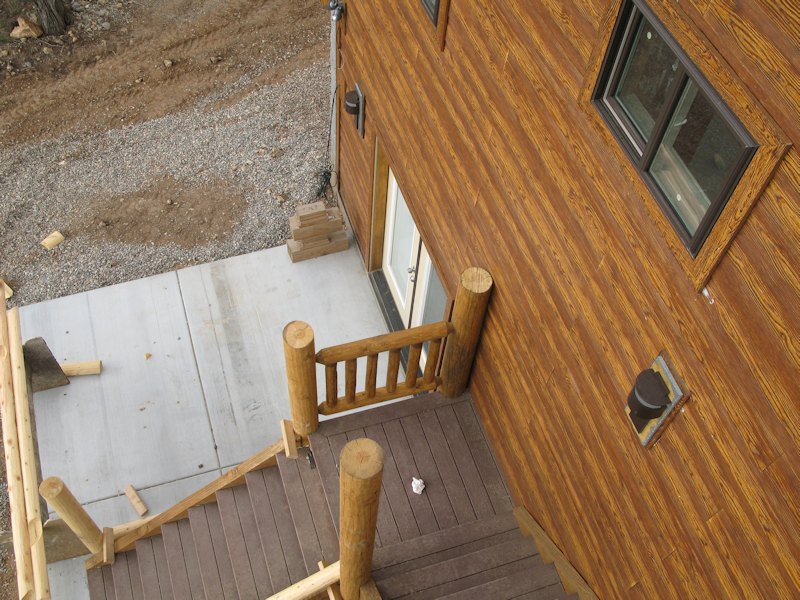
Up on the first floor deck looking down at the garage:
Looking down from the first floor deck toward the garage - the deck will run out to the piers:
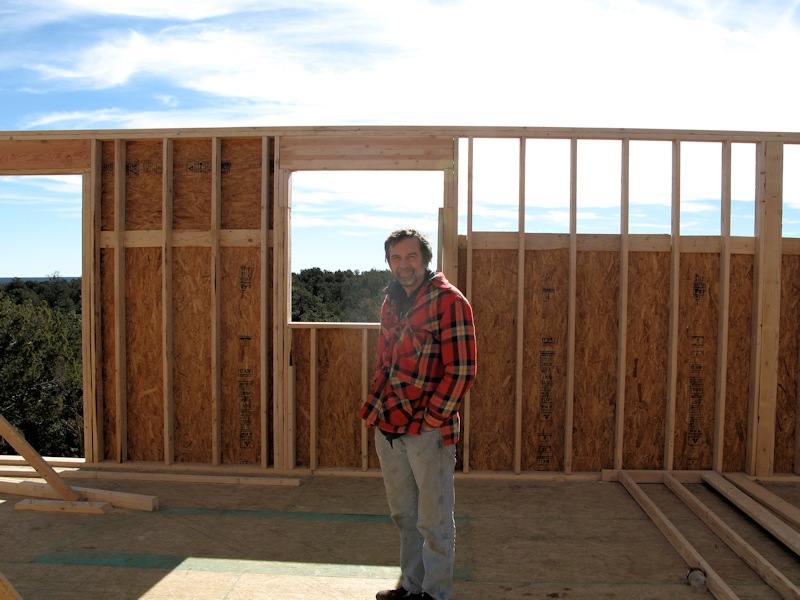
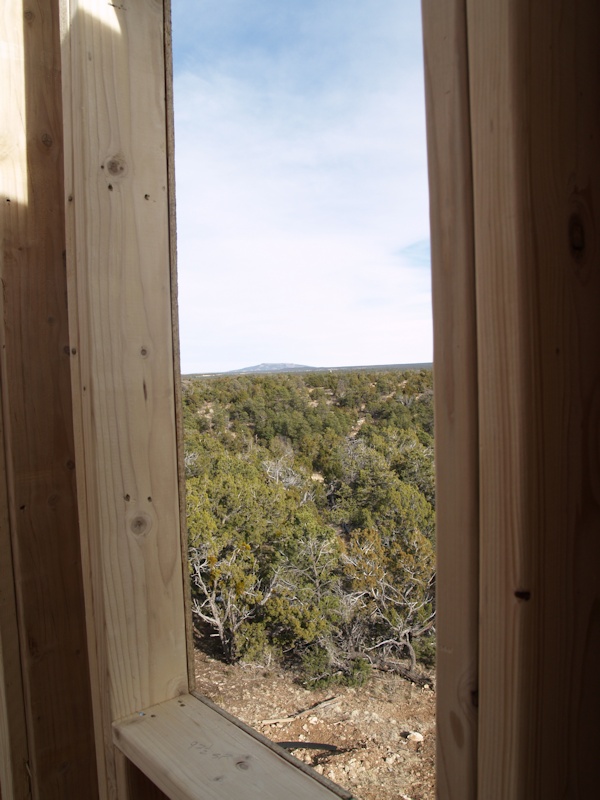
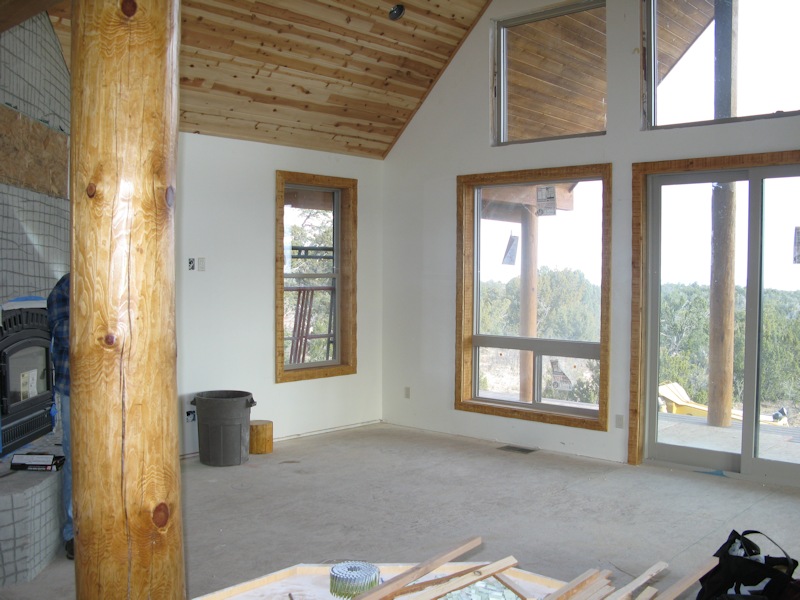
This will be the view form the family room window:
This will be the view from the mud room window:
This will be the view from the first floor bedrooms:
This will be the view from the rear of the rear bedroom:
This will be the view from the kitchen:
This will be the view from the family room and dining room:
The dining room and family room wall:
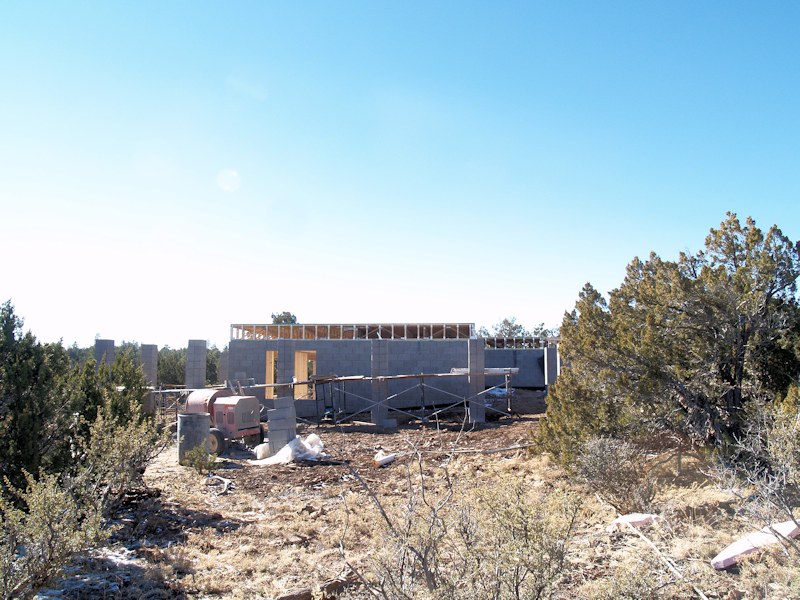
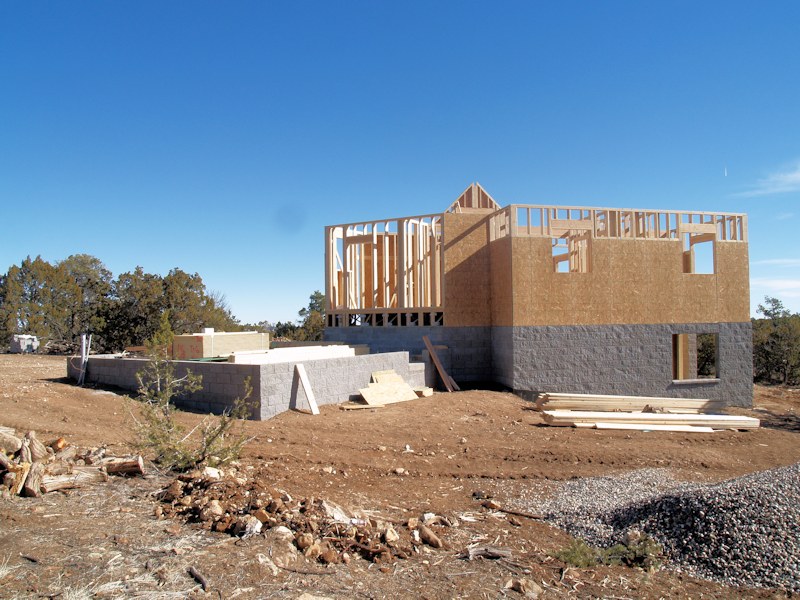
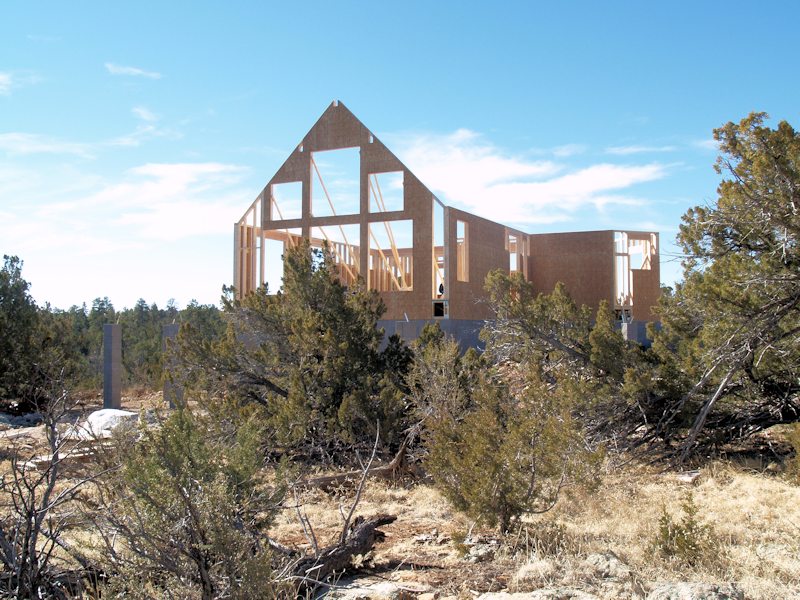
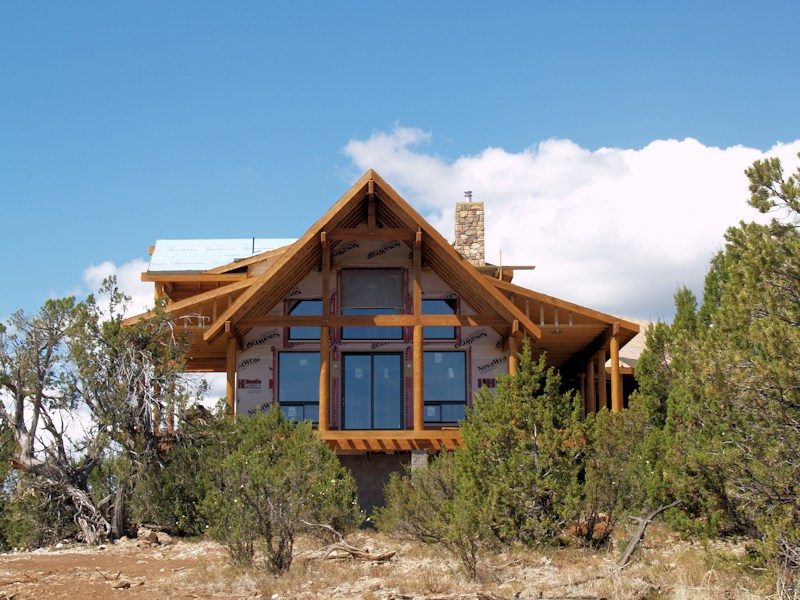
The house is finally sprouting above the vegetation:
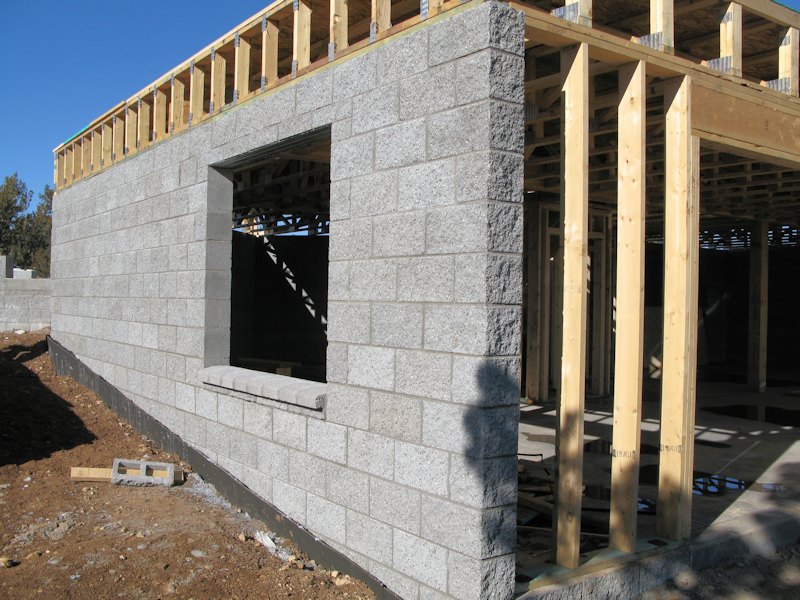
12/29/13 - The masons are done - they finished grouting the piers and added window sills:
12/29/13 - And they took the blankets off the slab for the garage:
Click here to see a short video of the area.
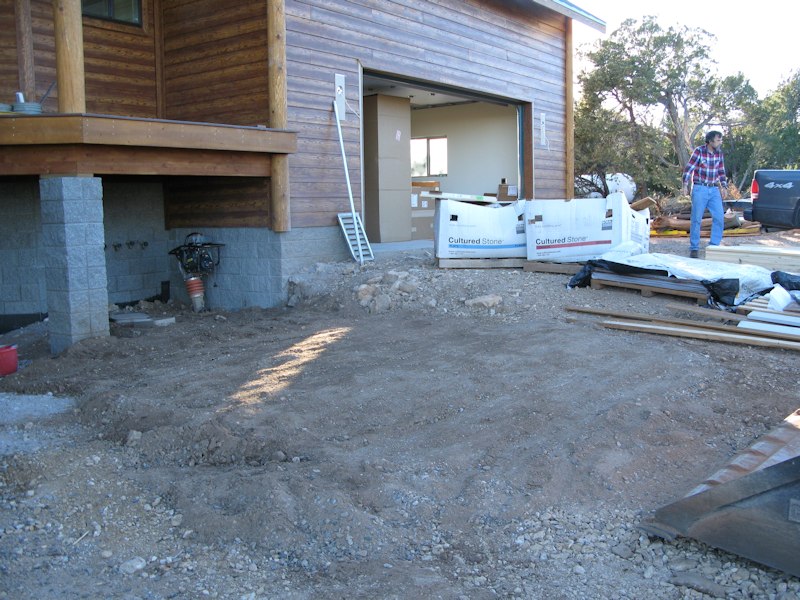
1/31/14 - Not a lot completed this month - weather and scheduling issues. Some grading has been done at the garage door:
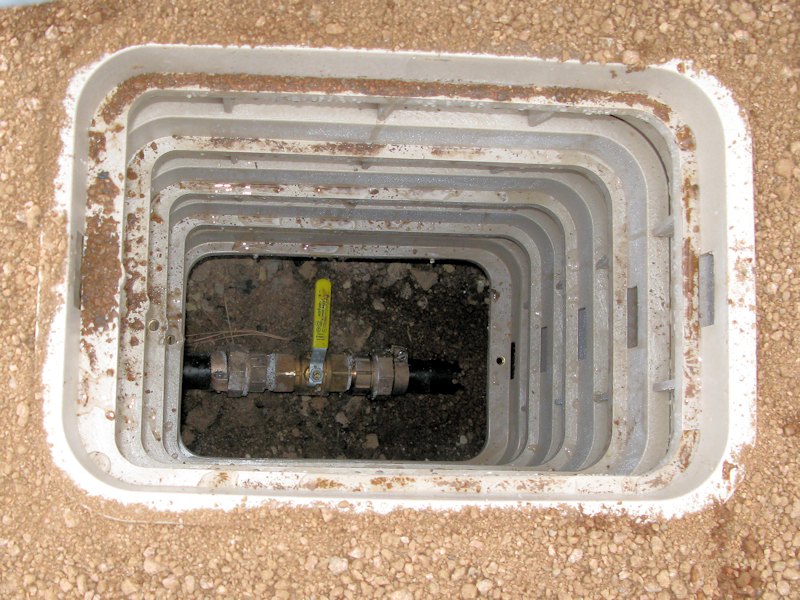
The water line now runs to the house and has the shutoff valve down deep to keep it from freezing:
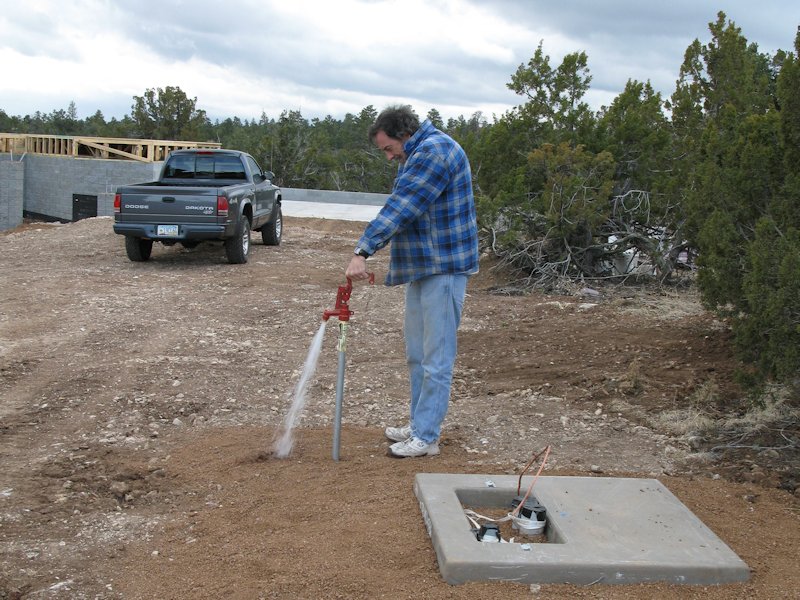
A hydrant has been installed (and works!) near where the transformer will be installed:
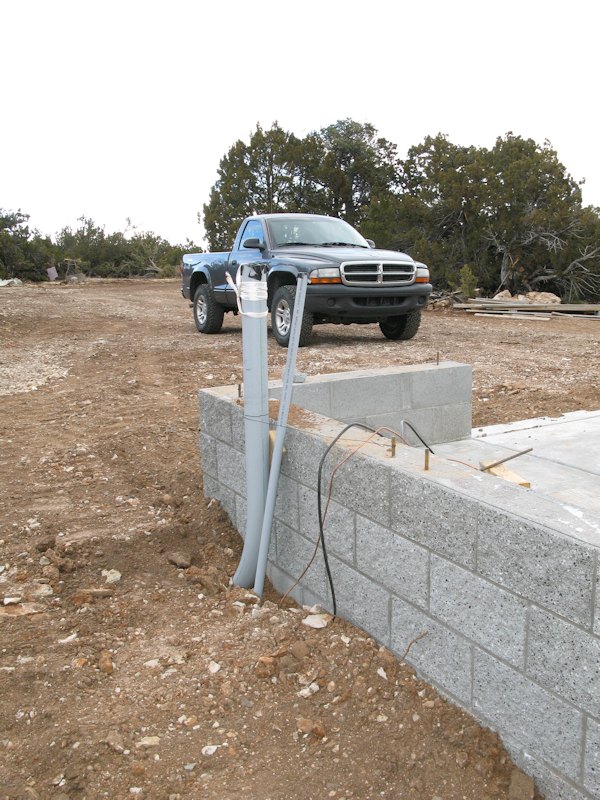
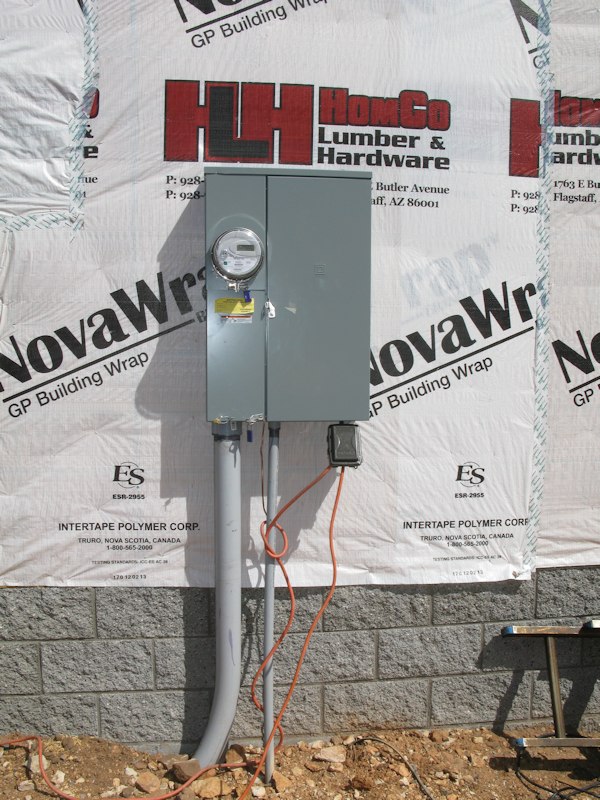
The conduit for the electrical has
been run to the house. The electric can't be installed until
2/5/14 - We received an email from
the builder today that said: "Up she goes!!" - downstairs
The front of the mud room and the front of the house:
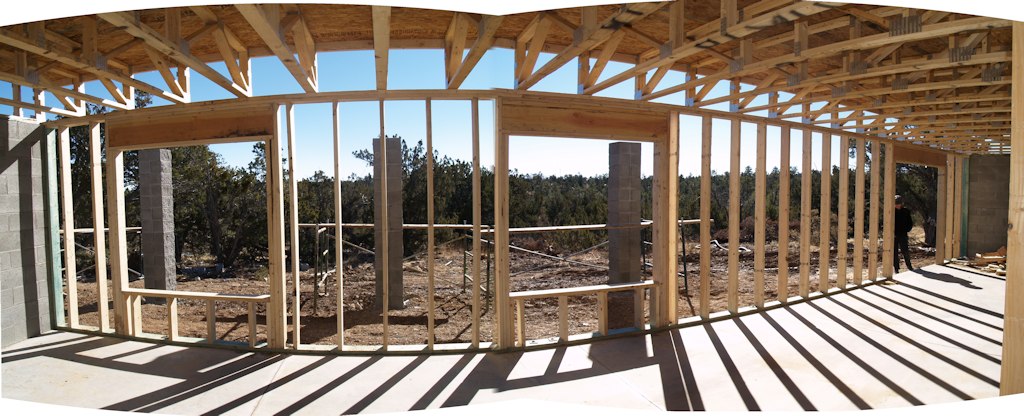
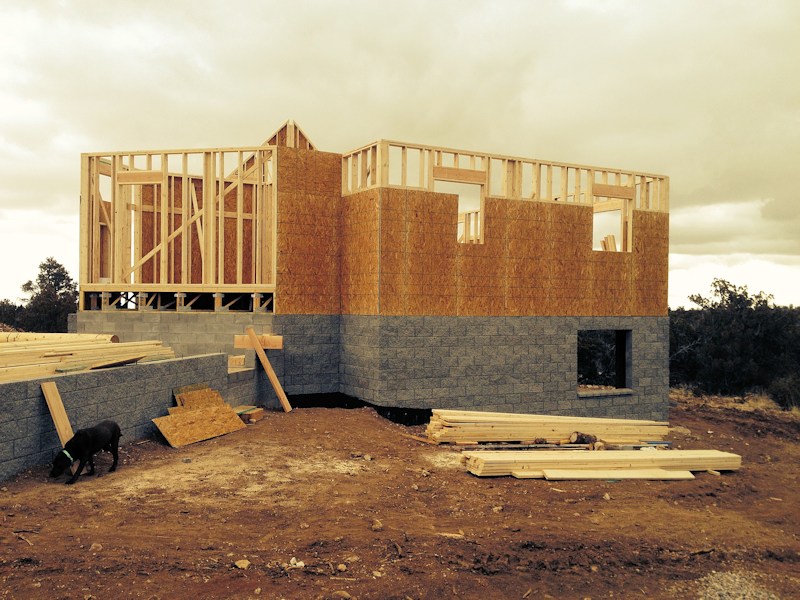
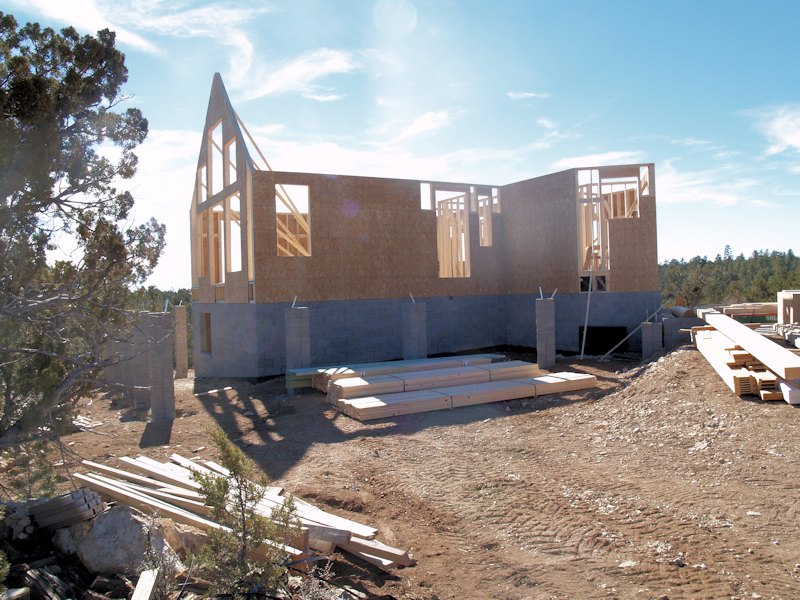
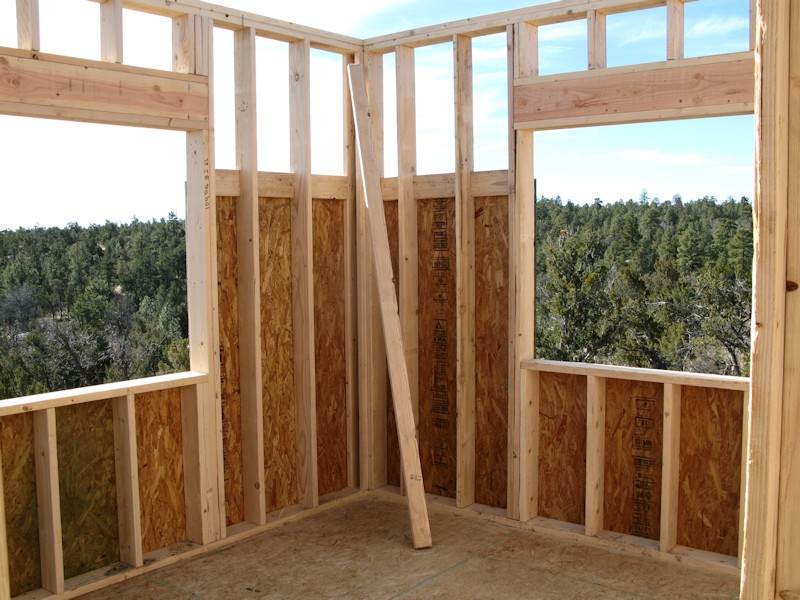
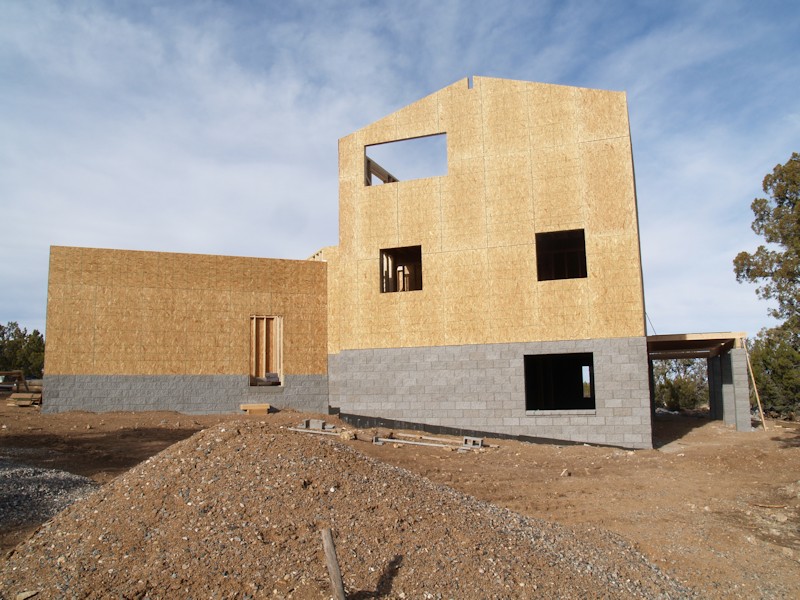
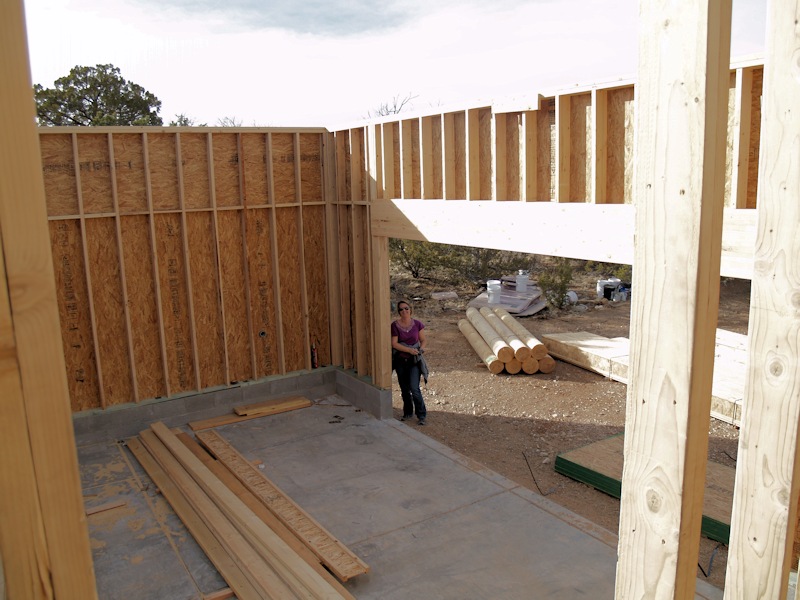
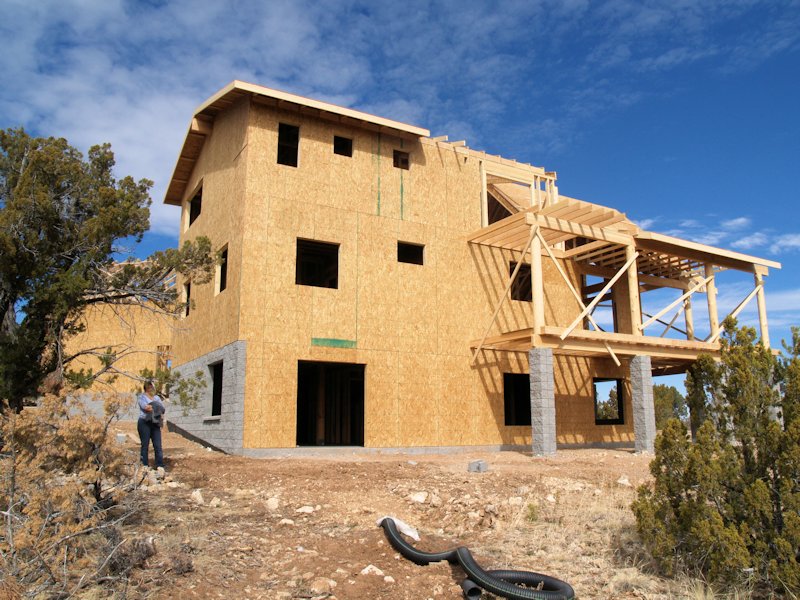
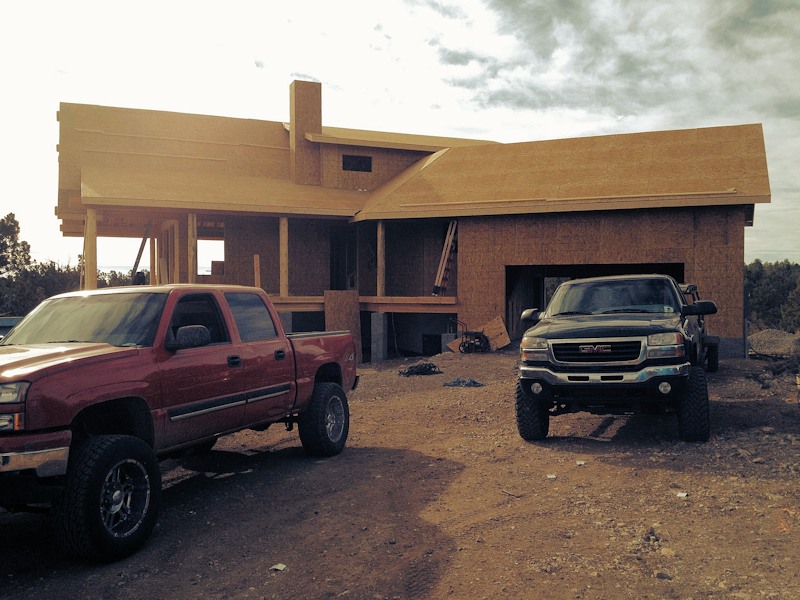
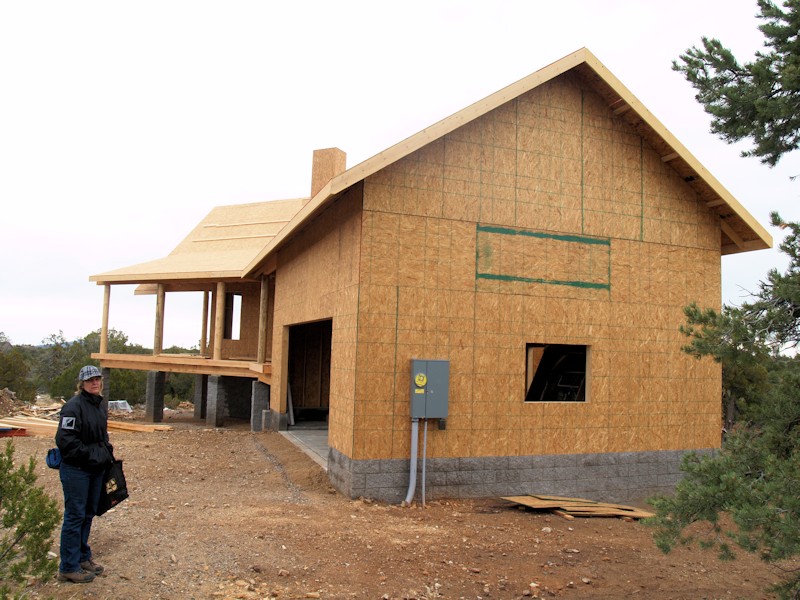
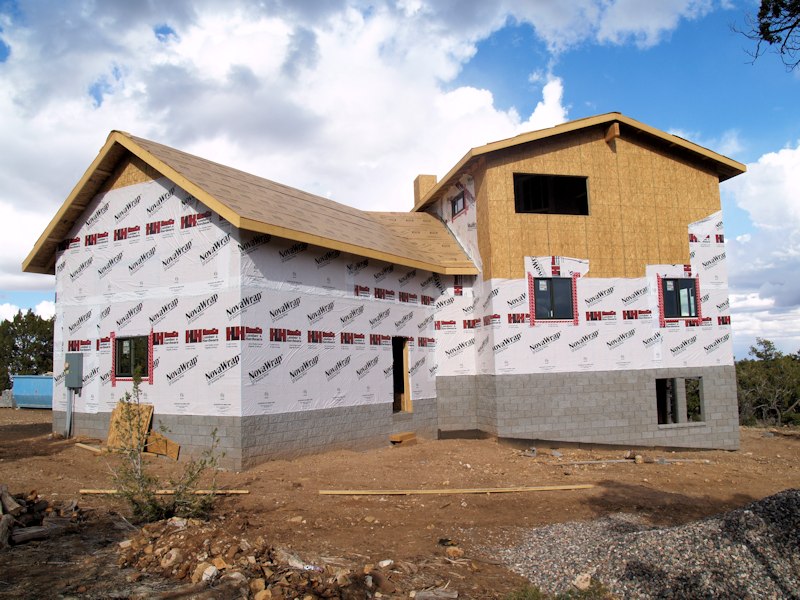
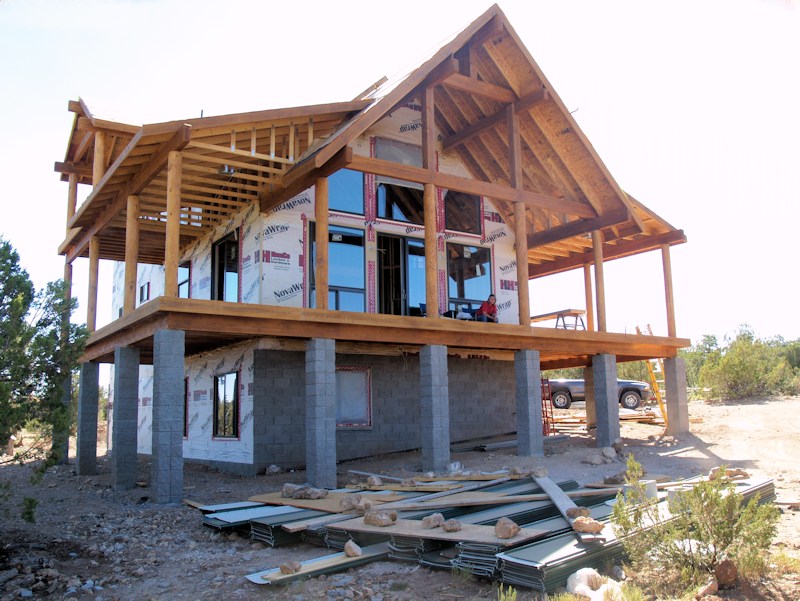
2/9/14 - We came up to see the framing in person. Here's the front of the house:
Bedrooms to the right, mud room in the middle, garage foundation on the left:
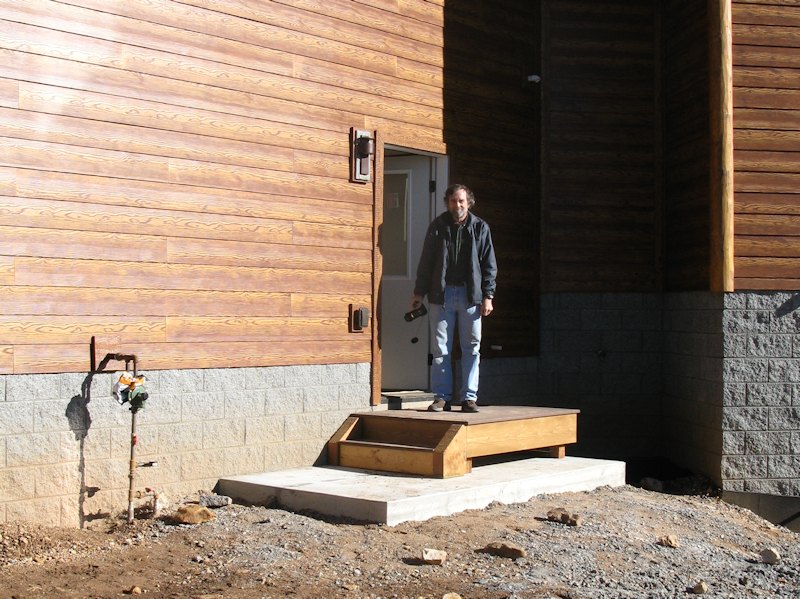
Standing in the mud room doorway. They will be building steps up the mud room from the garage:
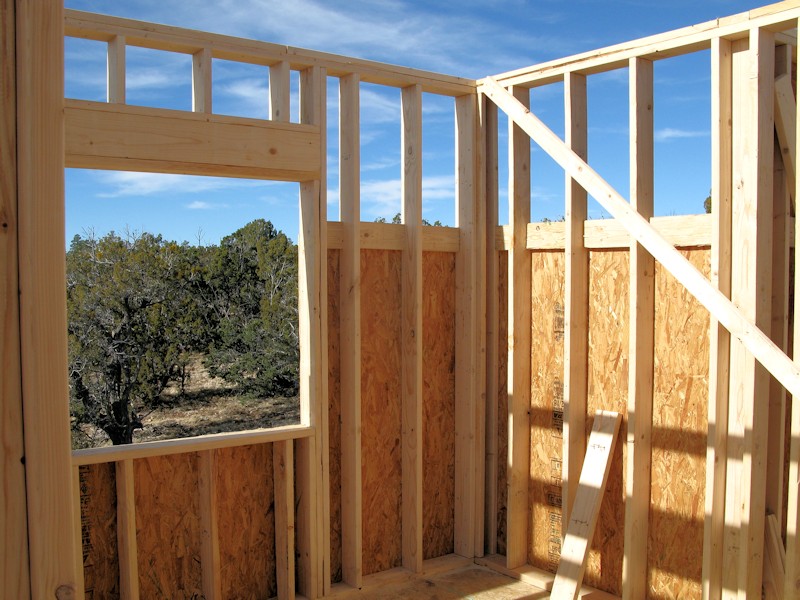
Another shot of the two 1st floor bedroom side windows, and in the rear the door and other windows that are now framed:
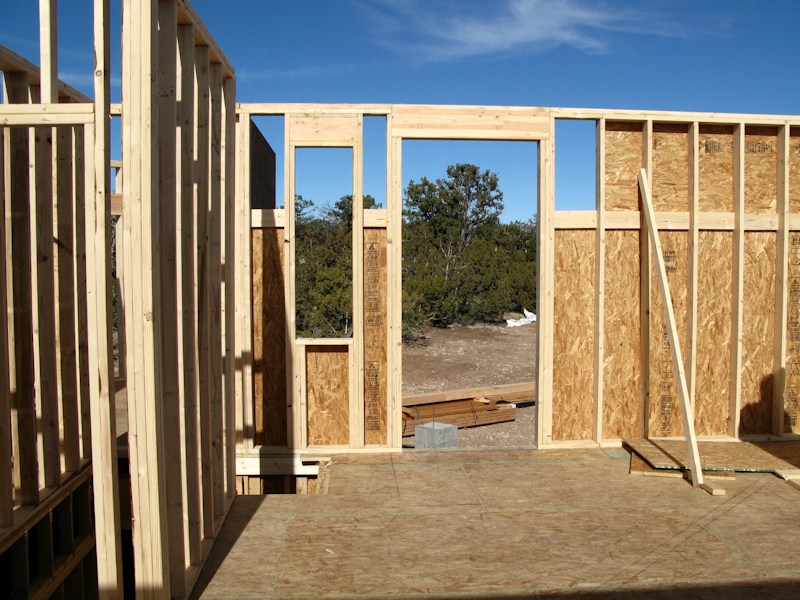
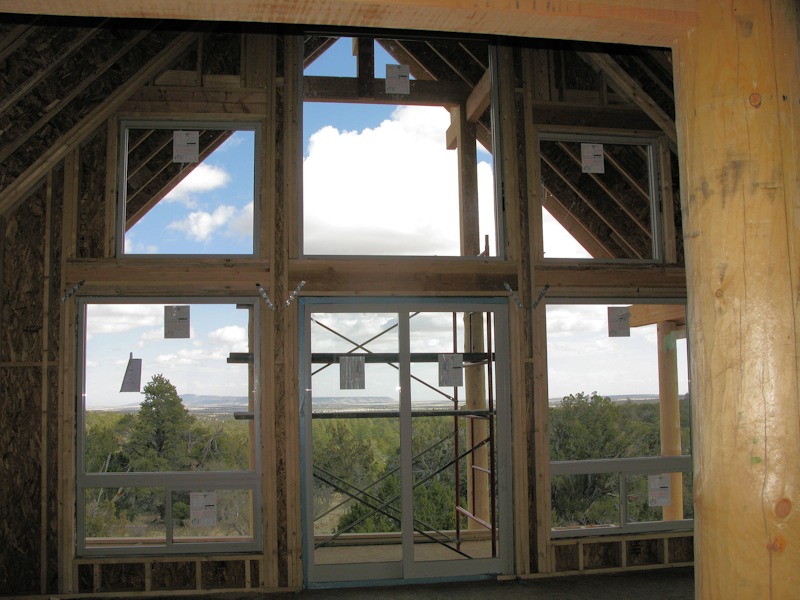
The windows in the dining room and living room:
Another view:
One more:
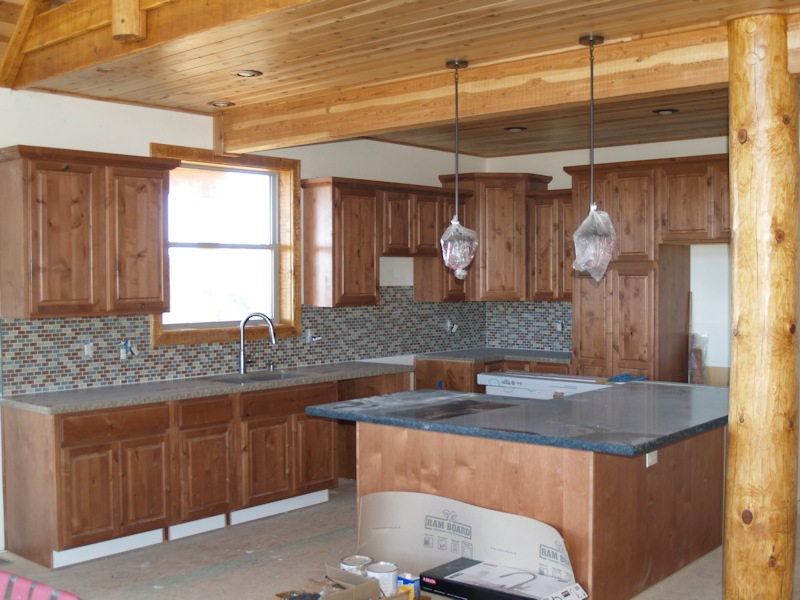
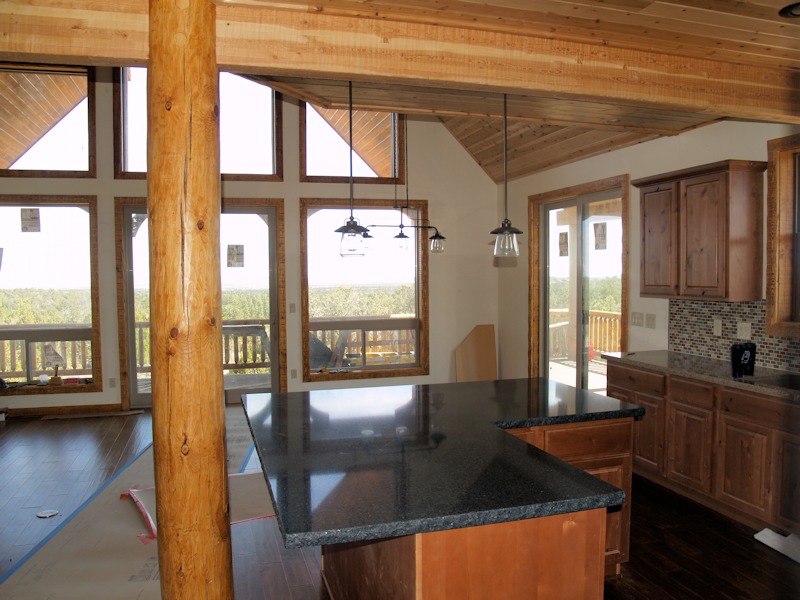
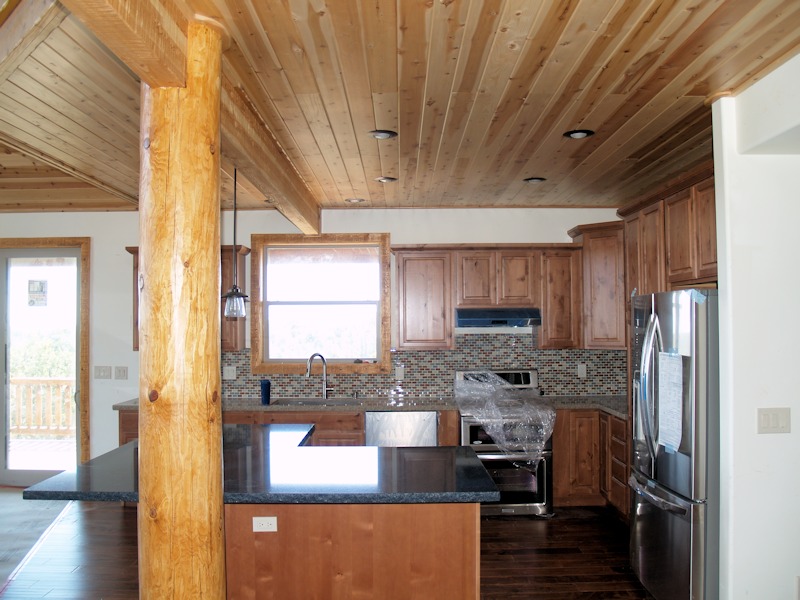
Inside checking out the kitchen:
The kitchen, bathroom and a bedroom:
The view from the corner bedroom with two windows:
The bedroom with one window:
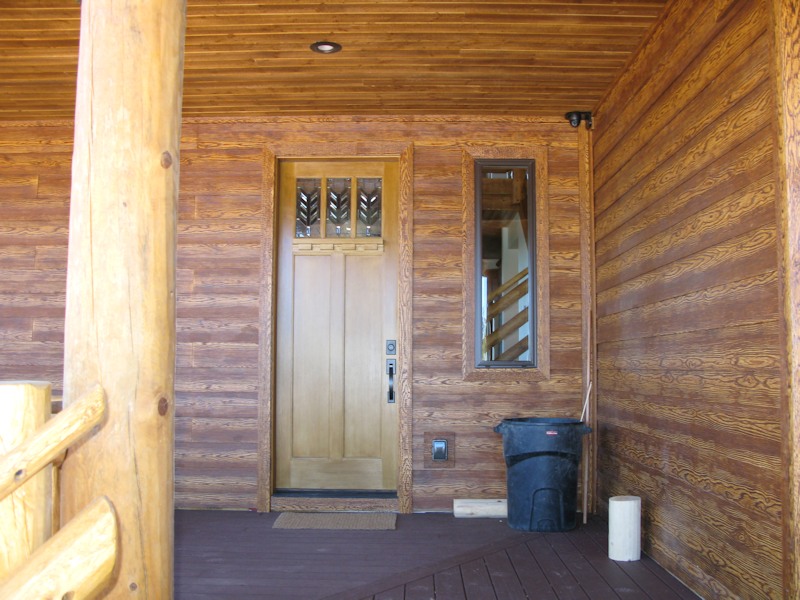
The front door:
At the kitchen window, "time to eat":
Our first meal in the dining room:
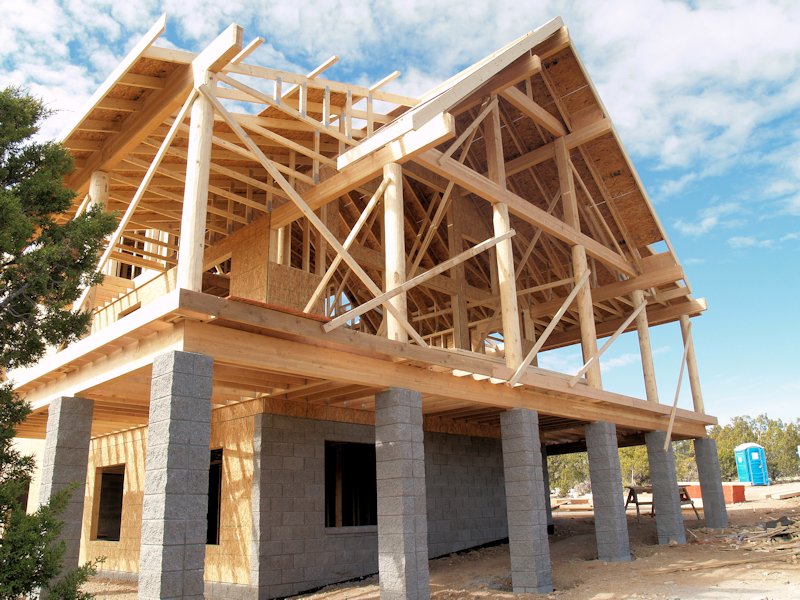
2/14/14 - Wow, exciting times, the
weather is great so the framers continue to work. Here's the
Looking from the side of the garage toward the front:
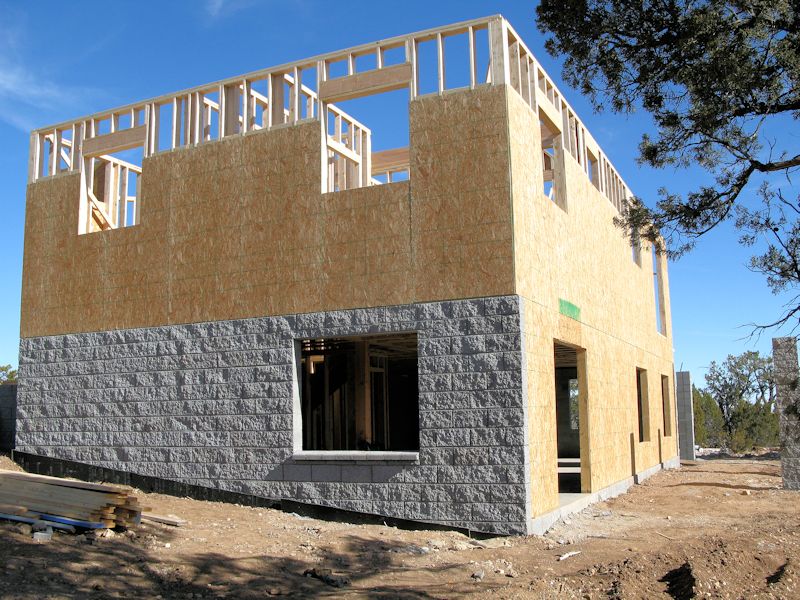
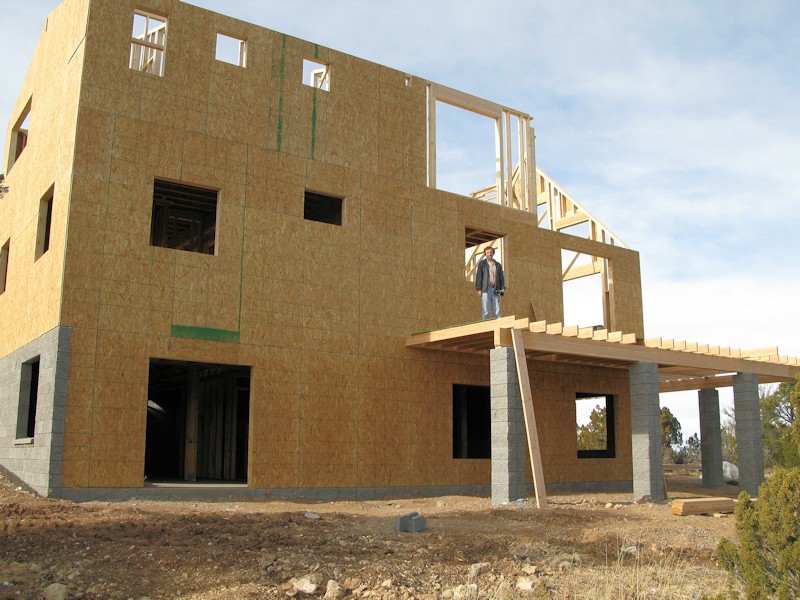
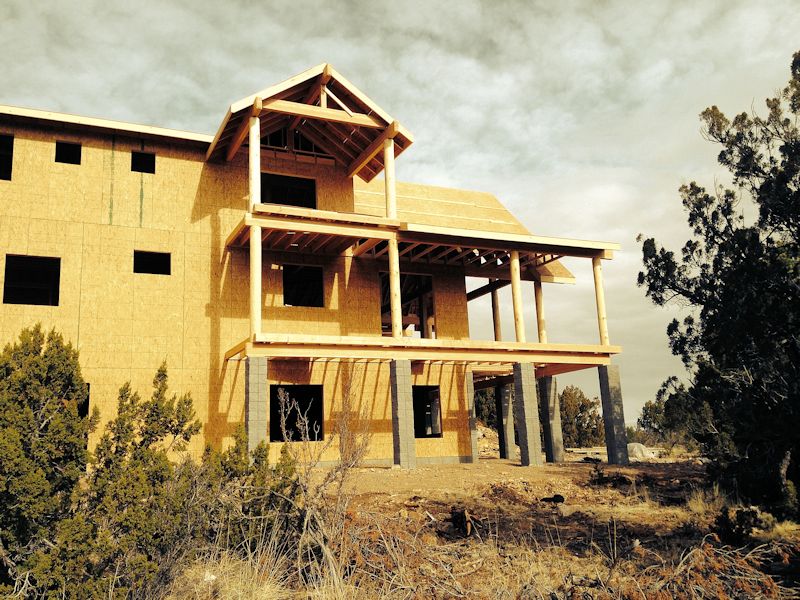
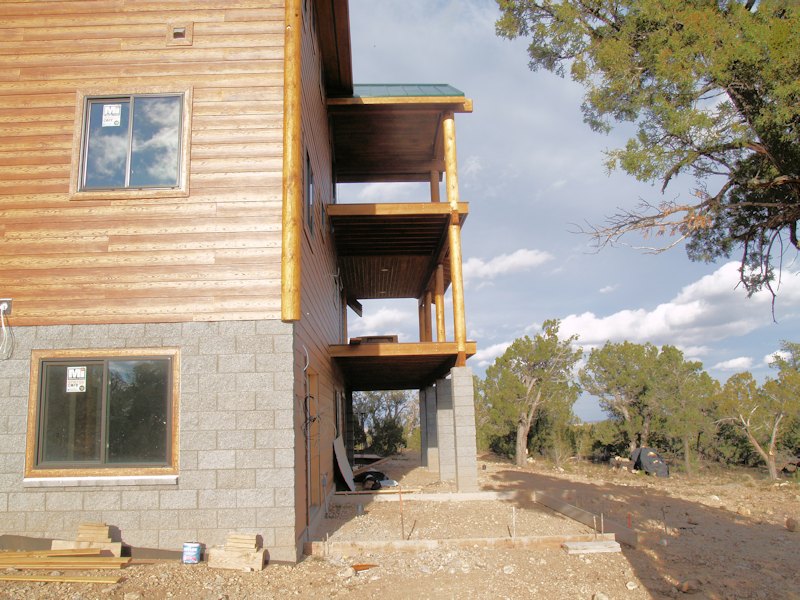
The side of the house, the large window upstairs is in the Master Bedroom:
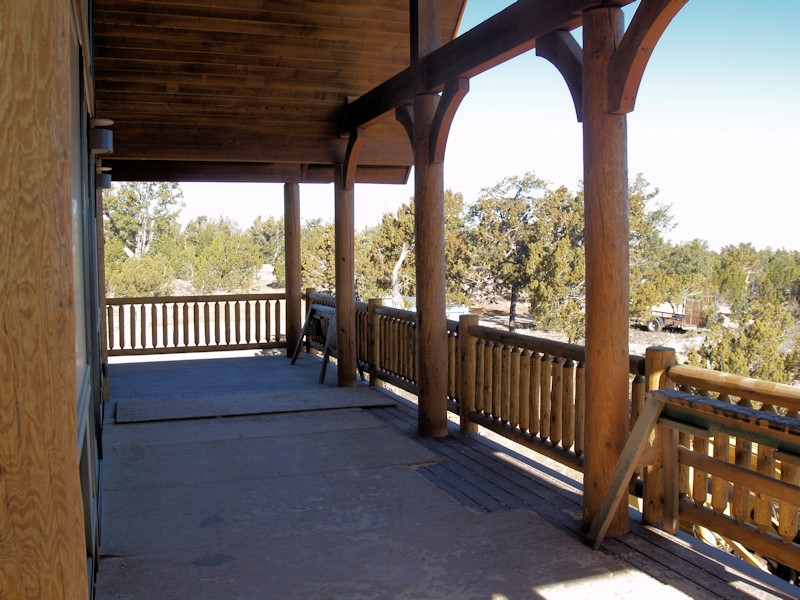
Standing on the deck out back:
Another view of the decking:
Lots of wood:
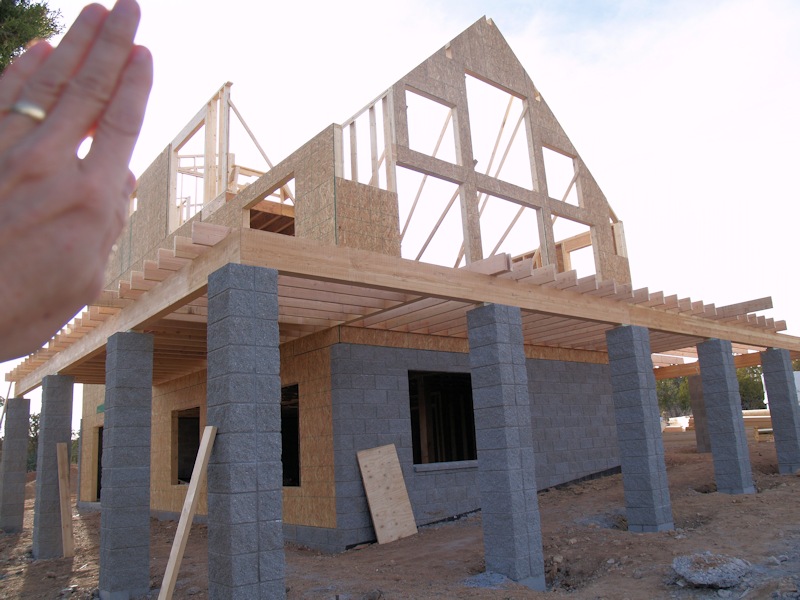
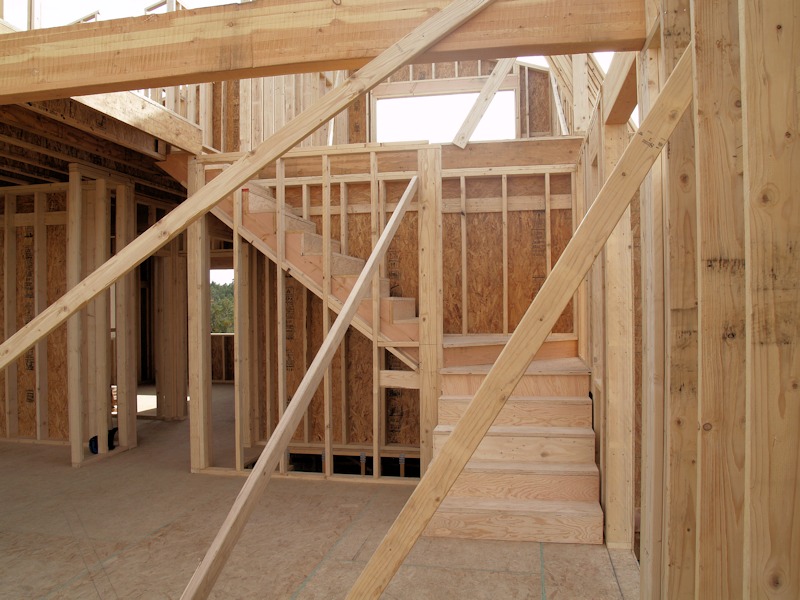
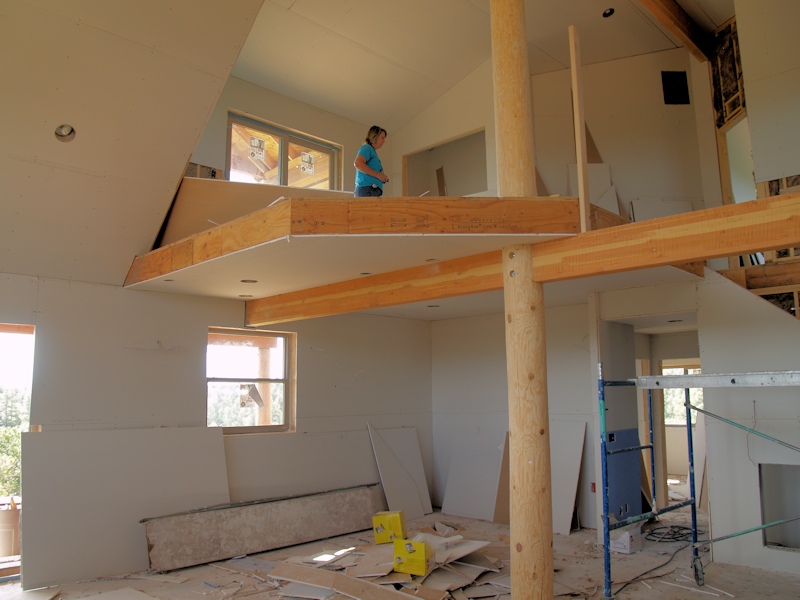
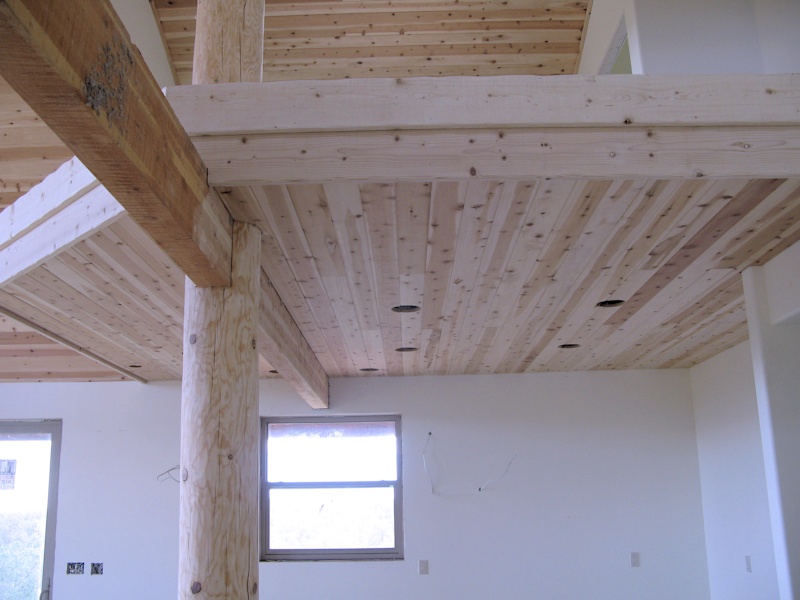
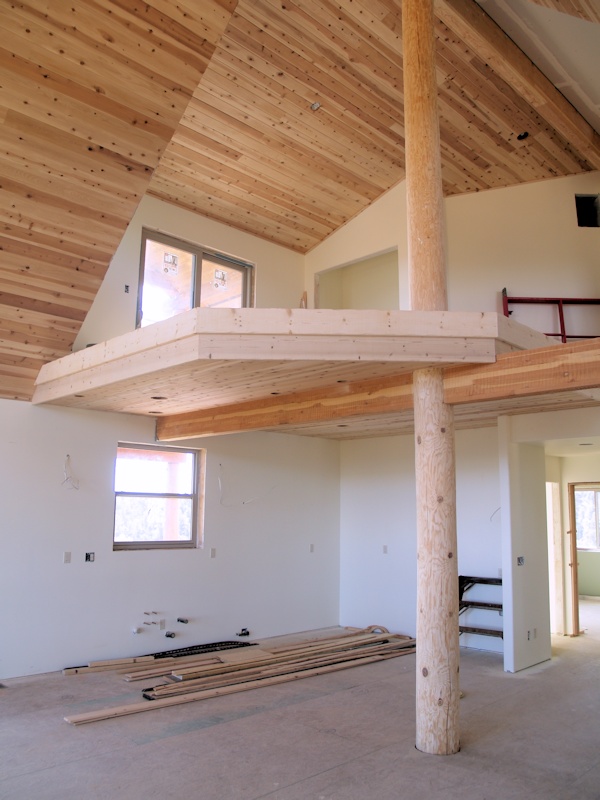
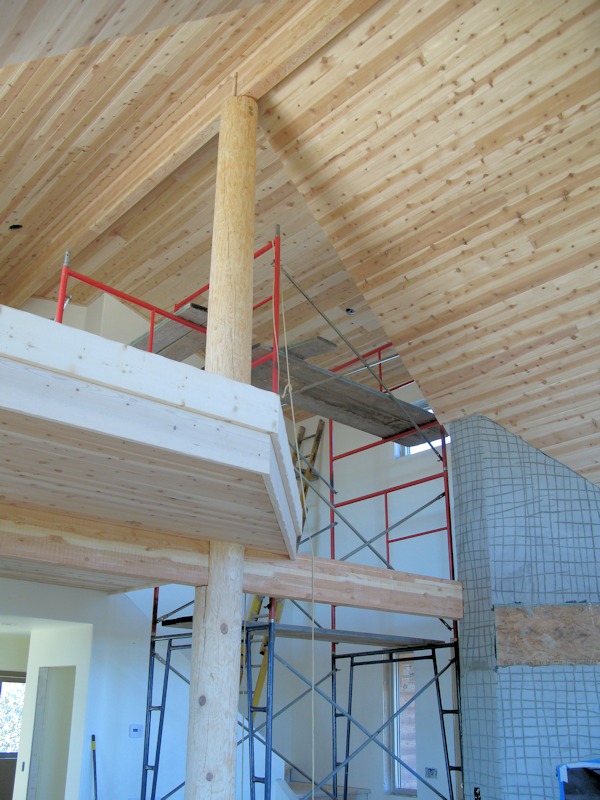
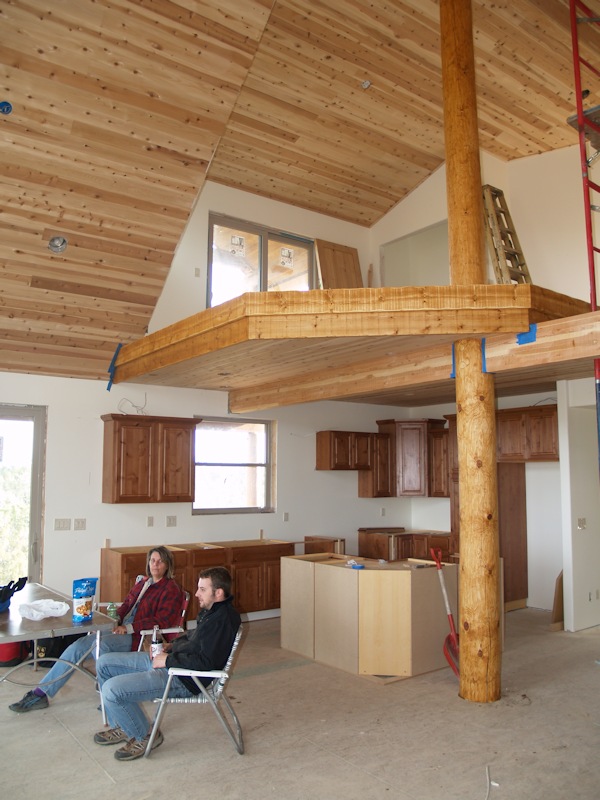
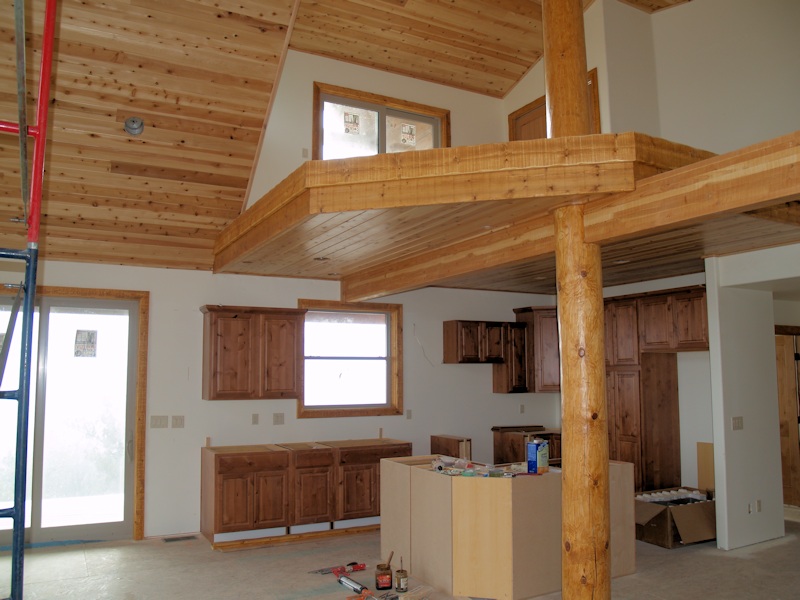
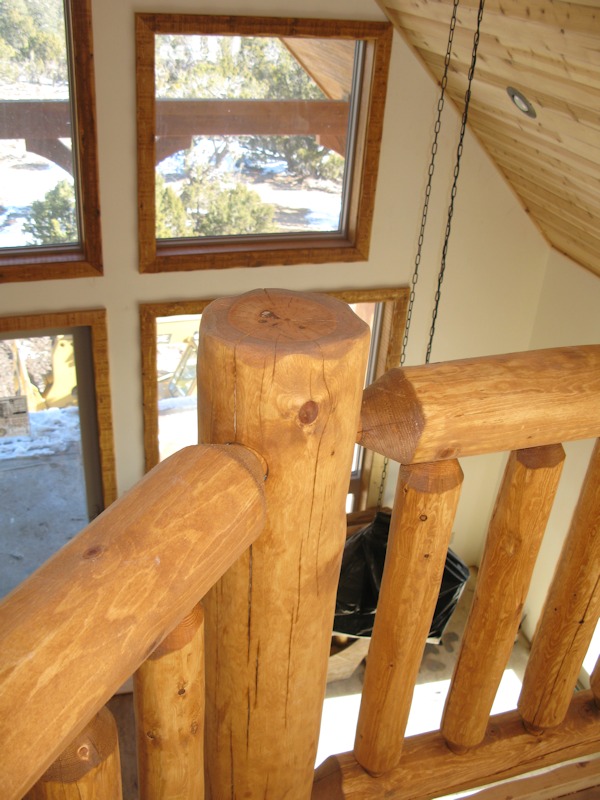
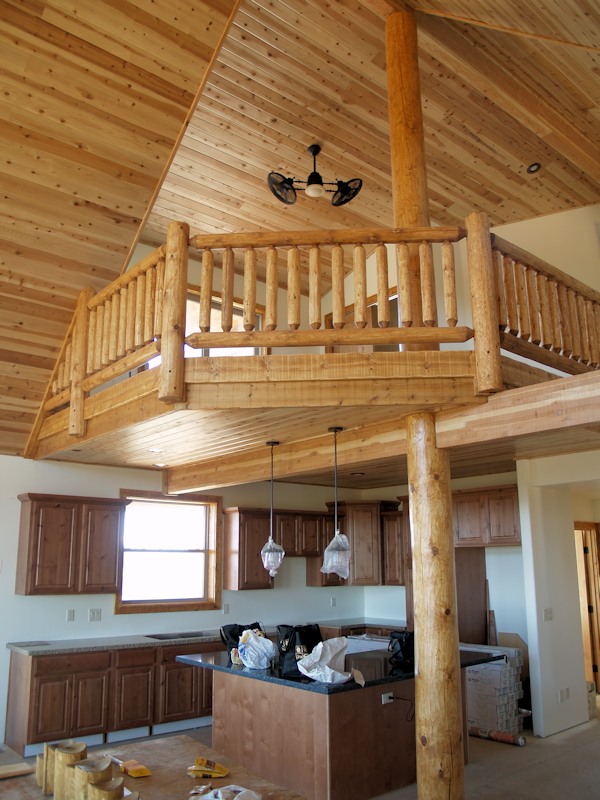
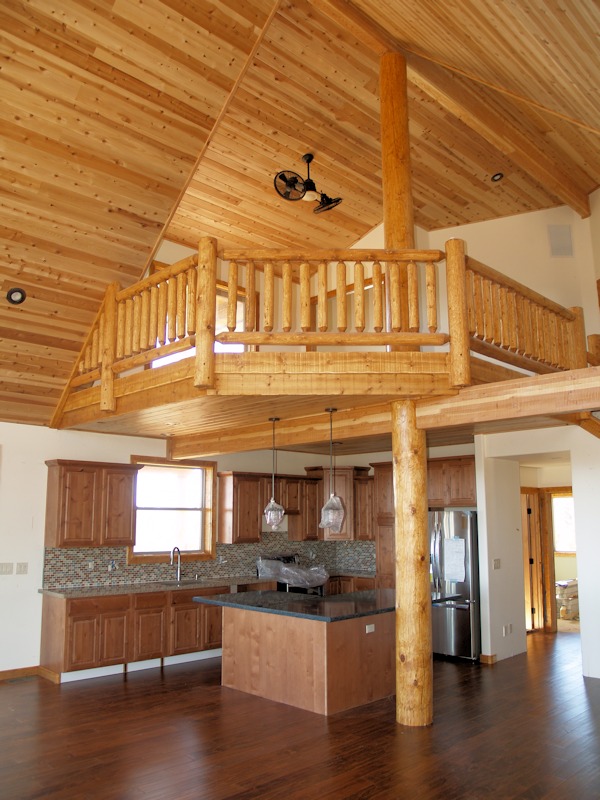
In the kitchen under the loft with the pole and beam holding things up. The framers use a chain saw to notch the poles:
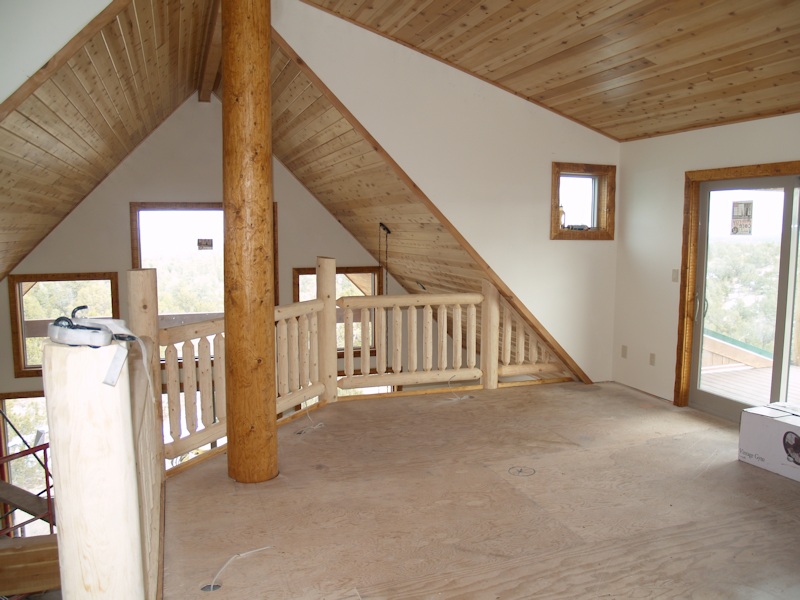
Standing on the loft where the railing will be some day:
Out on the deck by the dining room and kitchen:
Looking in the kitchen window:
Looking into the garage from the mud room:
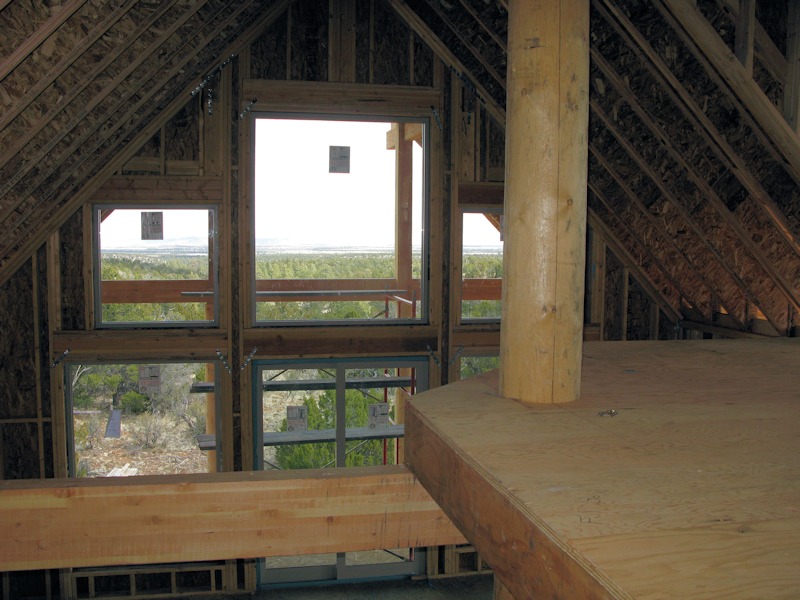
Let's go upstairs:
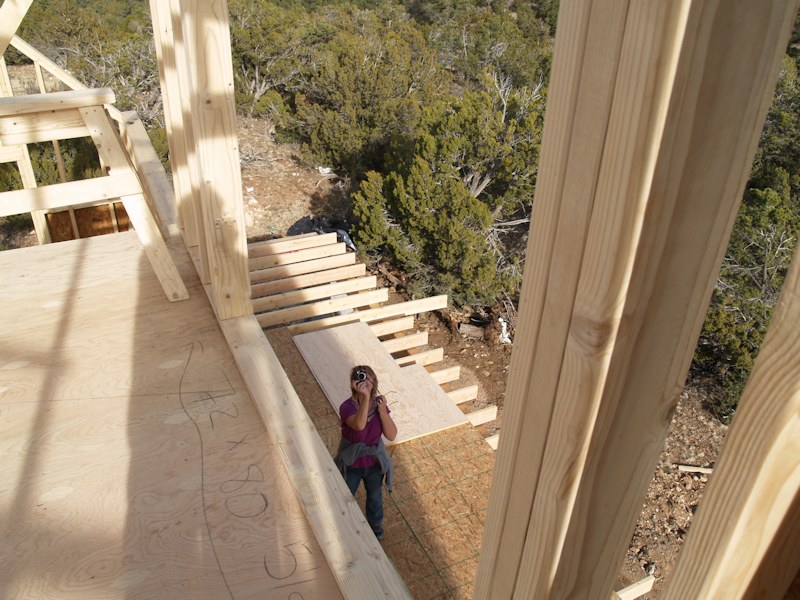
The walkout from the loft:
Looking down from the loft walkout:
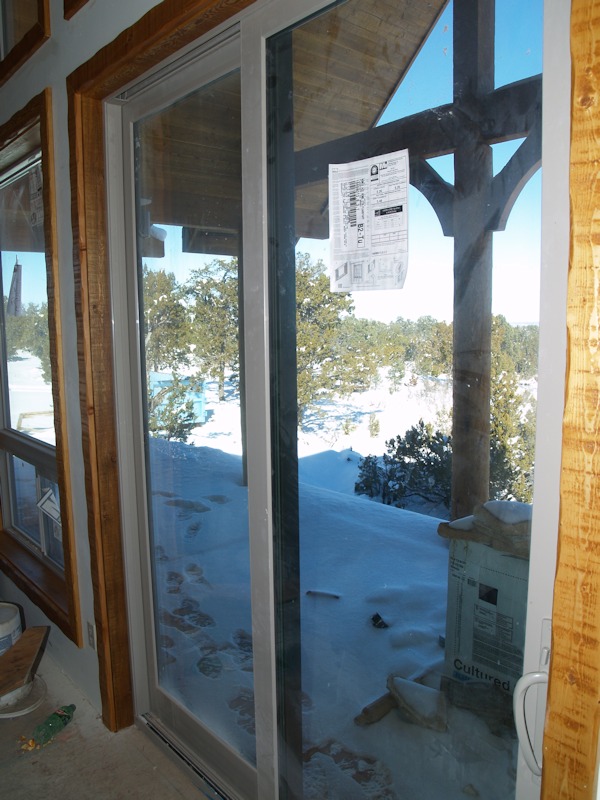
The view through the windows from the loft:
The master bedroom, the bed will go under the smaller window:
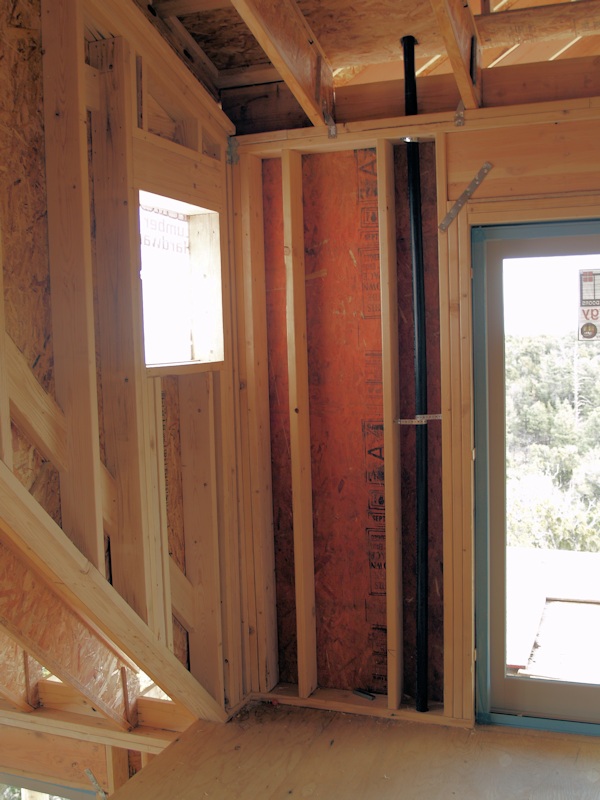
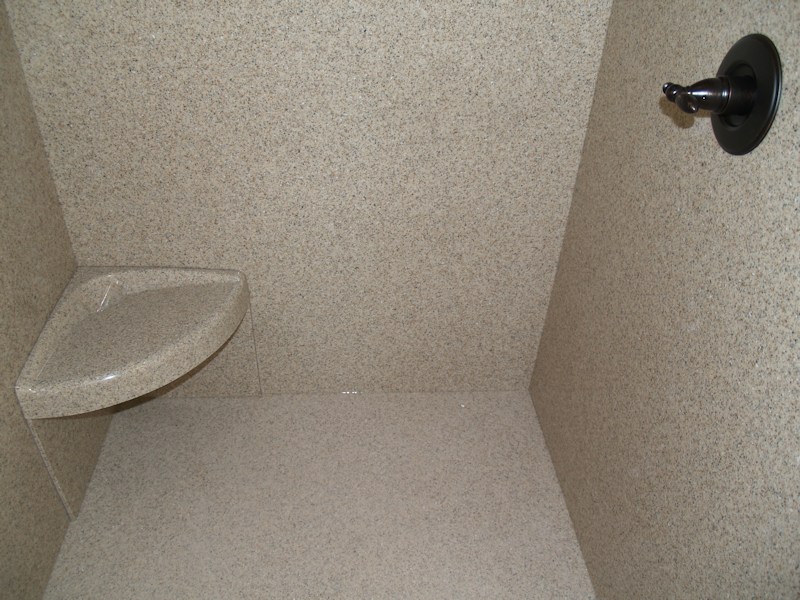
Hard to see, but the loft closet, master closet, master shower, and master bathroom against the wall:
View from the master toilet:
Heading downstairs, hey I didn't notice that blue thing before:
Hey, it's the TURDIS!
I had to open the door and see if it's really bigger inside. It is! And I think the guy on the left is Dr. Poo !
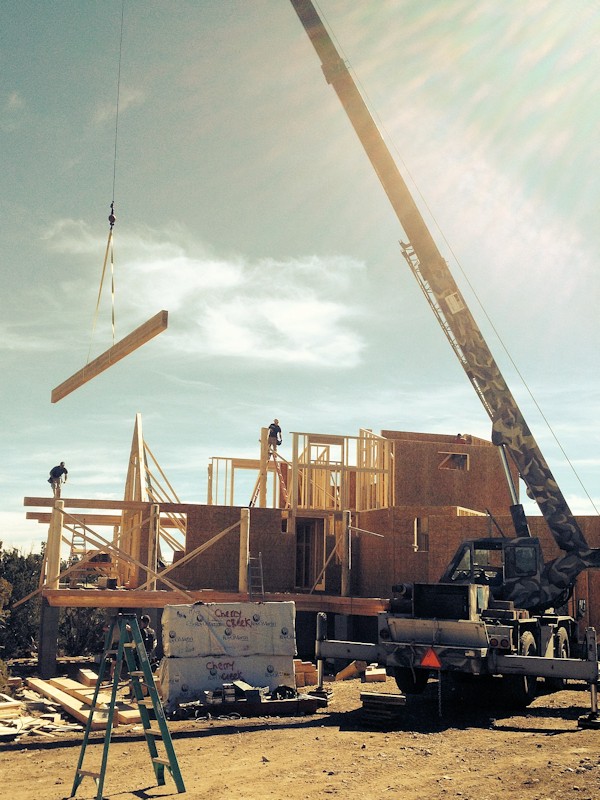
2/18/14 - Setting the ridge beam
today - half runs from the wall on the left
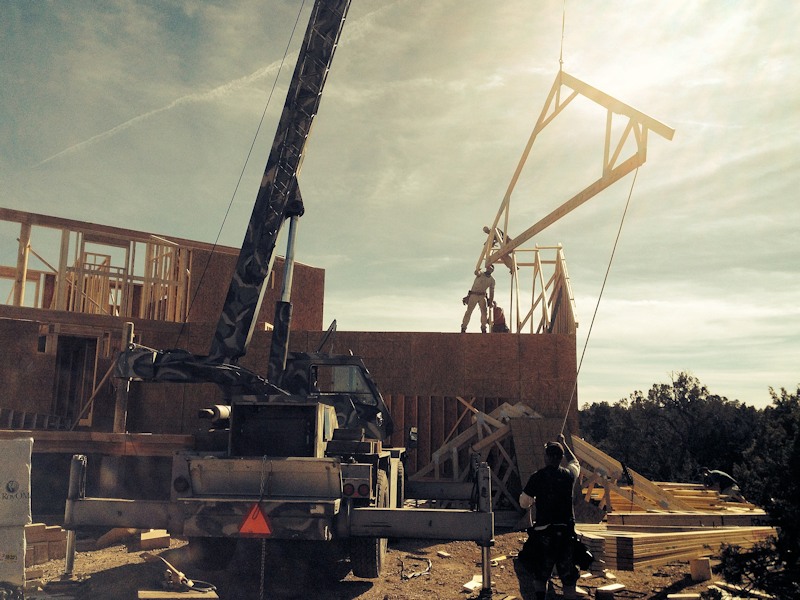
You can see the ridge beam is set,
now installing the trusses over the garage. Note that the
Done with the heavy lifting for the day:
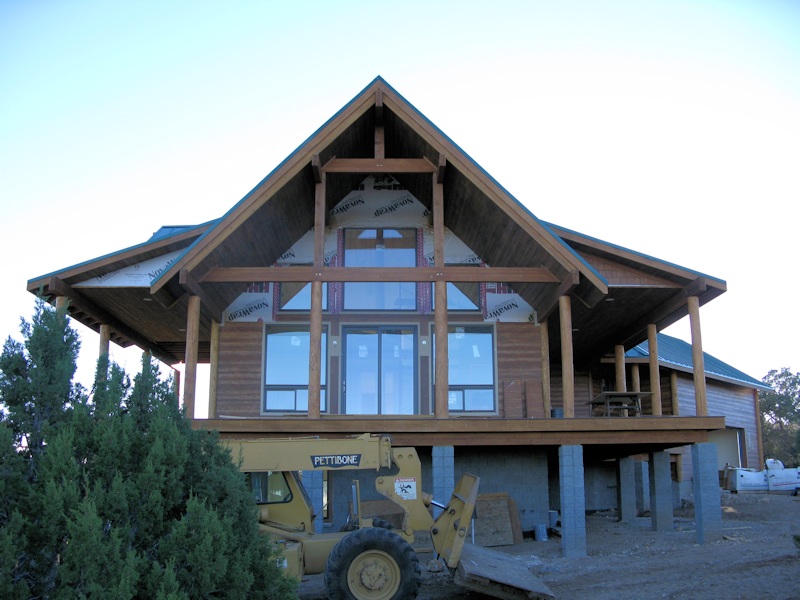
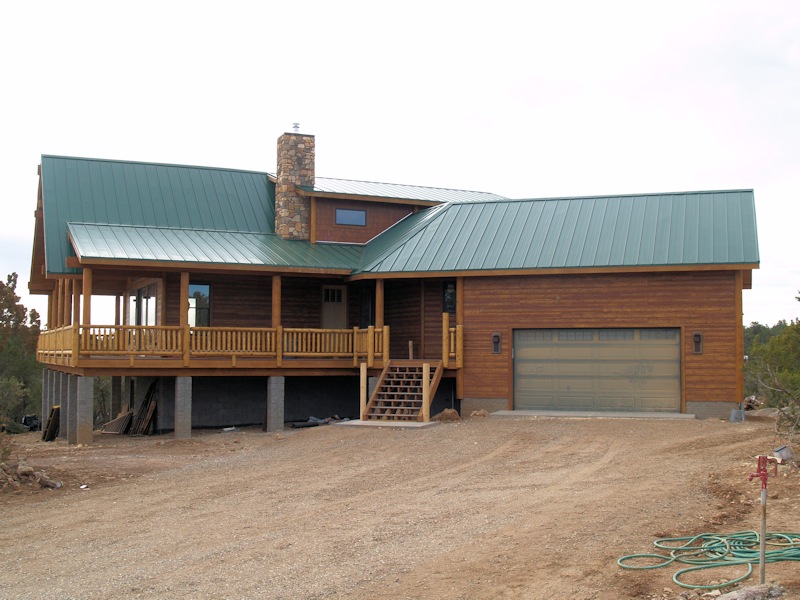
2/21/14 - We got a picture from the builder today - it's really looking like a house!
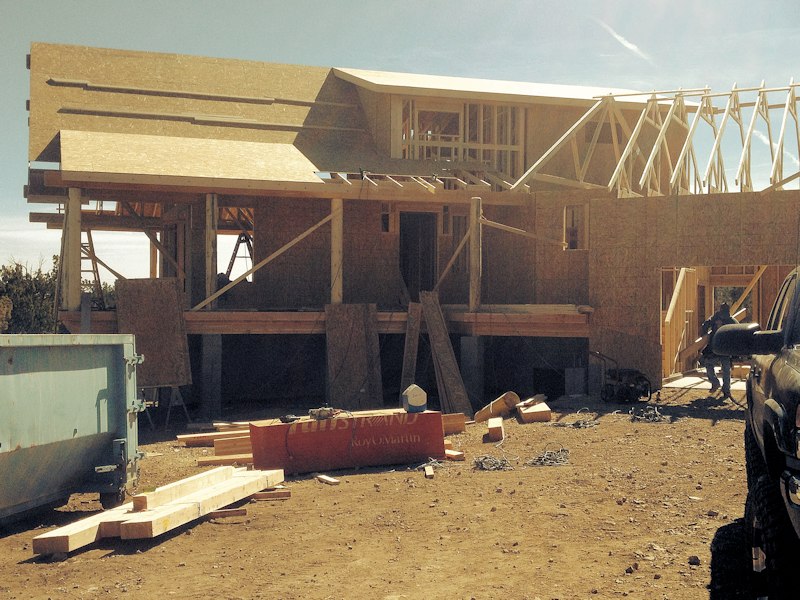
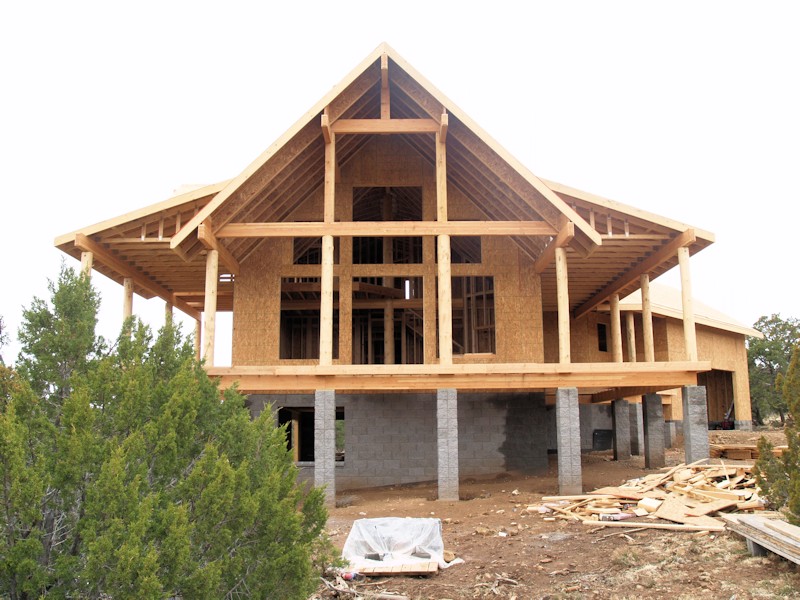
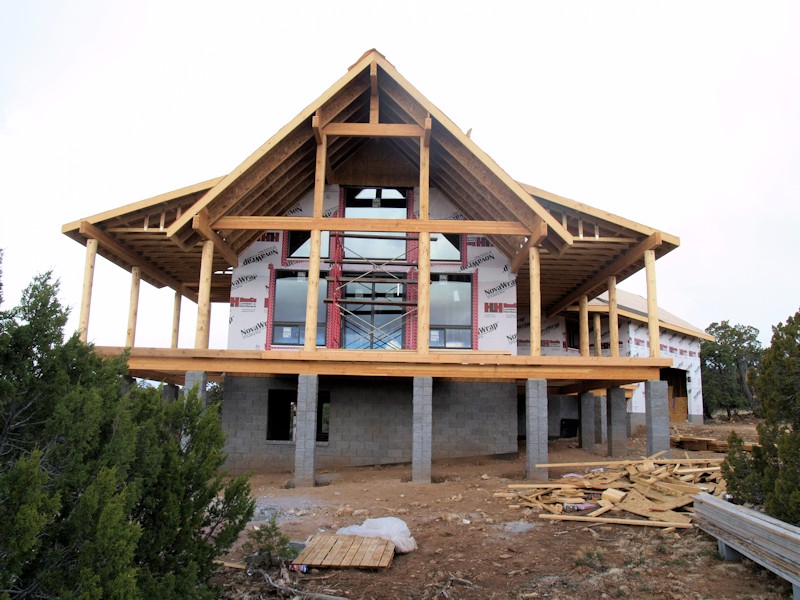
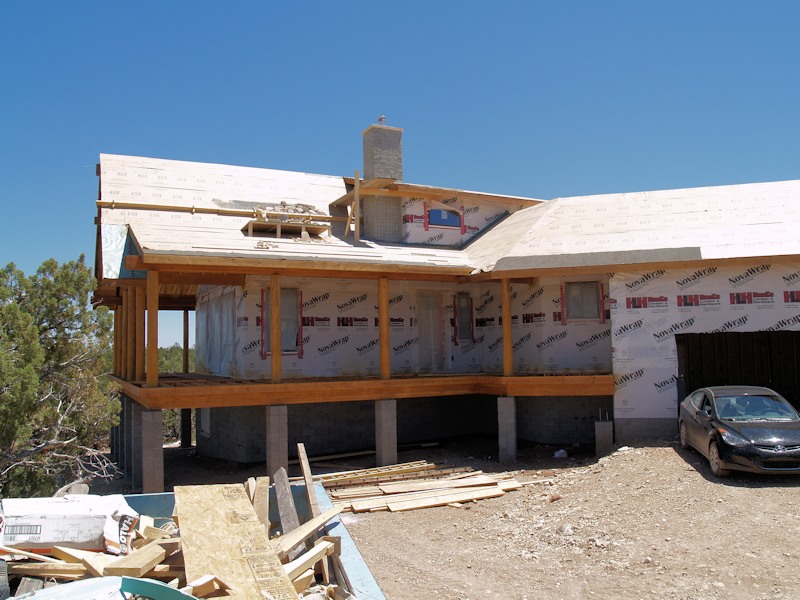
2/23/14 - Check out all of the work they did this week - the front of the house:
The garage looking toward the front:
The back of the garage on the left, the side of the house in the middle, the deck out back:
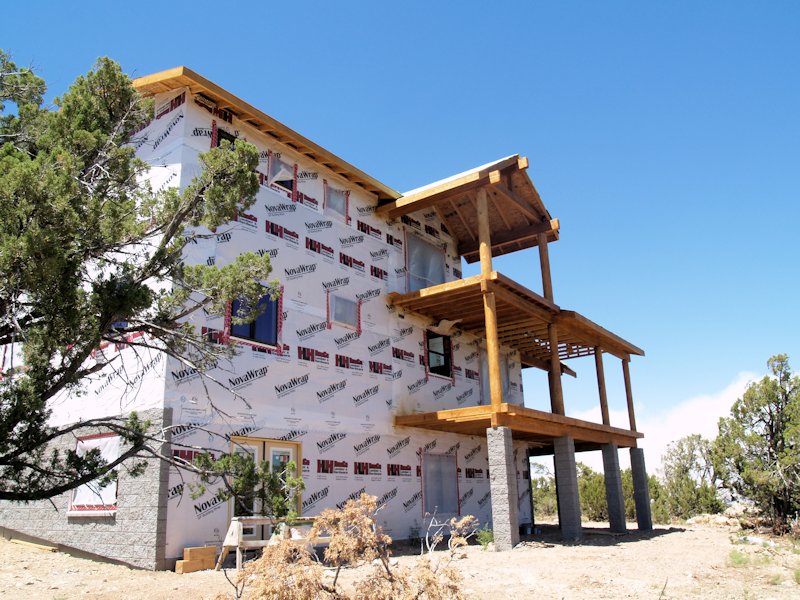
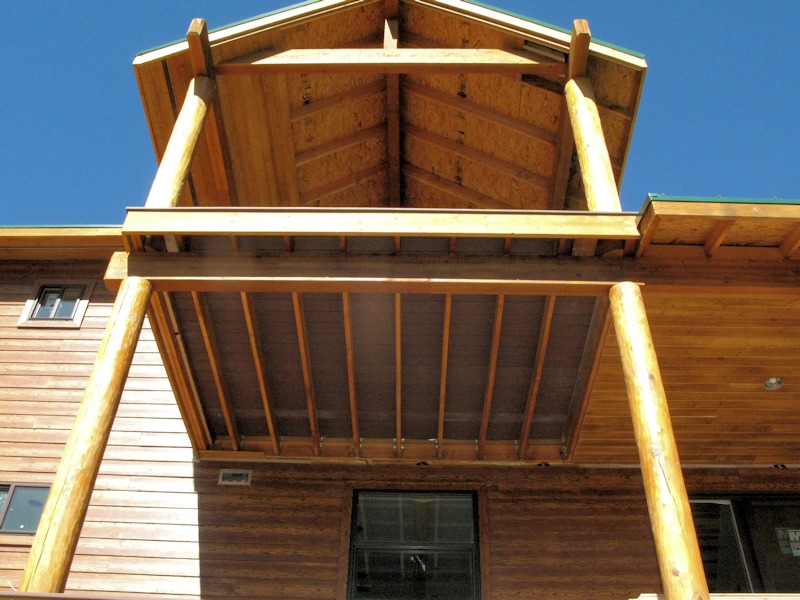
The back - they still have to finish the deck coming out of the loft:
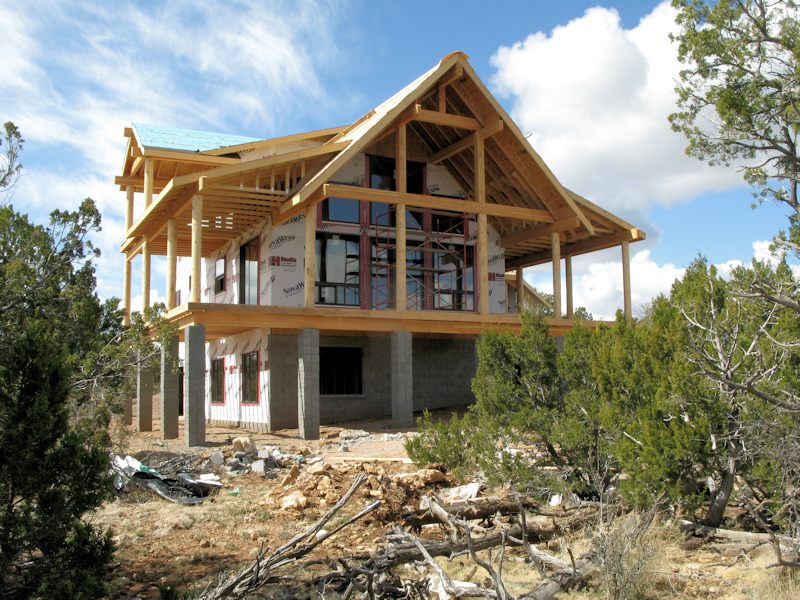
The dining room and living room area with the deck and roofing structure almost finished:
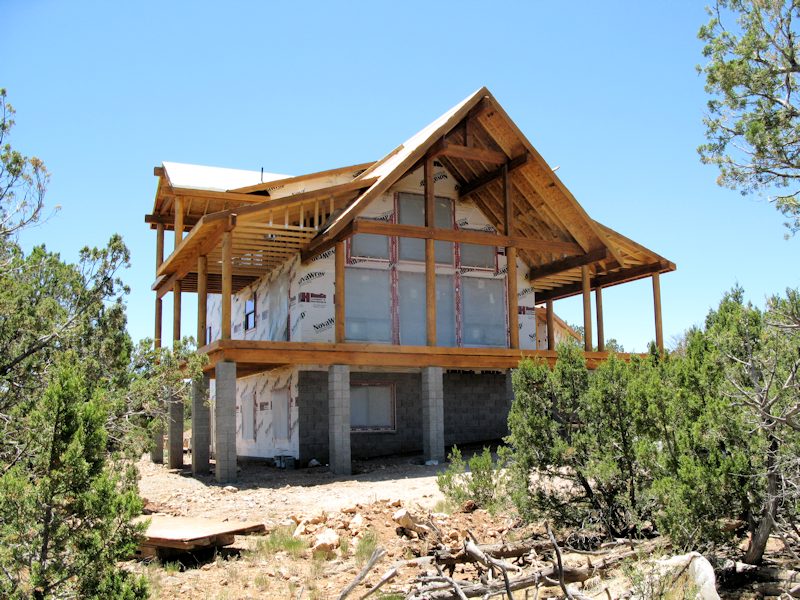
Another view of the side:
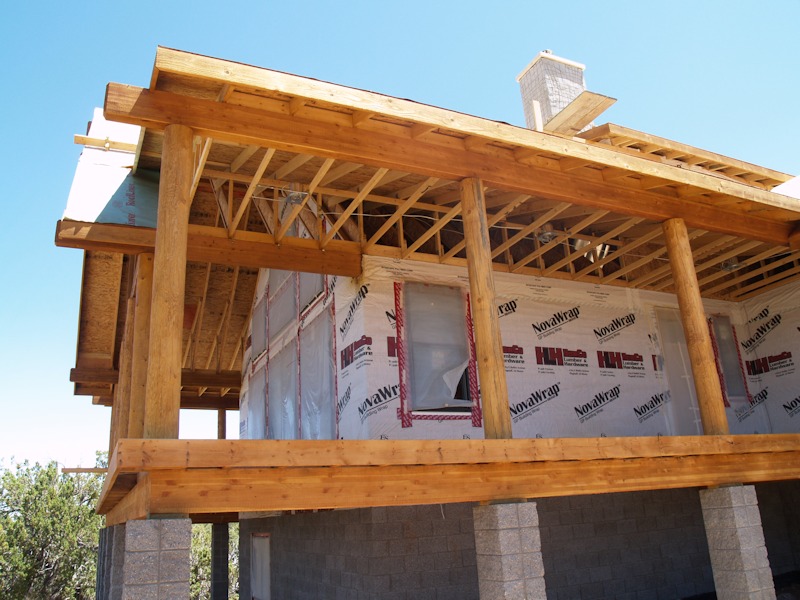
The side and looking past the front porch toward the garage on the right:
Speaking of the garage, the stairs up to the mud room, the opening for the HVAC and water heater closet, and the door out back:
A view looking down the deck on the front of the house:
Inside the kitchen looking out the front door:
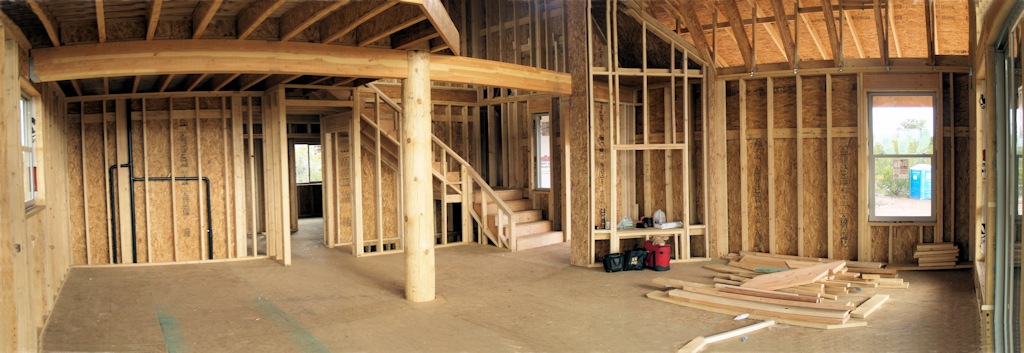
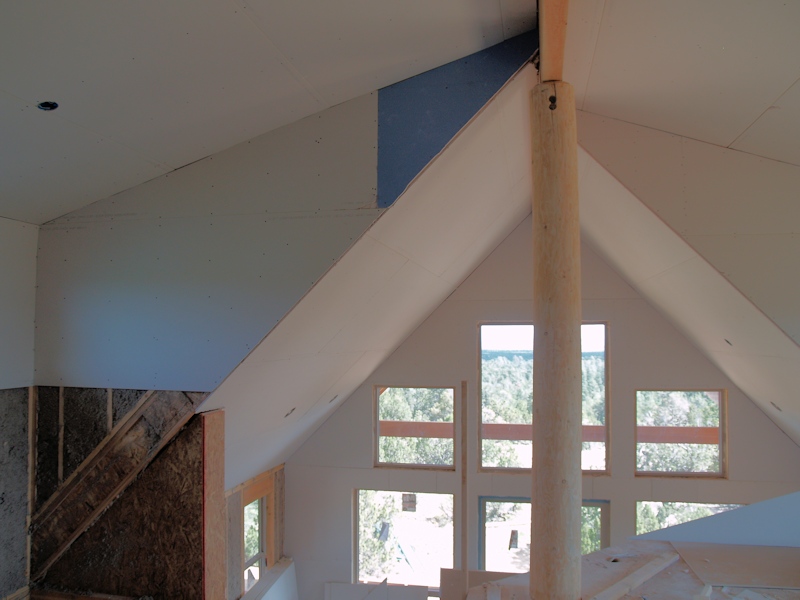
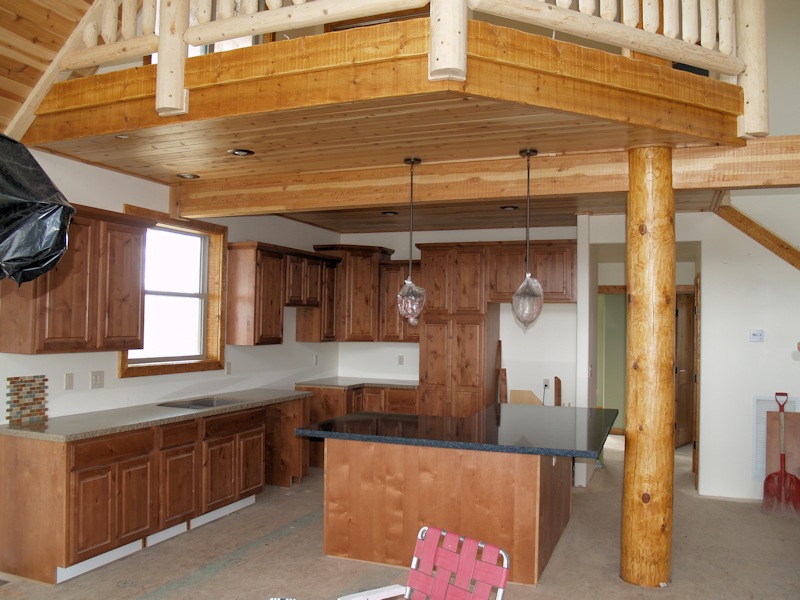
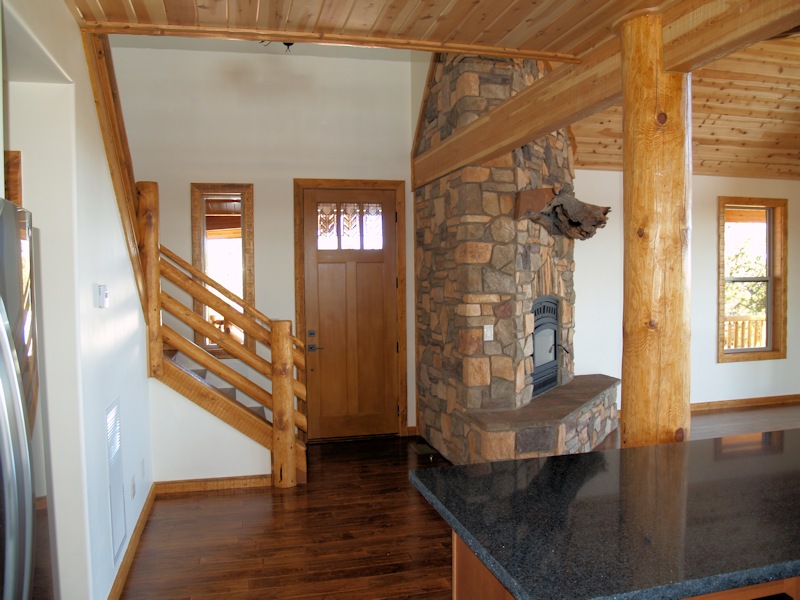
In the living room looking at the dining room area to the left, kitchen under the loft, the loft up top with the walkout:
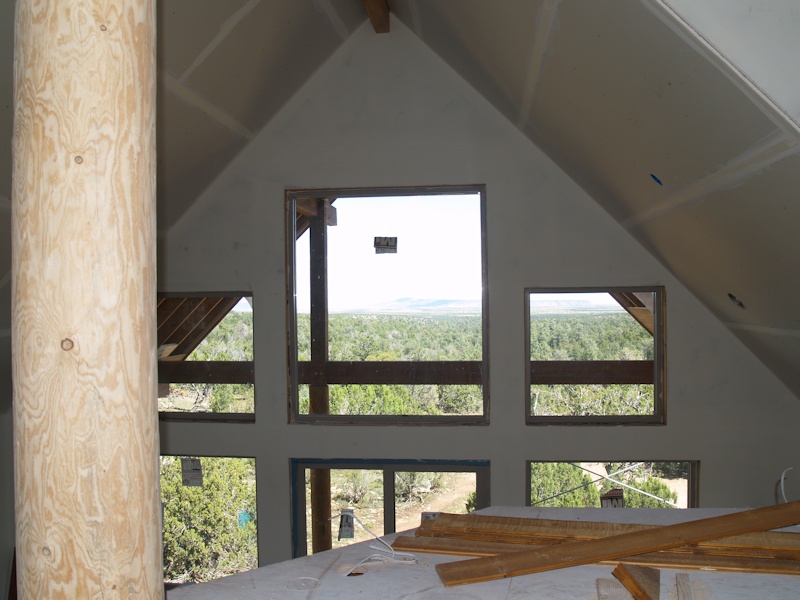
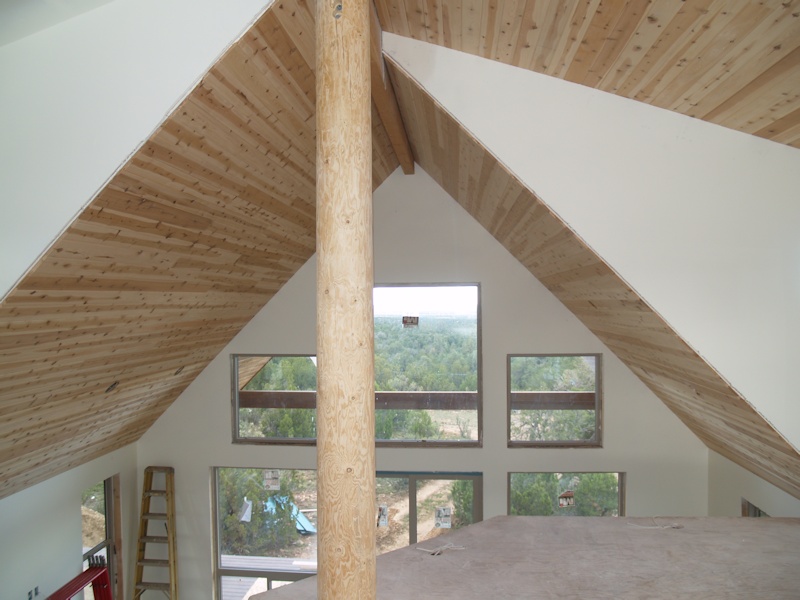
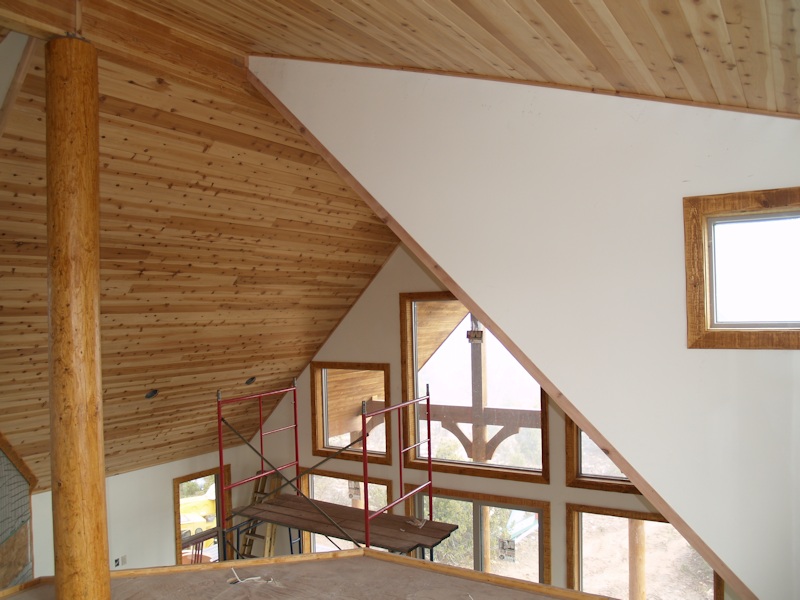
Up in the loft looking out the new front window over the front door:
The triangular area will be a wall with a small window. The walkout to the upper deck is to the right:
The triangular area to the left will be a wall with a small window, but you can see out the main windows from the loft:
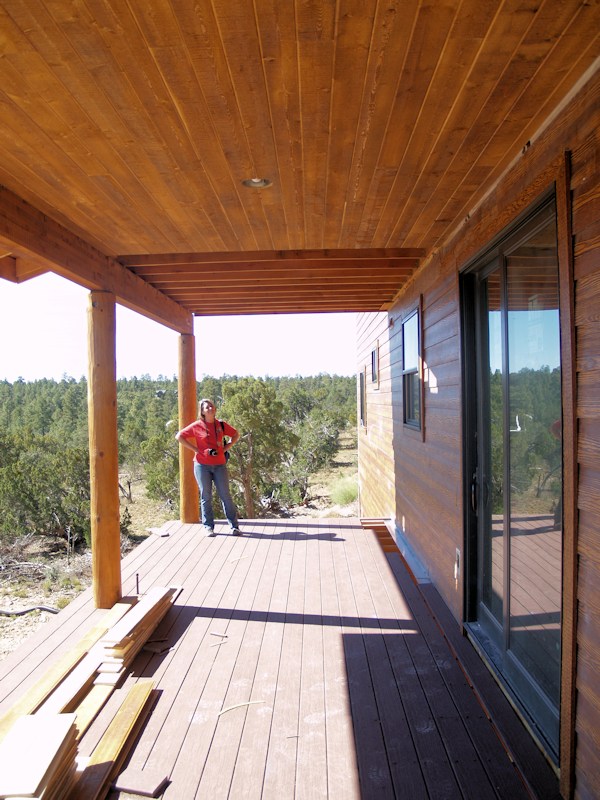
Just outside the living room, out on the deck enjoying the day:
2/24/14 - Got a picture form the builder showing how the roof around the mud room and garage works:
2/28/14 - New pictures from the builder - the chimney is framed in:
The deck off the loft is framed in:
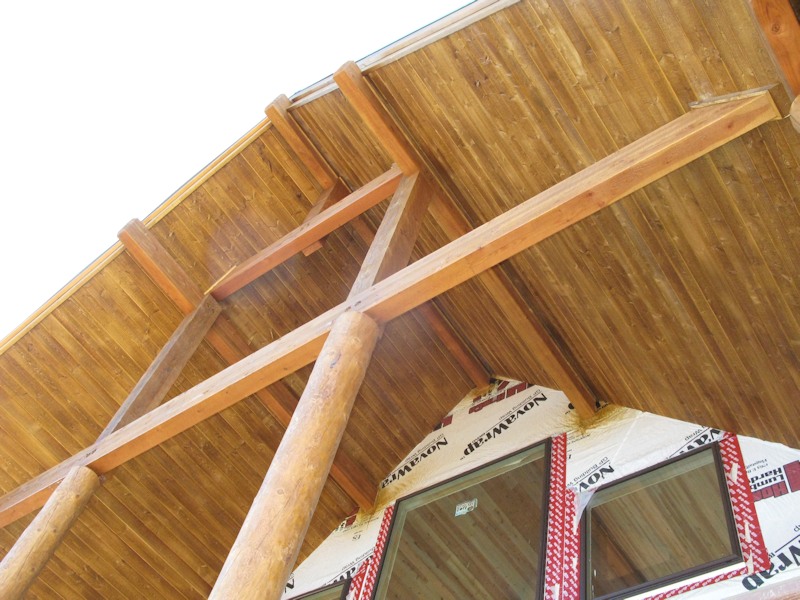
And they're working on the support for the tongue and groove planking that will be the ceiling of the deck:
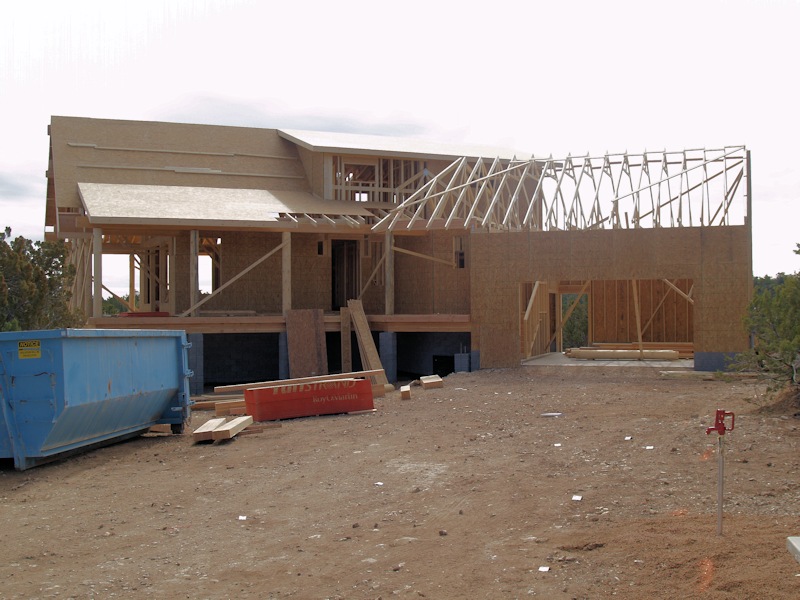
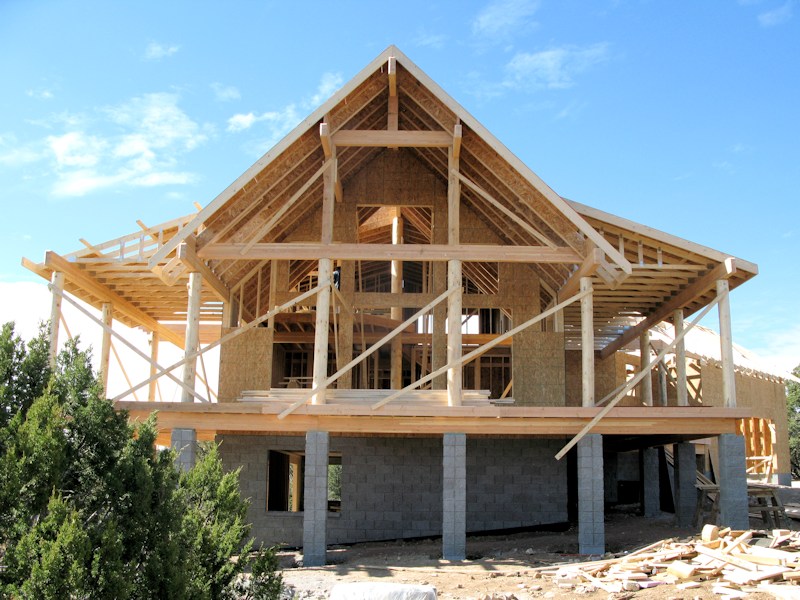
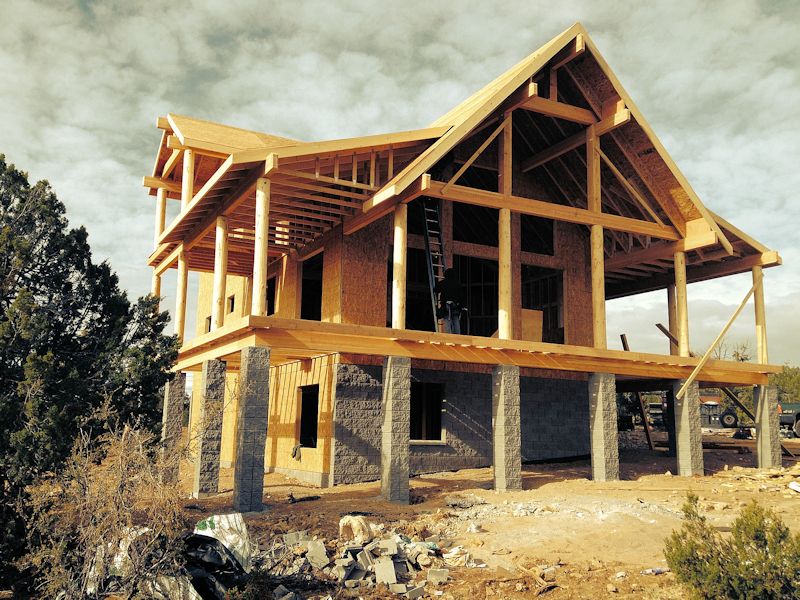
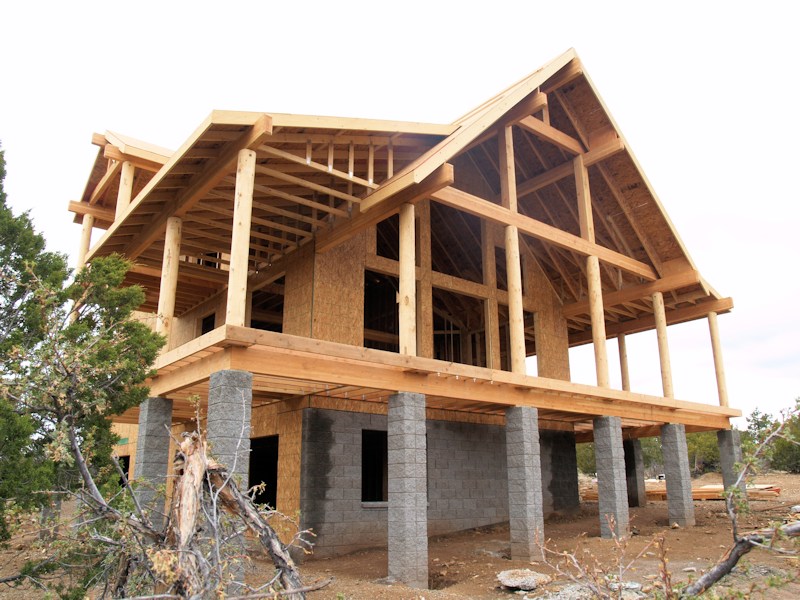
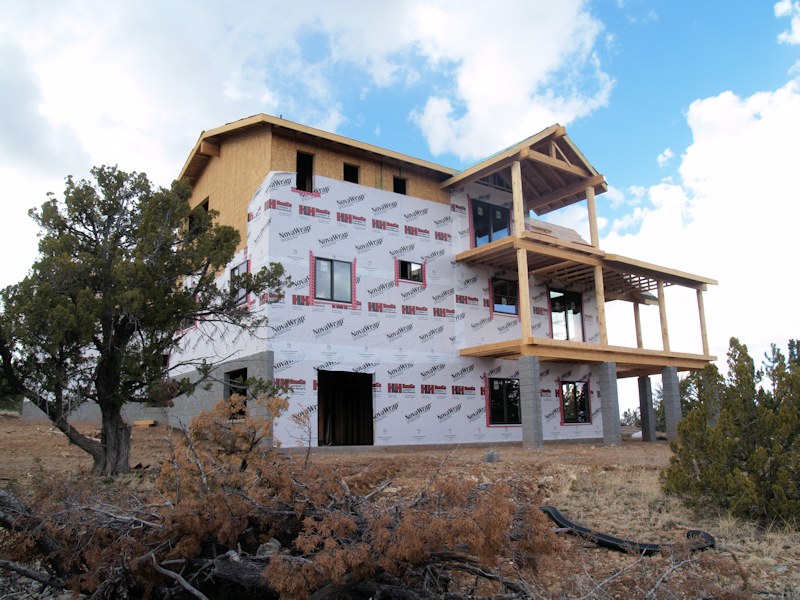
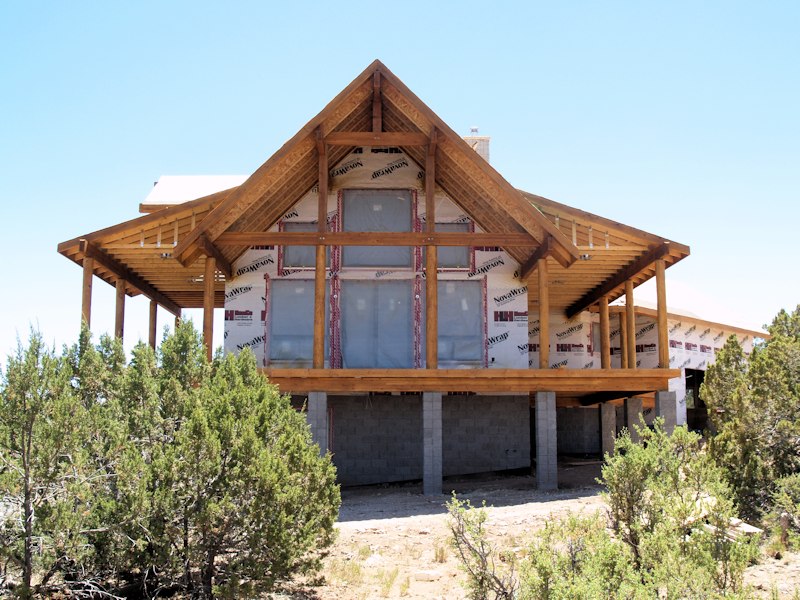
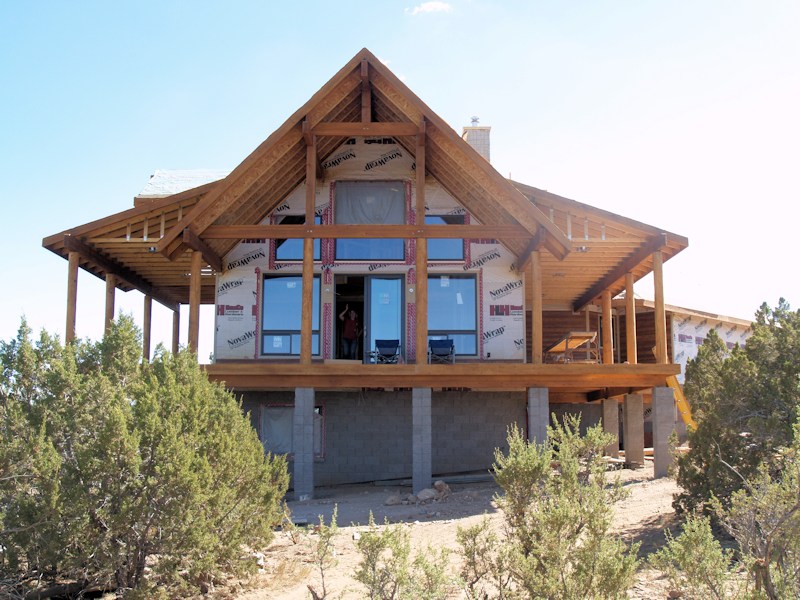
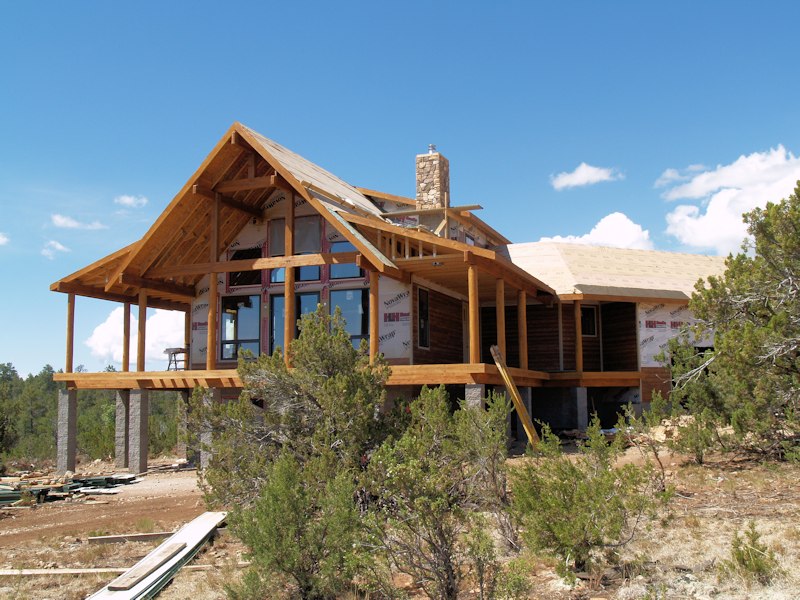
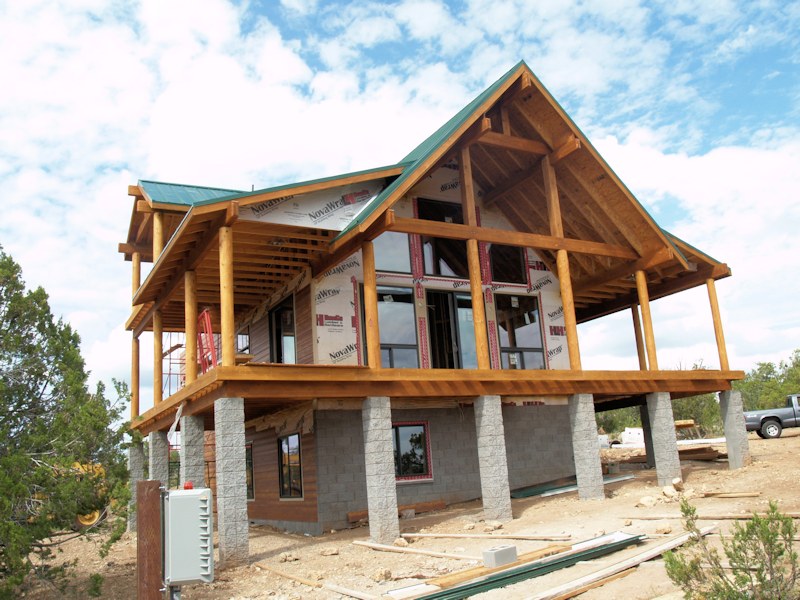
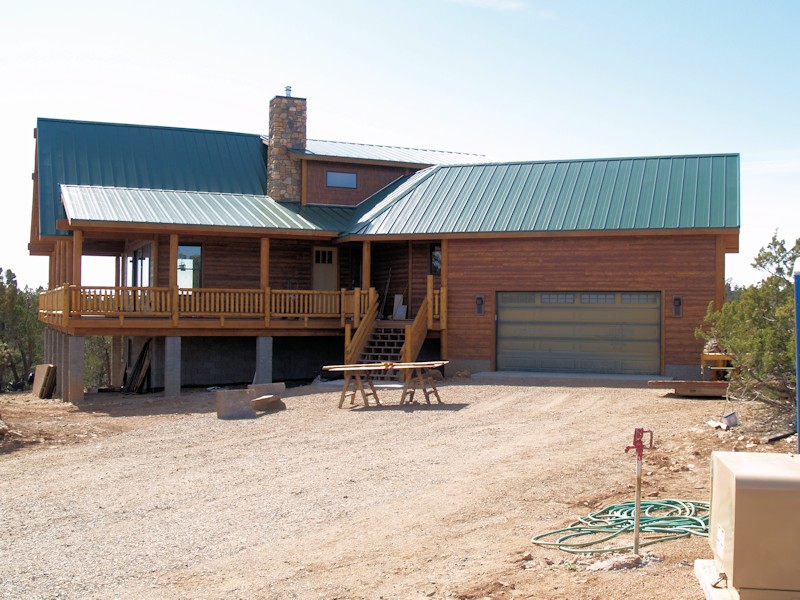
3/4/14 - We came up today to see that framing is complete. Here's the front of the house:
View from the garage - it was a chilly day:
Side and rear of the garage, and side of the house:
Rear of the garage, and side and rear decks of the house:
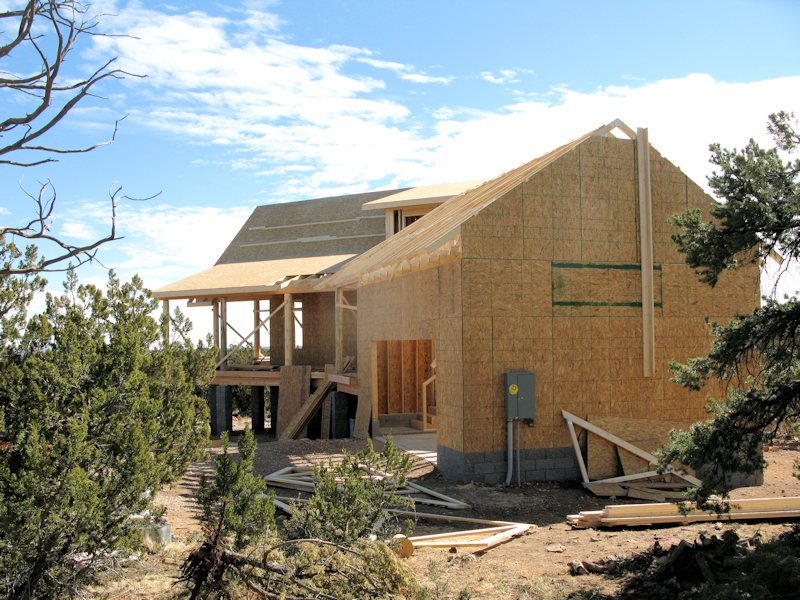
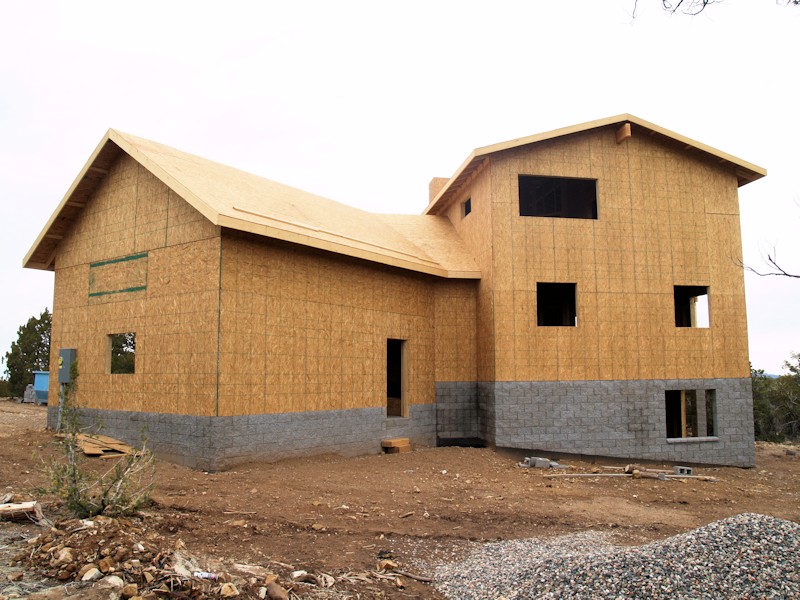
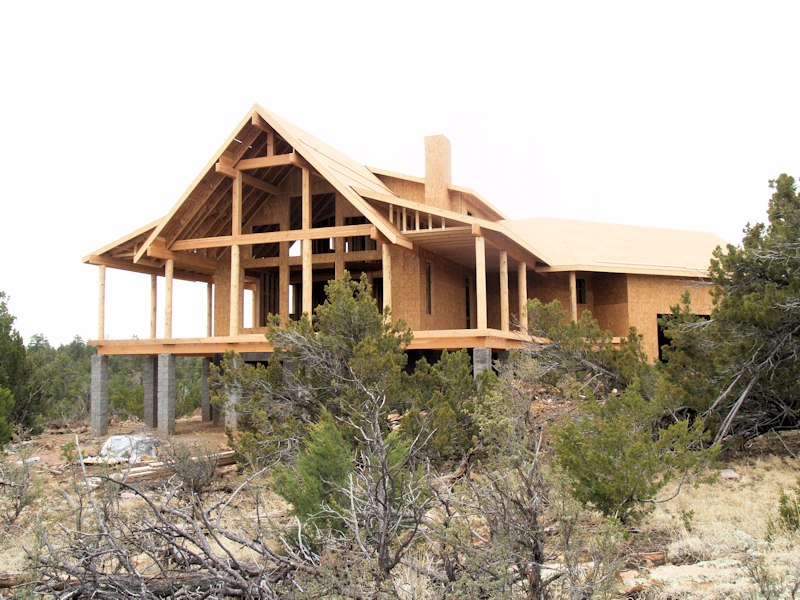
Side and rear of the house:
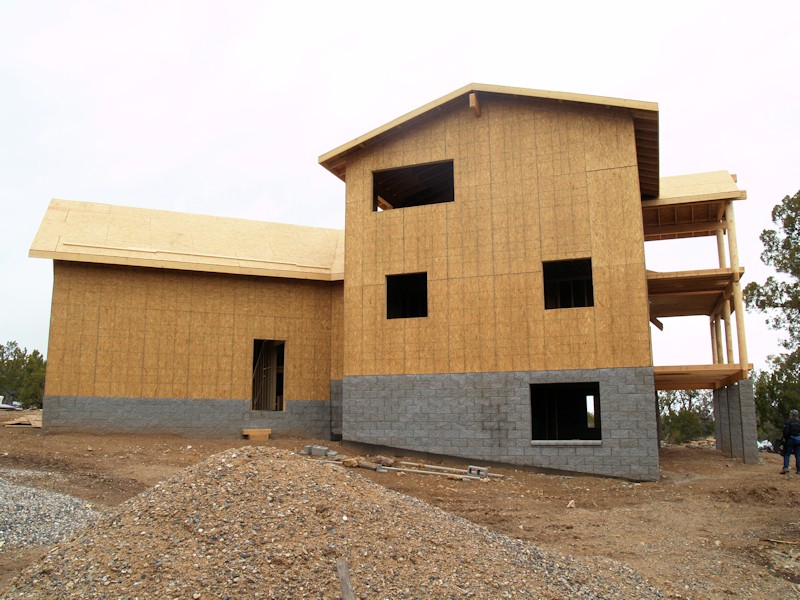
Rear and other side of the house:
Side of the house:
Side and front of the house:
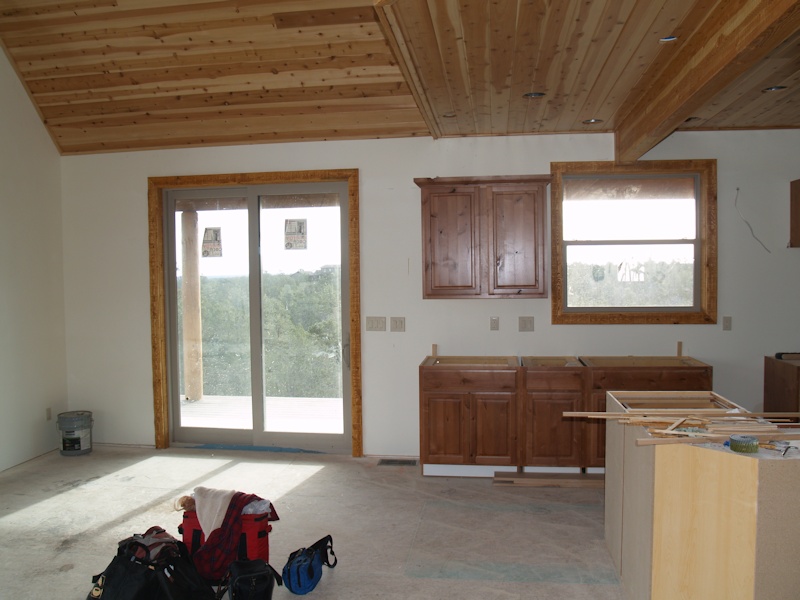
Inside - kitchen to the left with loft above, and fireplace framed on the right:
Up in the loft, the new small window and walkout to the deck:
View from the deck:
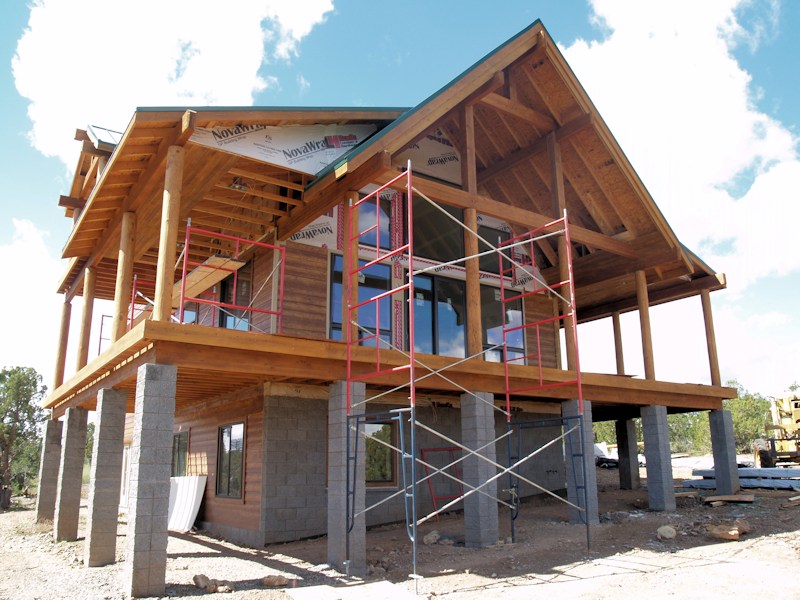
3/14/14 - We came up today to meet
with the builder, HVAC person, plumber, and cabinet person.
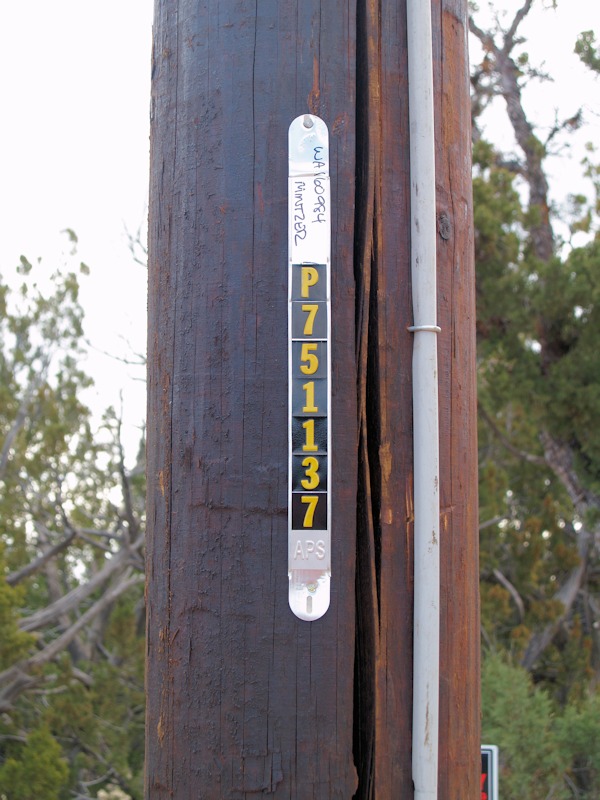
Upon closer inspection we saw it was our pole:
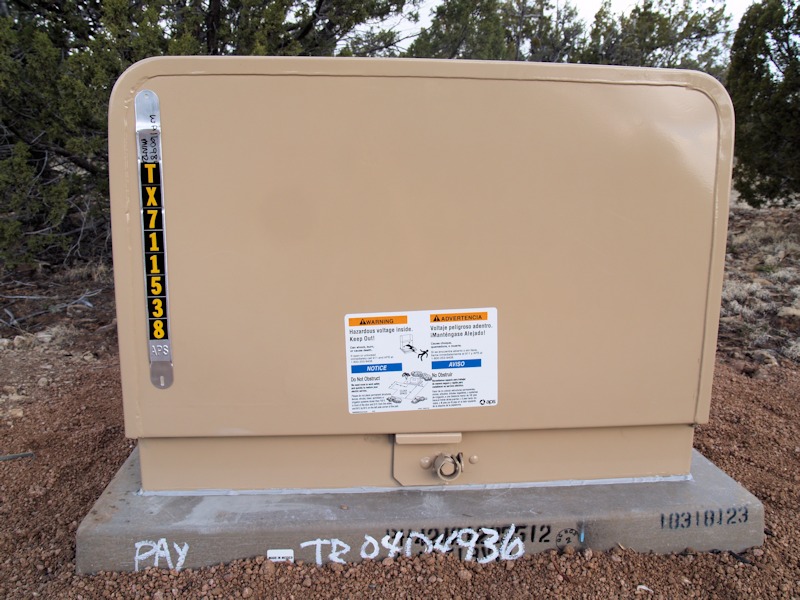
And our transformer:
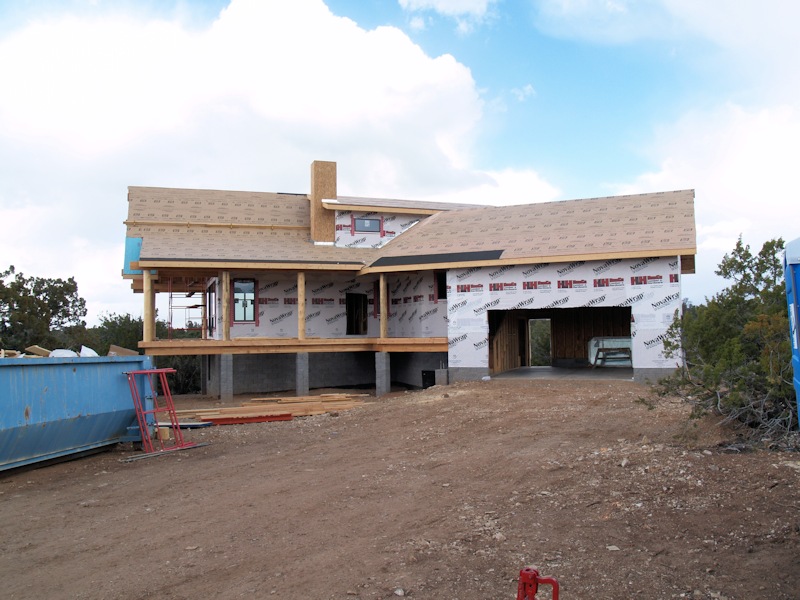
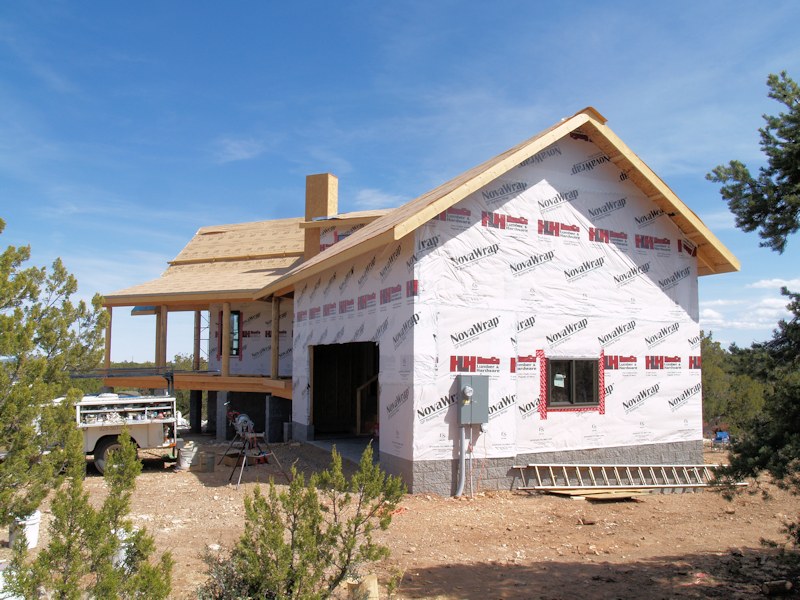
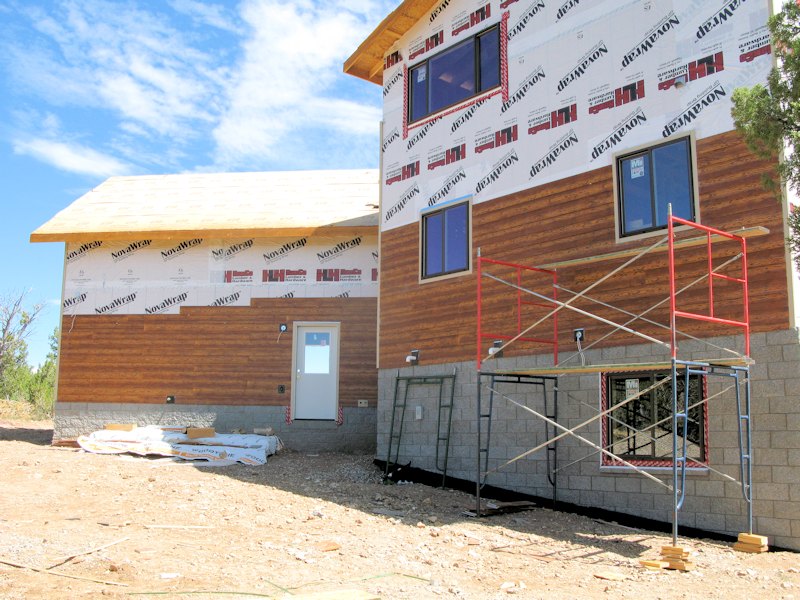
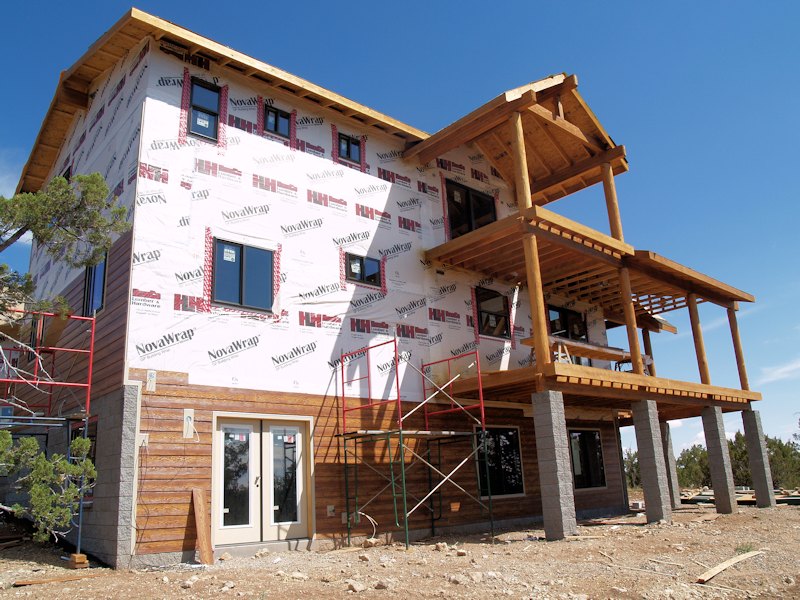
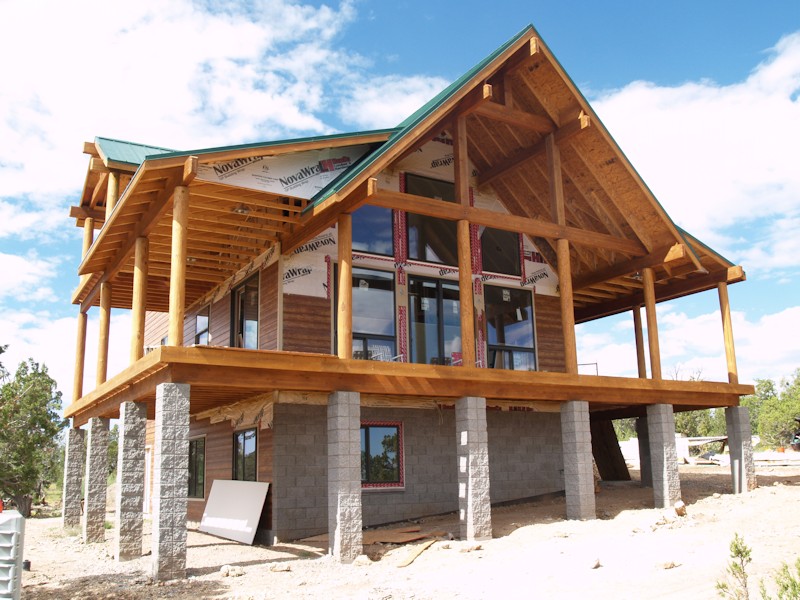
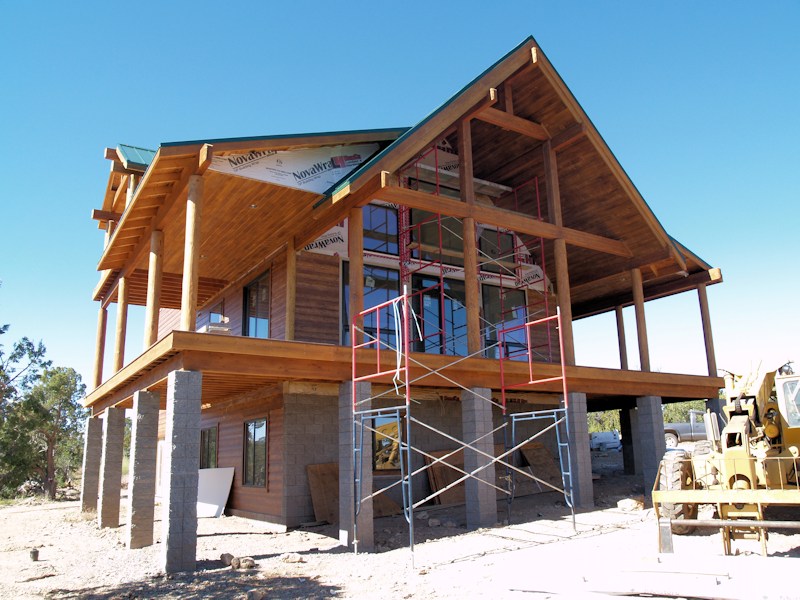
Looking at the house, I think it's a wrap:
A NovaWrap:
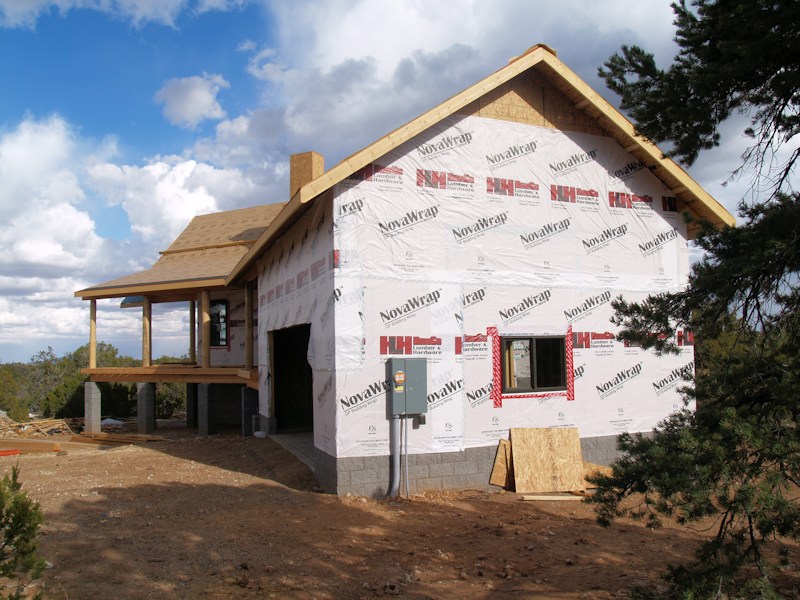
The builders lift broke, so the higher points can't be reached yet:
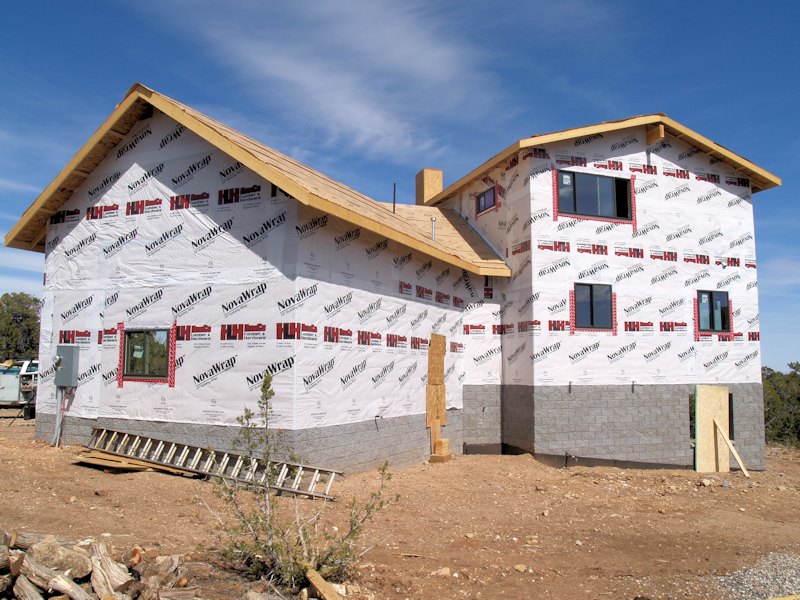
Another shot of the side with the lower bedroom windows installed:
Most of the windows in the rear are installed:
The windows in the dining/living or great room are all in:
Another view:
Another:
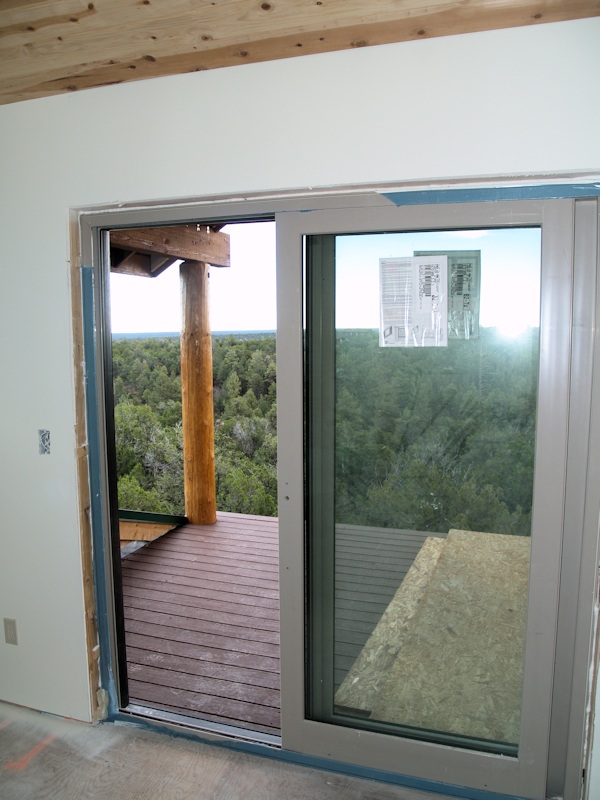
Inside looking out:
Another view heading into the loft:
The plumber started installing vent and drain pipes - this is in the loft:
Master bathroom:
Coming down from the master bathroom:
Some pipes in the kitchen, and stuff in the living room:
Coming down from the first floor into the basement:
It looks like the added a header for the mud room door:
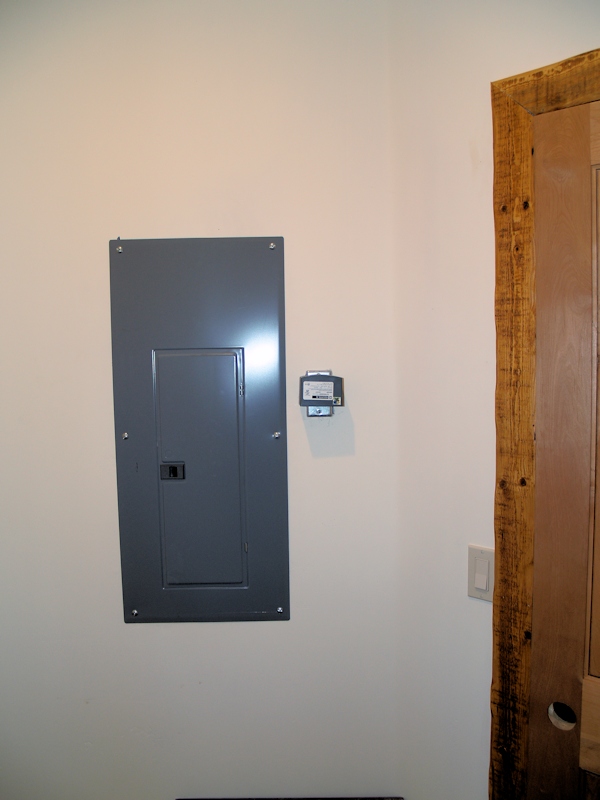
3/28/14 - The electric is running so they're using it:
They installed all of the windows - here's the master bedroom window:
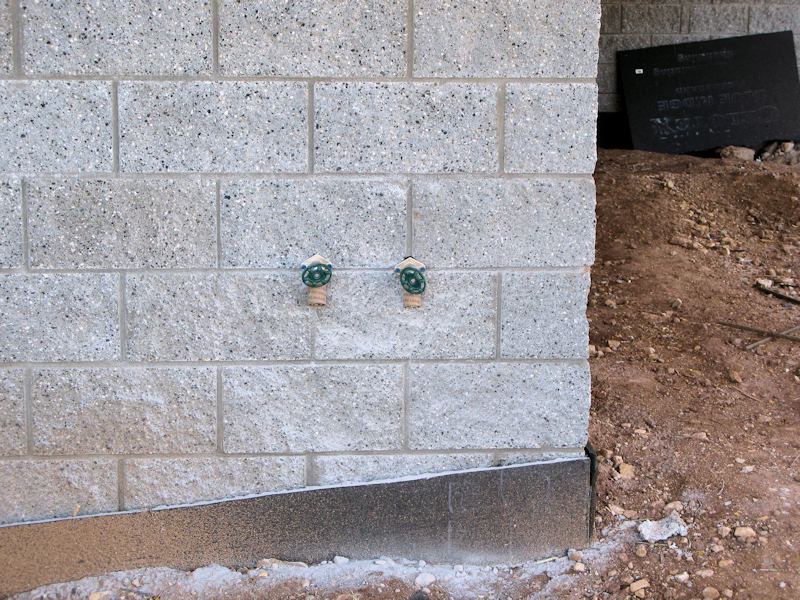
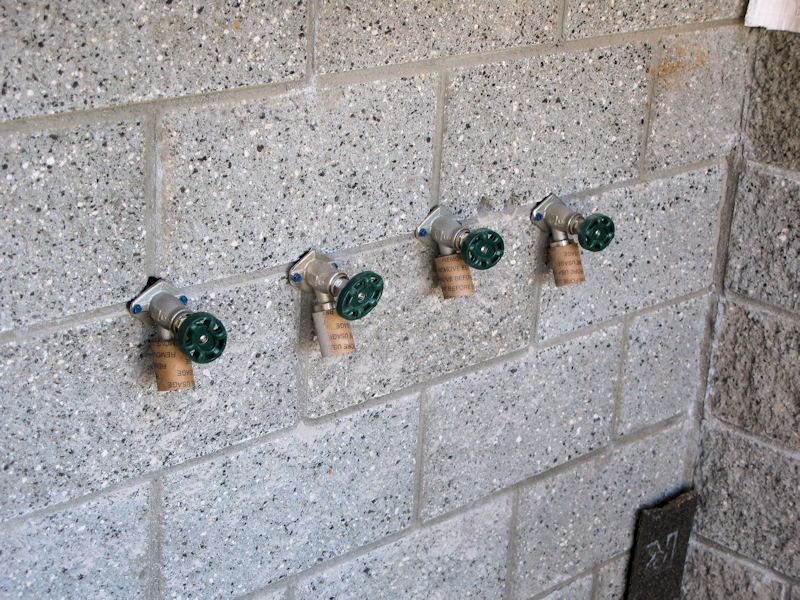
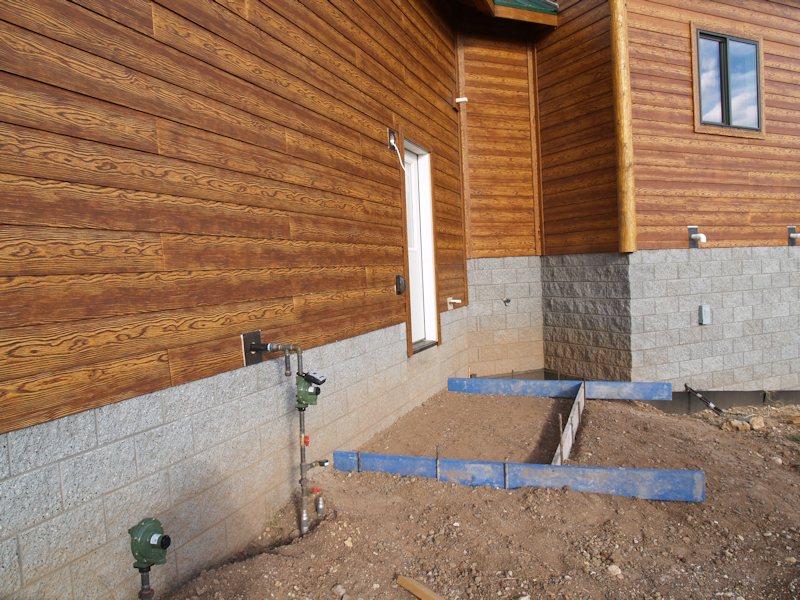
We have two hose bibs...
... and four more. Did the plumber
just have extras on the truck? Actually he installed the extra
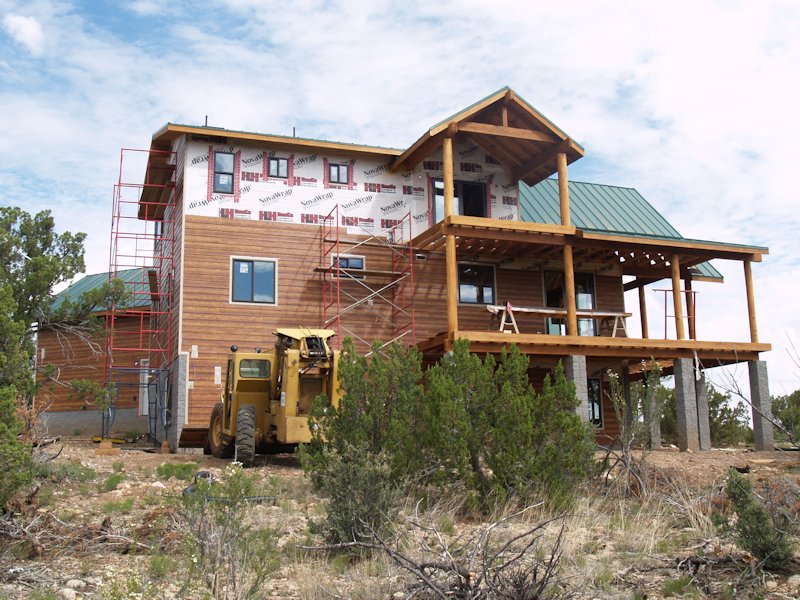
You can see the Tyvex is installed completely:
There's more stuff coming out of
the walls: propane stub, hose bib, in/out lines for the
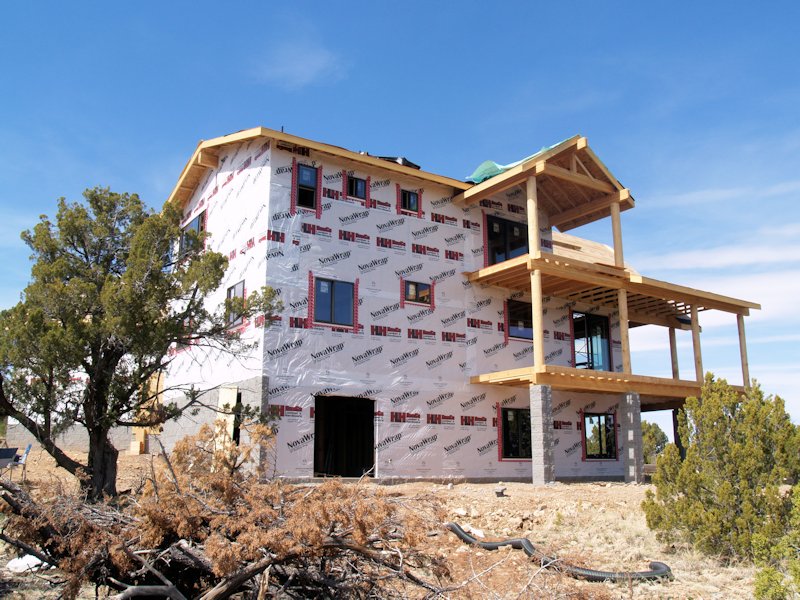
The rear with all of the windows installed and Tyvex complete:
4/13/14 - The plumber and HVAC
trades are almost complete and the electrician has
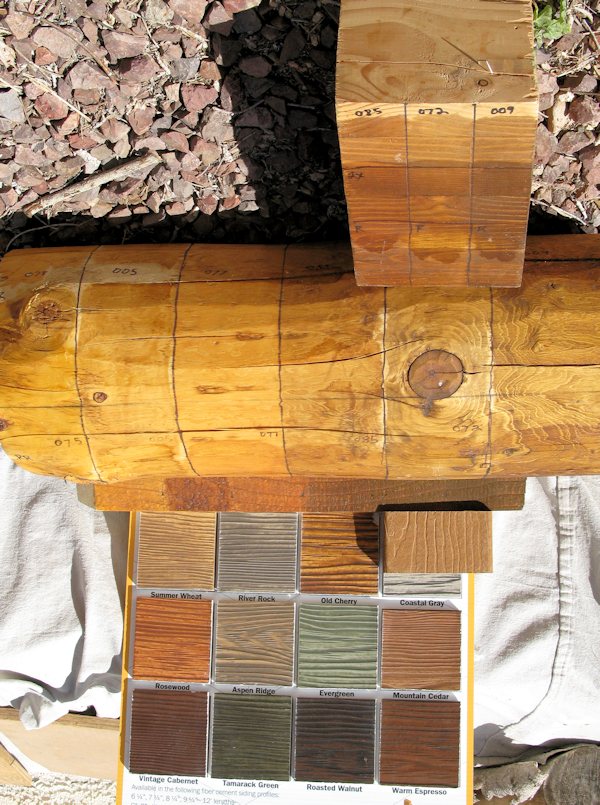
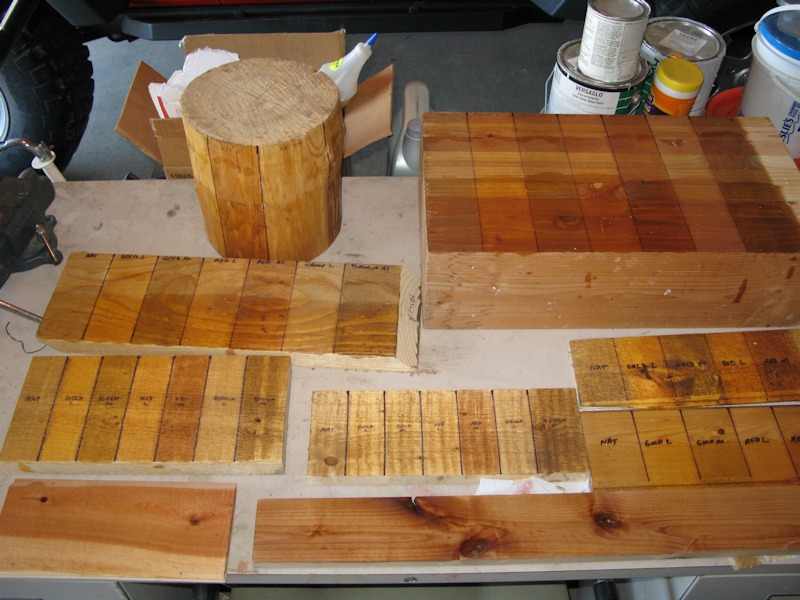
Also, we ordered some sample
stains and Jane stained a piece of glue laminate beam (top),
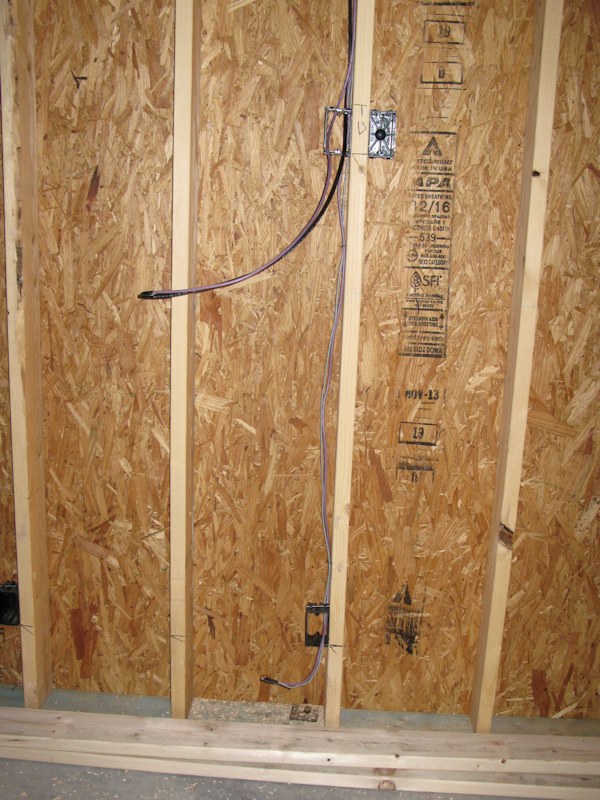
4/13/14 - The electrician is still
working and we started to run the low
4/9/14 - The electrician is still
working and we're still running the low
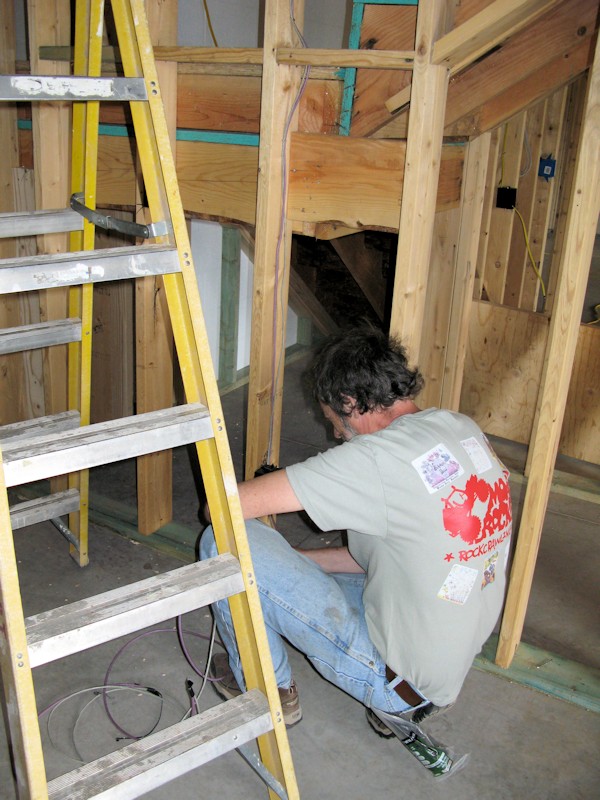
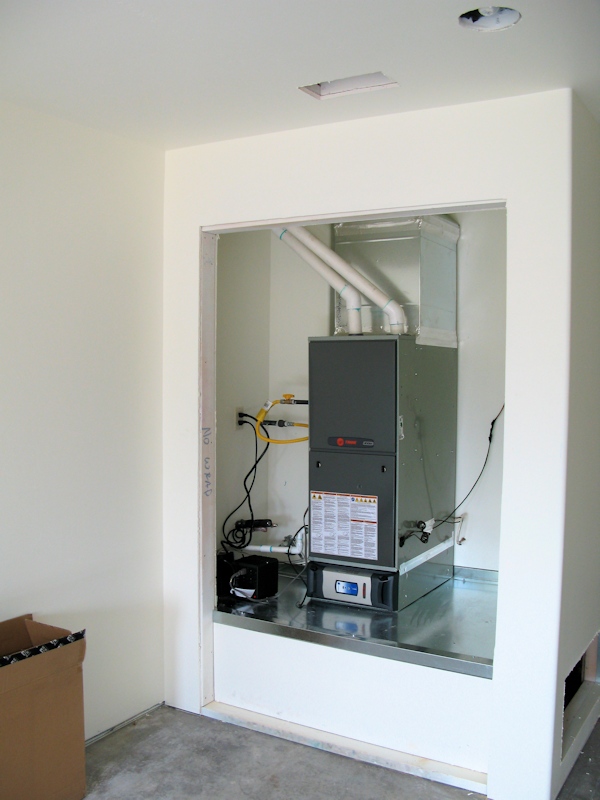
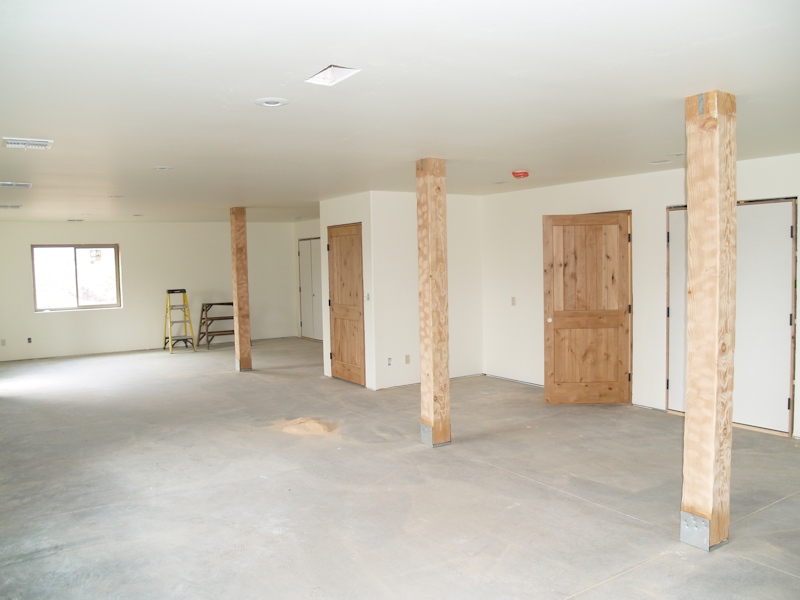
The basement is now framed in - the boxed area is for one of the furnaces:
Some duct work in a closet boxed in:
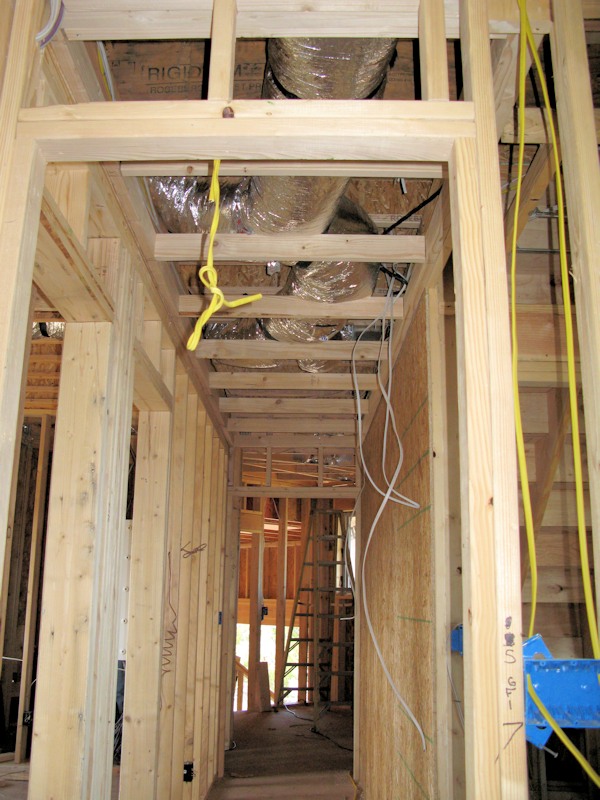
Duct work in the downstairs hall boxed in:
It's Spring!
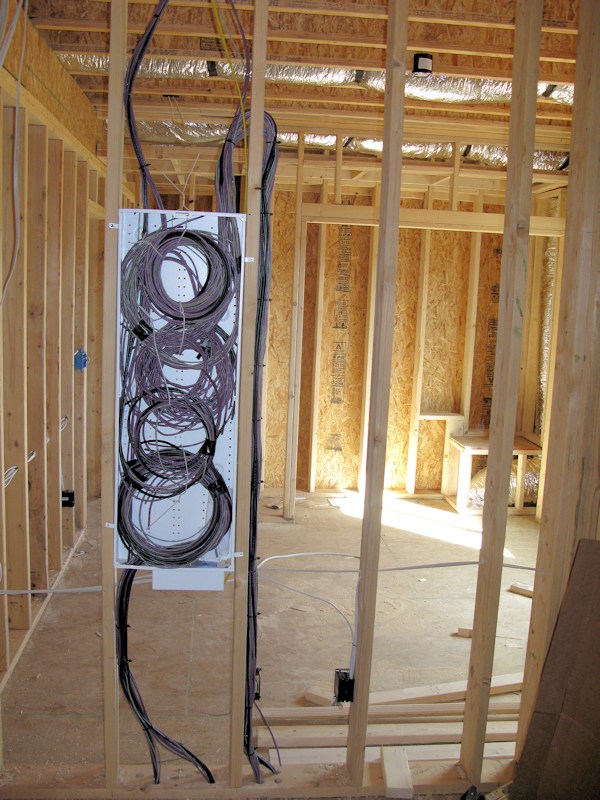
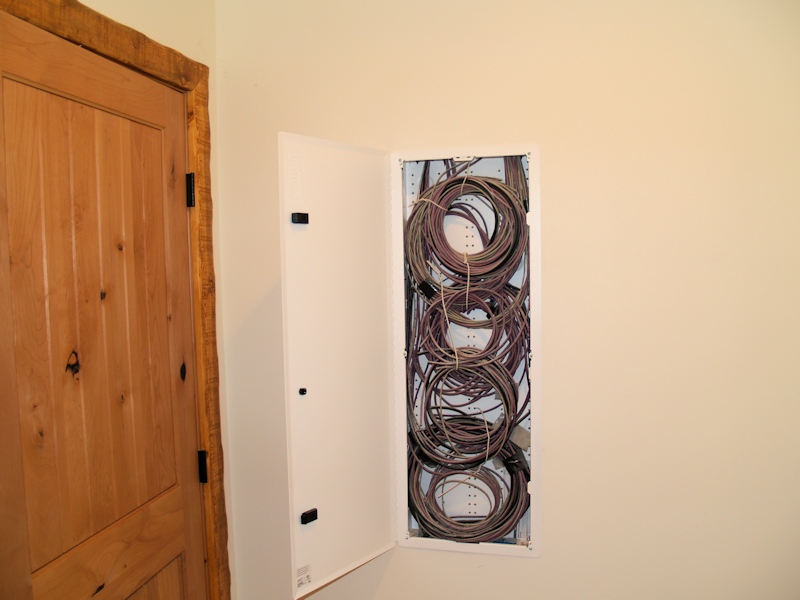
5/18/14 - Finishing up the low voltage wiring:
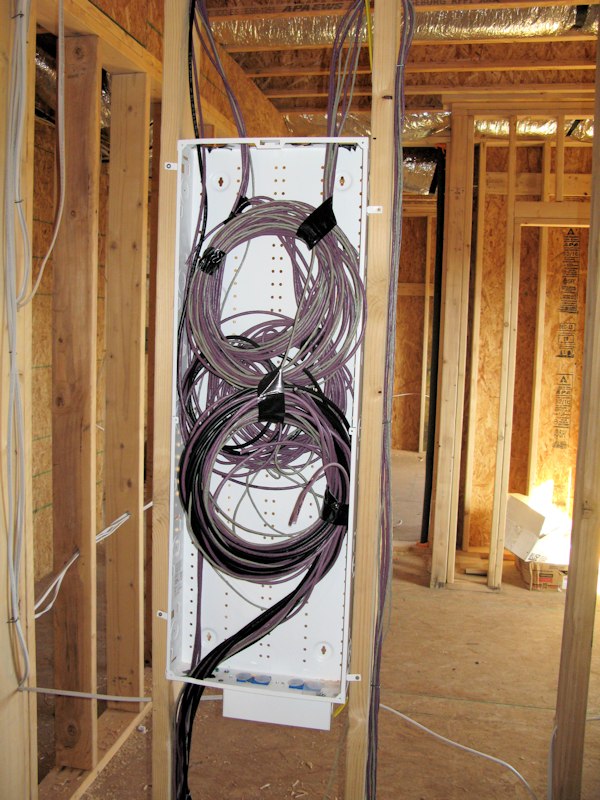
The Media Enclosure looks pretty full:
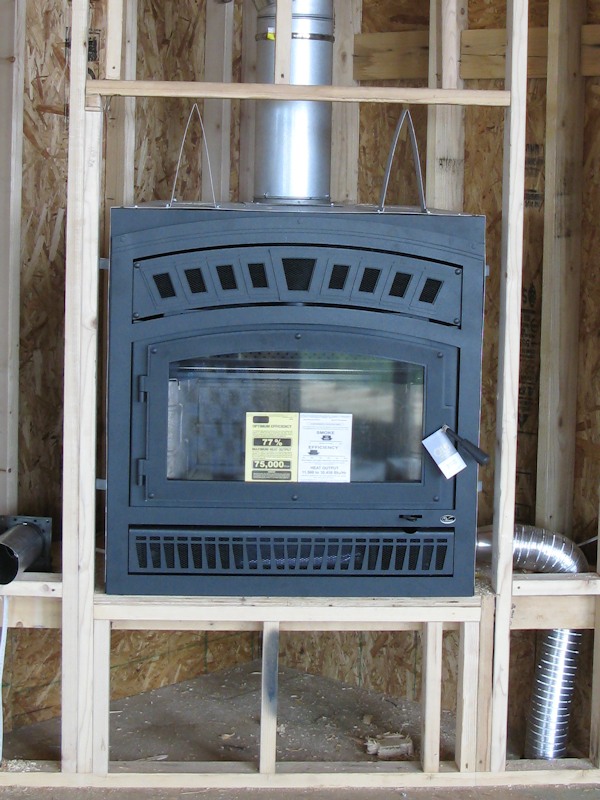
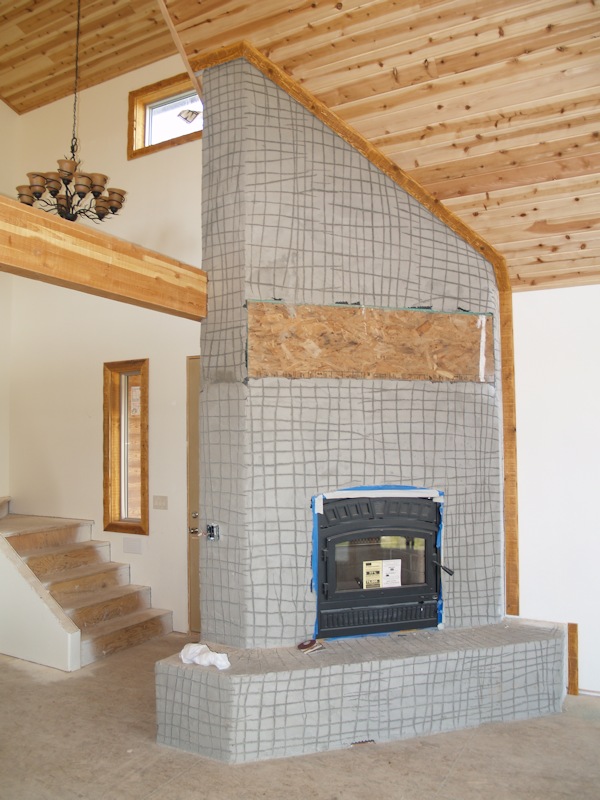
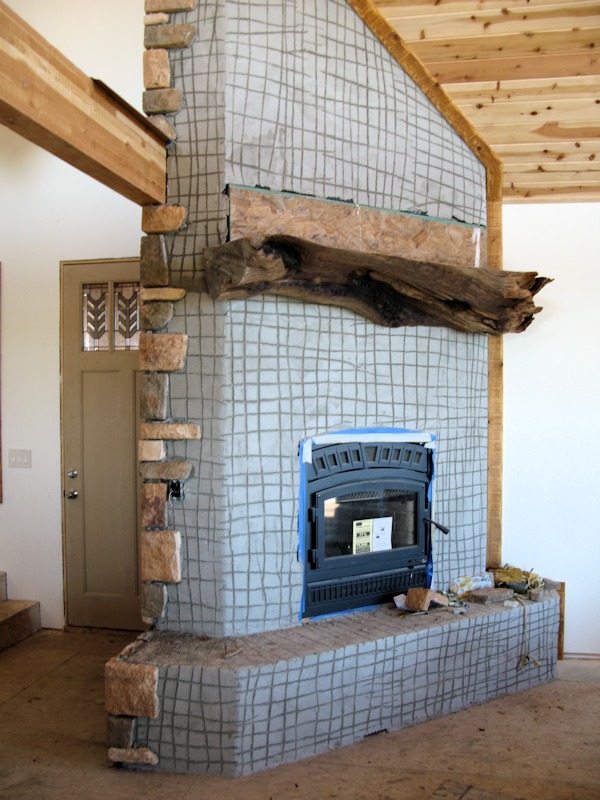
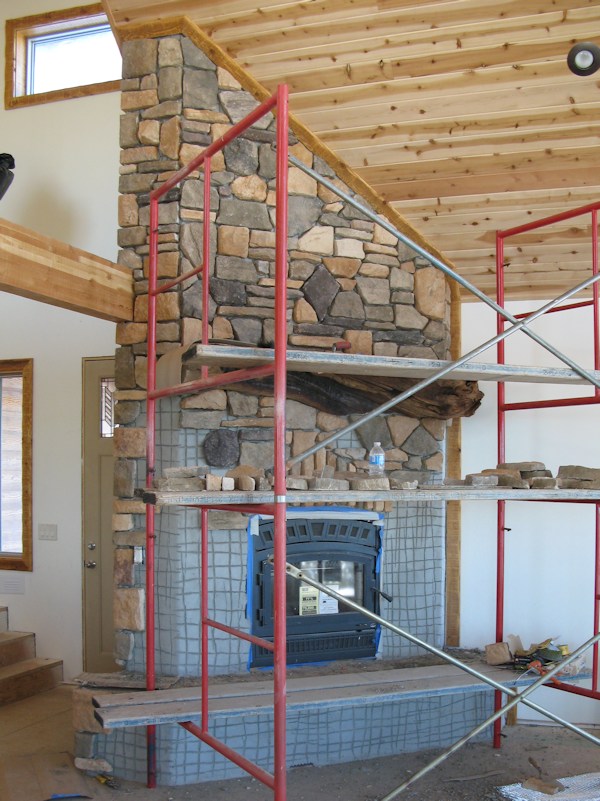
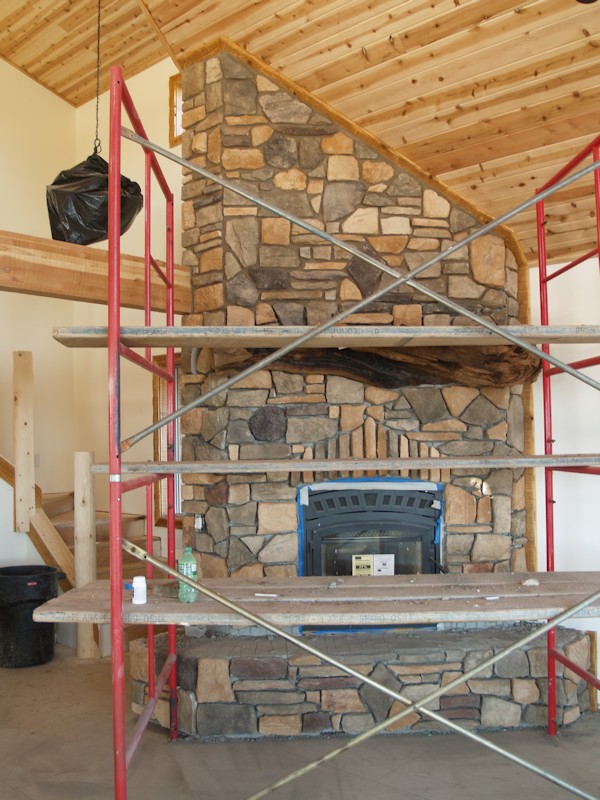
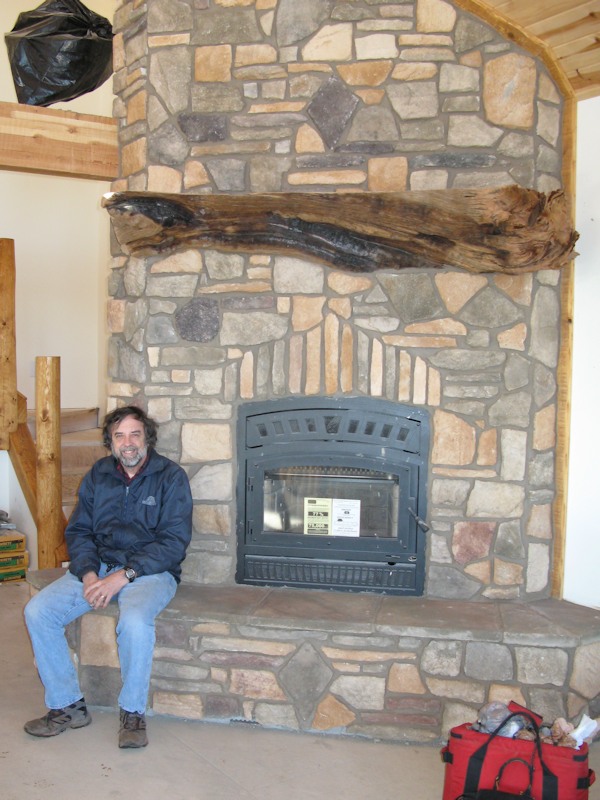
The fireplace was installed this week:
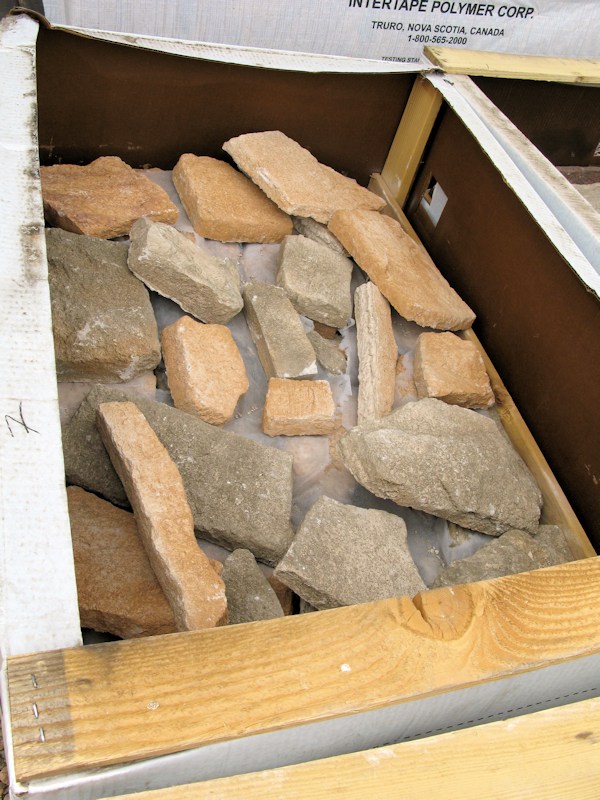
Lighter colored stone for the fireplace and chimney:
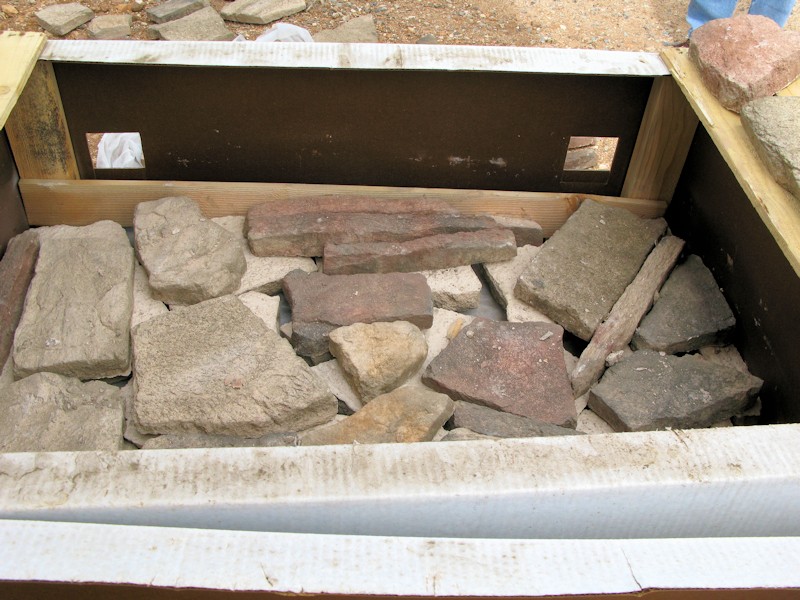
Darker colored stone:
6/1/14 - We're now on the overheard map:
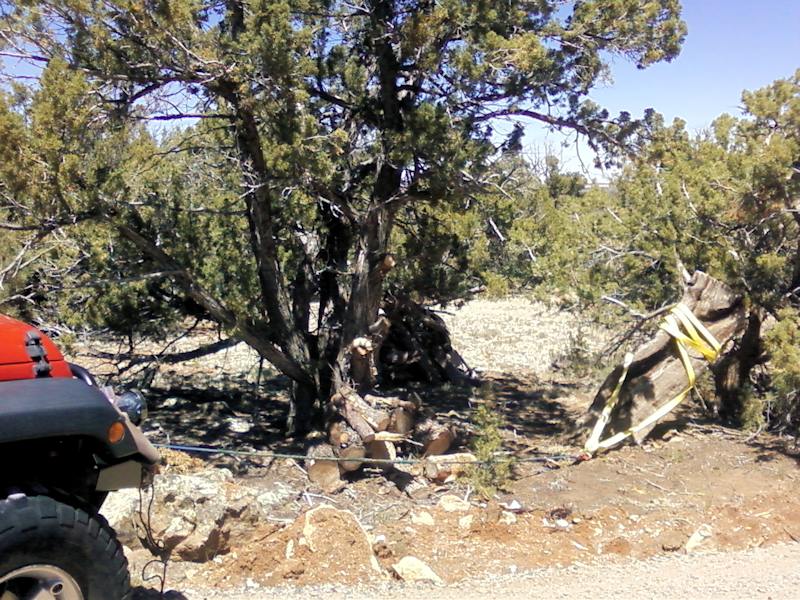
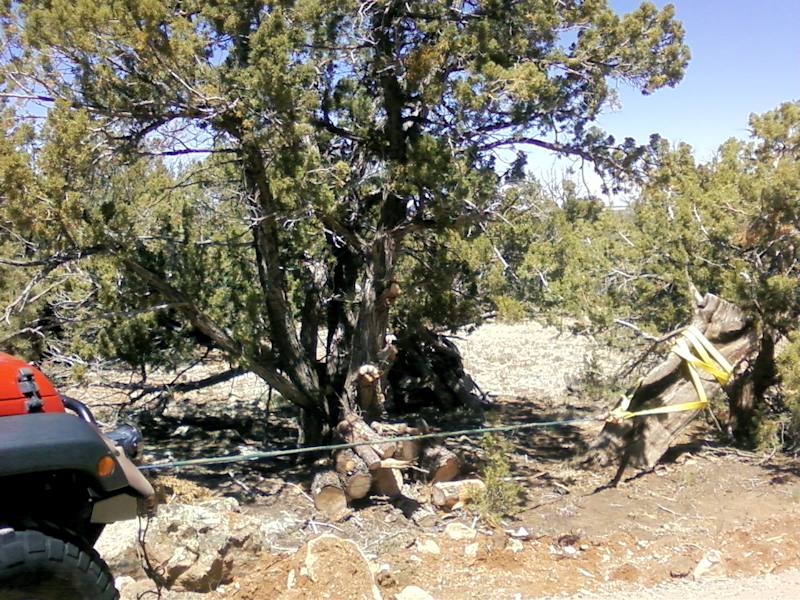
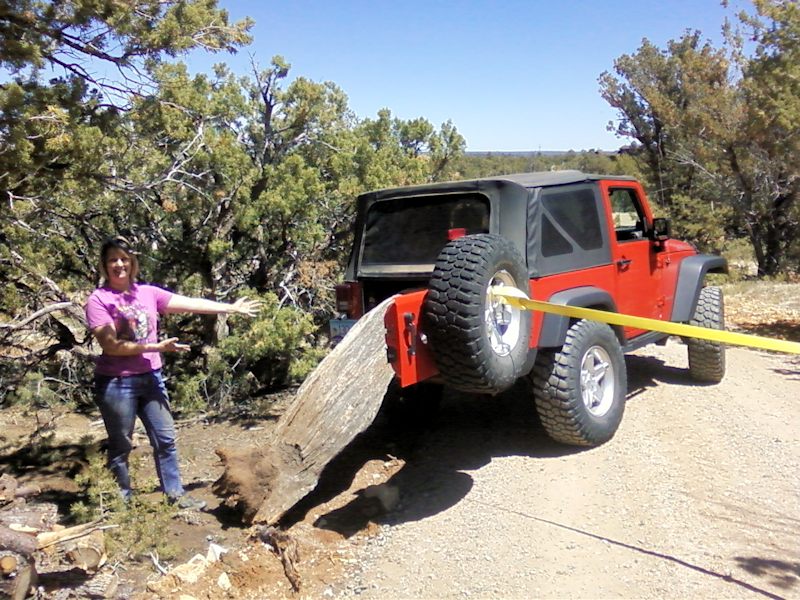
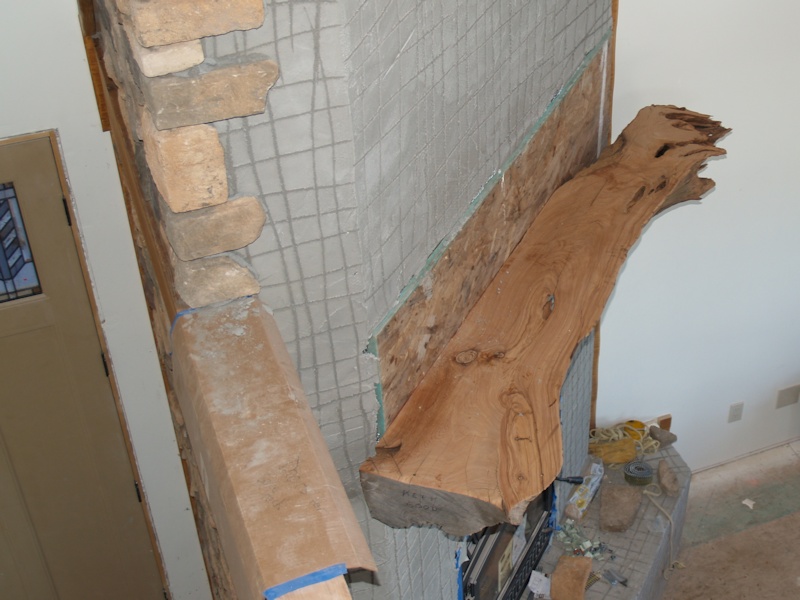
6/1/14 - we spent some time today looking for a mantle for the fireplace. This tree stump looks good:
Fire up the winch:
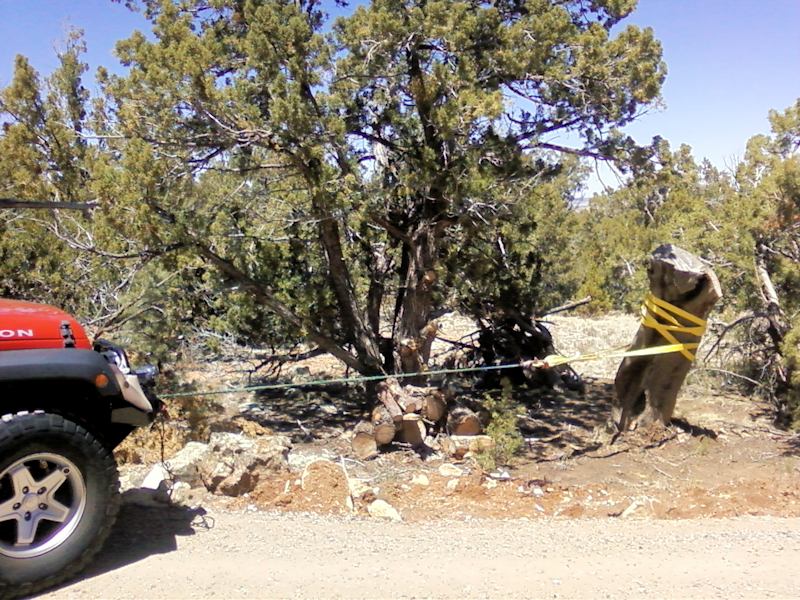
Almost pulled out:
We drug the tree over to the back of the Jeep and pushed it in as far as we could, then slowly drove it back to house while Joe held it up:
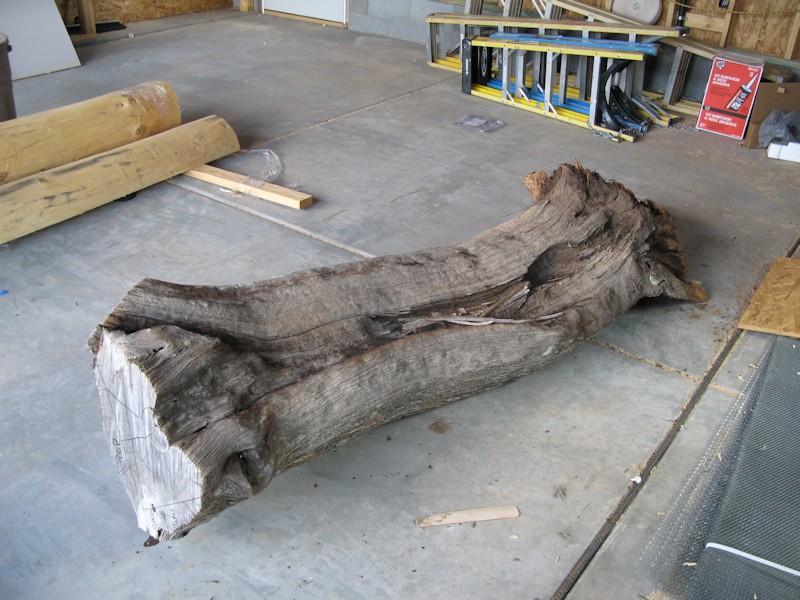
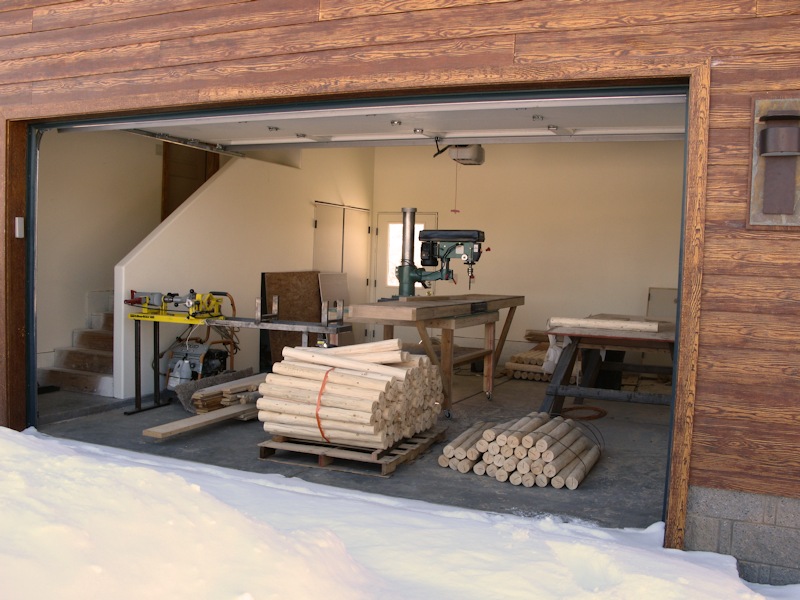
Sitting in the garage:
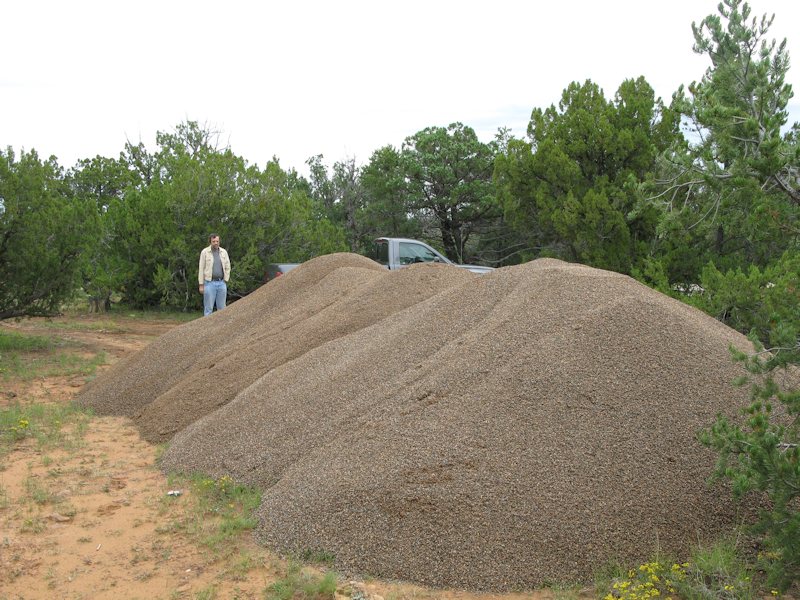
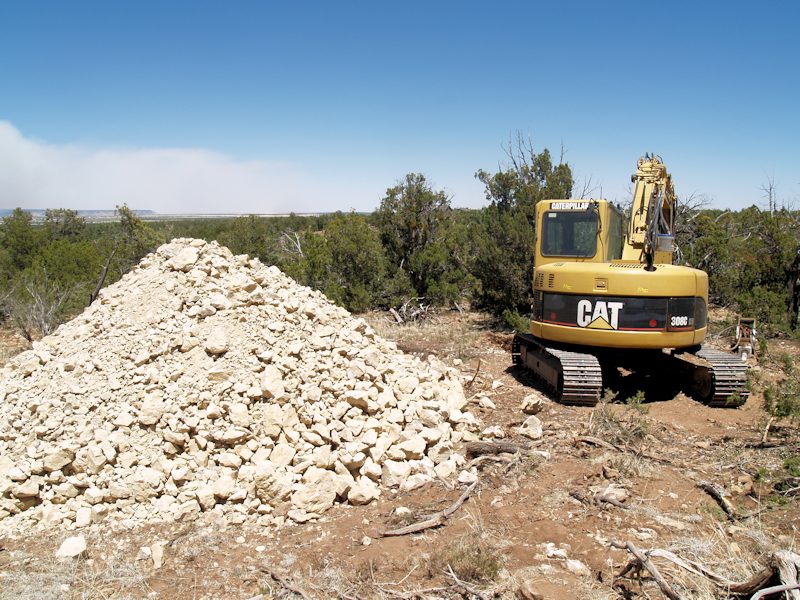
6/14/14 - Lots of things going on this week, first a pile of rock:
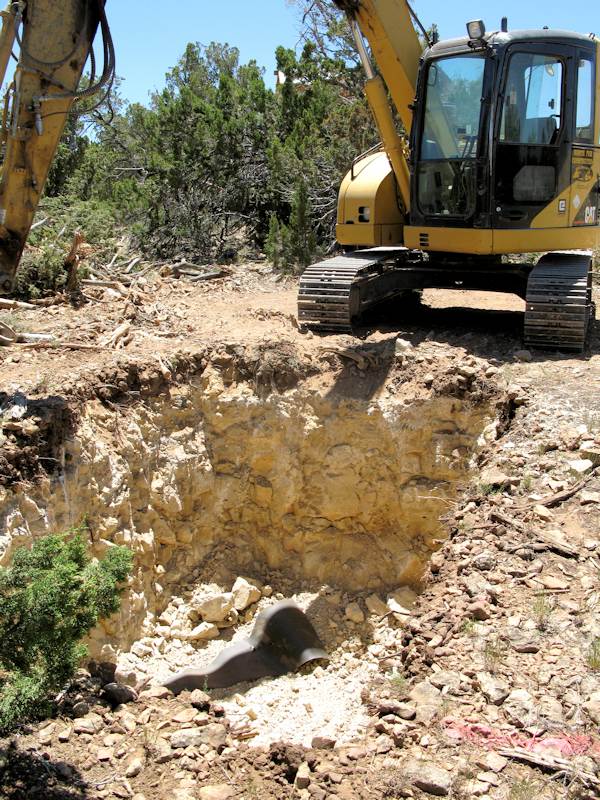
The hole for one of the septic tanks - as you can see mostly rock, so unfortunately lots of cost:
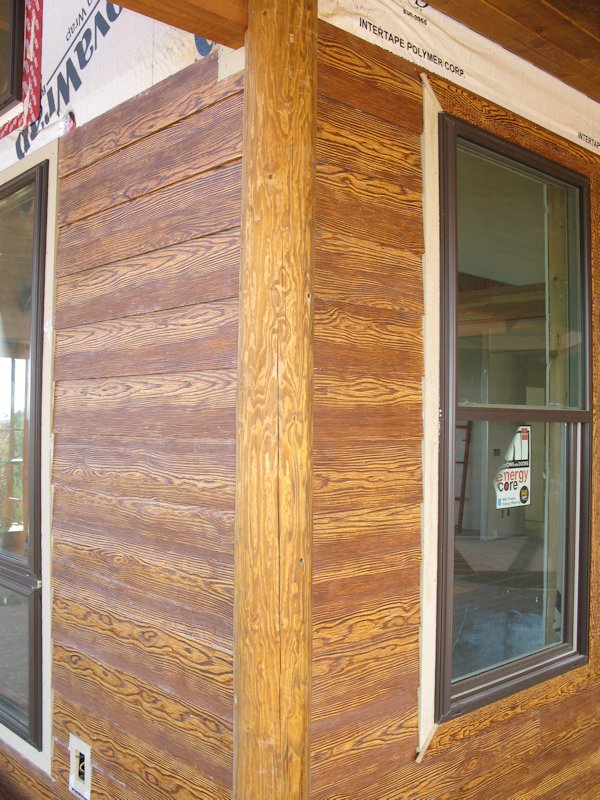
Back at the house, they started to stain the wood:
It was sprayed on:
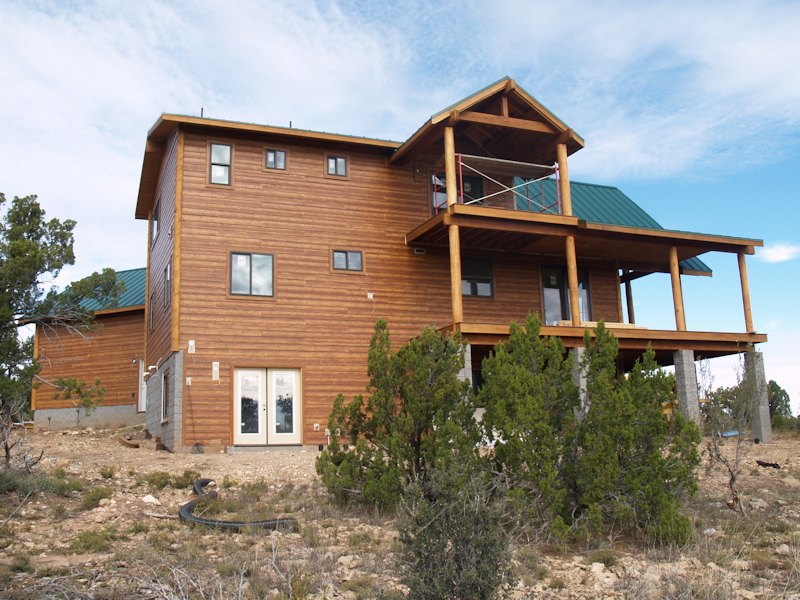
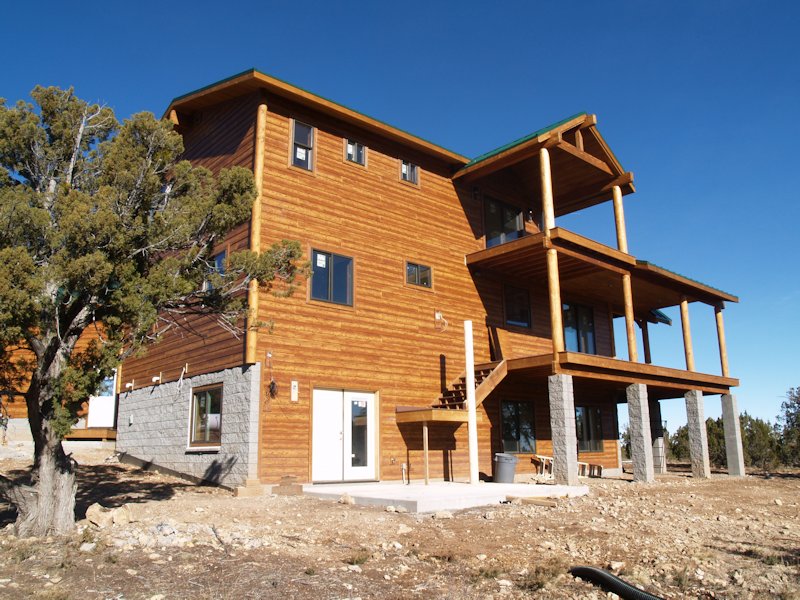
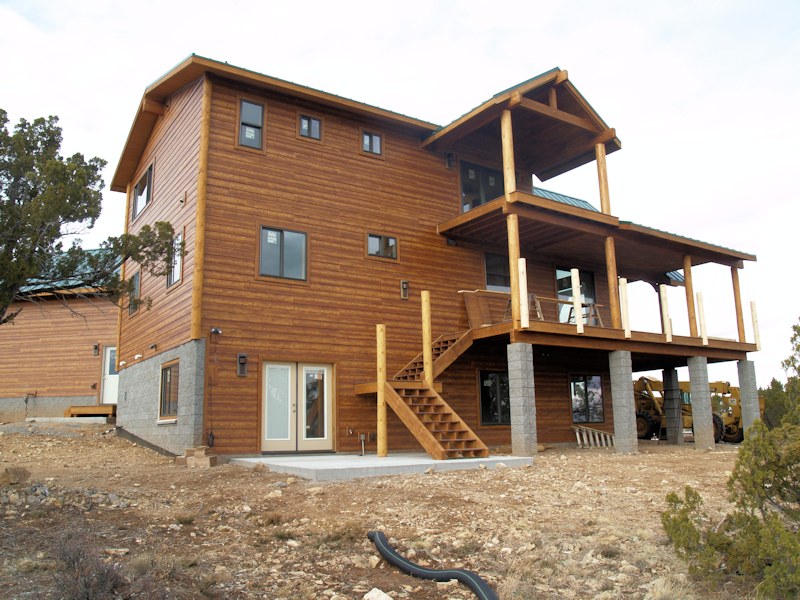
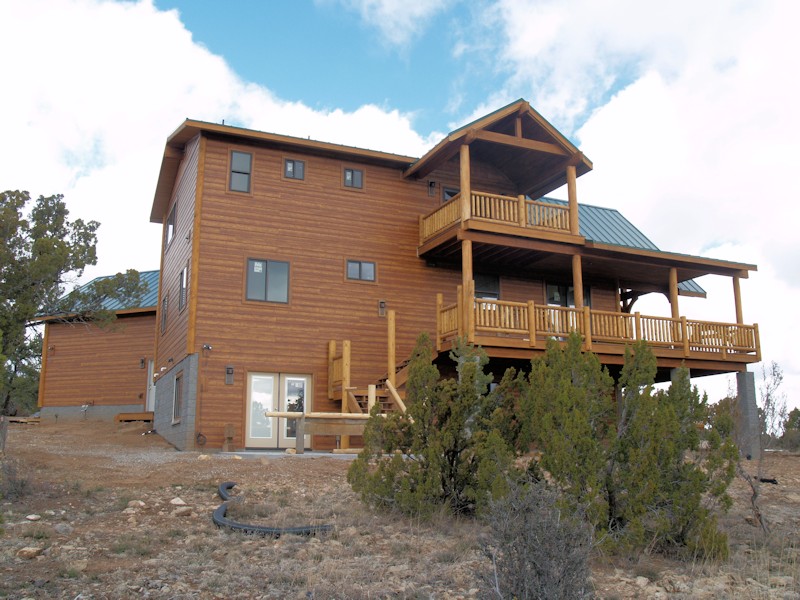
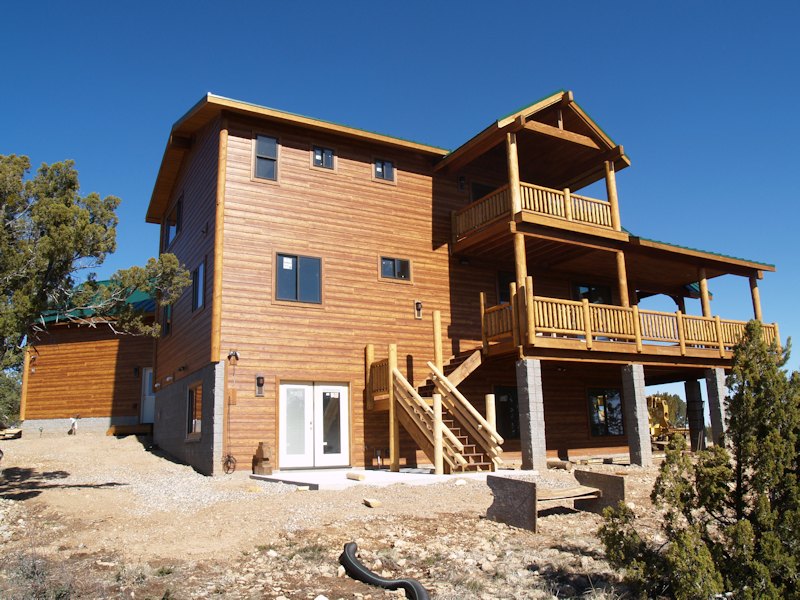
Back of the house:
The window side:
Another view:
Another view:
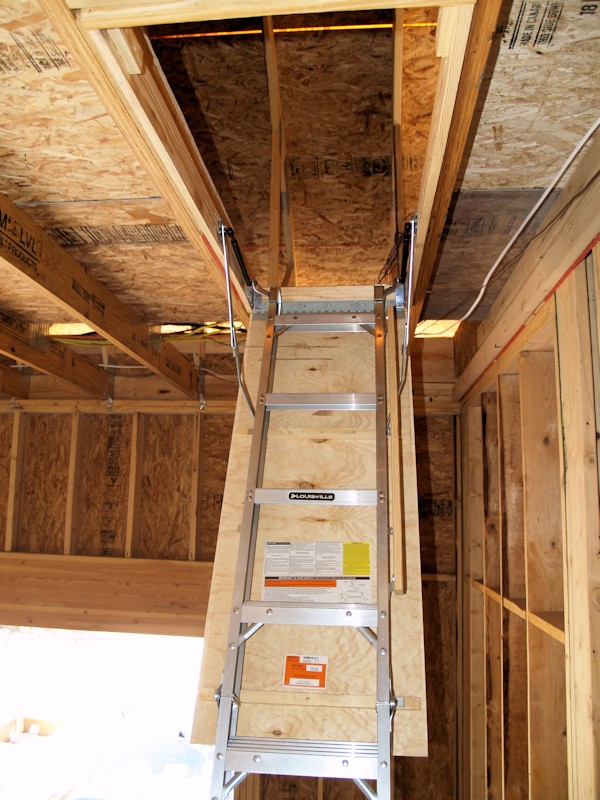
In the garage the stairs to the storage area is in:
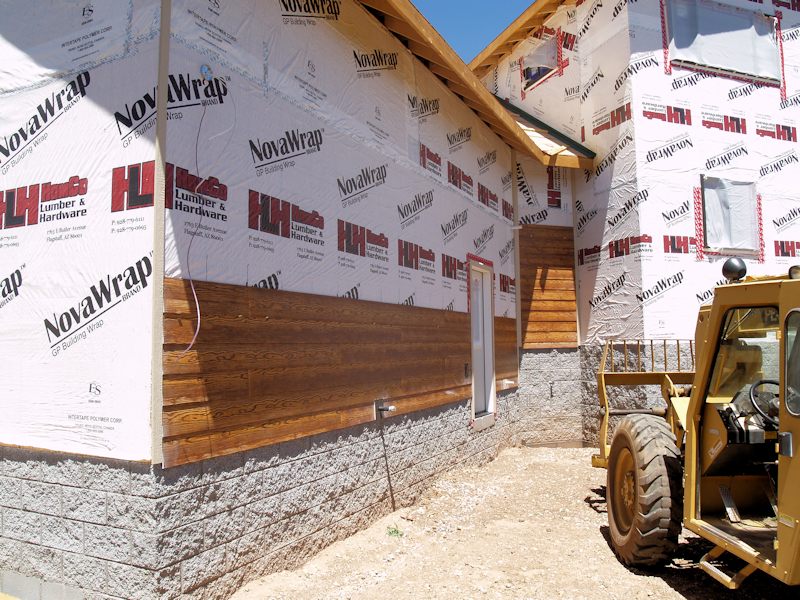
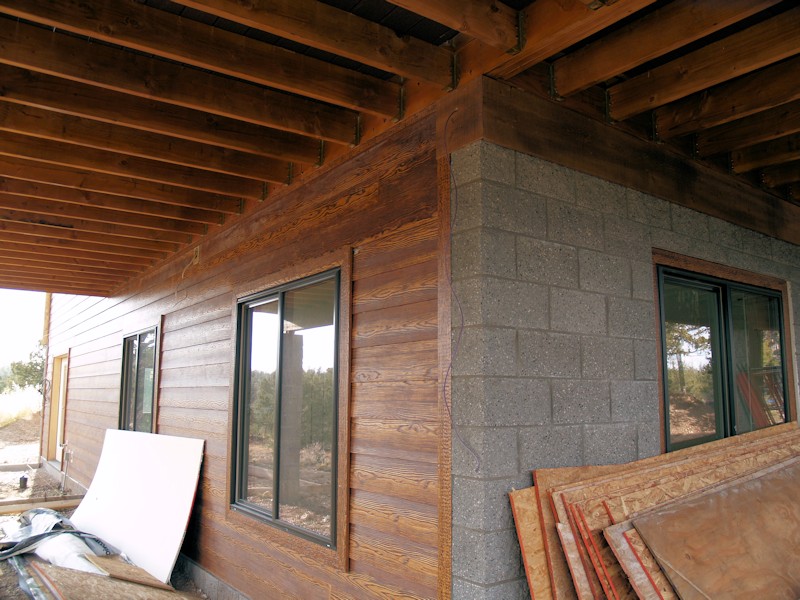
Out back they started on the siding:
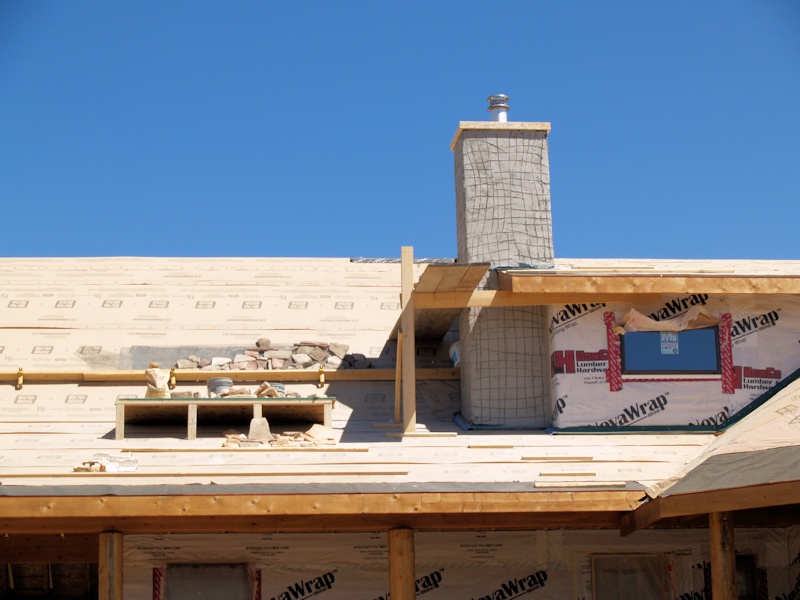
Up top they started on the chimney:
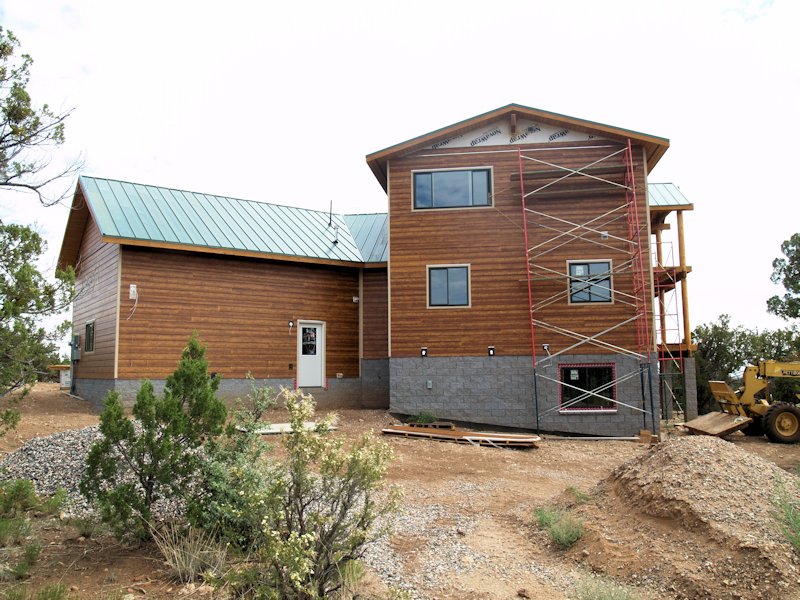
6/22/14 - Staining is finished for now:
Siding installation is continuing:
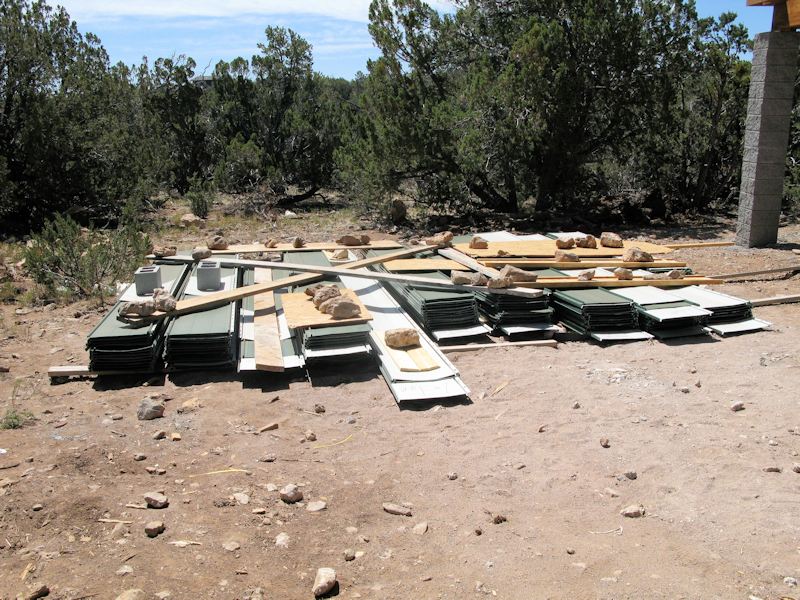
Roof sections cut and ready to be installed in a couple of weeks:
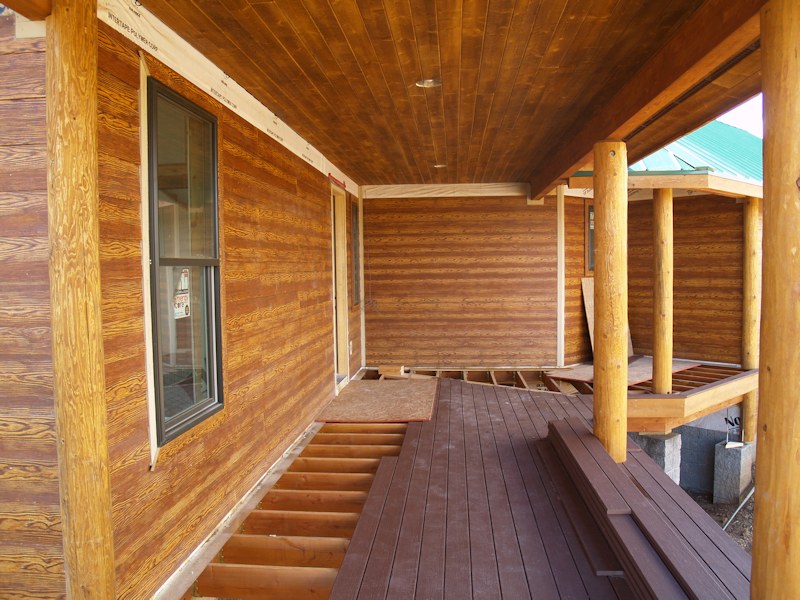
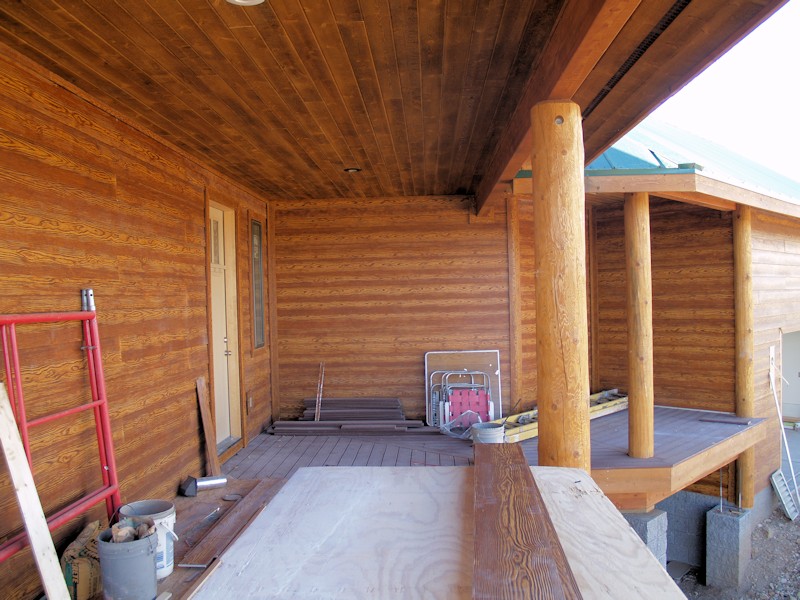
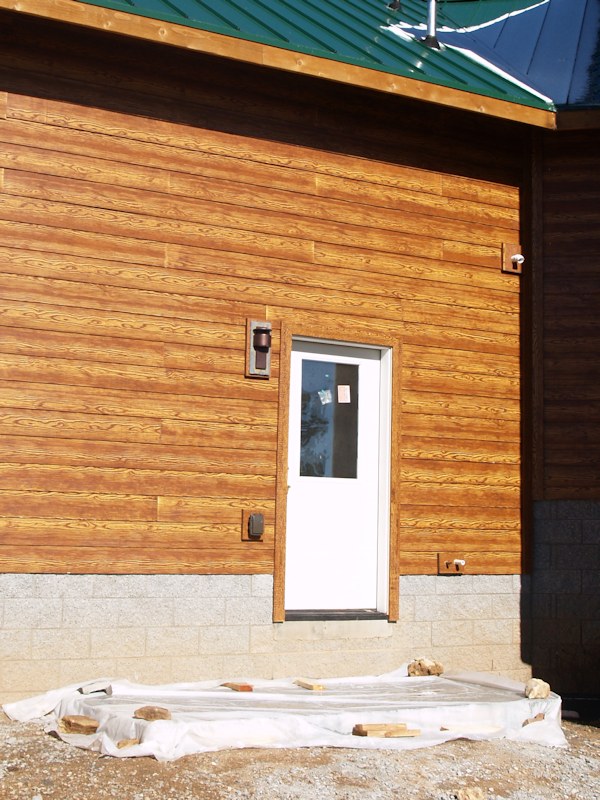
6/29/14 - More siding done. Here's the front porch:
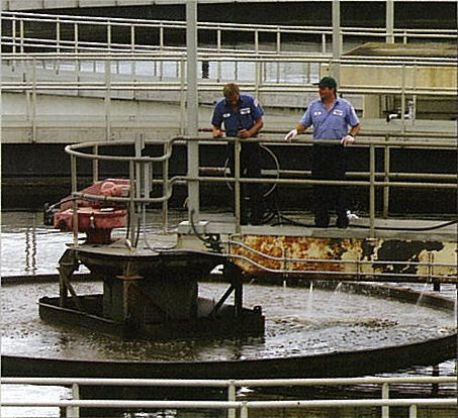
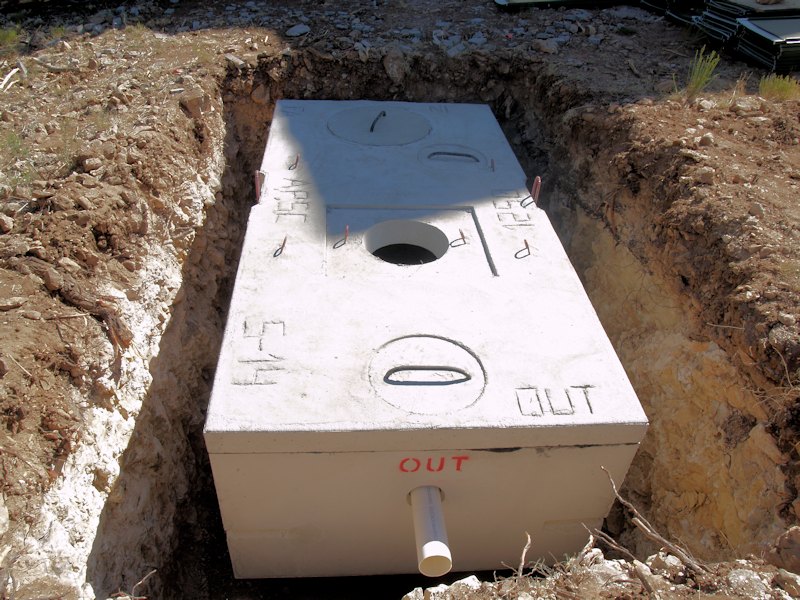
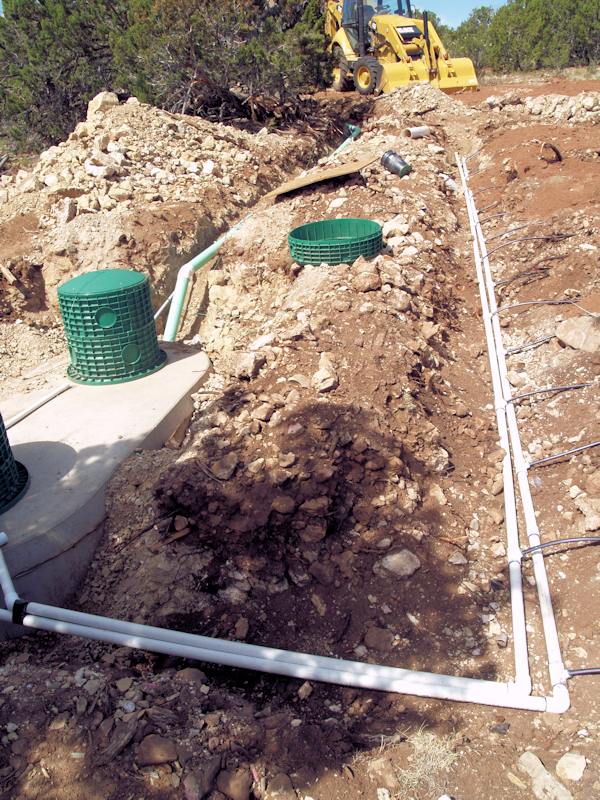
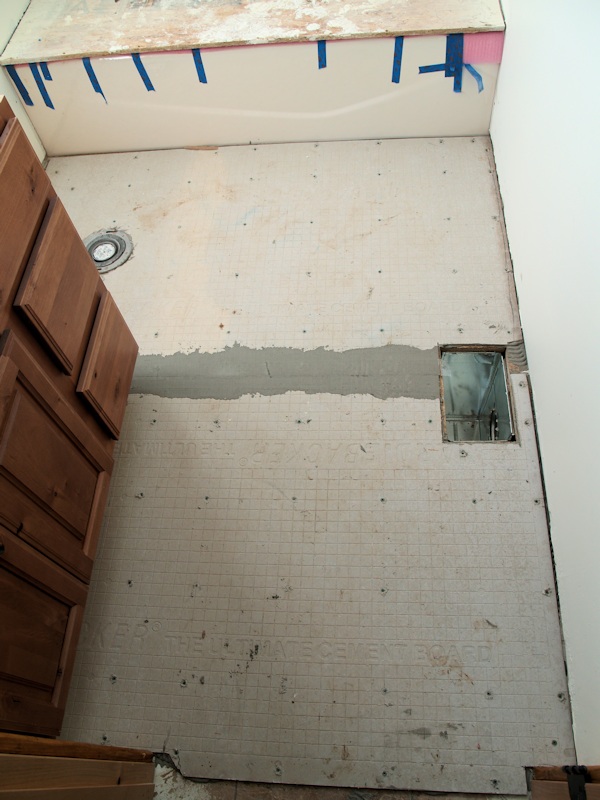
The septic system is on the move. ;) This is the actual "wastewater treatment plant" that holds the "stuff". It can "process" 1,250 gallons per day:
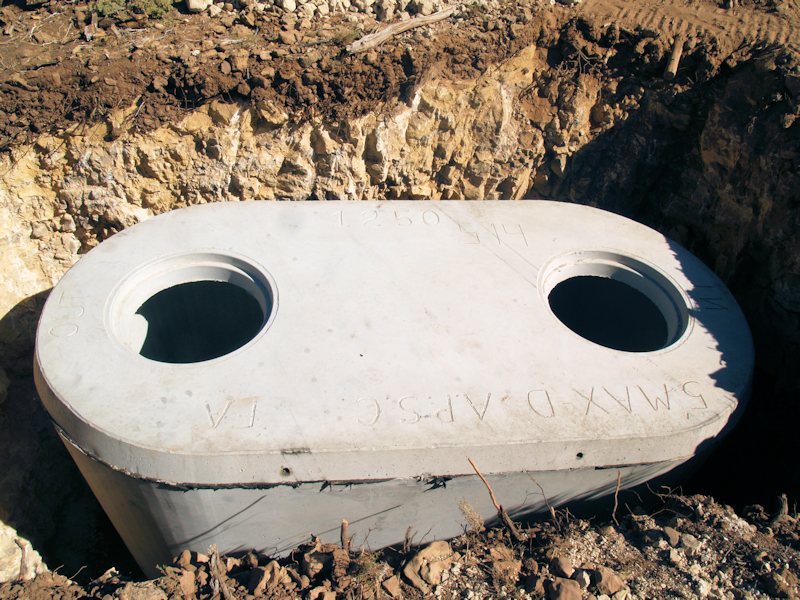
The "water" from the "wastewater treatment plant" flows downhill into this tank (I think it's a basic septic tank). From this tank the "water" is pumped to the soil:
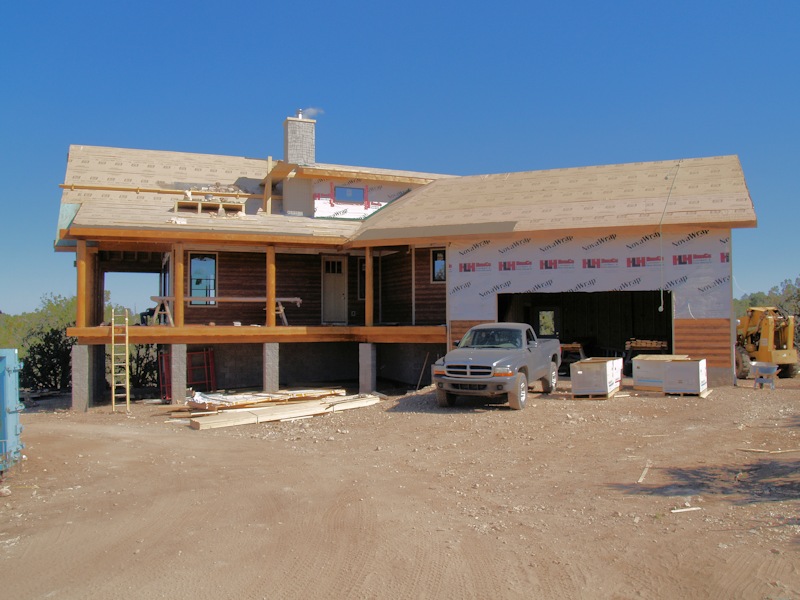
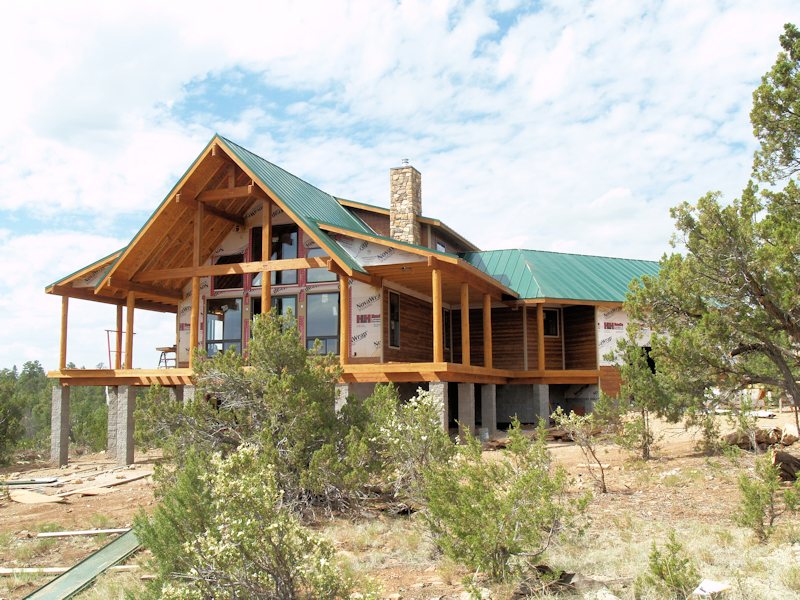
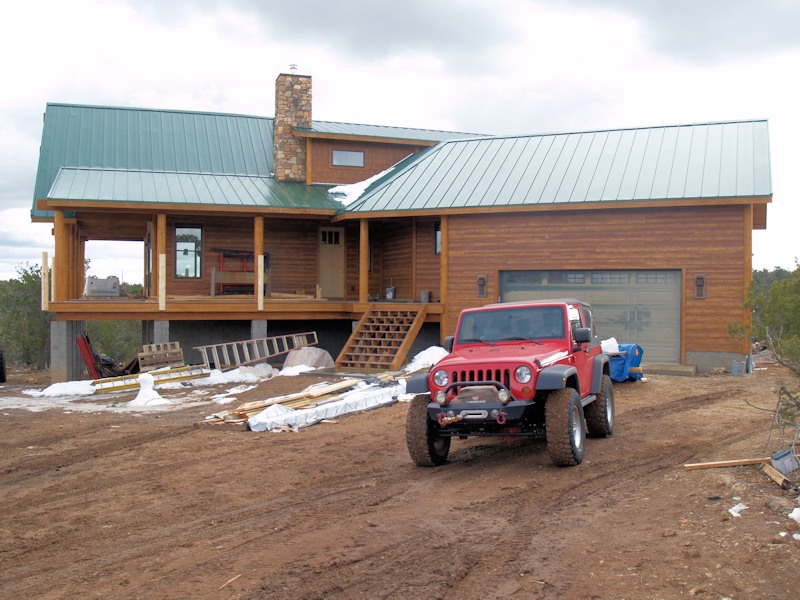
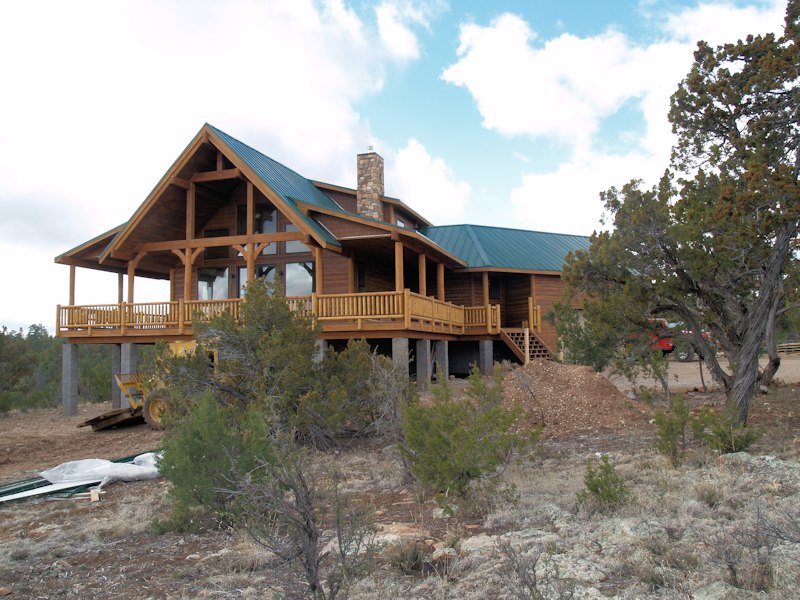
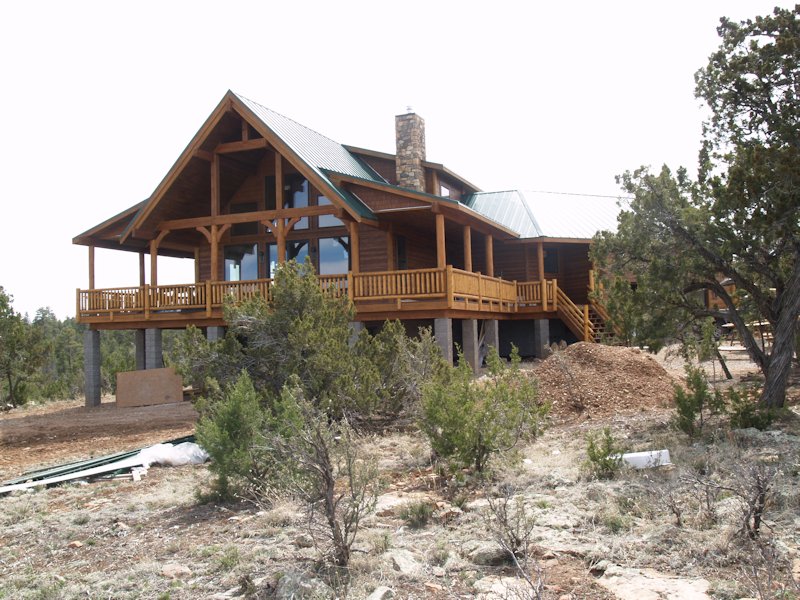
Back to pictures of the house - front:
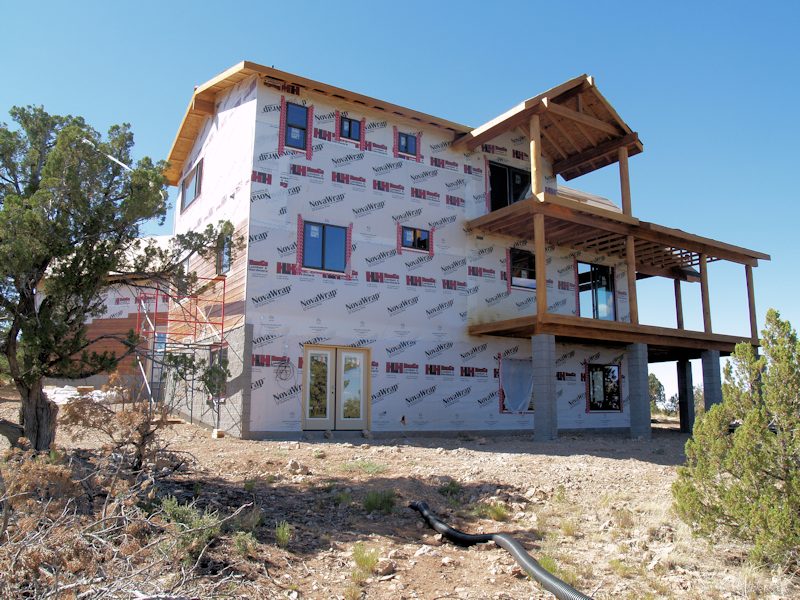
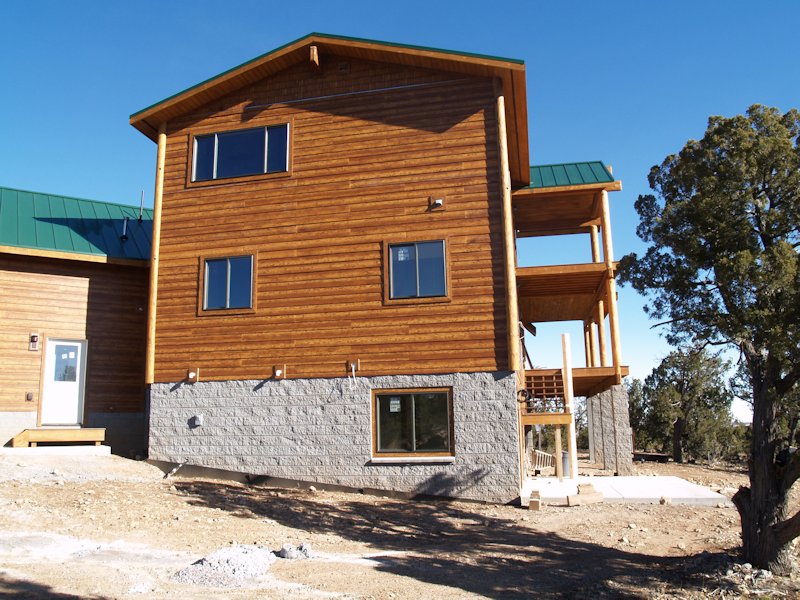
Bedroom side:
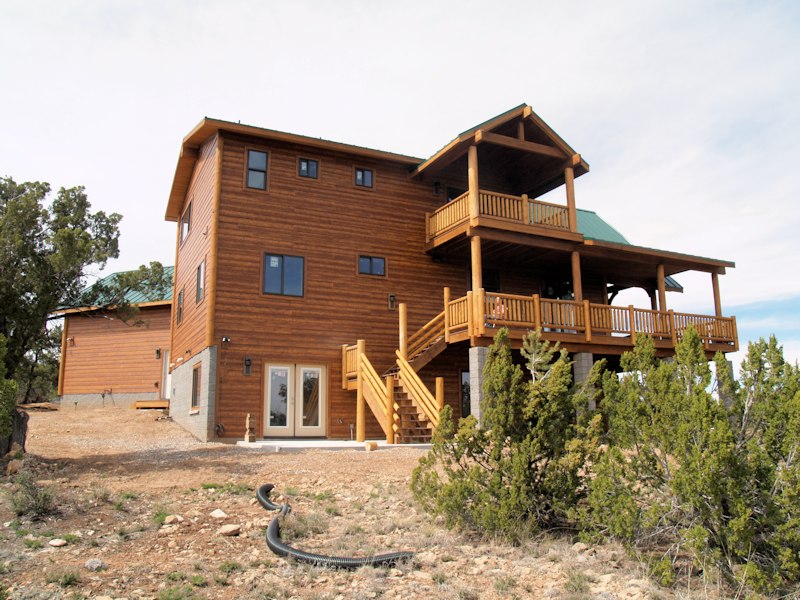
Back:
Dining Room and Living Room side with someone on the deck:
Another view with someone inside:
One more last view for today:
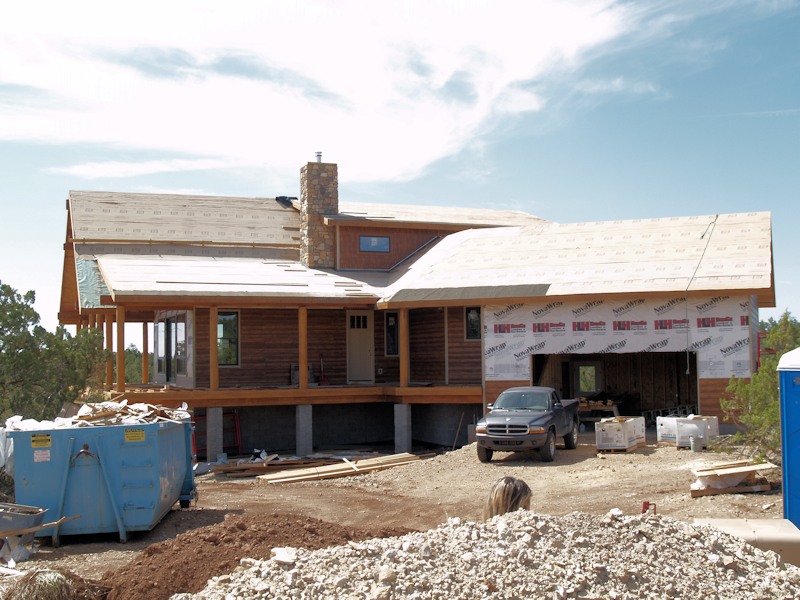
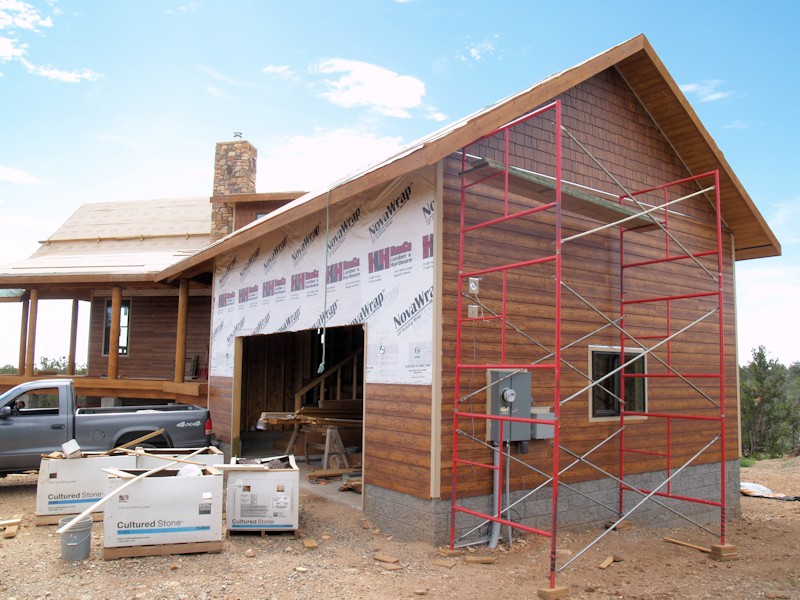
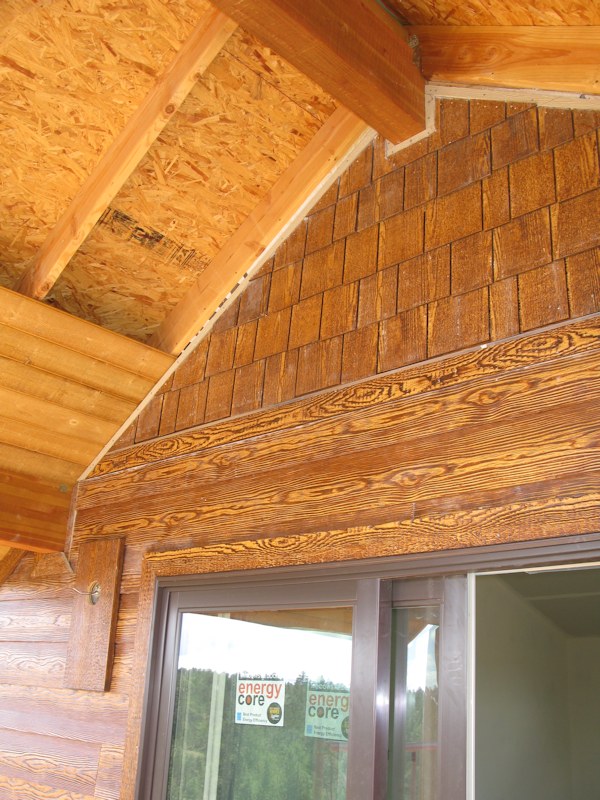
7/5/14 - They started on the chimney and installed some of the shake siding:
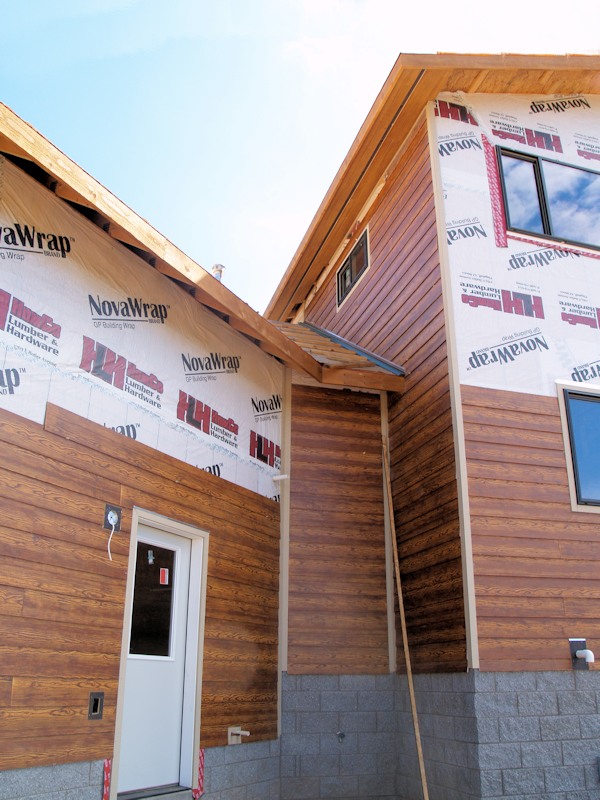
They're working on the wall above the roof so they can start installing the roof (they don't want to walk on the roof once it's installed) - the siding and soffit are almost done here:
Started on the back siding:
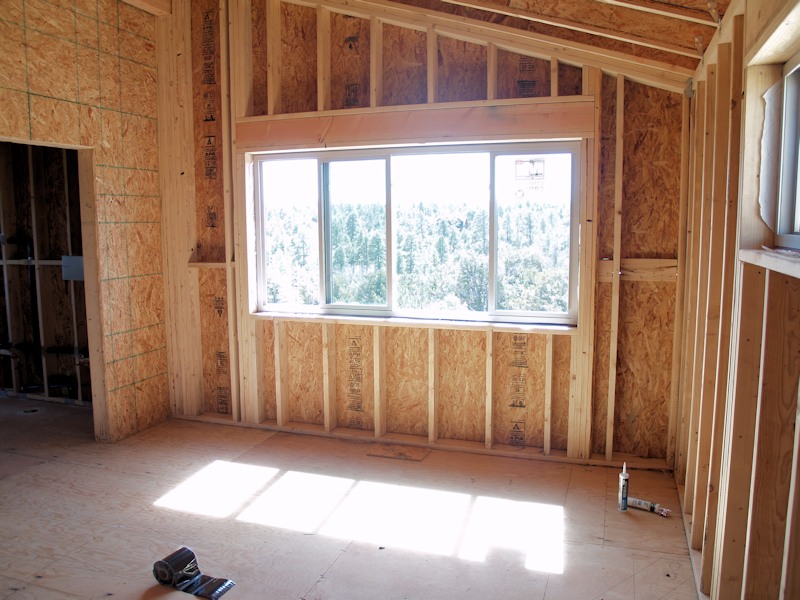
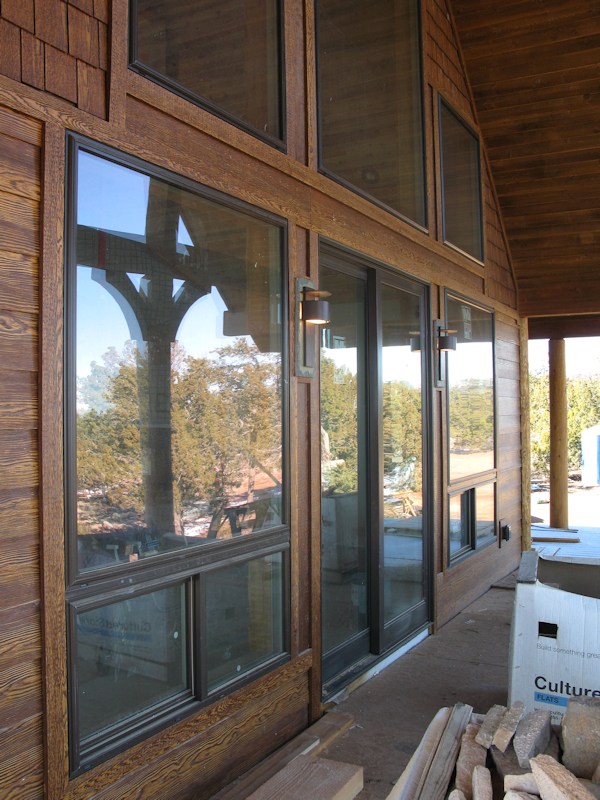
A view of the window wall:
Another view - notice how we've cleared some of the brush in the foreground:
More work on the septic system:
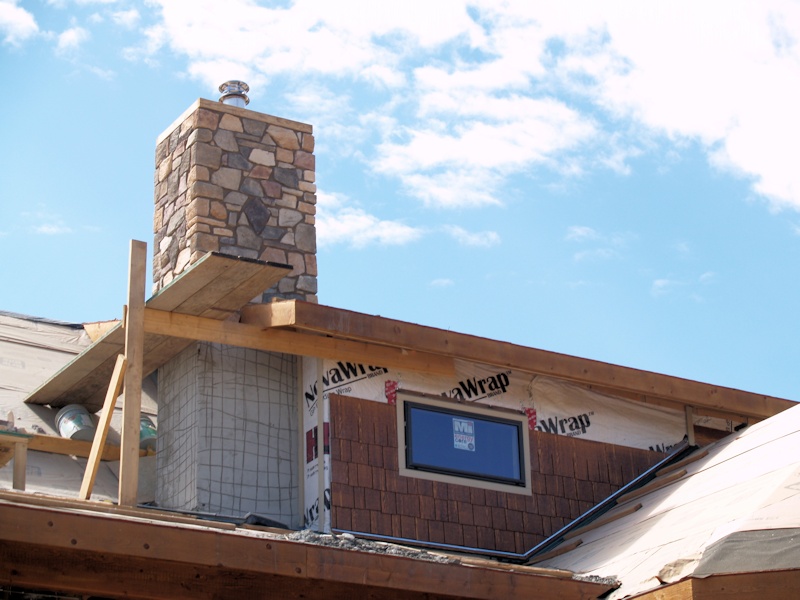
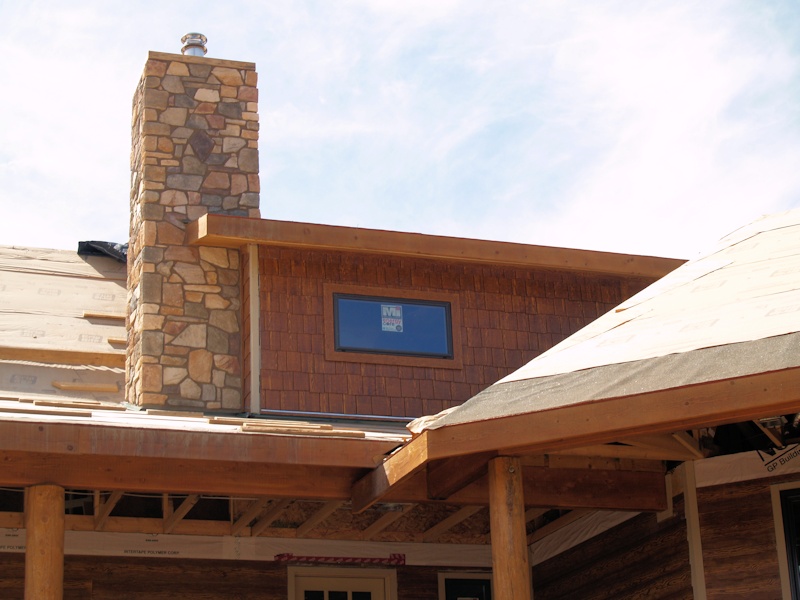
7/13/14 - The stone work for the chimney and upstairs siding is done:
Close up:
A lot of the siding on the side of the house:
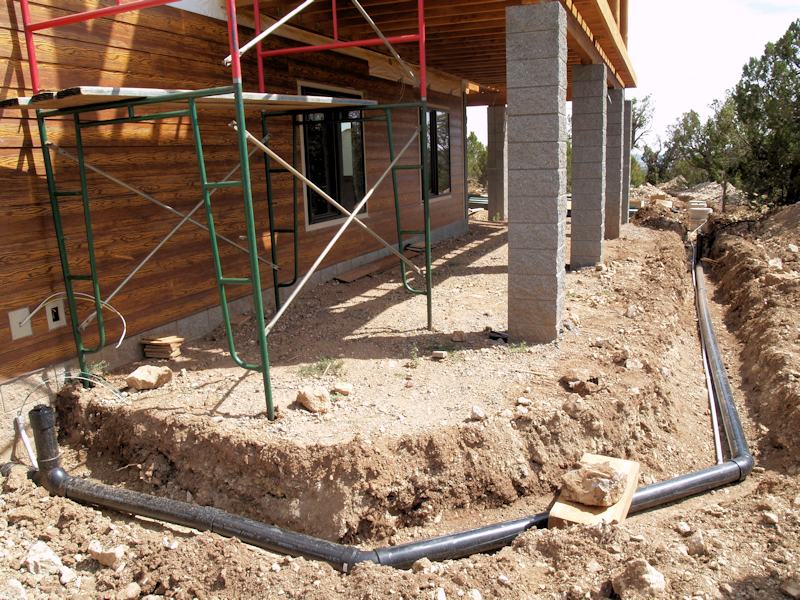
The septic line running from the house:
All of the way down to the lower tanks and pumped up and out:
Into the field:
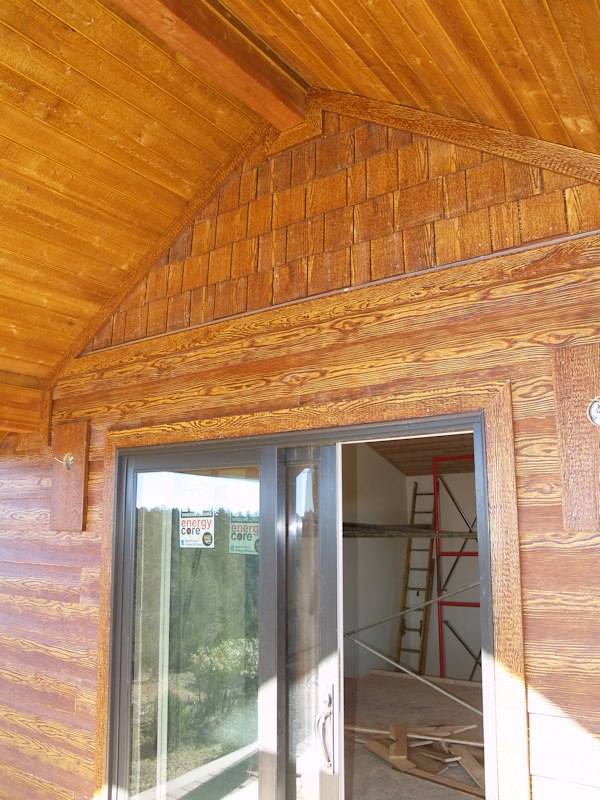
Upstairs off the loft a view of the portal window from the outside:
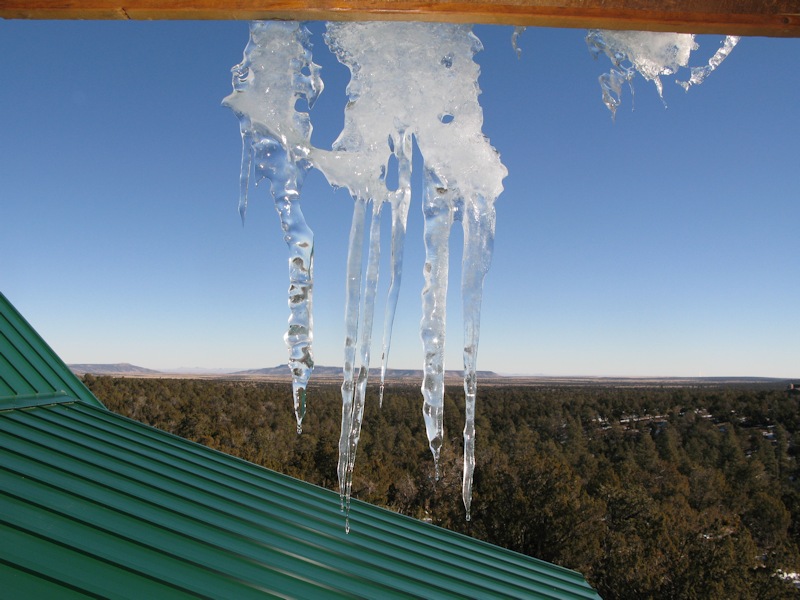
Got some rain today:
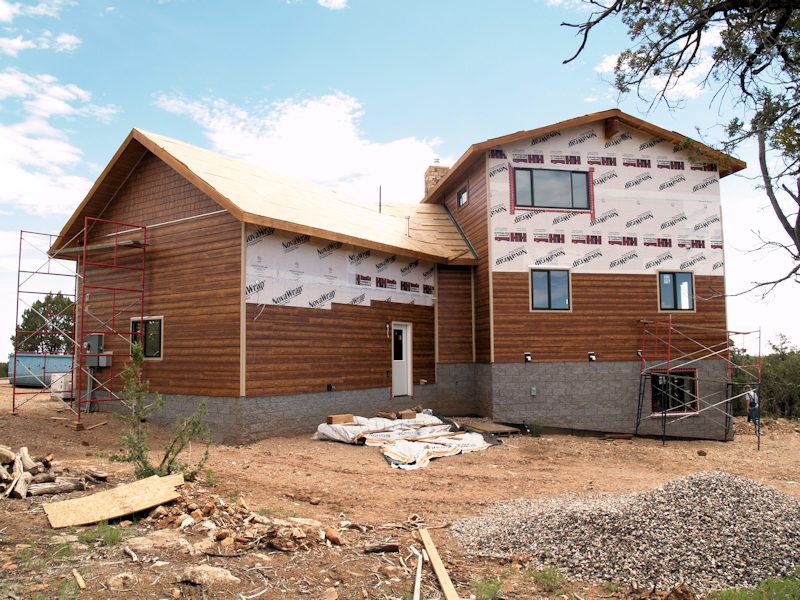
7/20/14 - More siding complete:
Another view:
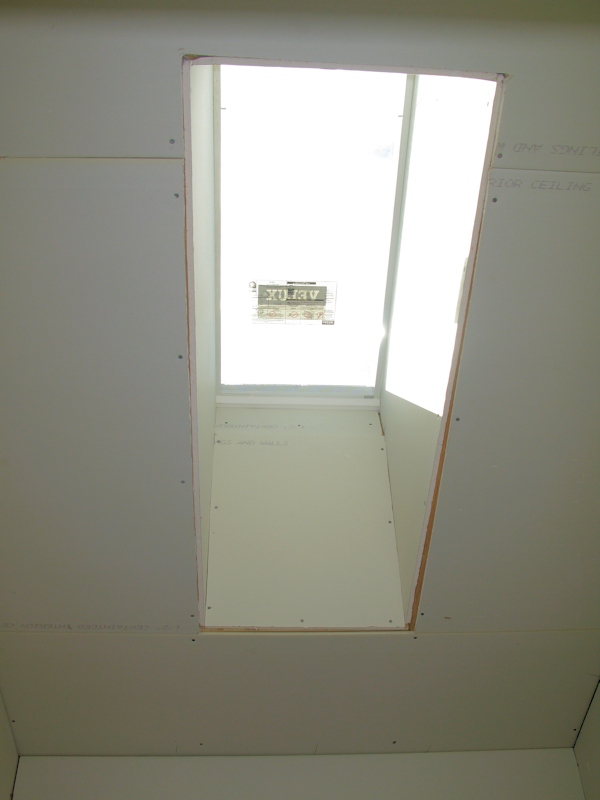
The skylight in the master bat was also installed:
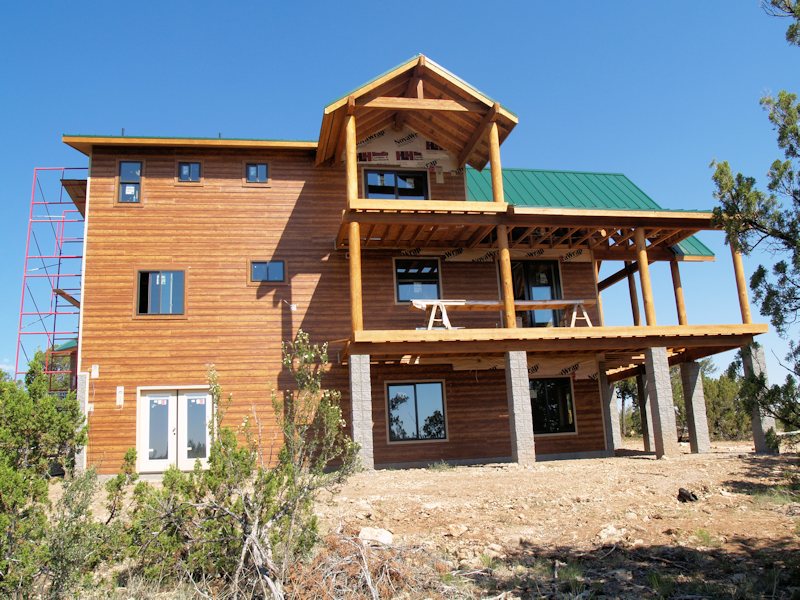
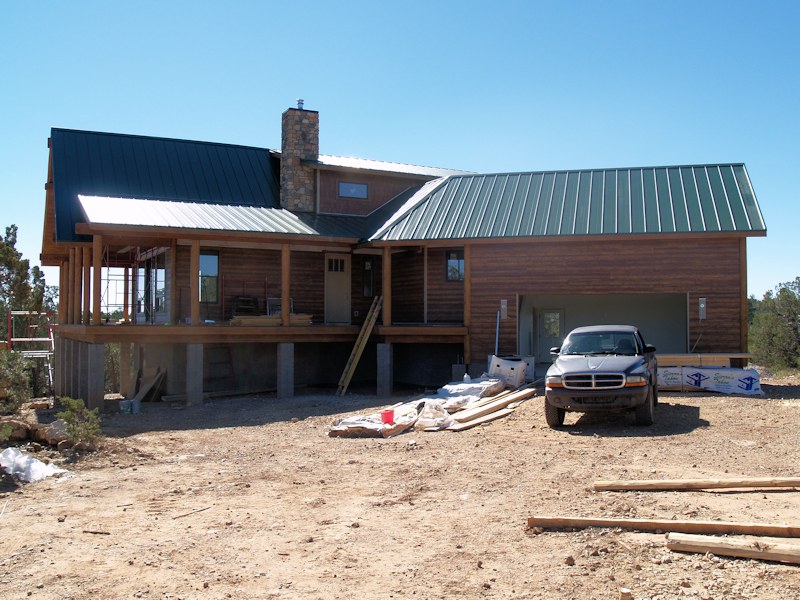
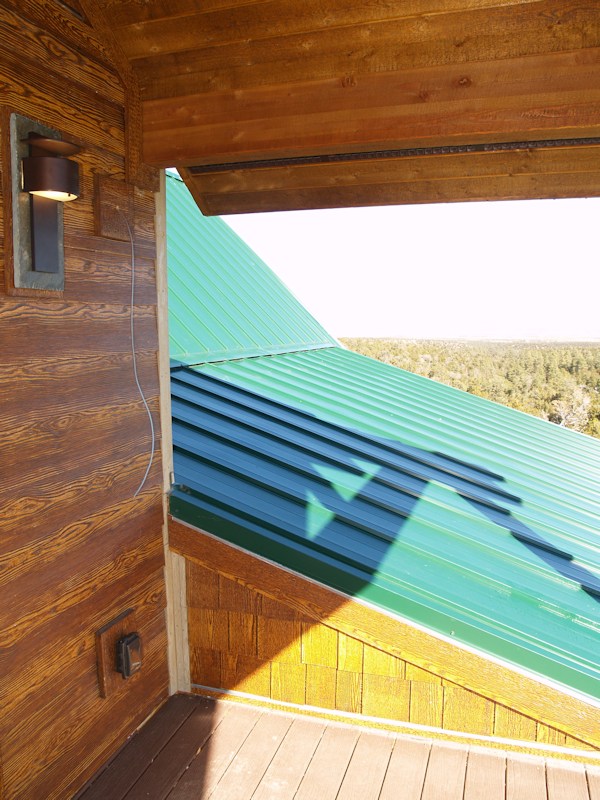
8/2/14 - The weather held and they finished most of the roof:
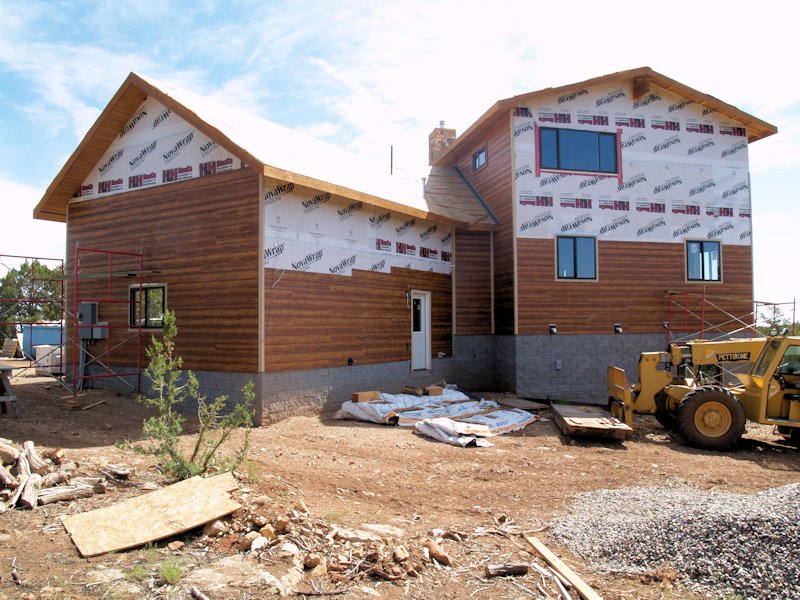
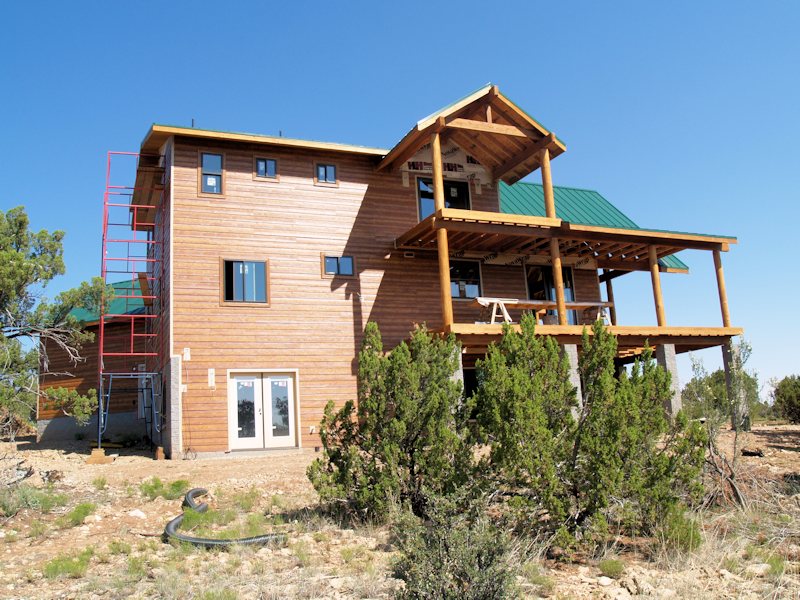
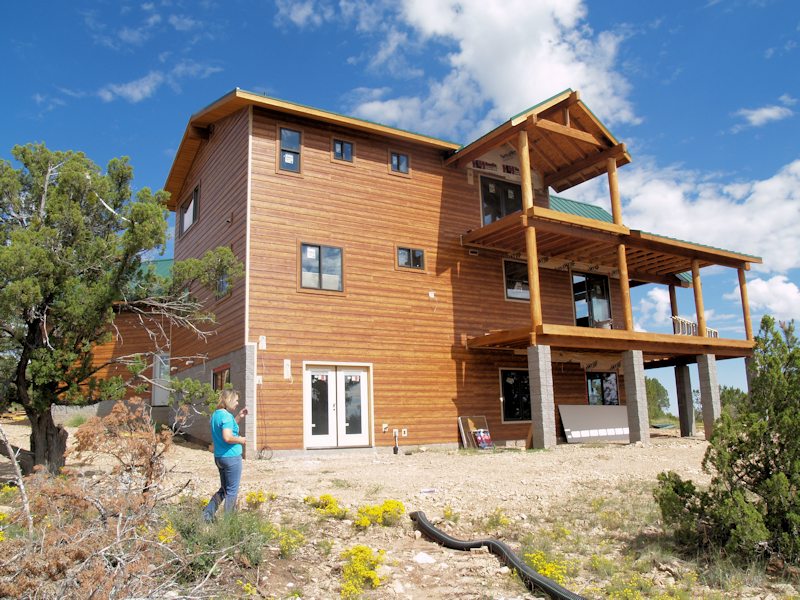
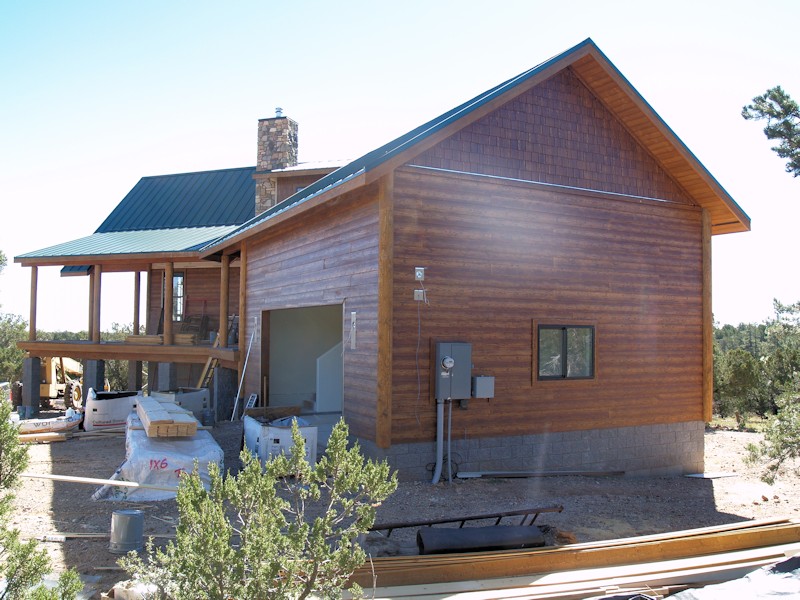
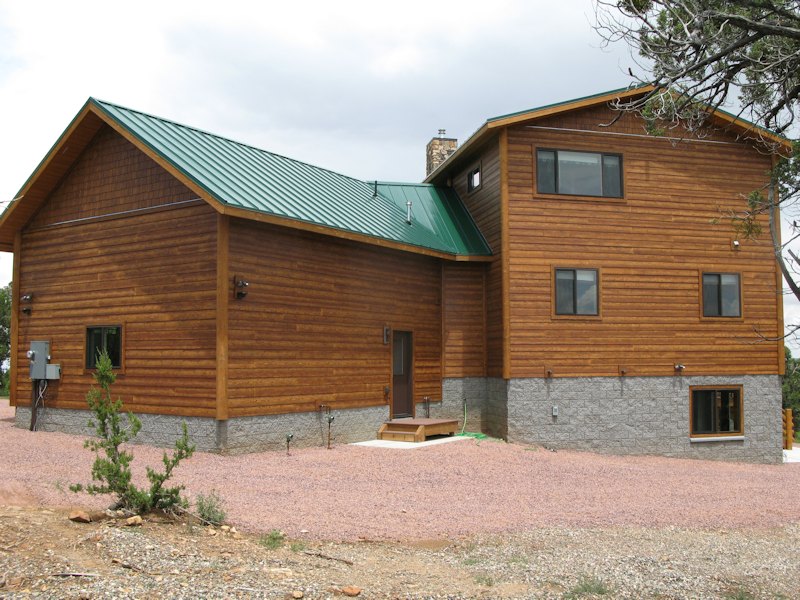
A view of the bedroom side:
A view from the back - more siding done too:
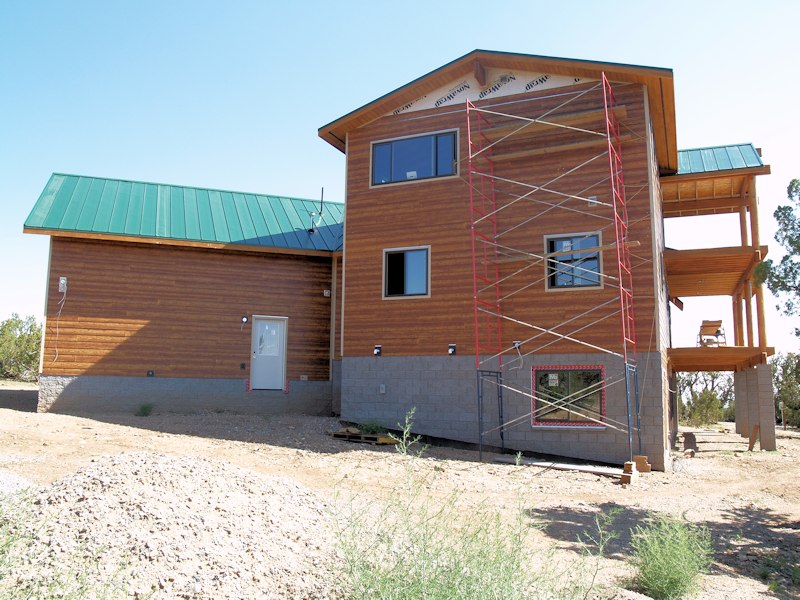
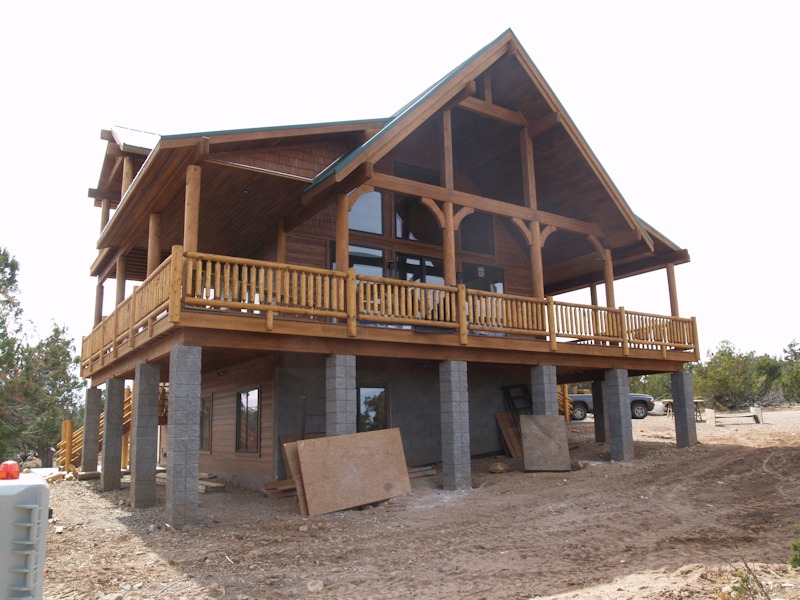
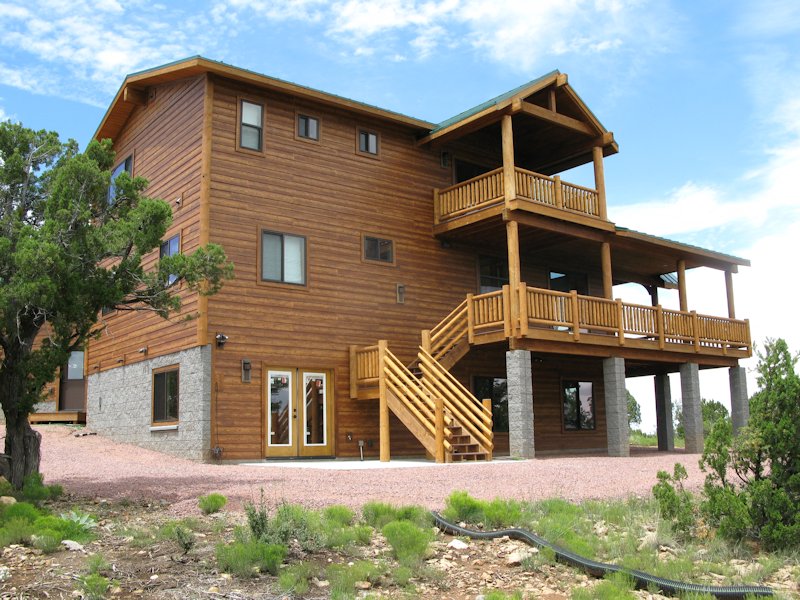
A view of the window wall side:
Another view of it:
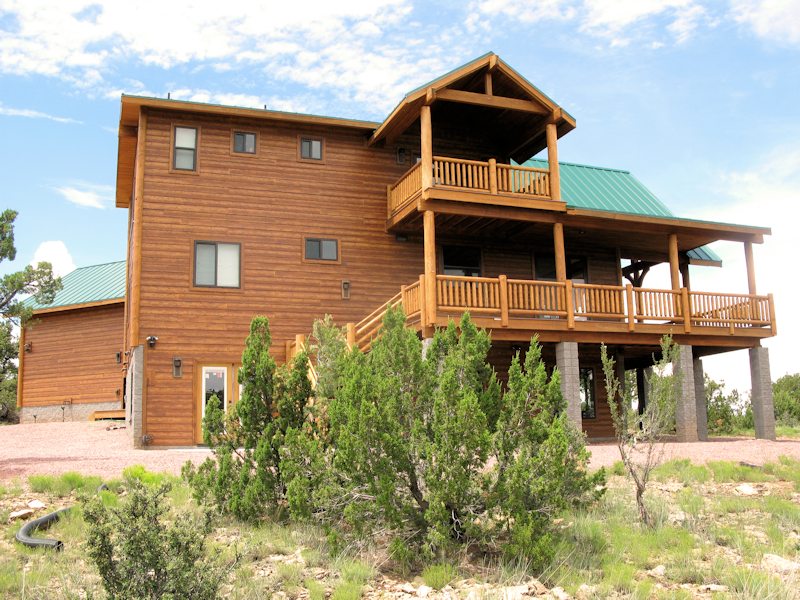
A view of the window wall side and front of the house:
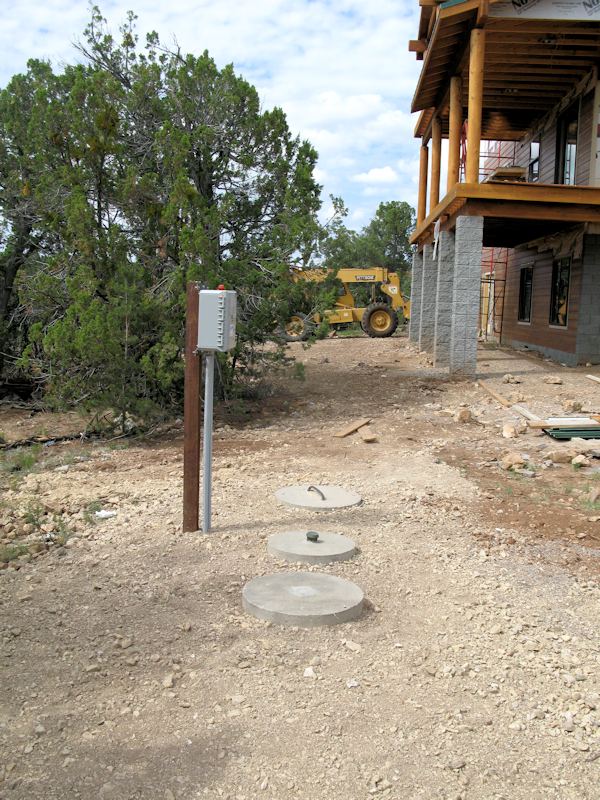
The septic system passed final inspection - this is the wastewater treatment plant and controls/alarm box:
This is the the lower tank (toward the right), and some clean-outs (toward the left):
This is the leach field:
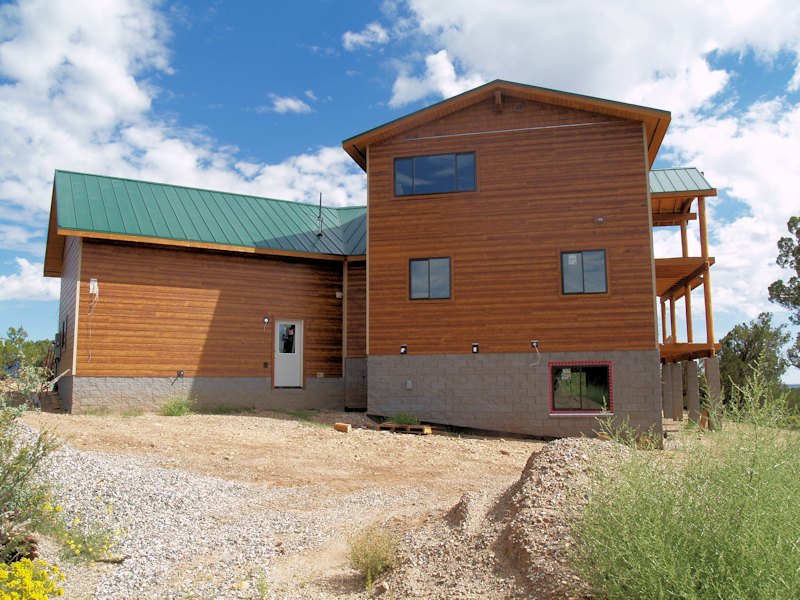
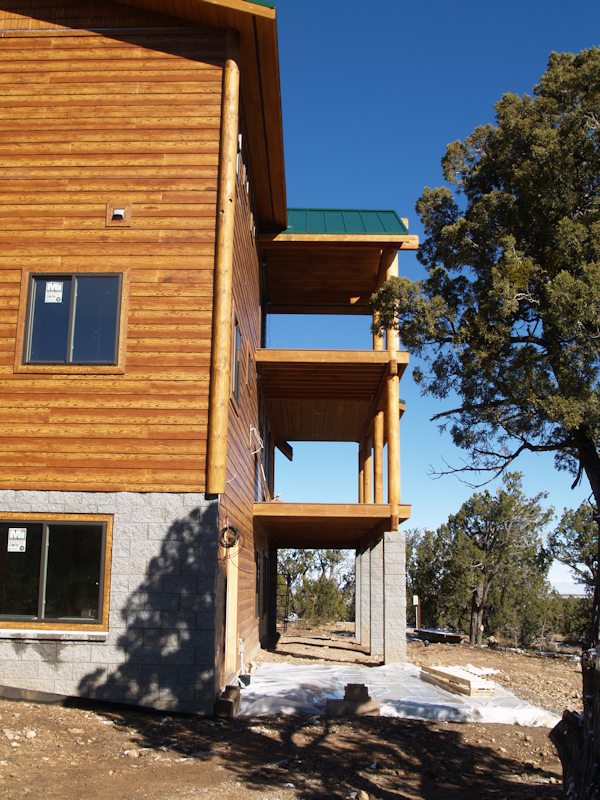
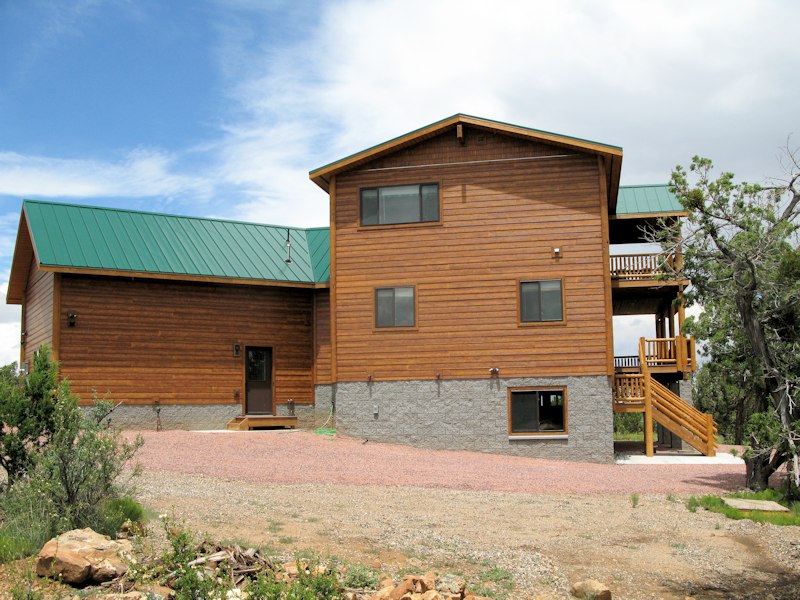
8/10/14 - The rear - siding almost finished:
Another shot:
Just need to finish the siding up top. Do you want to climb the scaffolding? It has bungee cord support on the right and near the top on the left, and wood blocks at the bottom:
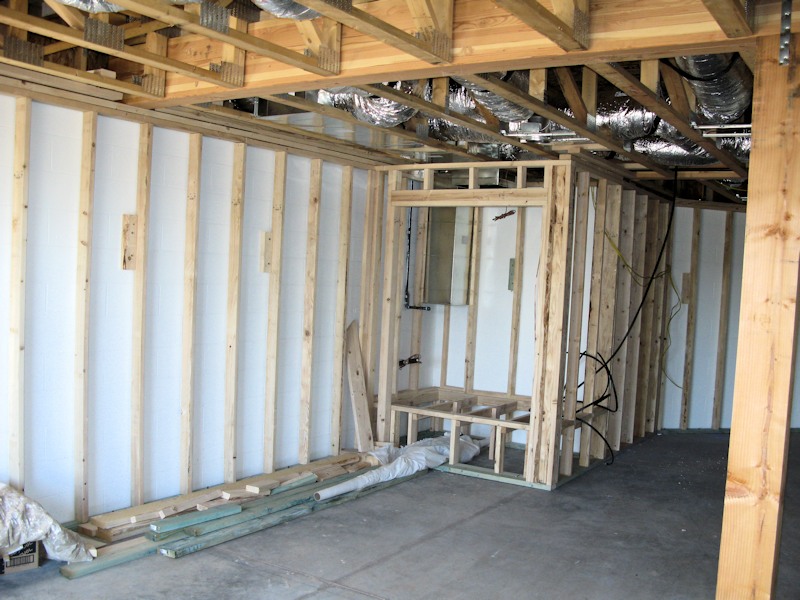
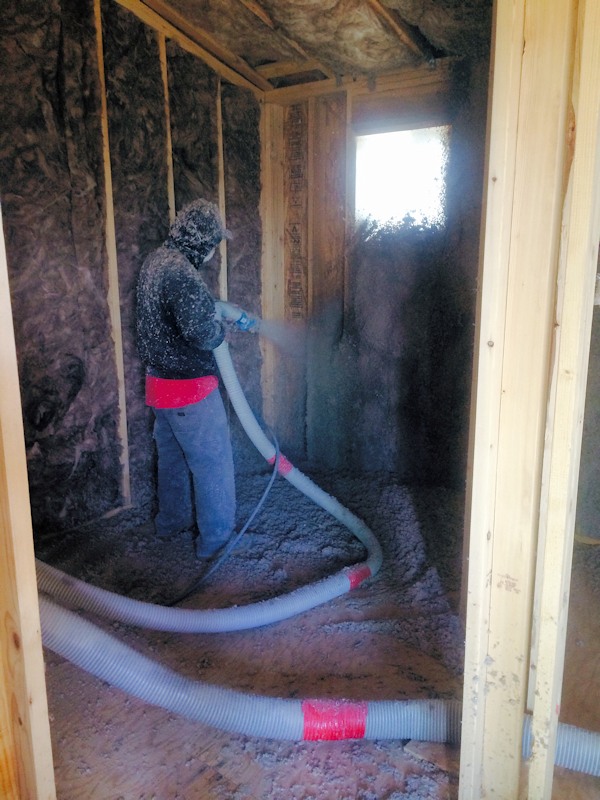
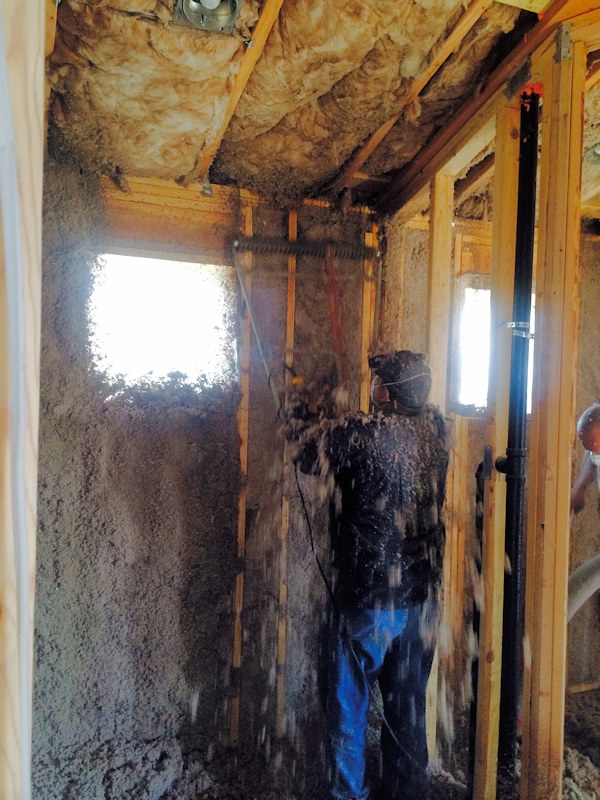
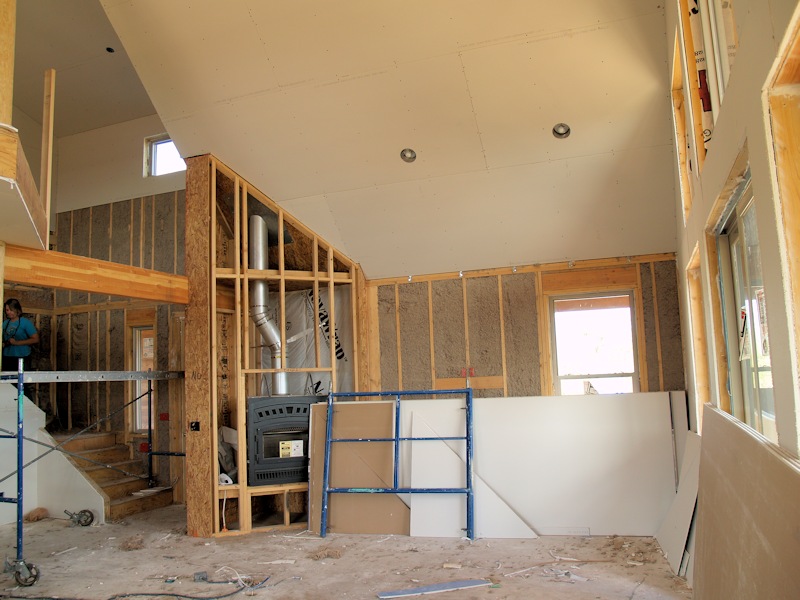
8/22/14 - Got some pictures from the builder - batting for the interior walls and ceiling, shooting insulation in the outside walls:
Scrape the blown in insulation flat to the studs:
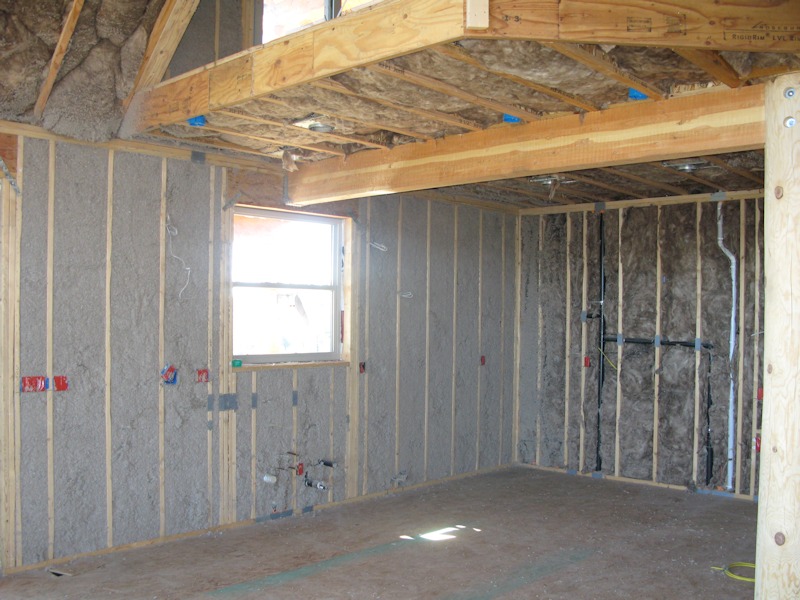
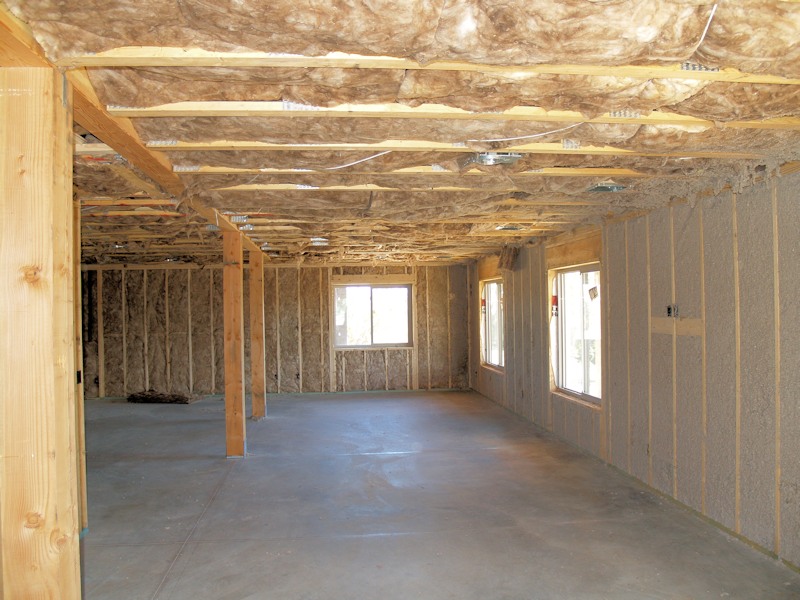
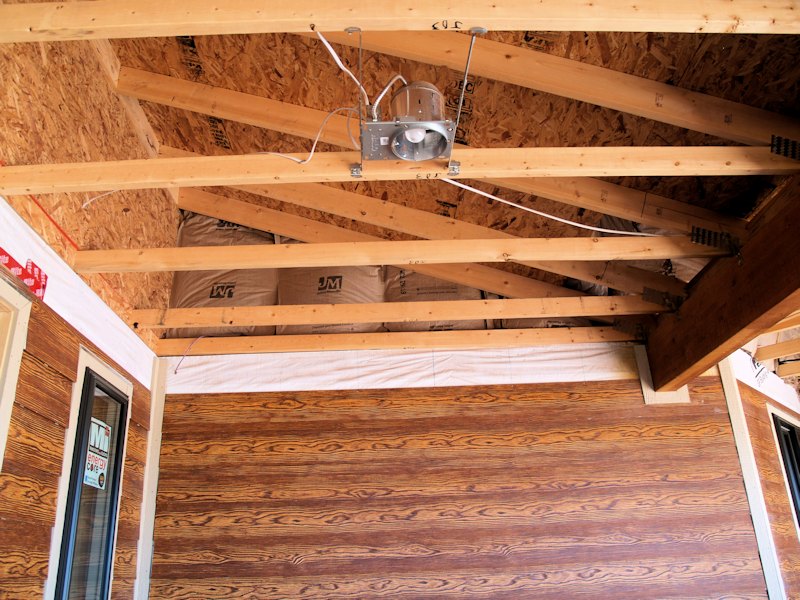
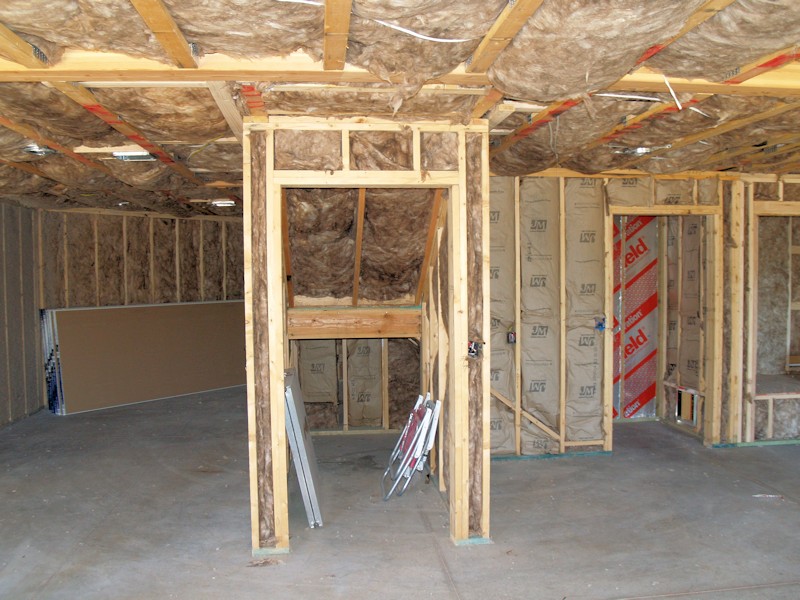
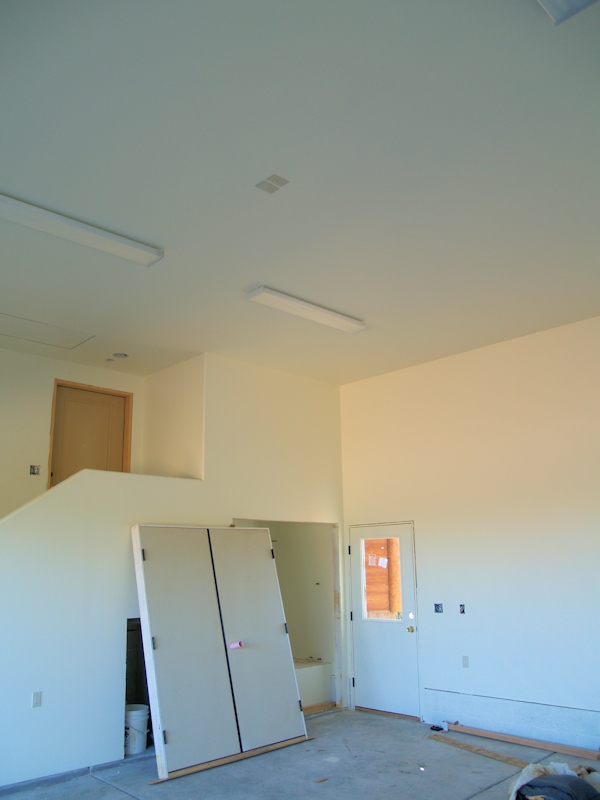
8/24/14 - Insulation everywhere - here's the garage:
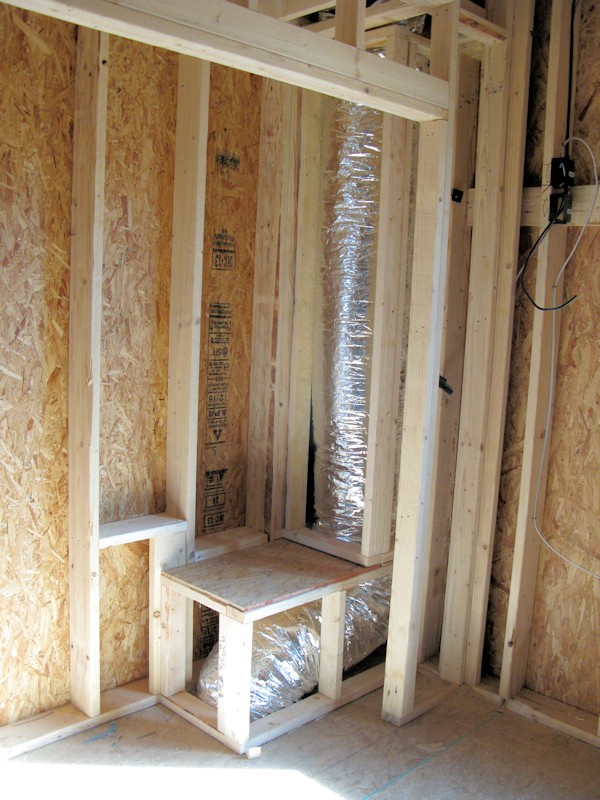
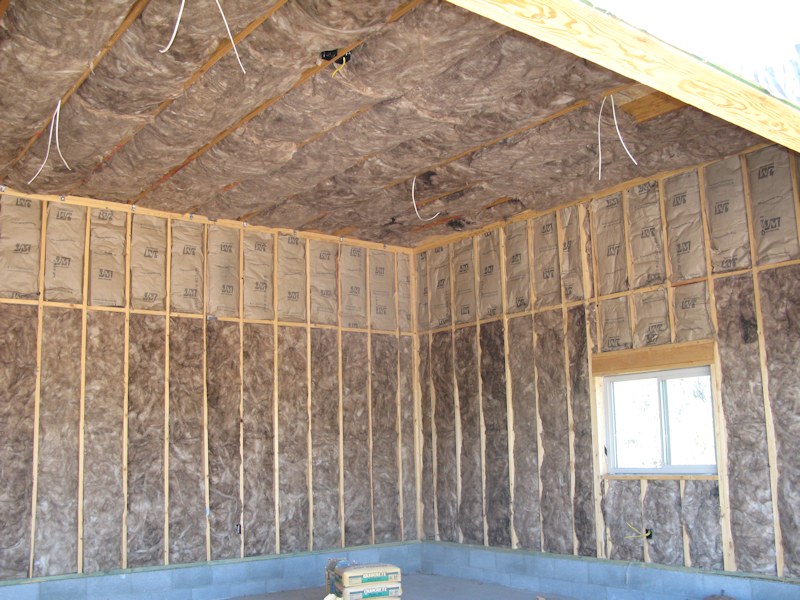
The kitchen exterior wall is blown in, the other walls and ceiling are batting:
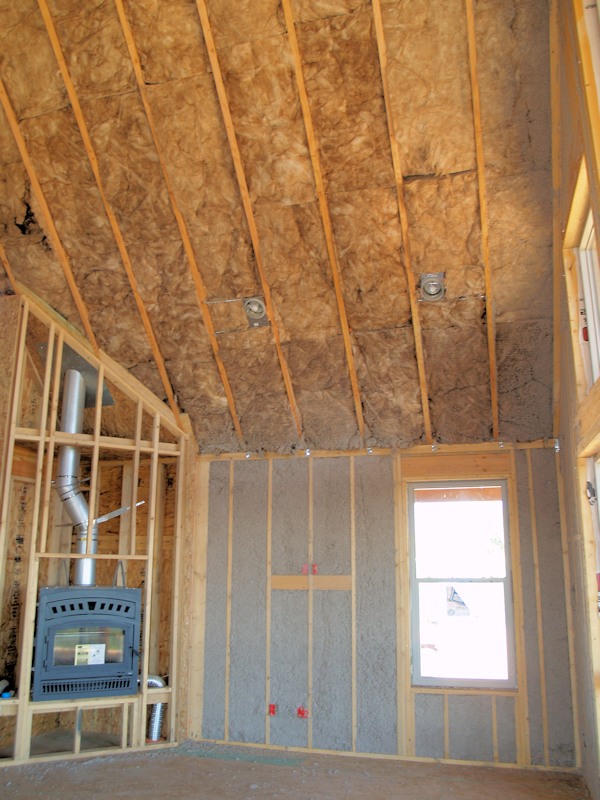
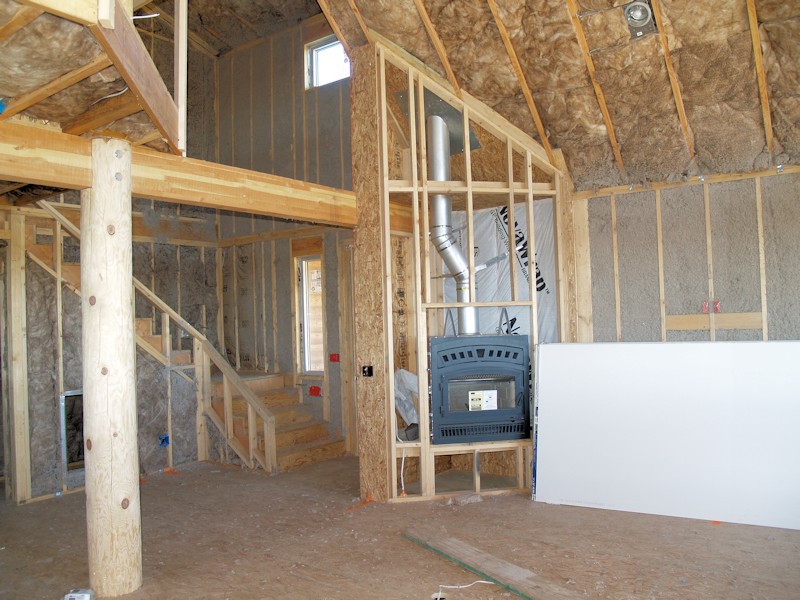
The family room (the fireplace wall still needs insulation):
All of the interior walls have insulation - helps to keep the noise within a room/area:
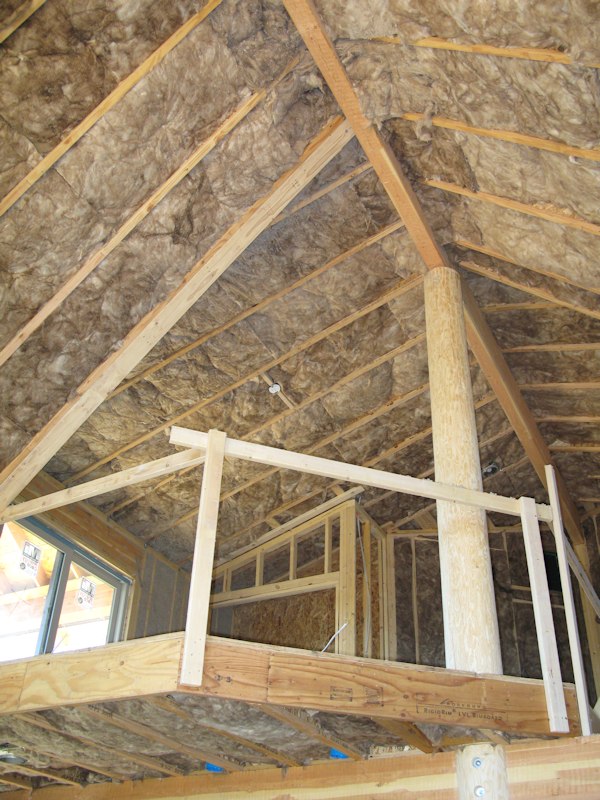
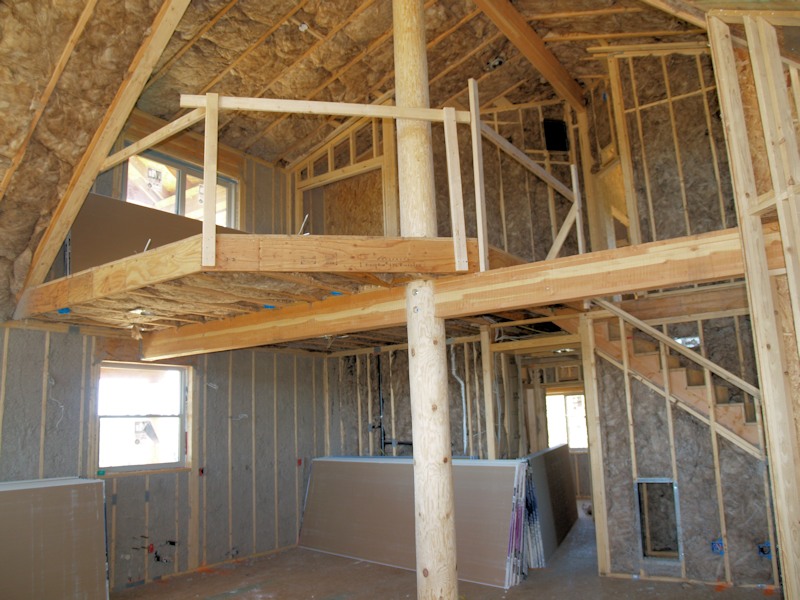
The loft:
The basement doorway:
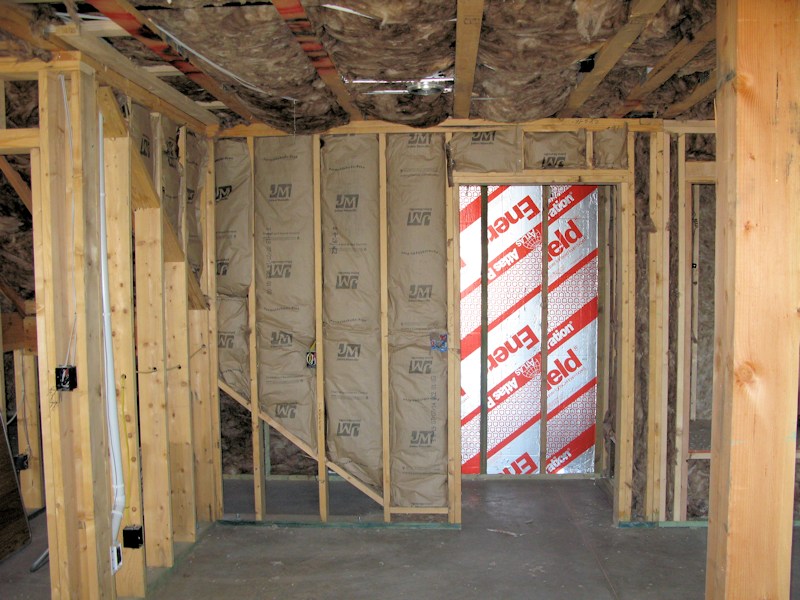
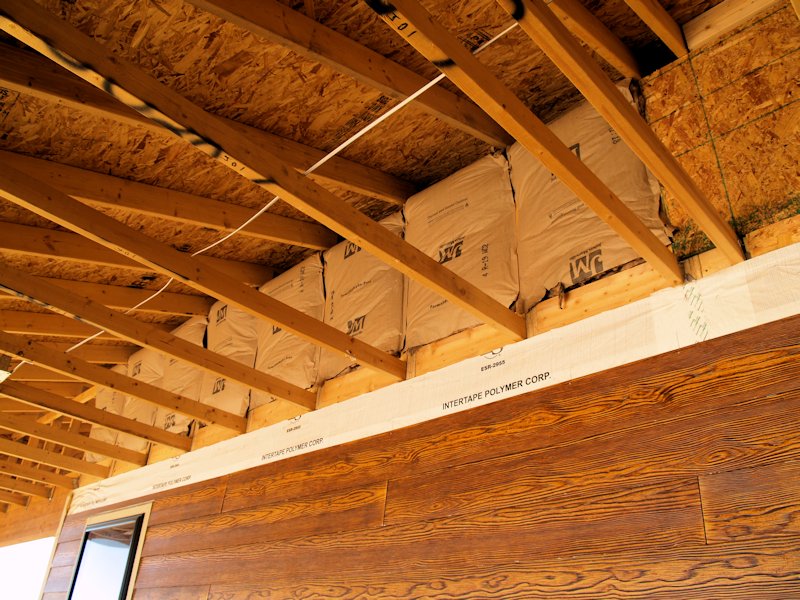
The basement - the wood wall is blown in, the ceiling and other walls are batting:
8/31/14 - Some final touch-ups with the insulation:
Some more:
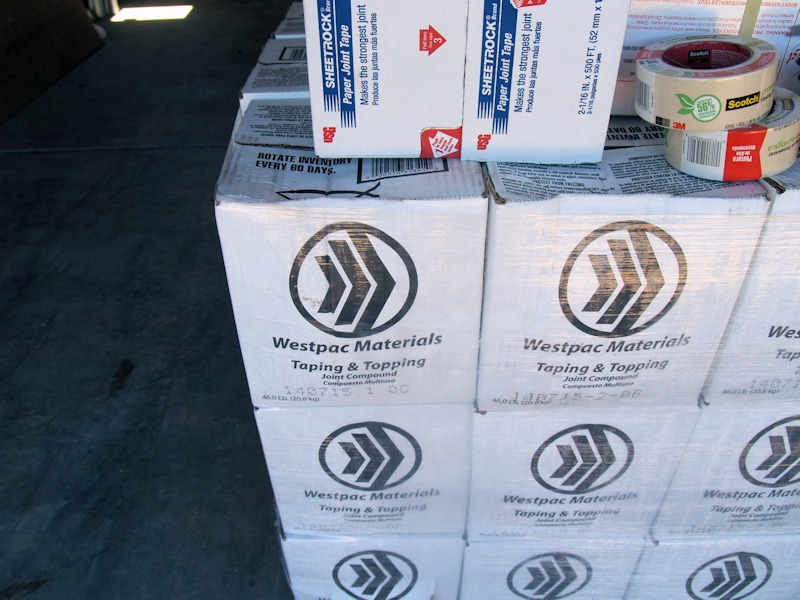
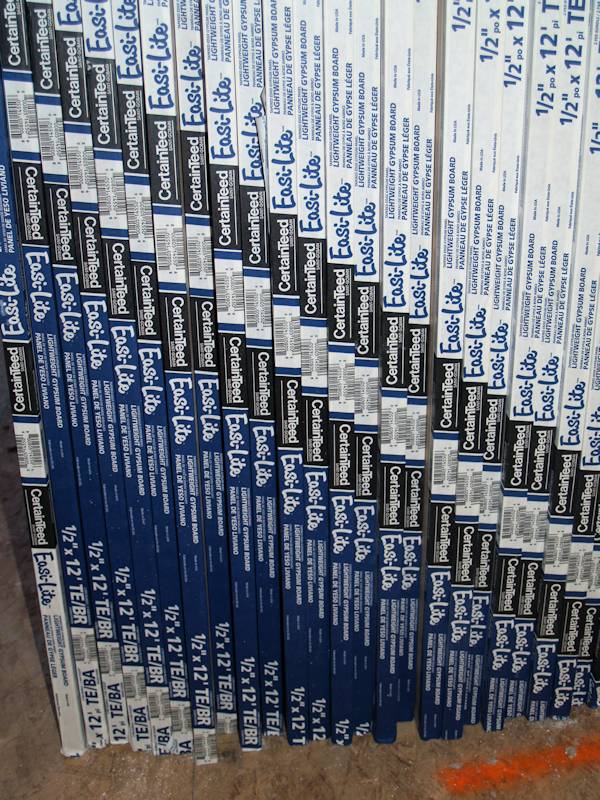
Some supplies in the garage - mud and tape:
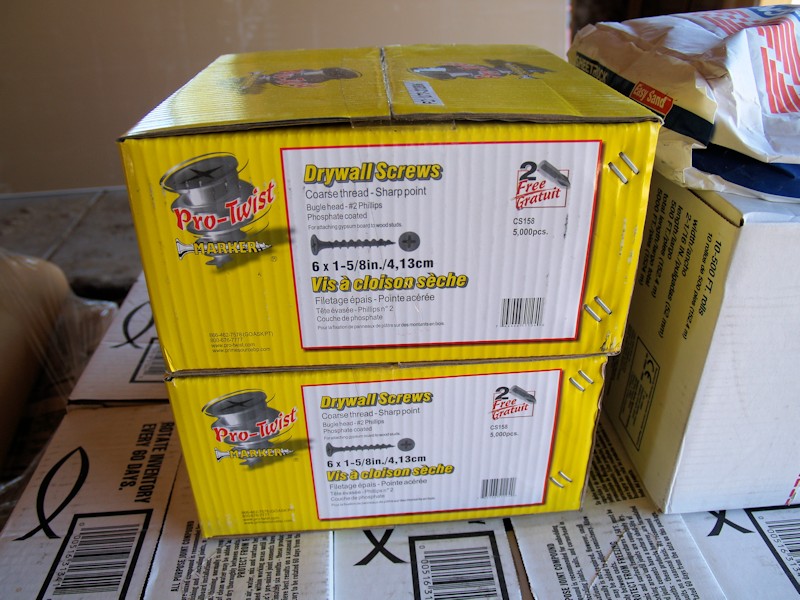
Screws:
CertainTeed sheet rock for the garage:
More inside:
Insulation done in the basement and sheet rock stacked:
Stacked on the first floor:
More on the first floor and some on second floor:
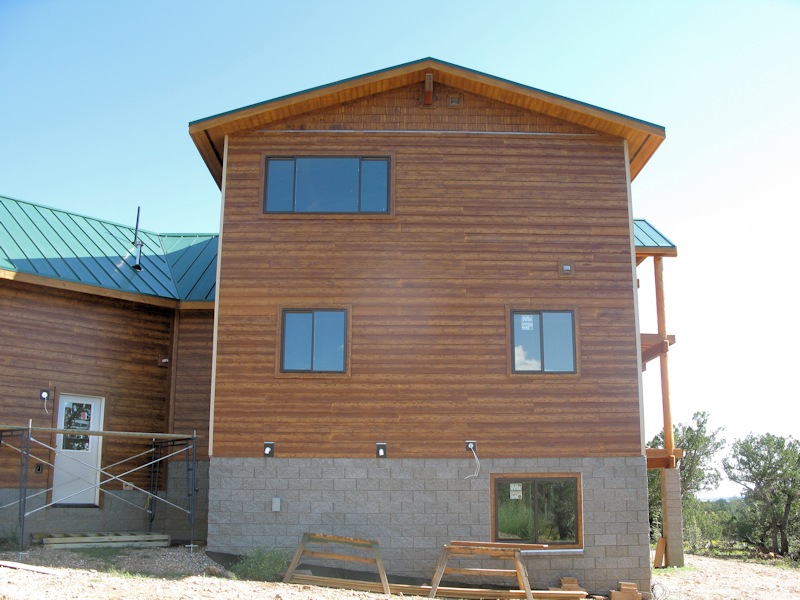
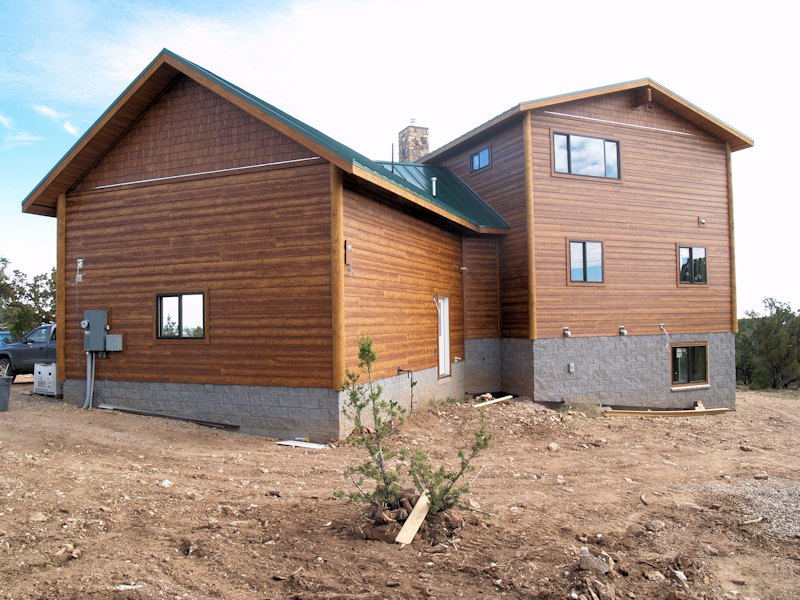
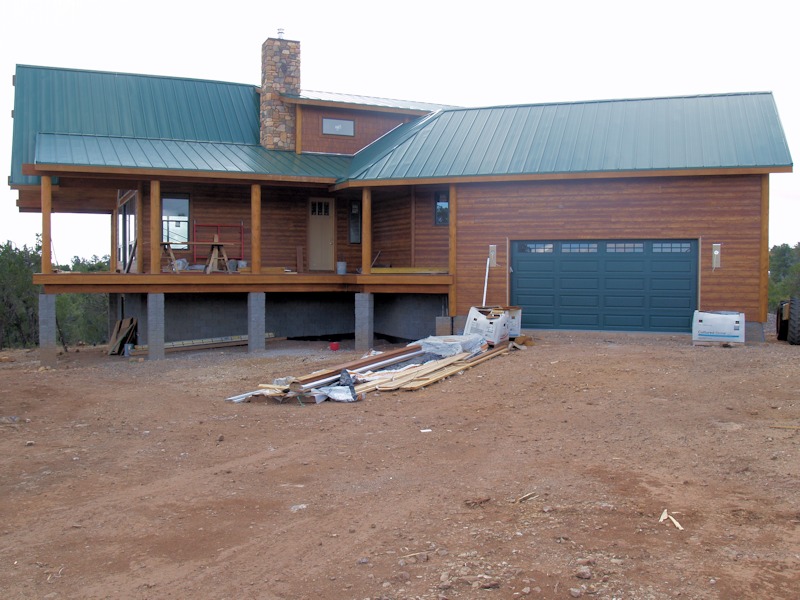
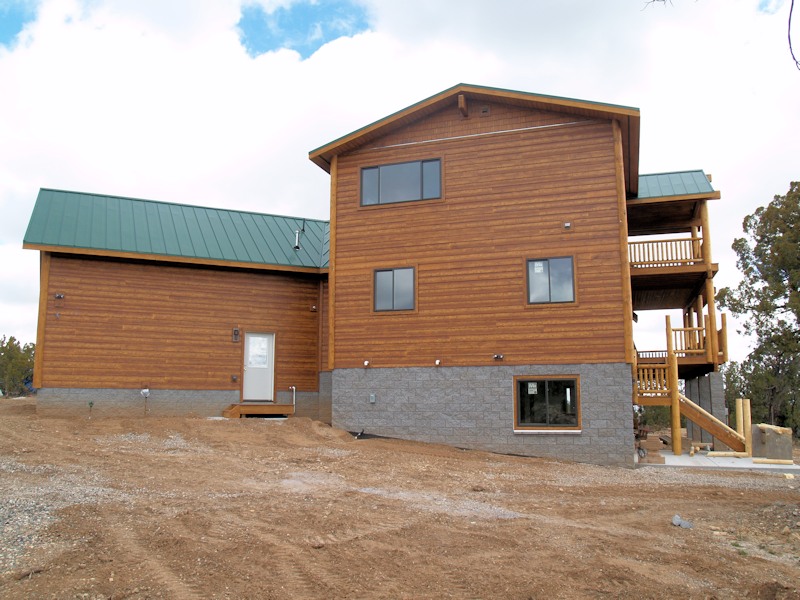
9/6/14 - So it's been just a little over a year since they broke ground! The siding up front is almost complete now:
The bedroom wall siding looks to be complete:
Most of the siding in the back is complete:
The siding on the window wall has been started:
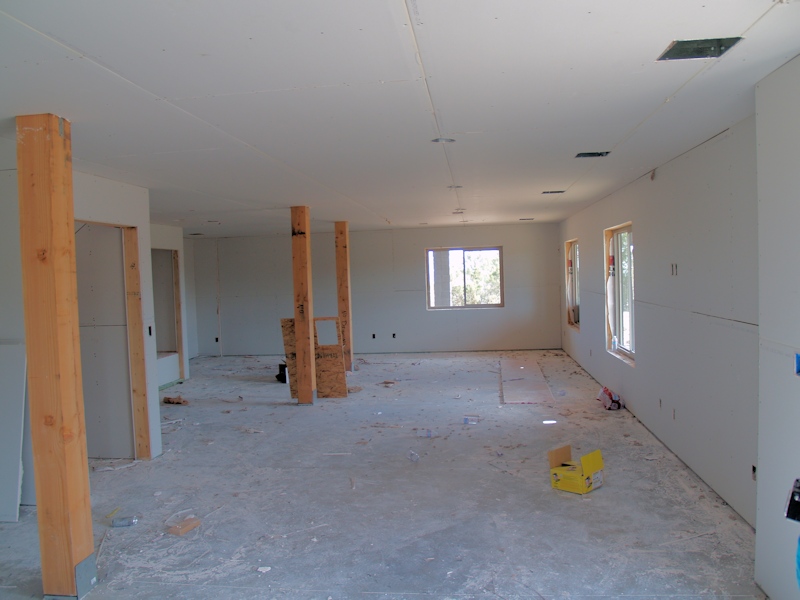
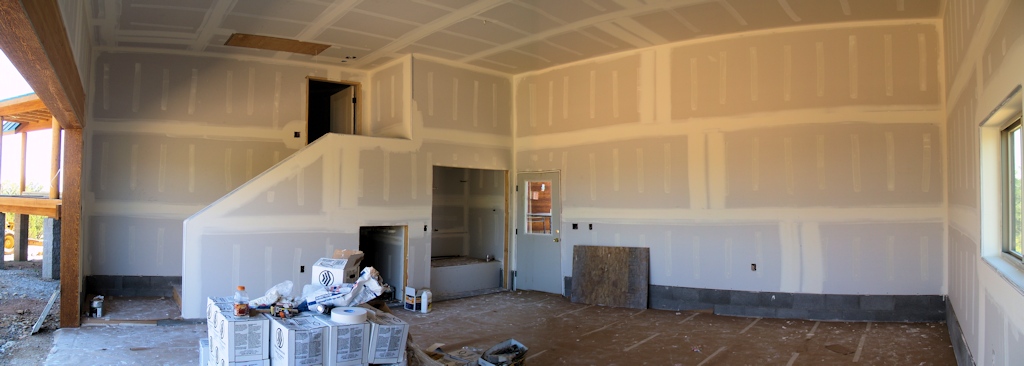
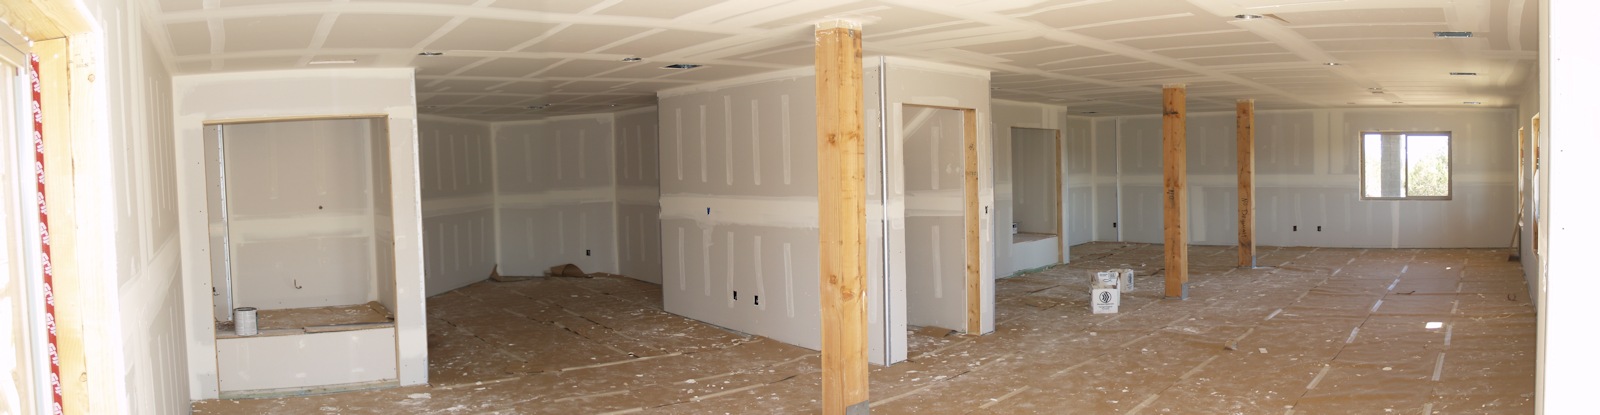
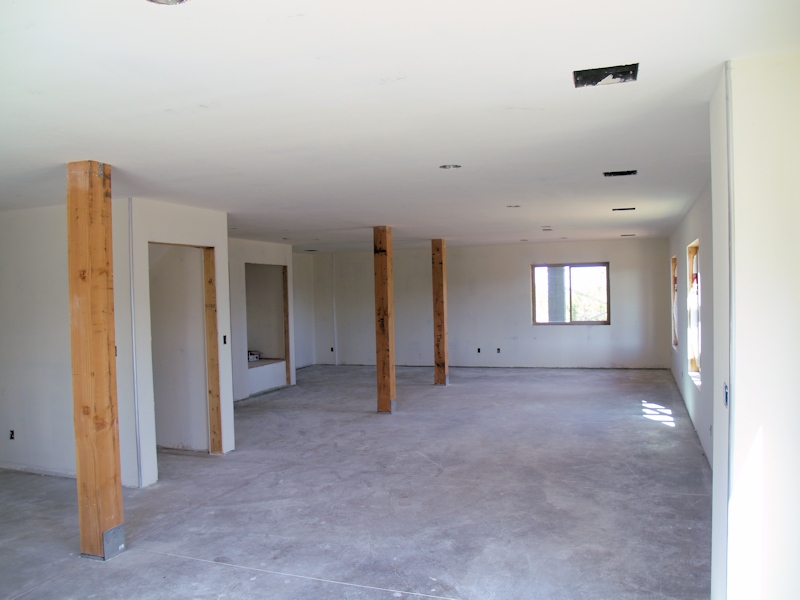
Inside, the sheetrock is half-way finished in the living room and entrance:
The kitchen and loft areas are mostly complete:
The window wall is mostly complete:
The master bedroom is mostly complete:
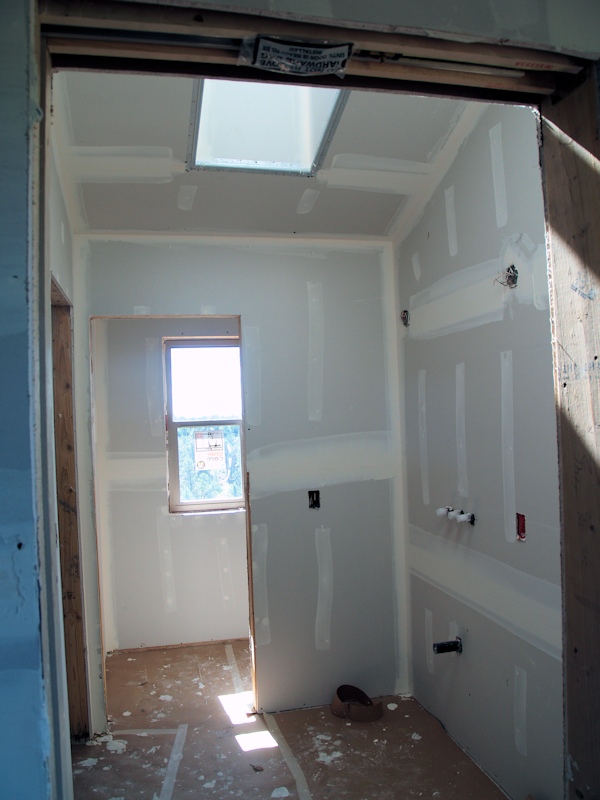
The skylight in the master bathroom is all boxed in:
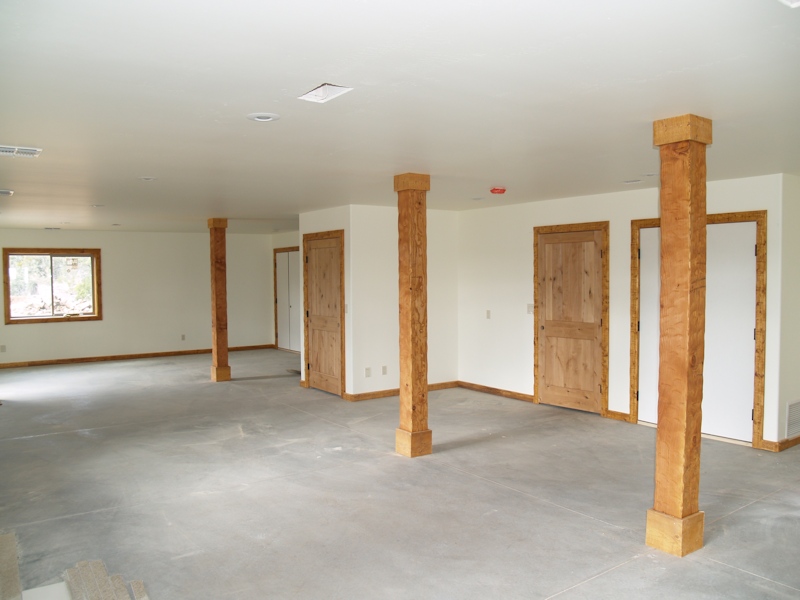
The basement looks pretty much done:
9/13/14 - More signs and a chain at the entrance:
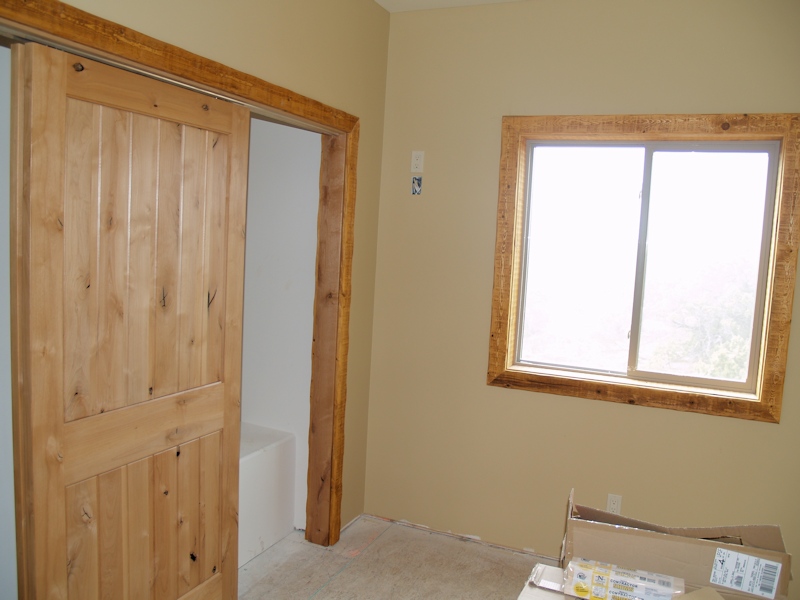
Windows are getting trimmed out:
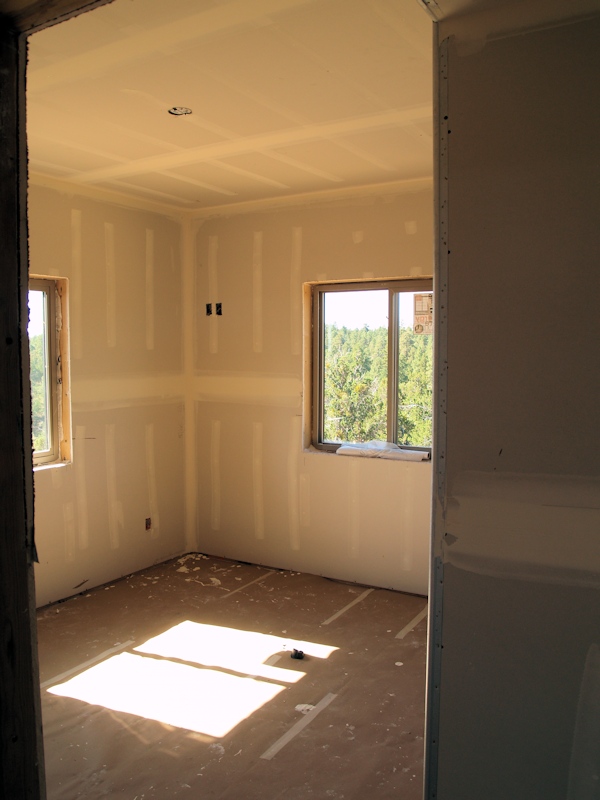
Inside the sheetrock is getting tapped, here's a bedroom:
Master bath:
Garage:
Basement:
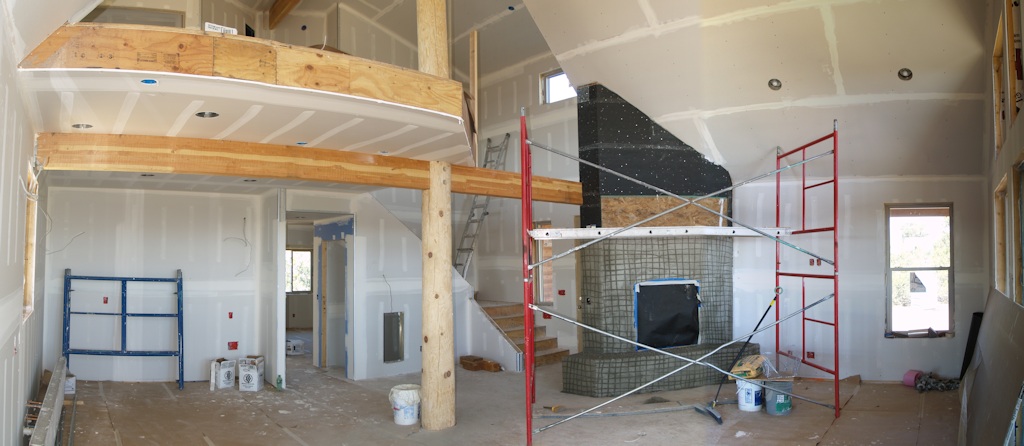
Living Room and Kitchen:
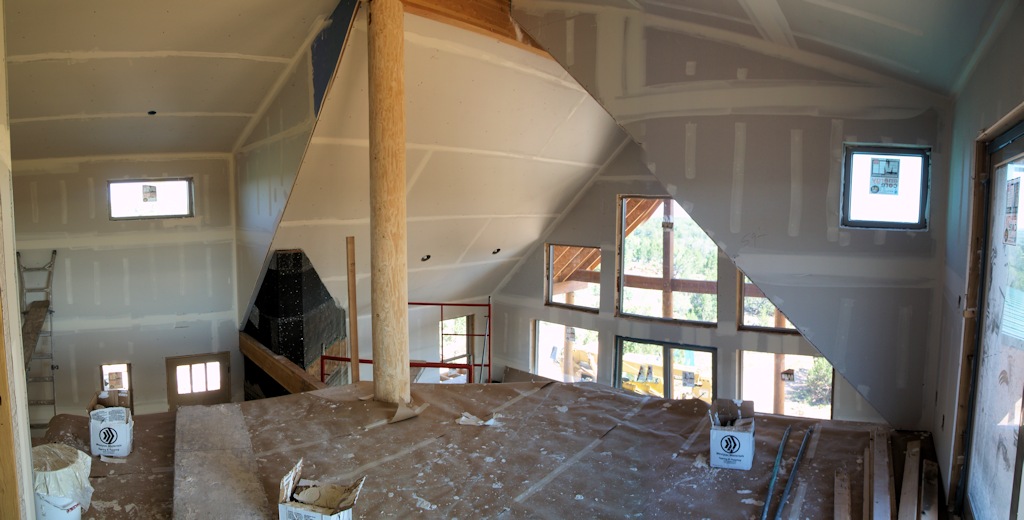
Loft:
9/28/14 - The drywall is all taped and the mud is on and it's ready for painting next week:
The sheetrock is only taped in the vaulted ceiling because T&G wood will be nailed over it:
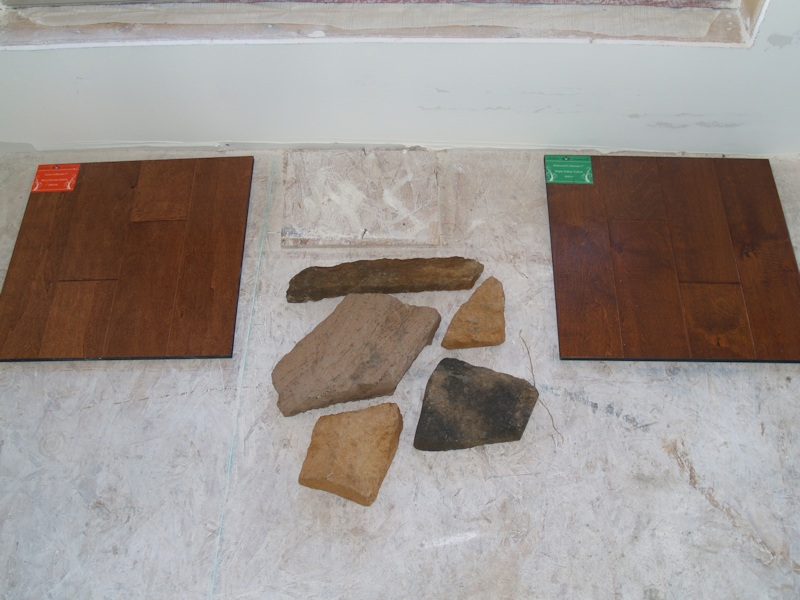
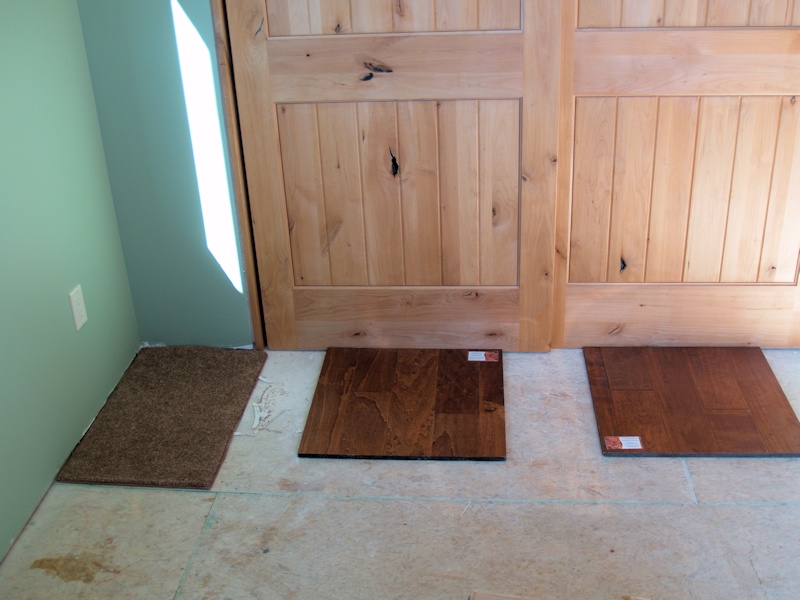
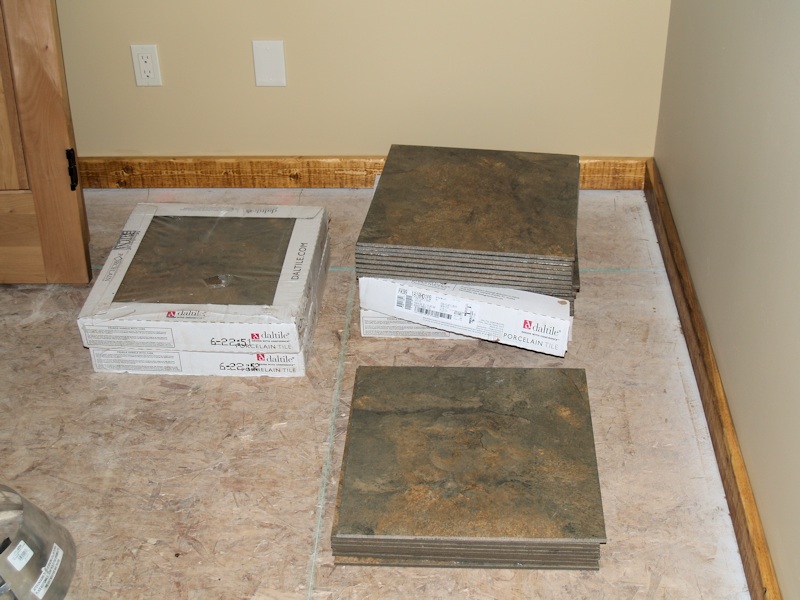
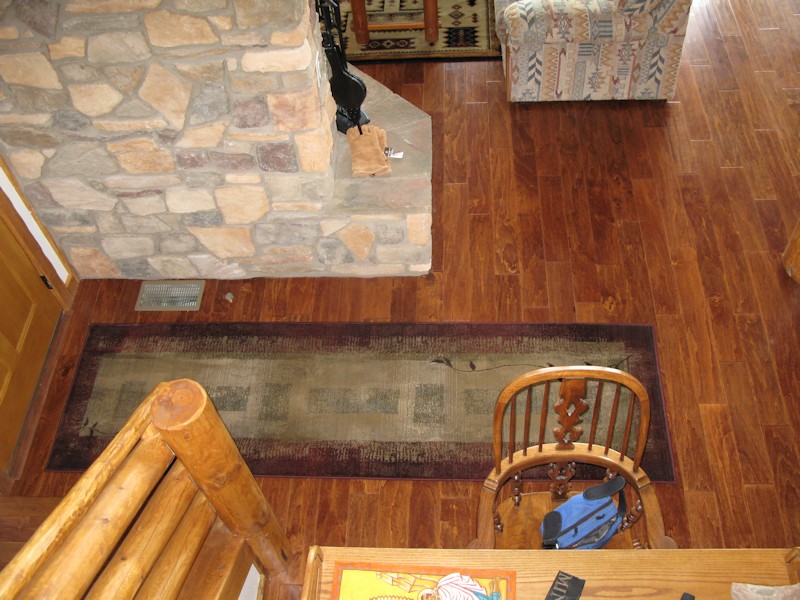
We're looking at flooring (leaning toward the right) - comparing to the fireplace rock:
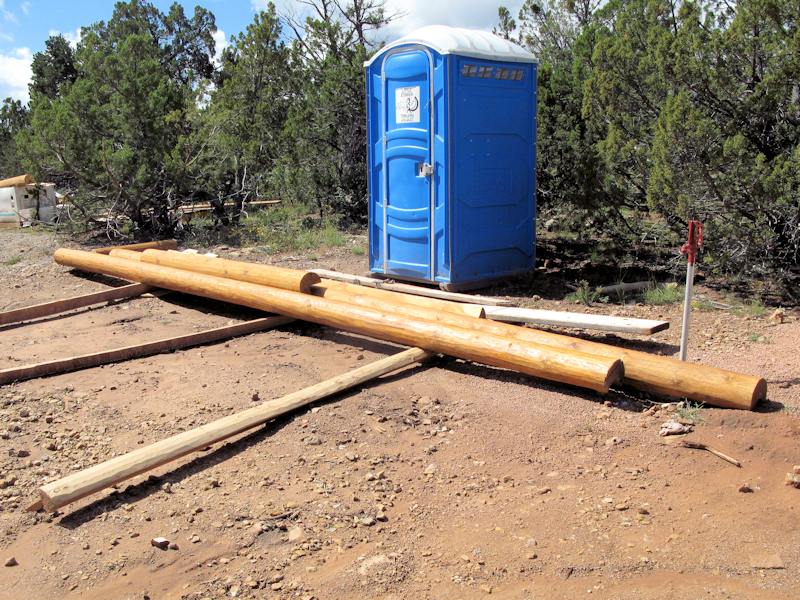
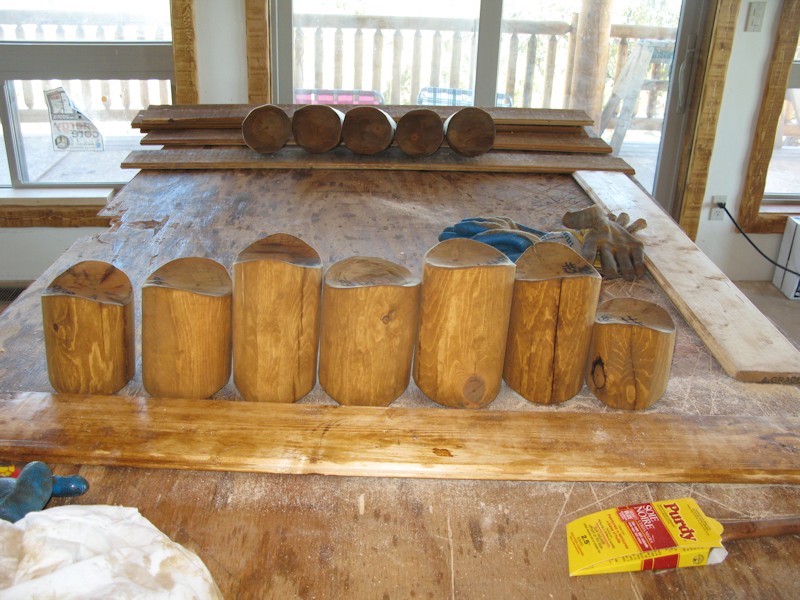
Back outside by the TURDIS there are more logs for the outside corners of the house:
Here's one installed:
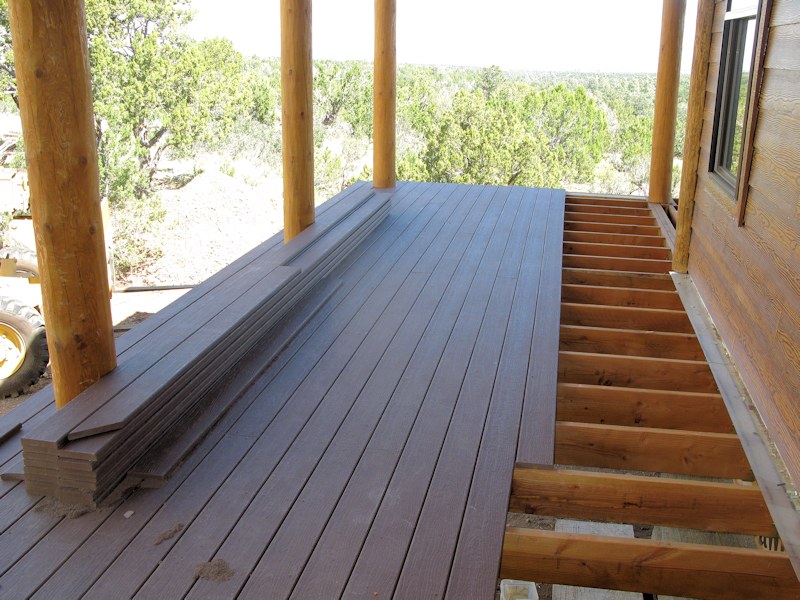
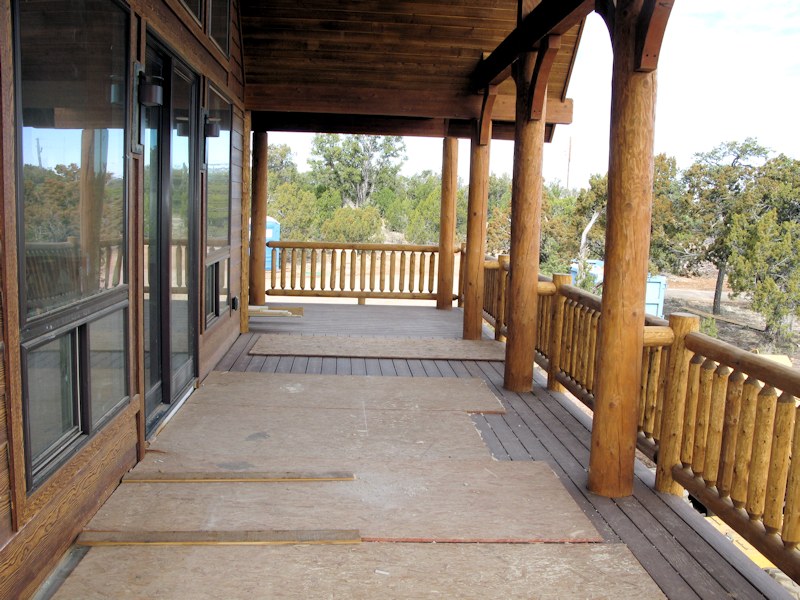
They also started screwing down the composite decking:
And over the decking the T&G is going in:
They just started the T&G up the vaulted roof line outside:
They're also finishing off the area over the upstairs deck:
You may be able to make out the log corner on the right of the house and the square corner (needs a log) on the left; the T&G starting up the right side of the vaulted part of the roof; and the T&G started on the outside of ceiling on the deck on the left:
10/5/14 - More logs added to the corners:
Another view of the new logs:
Another view of the new logs on the garage and the square edges on the house that will have them soon:
Lots of T&G finished over the deck:
The deck in the front is done:
The deck and T&G around back is almost done:
Lunch on the deck:
Back inside, the garage is painted:
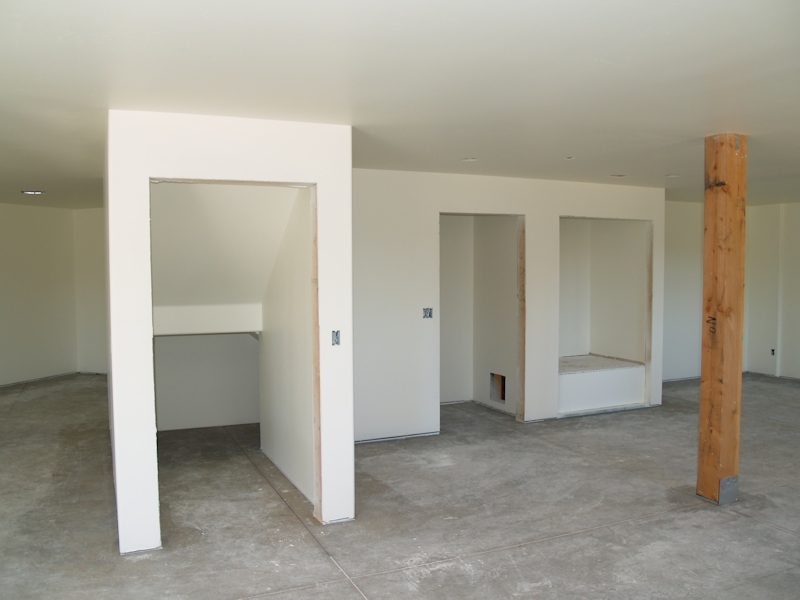
So is the basement:
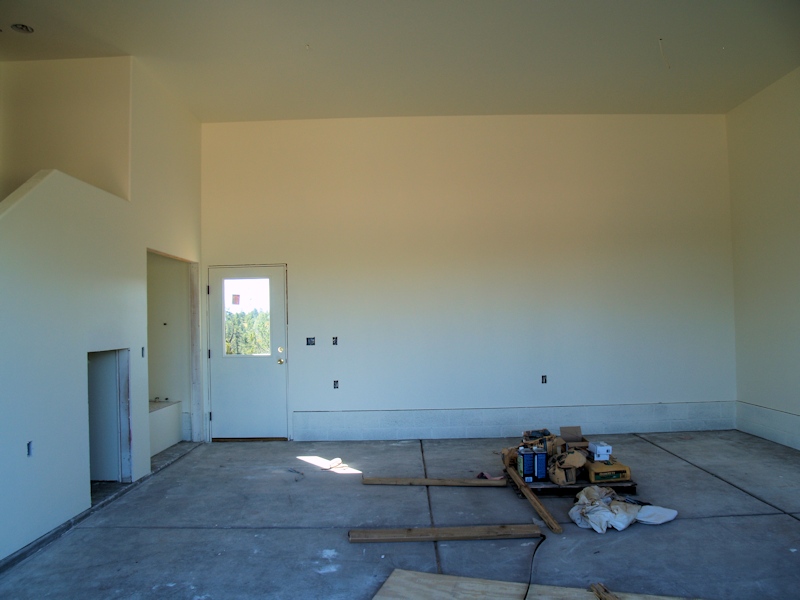
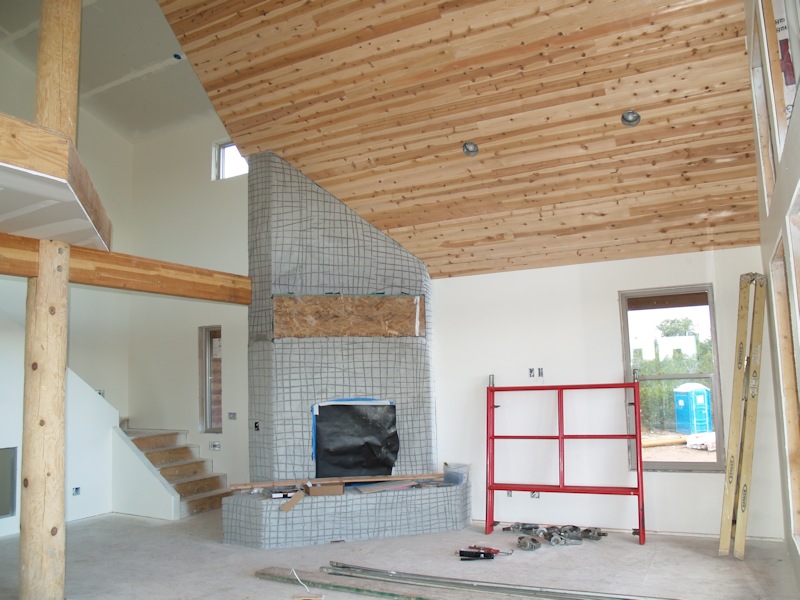
The living room is painted (the ceiling will be T&G):
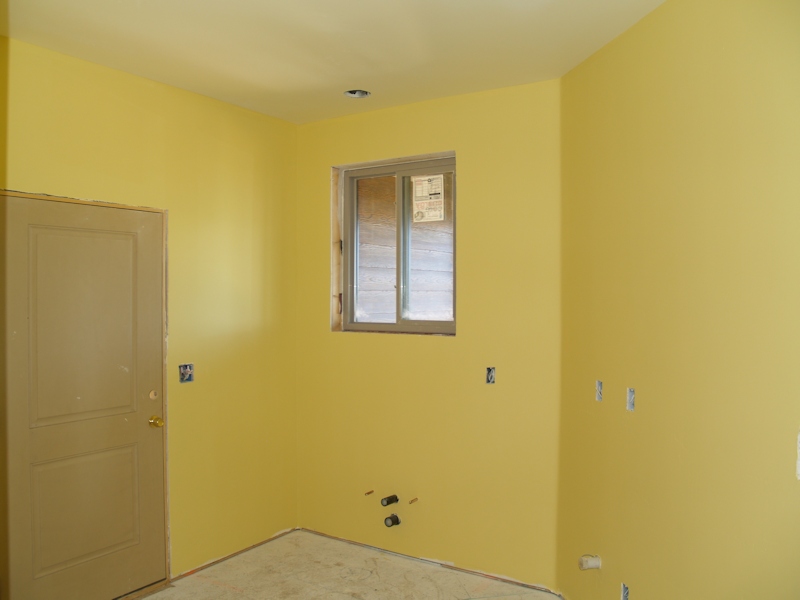
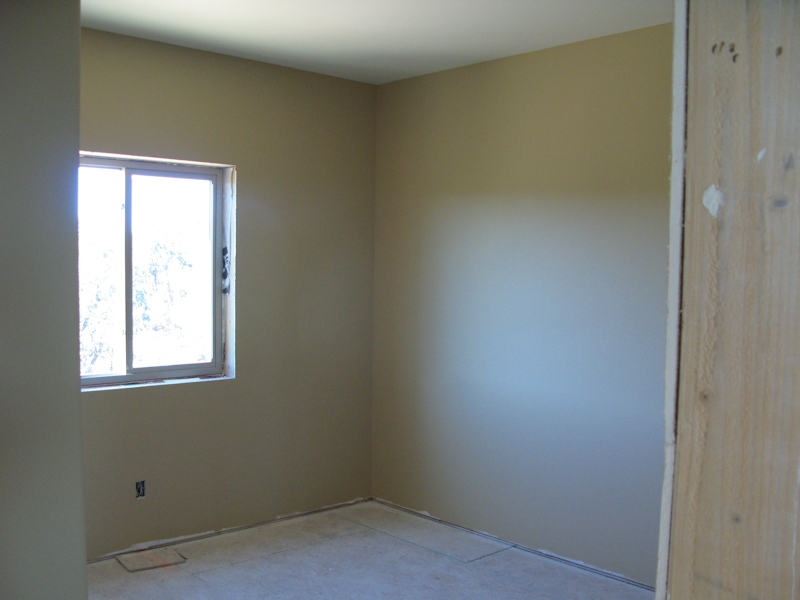
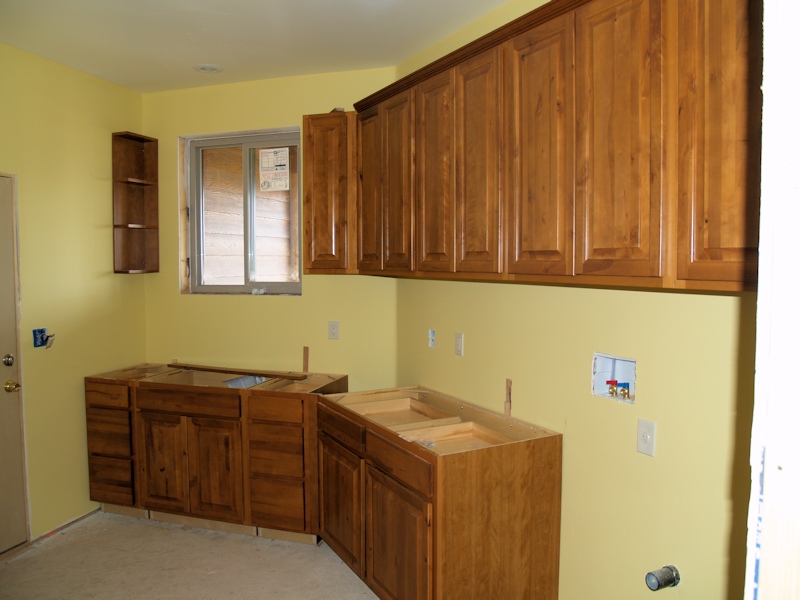
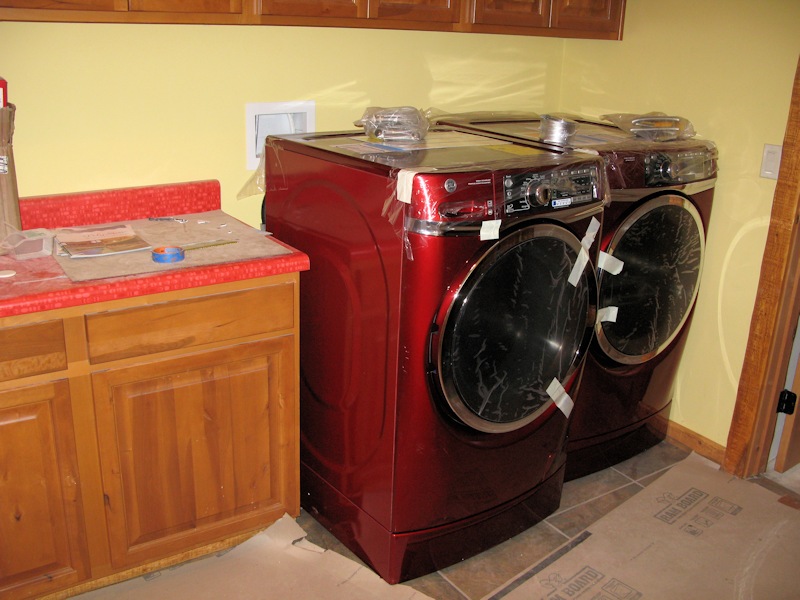
The mud room is yellow:
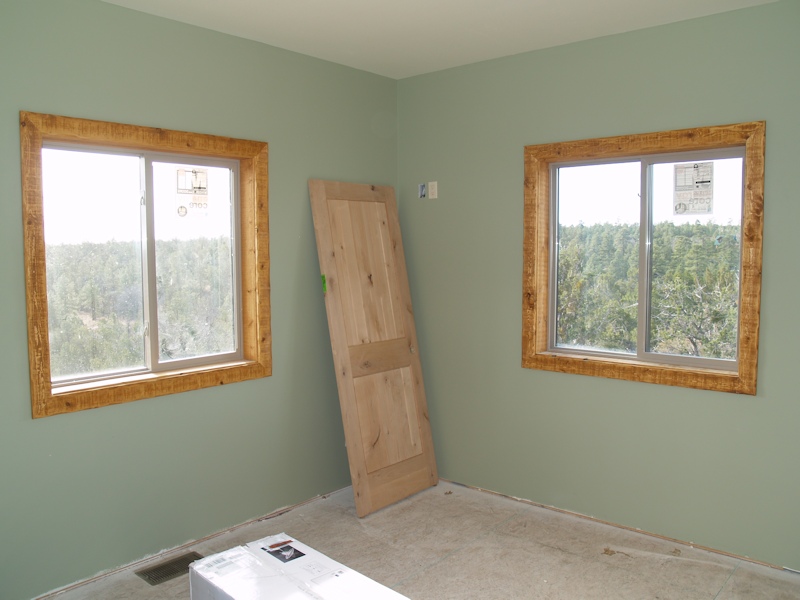
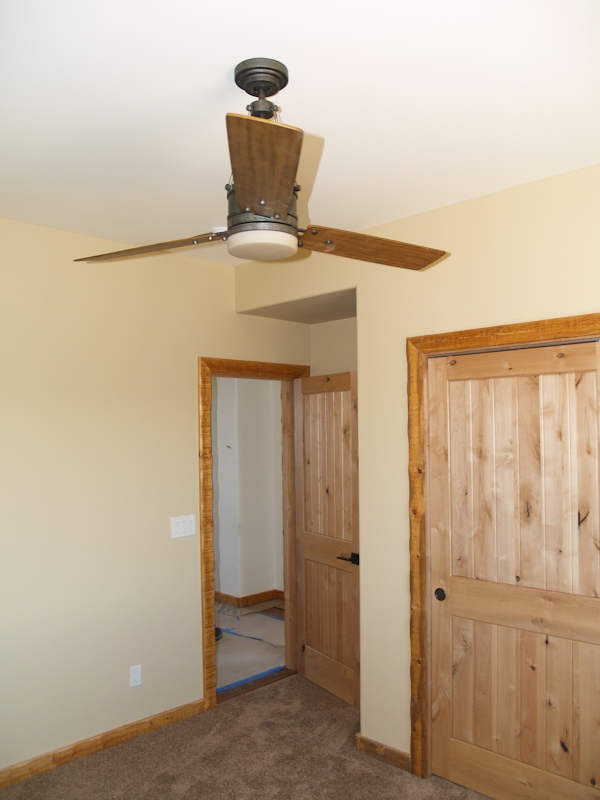
One of the downstairs bedrooms is brown:
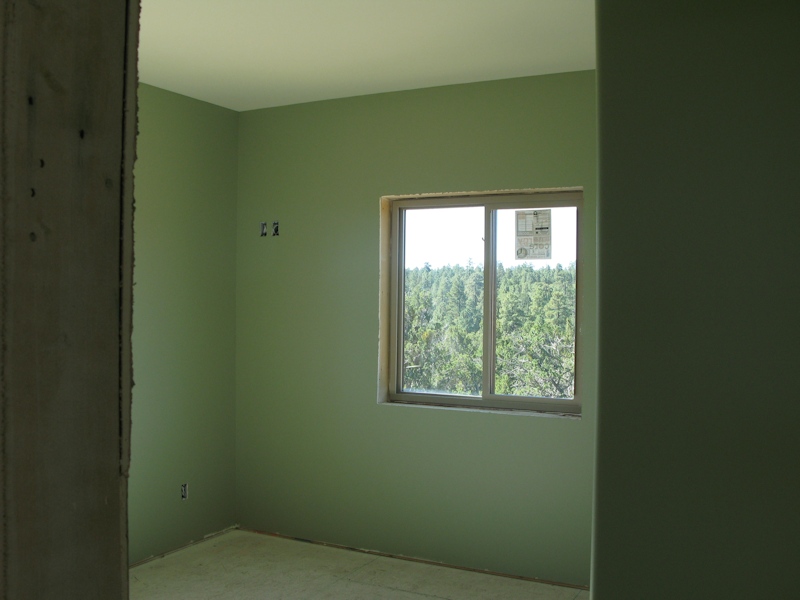
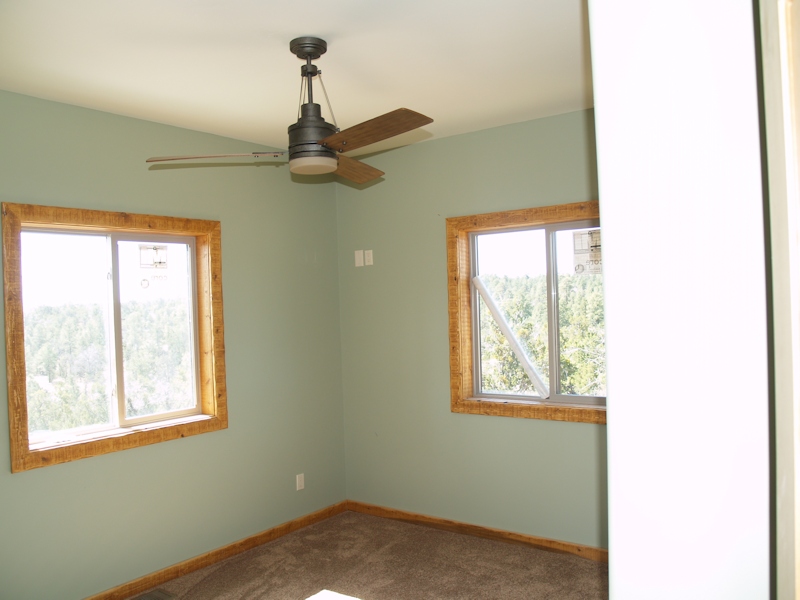
The other one is green:
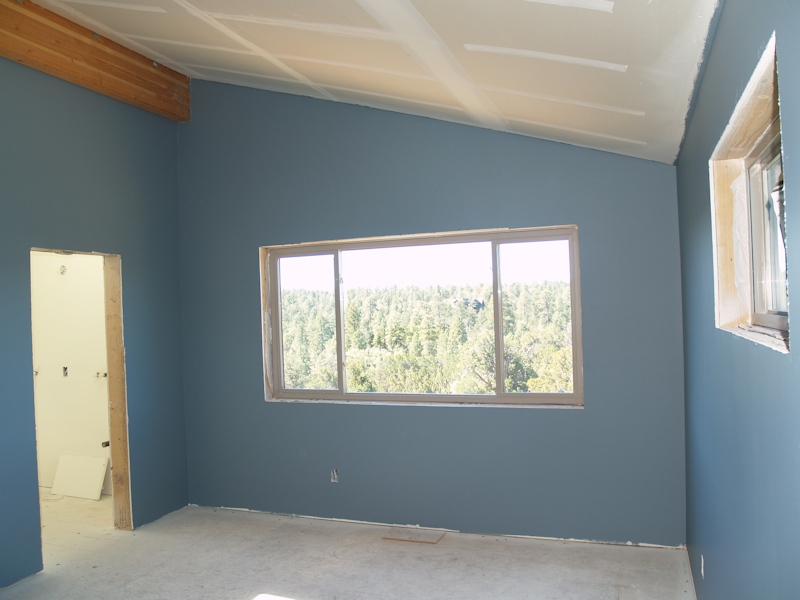
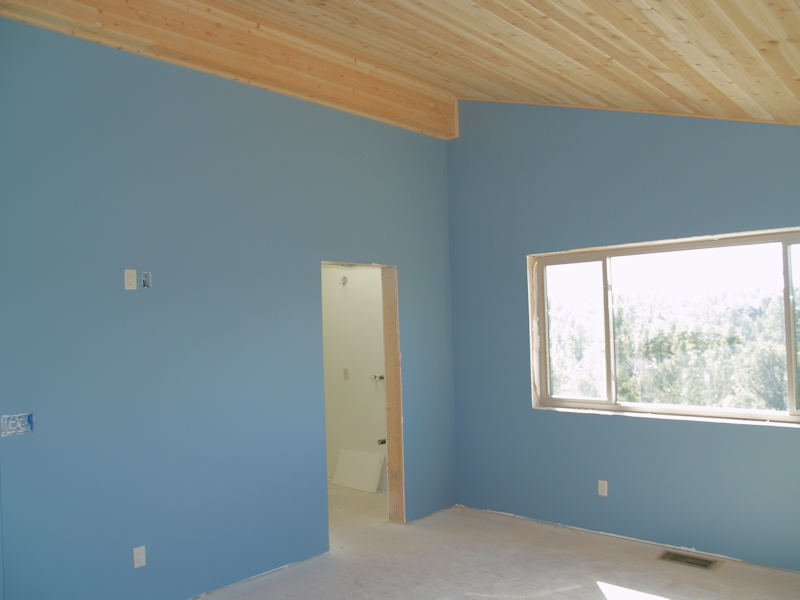
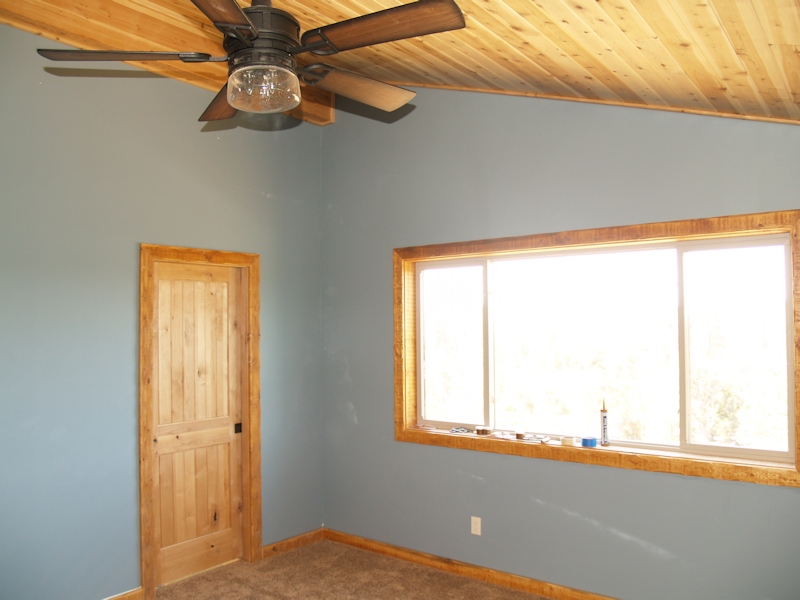
The master upstairs is blue:
10/10/14 - Getting some fall colors:
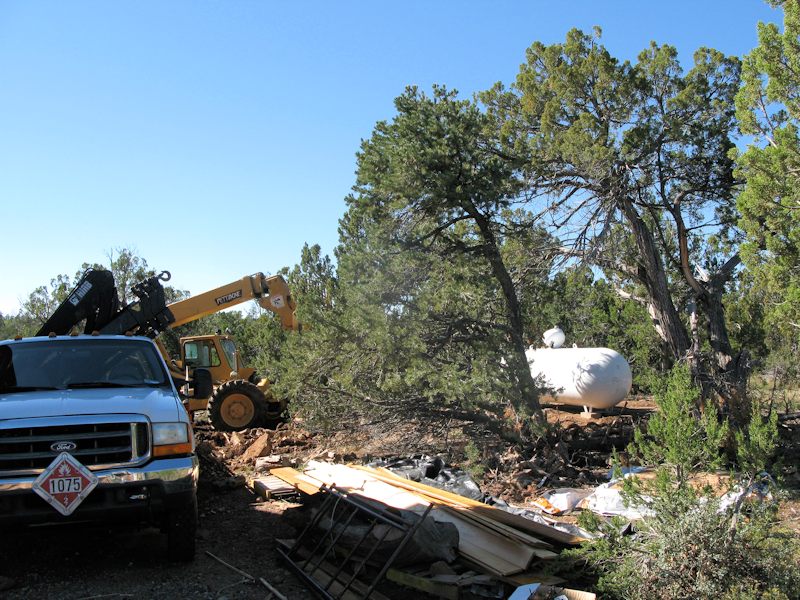
The propane tank was set:
The line to the house is being worked:
Most of the exterior T&G is done:
The T&G over the upper deck isn't complete, but the floor is in:
Looking out the door upstairs:
Out on the upper deck:
Checking out stains for the
interior. The board on the lower left is cedar (the ceiling T&G),
Inside, the T&G in the living room is in place but needs a clear coat:
Another view of the ceiling from the loft:
We got some unexpected rain so we left and when we got to Payson we looked back toward the cabin:
10/18/14 - All of the corners have logs now:
Finishing up the T&G above the upper deck:
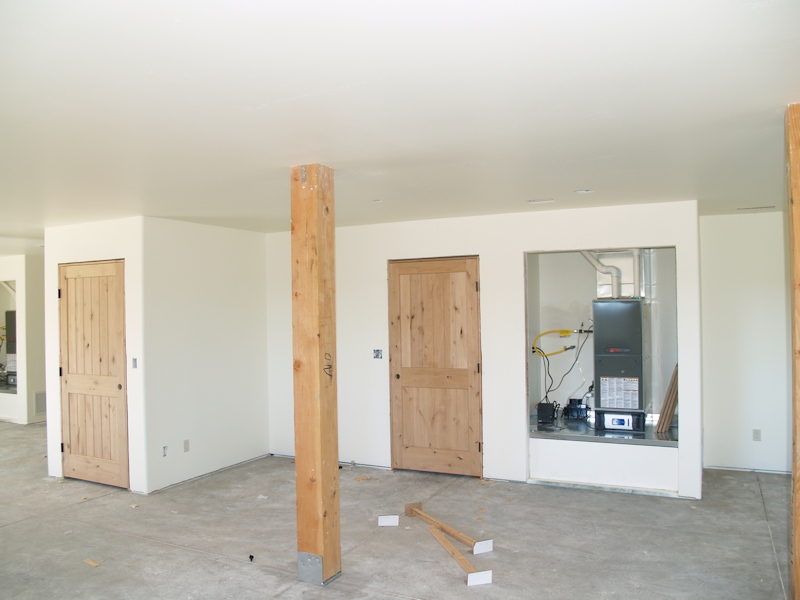
The furnaces are installed and working:
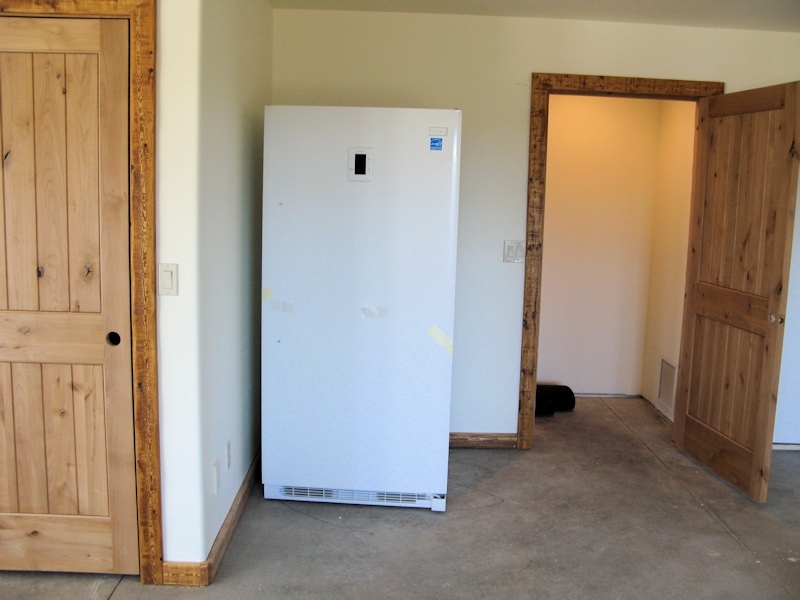
Doors for the furnace closets:
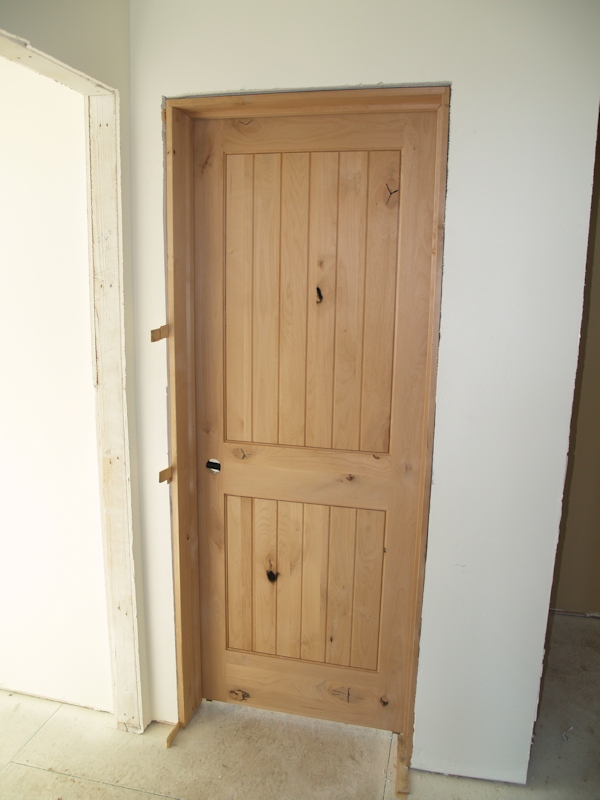
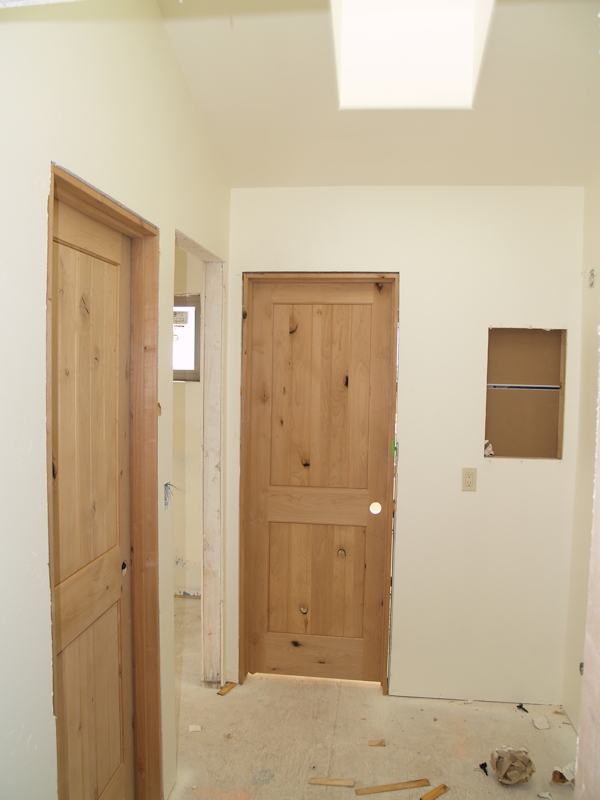
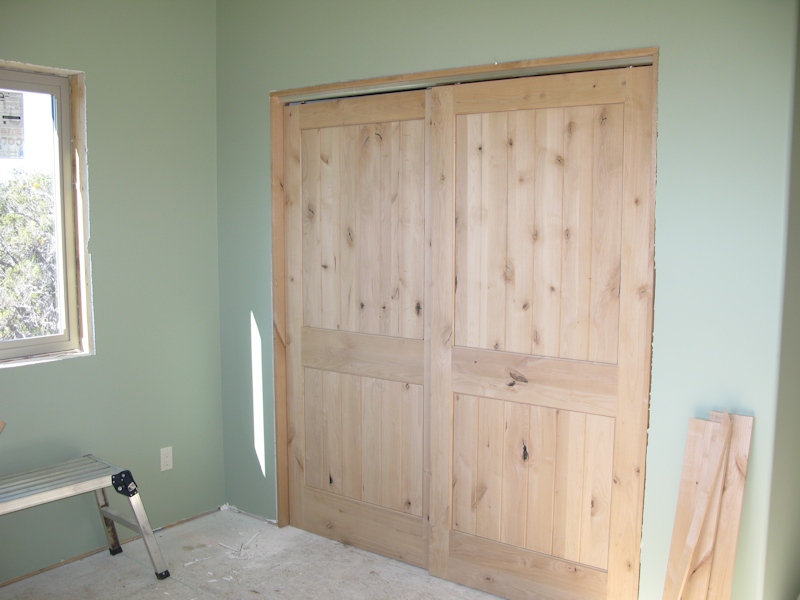
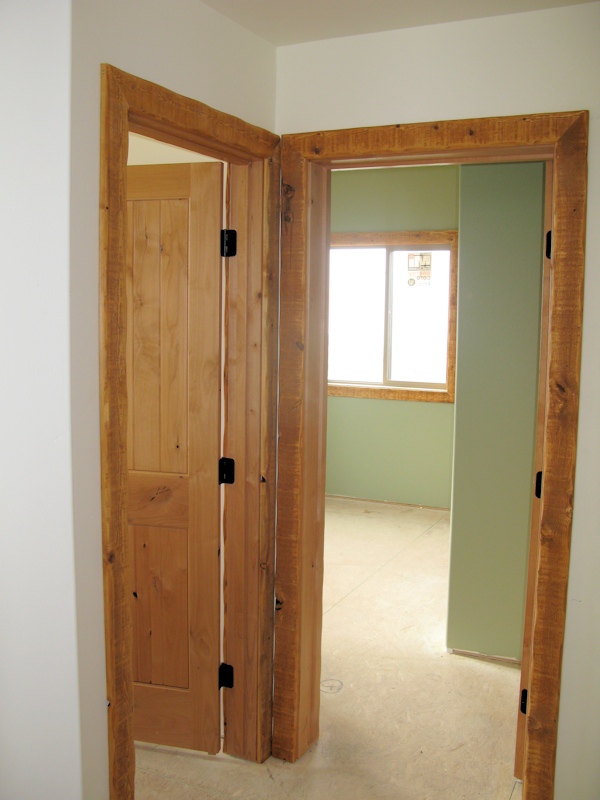
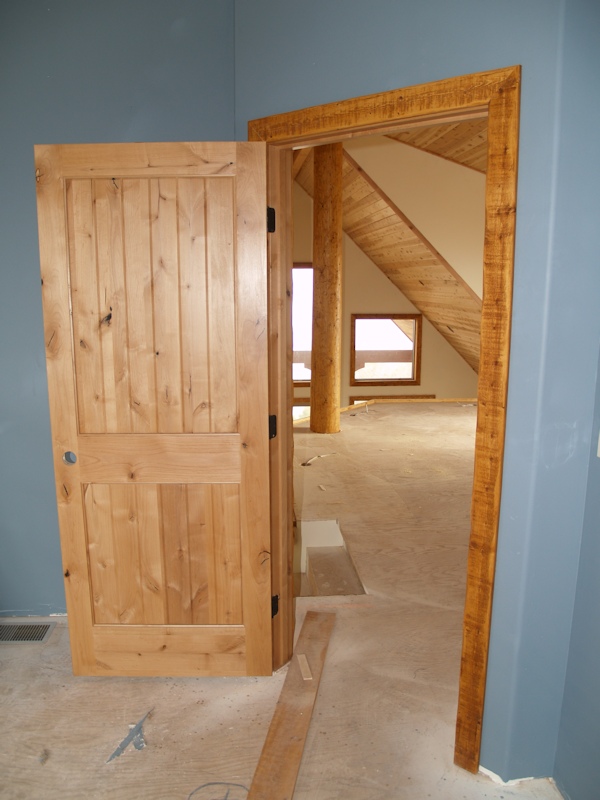
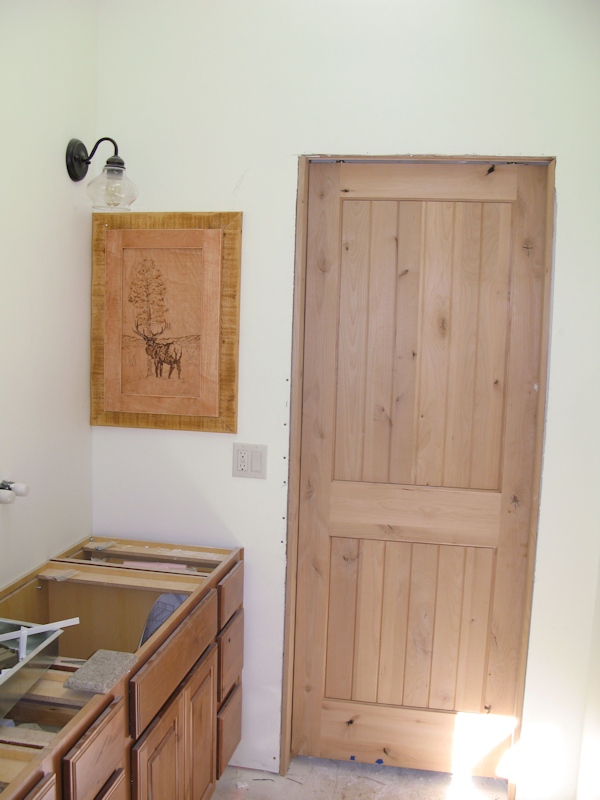
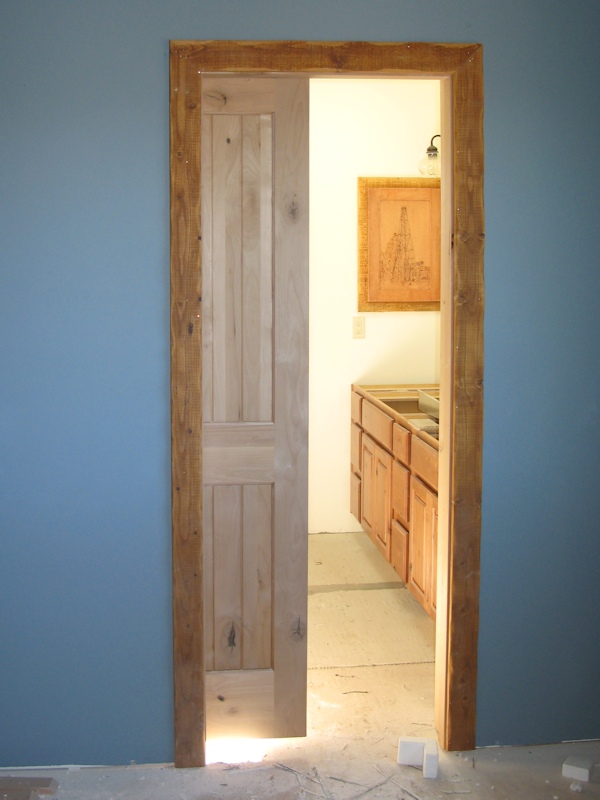
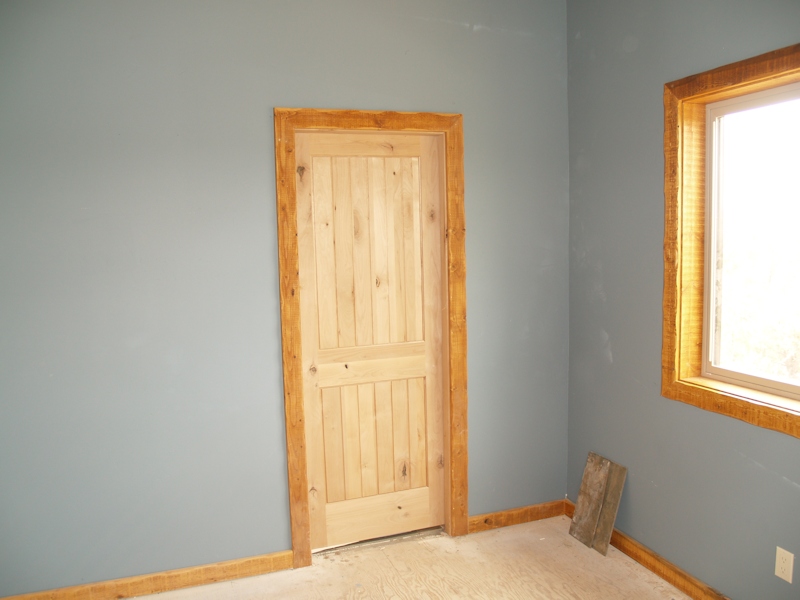
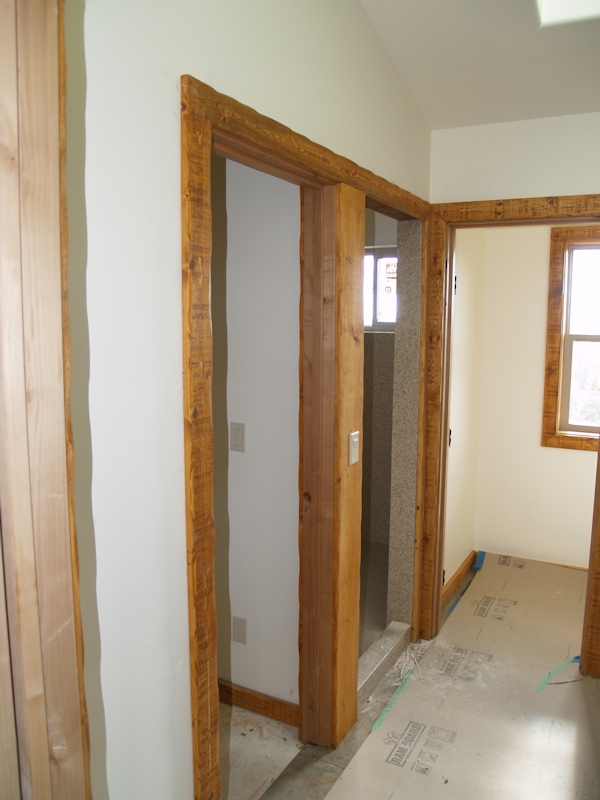
One of the interior knotty alder doors was set:
The T&G in the kitchen is finihsed:
The kitchen and loft:
10/24/14 - A shot of the window wall area - still need some trim work and the railings:
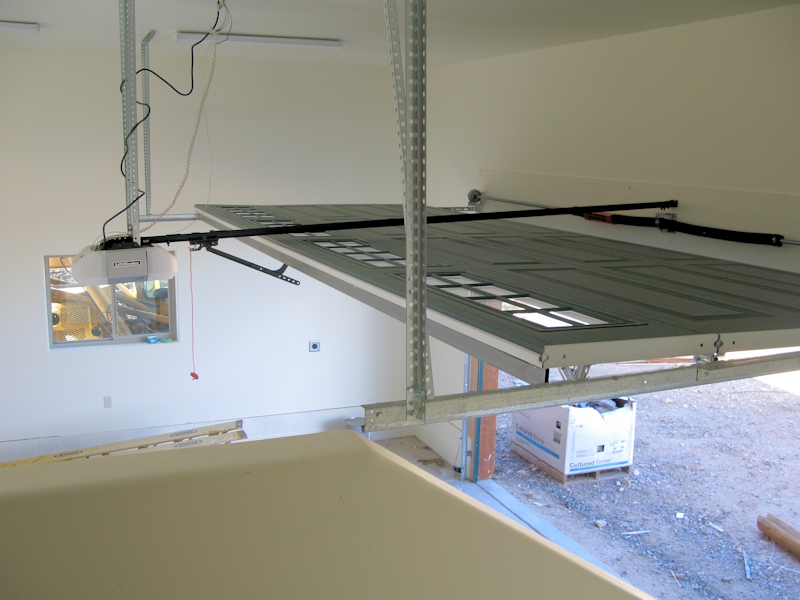
The lighting in the garage is installed and the metal doors for the water heater was delivered:
The T&G on the ceiling is finished, just some trim work needs to be completed before it gets a clear coat:
The doors in the master bathroom are in place:
They were also installed in the basement:
The trim work on the upper deck is done:
11/2/14 - The garage door and all log corners were installed:
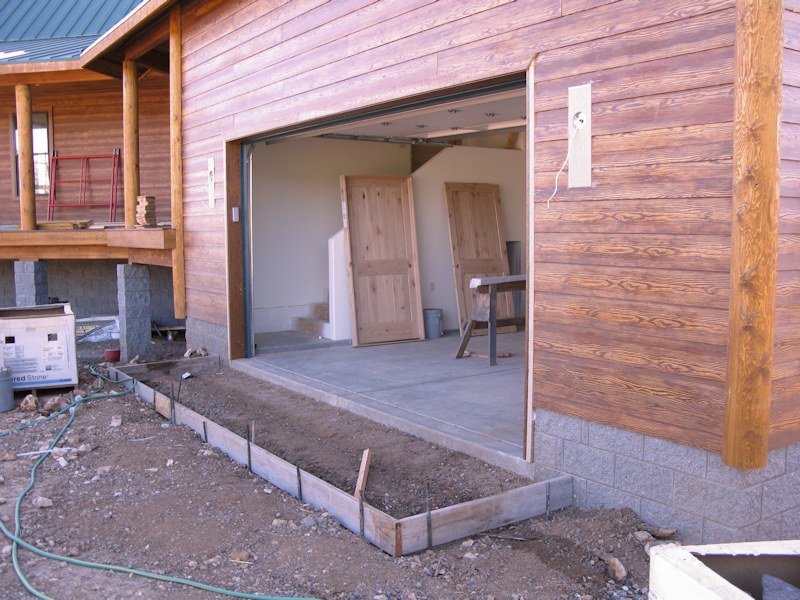
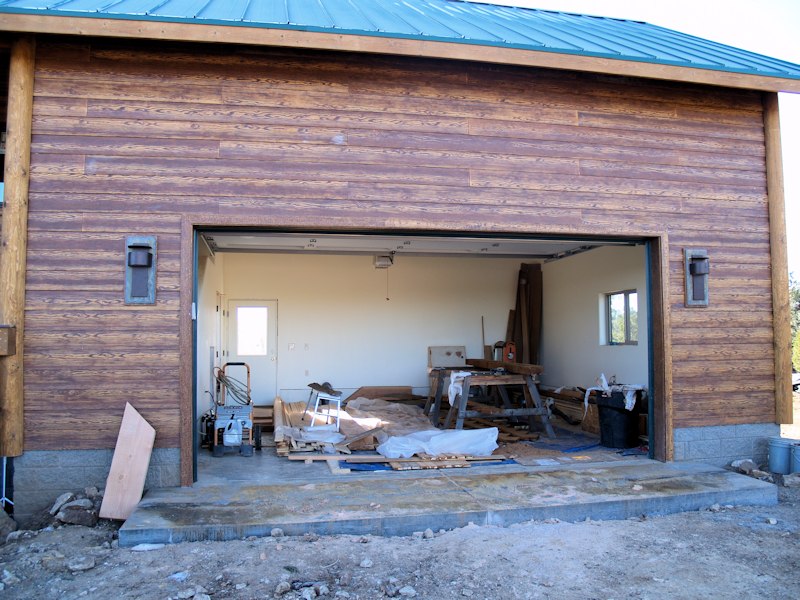
A look at the open door in the garage:
The trim on the front deck is complete:
The trim around the ceiling in the master bedroom is complete:
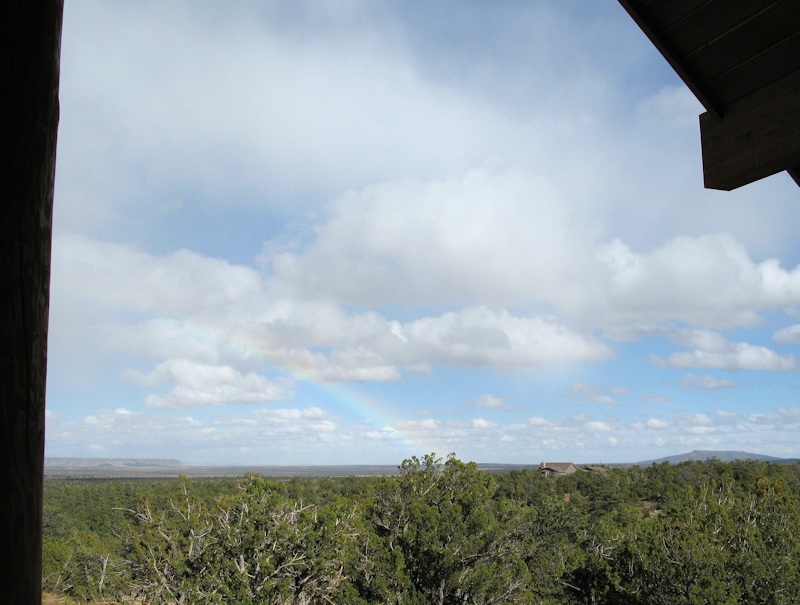
Looking off the deck at a faint rainbow:
11/7/14 - Not a lot going on this week - mainly prep work. Getting ready for the slab for the stairs in the front:
Behind the garage:
Some trim work (the triangle to the right):
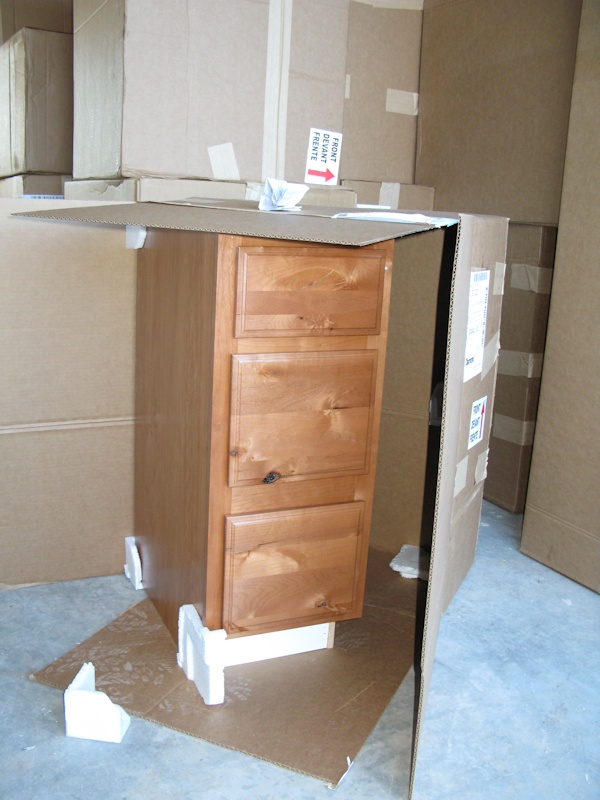
Lots of boxes in the garage:
The cabinets are here and ready to be installed next week!
11/12/14 - The builder sent us a sneak peek of the kitchen:
Another:
11/15/14 - Some framing for concrete - stairs will come straight down here:
Some more - apron for garage:
Some more - a small platform and steps will go here:
When you're walking around outside in the late fall you should watch your step:
Last one - stairs will drop to a platform the turn and finish going down here:
More trim work completed up along the top edge:
More siding complete:
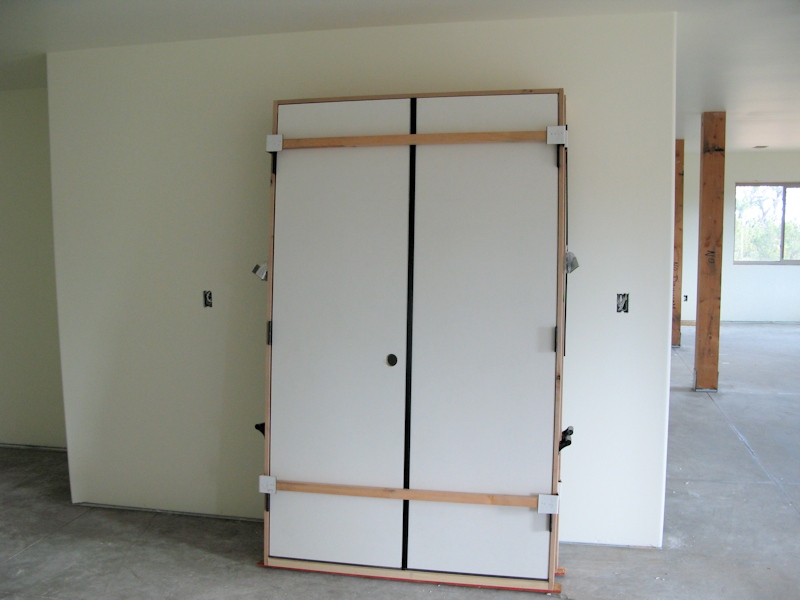
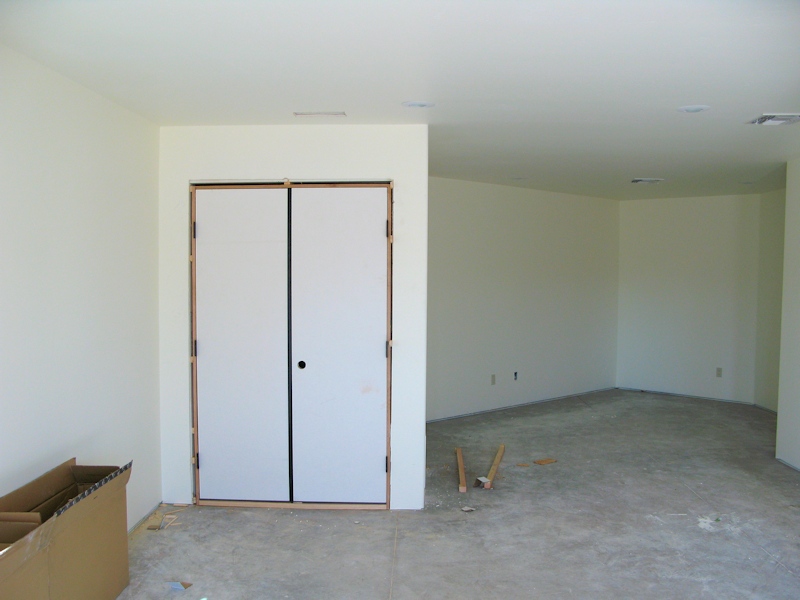
Inside - more doors are up - these are access to the furnace:
The builder built up the closet doors from the same interior door slabs:
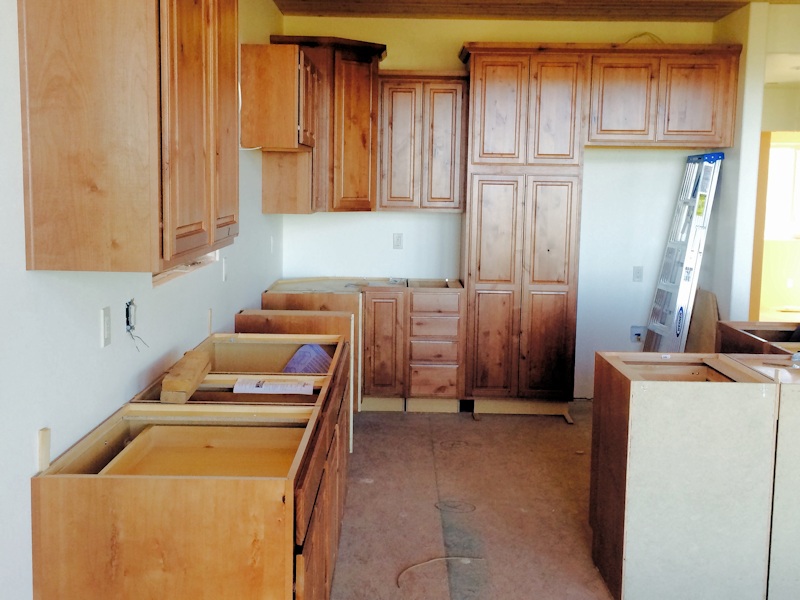
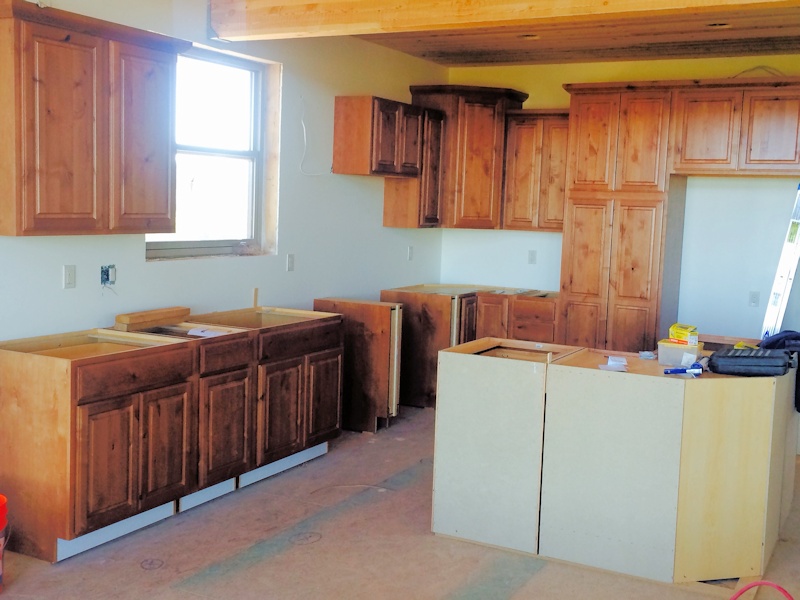
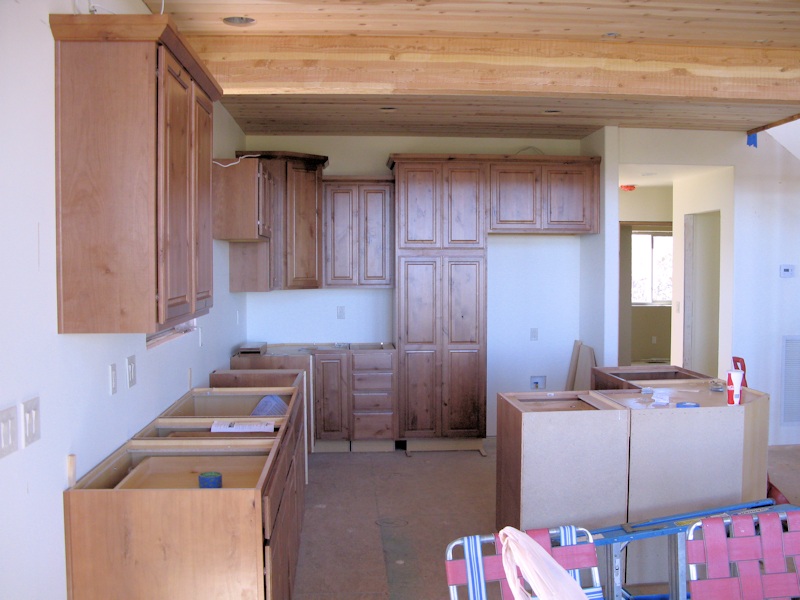
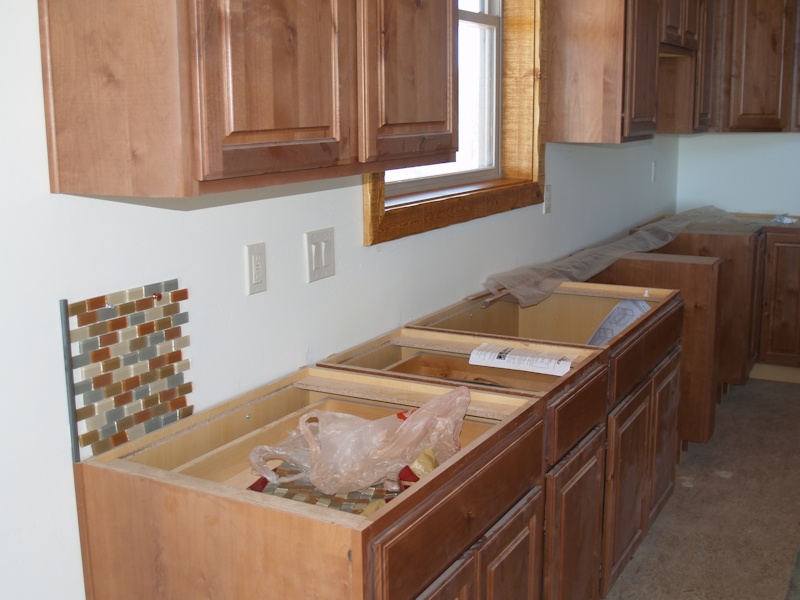
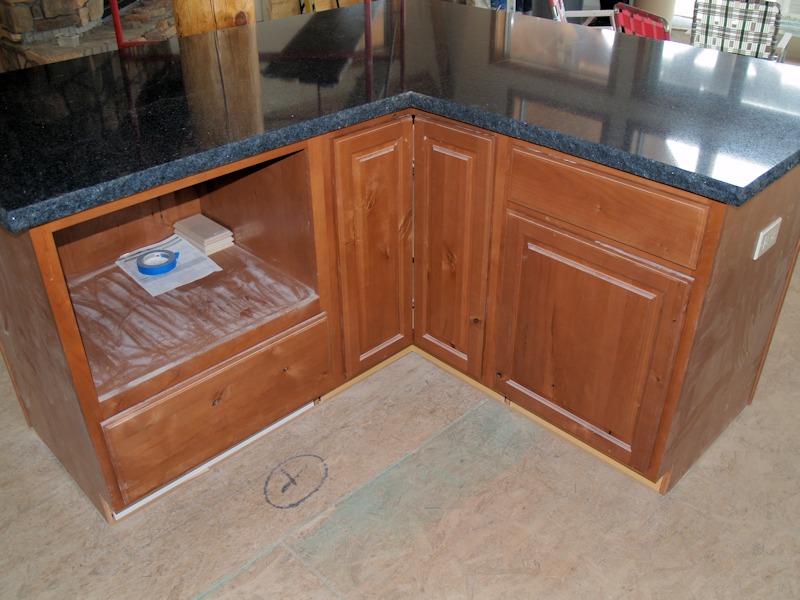
On to the cabinets - the kitchen:
The island - the hole on the left will be for a slide out microwave drawer:
The kitchen from the living room
area. The cabinet to the right of the window was the wrong size
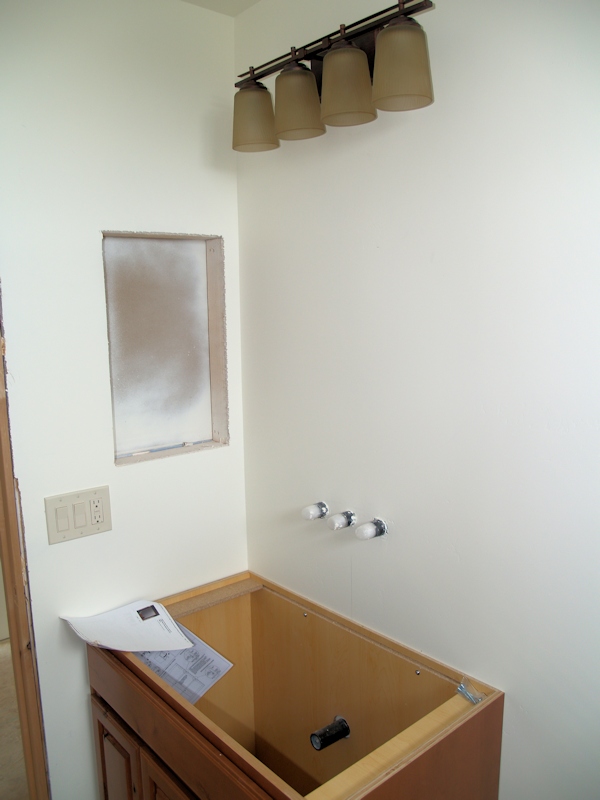
The downstairs bath:
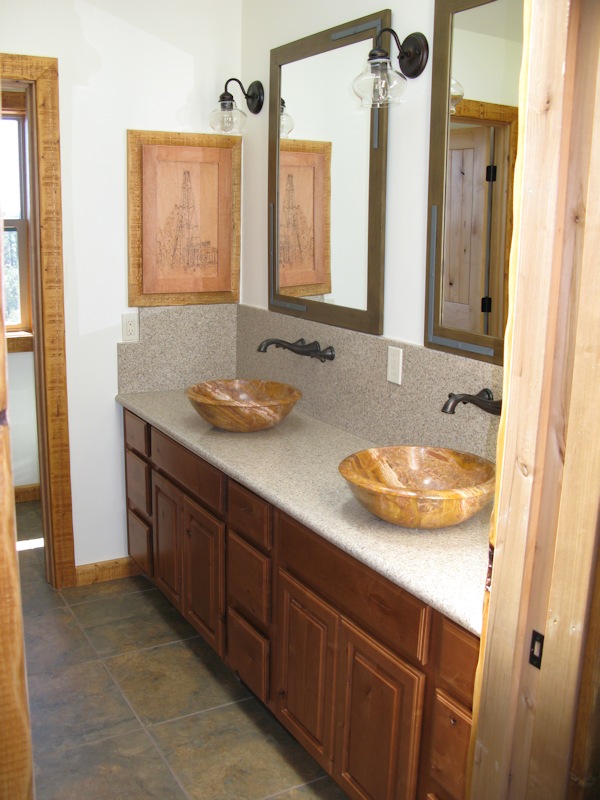
The master bath:
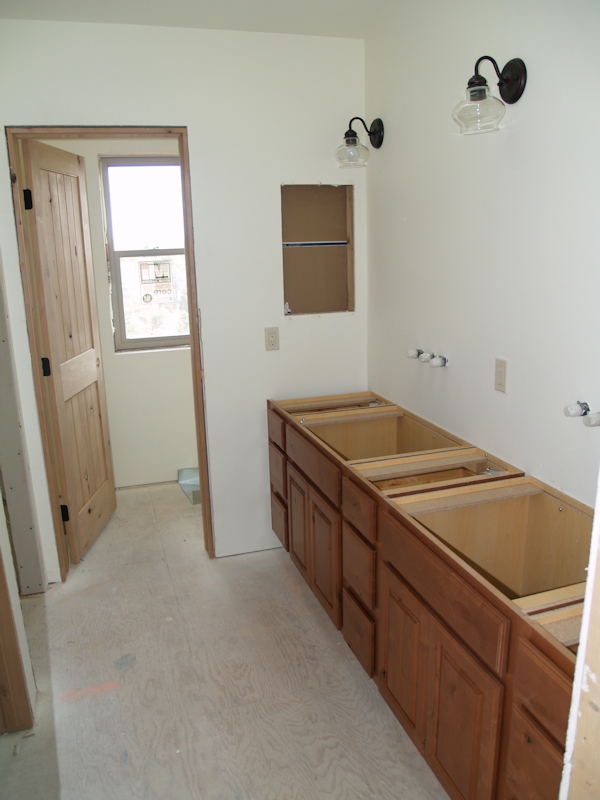
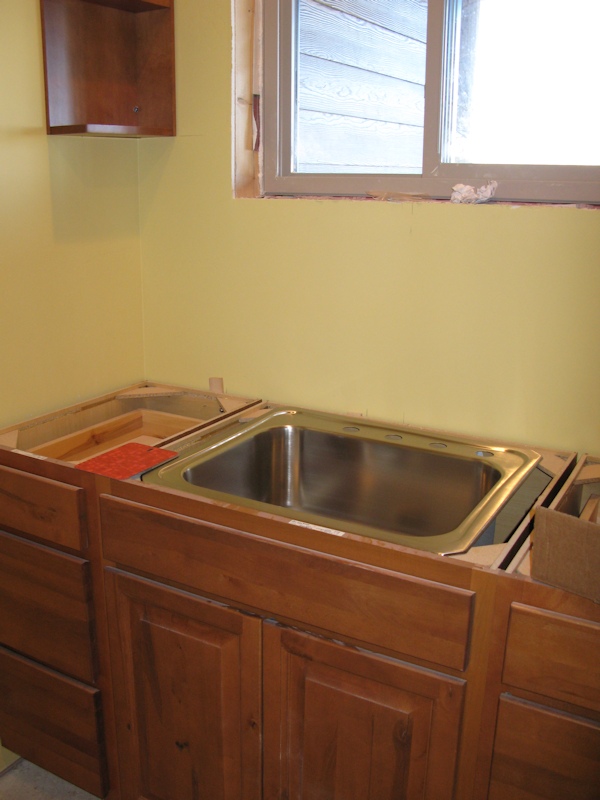
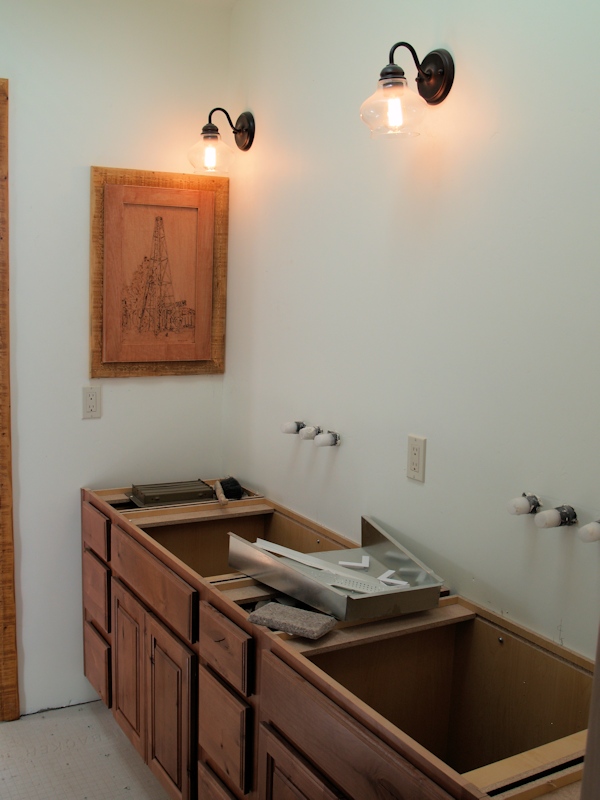
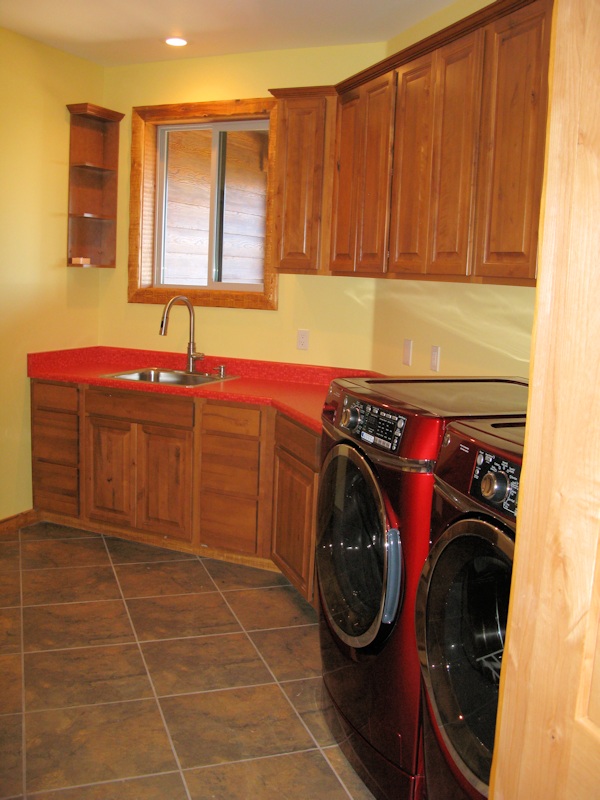
The laundry/mud room:
11/23/14 - Almost all of the exterior trim work is complete:
The only exterior trim that needs work is the small box outside the rear garage door:
The window wall is all trimmed out:
Inside the T&G and beams got some clear coat:
The doors got clear coat too. We also checked the sample of carpet we liked and we're going to go with the wood sample on the left:
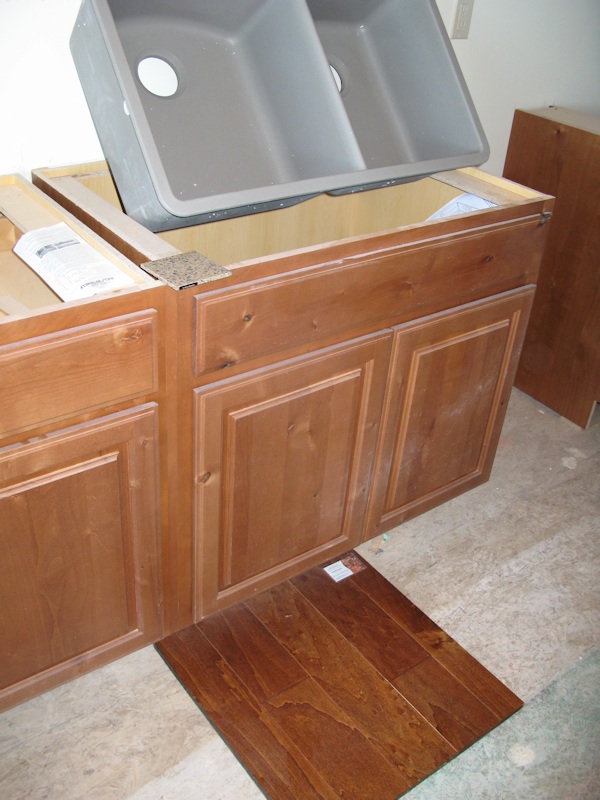
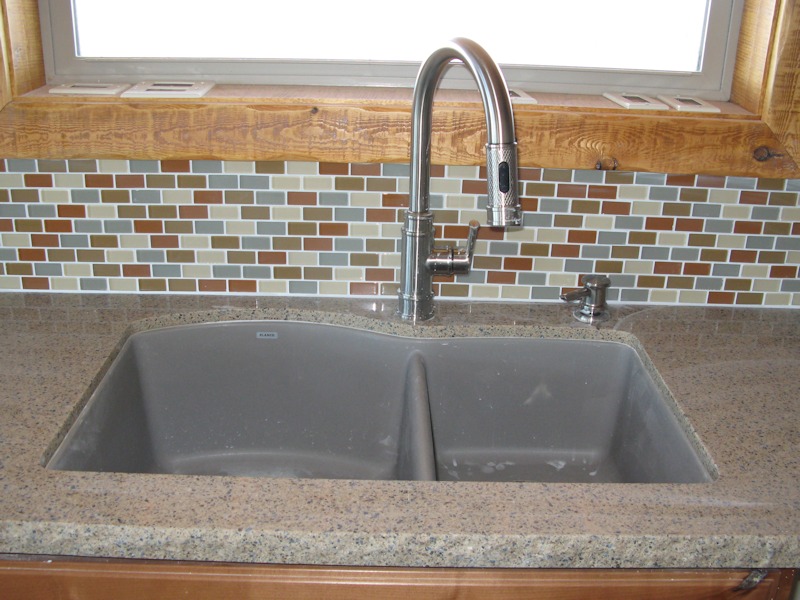
The floor wood sample, countertop sample, and the sink:
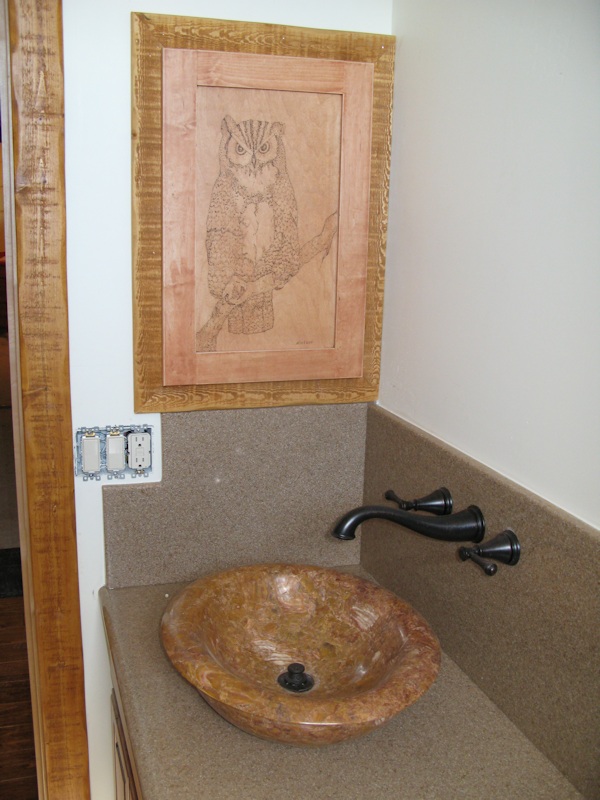
The mud room sink and countertop sample:
11/30/14 - They started to trim out the doors and windows:
More trim work - bottom windows trimmed out, top ones still need trimming:
One of the bedrooms:
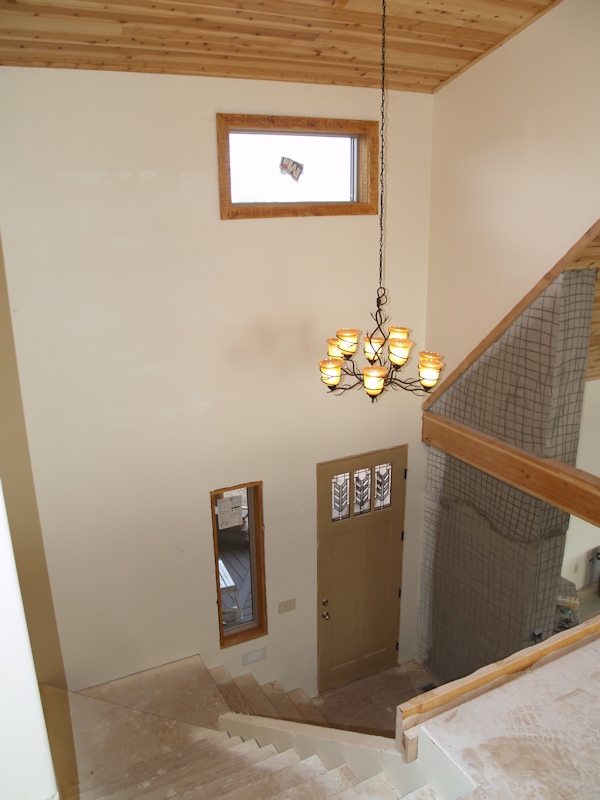
Trim work and the chandelier over the front door:
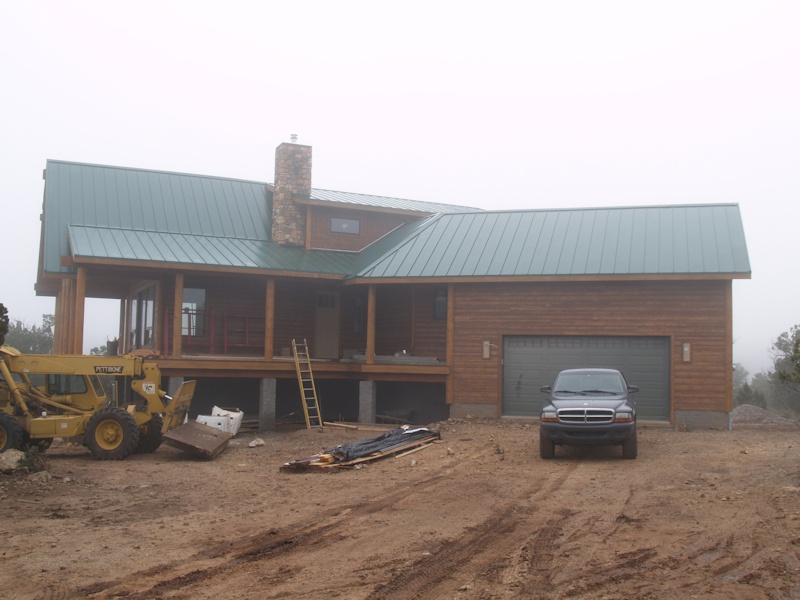
12/7/14 - It's a little foggy outside:
They added braces to the structure:
A closer look:
View from the deck:
The trim work is continuing inside:
Another view:
View from upstairs:
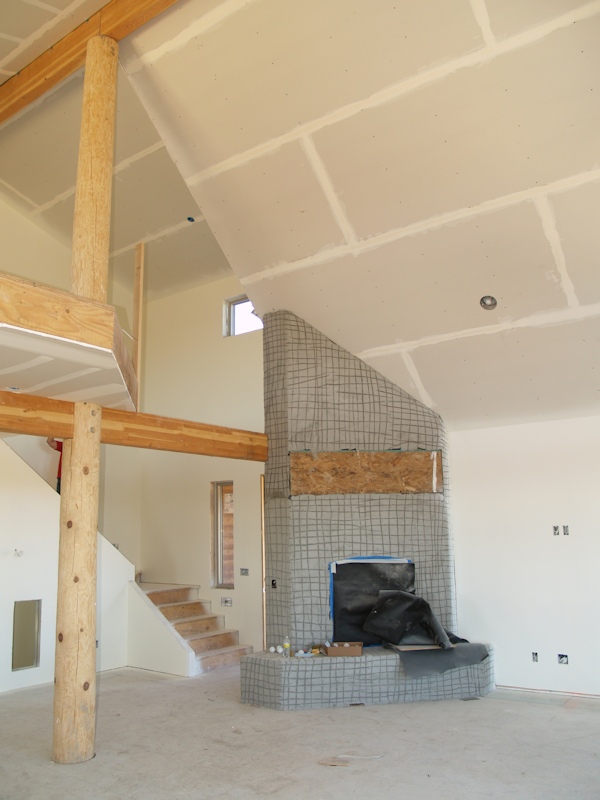
They'll be working on the fireplace soon:
Did some work on the pillars in the basement:
View into one of the bedrooms:
The other:
Looking out of the master bedroom:
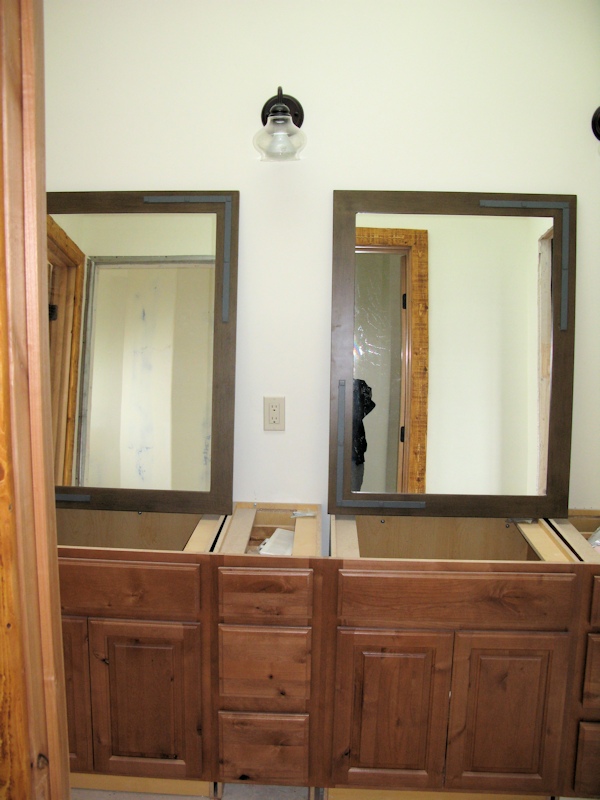
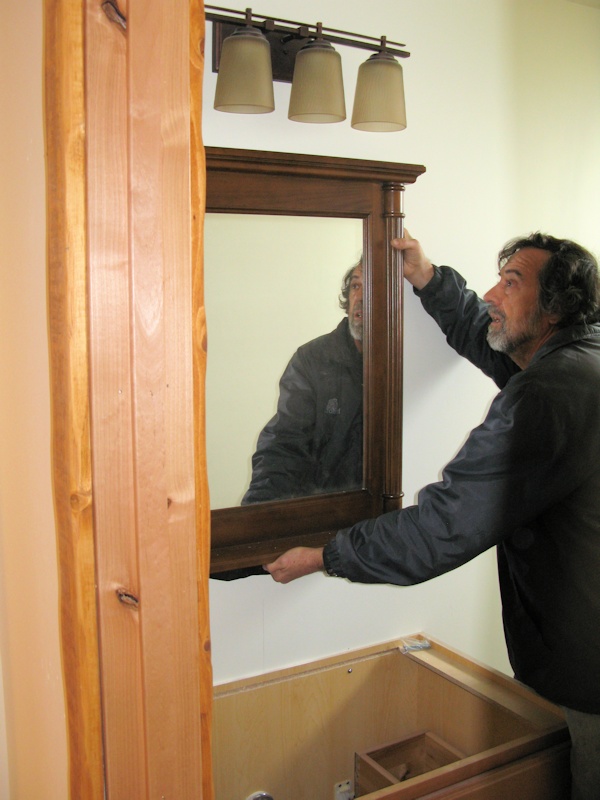
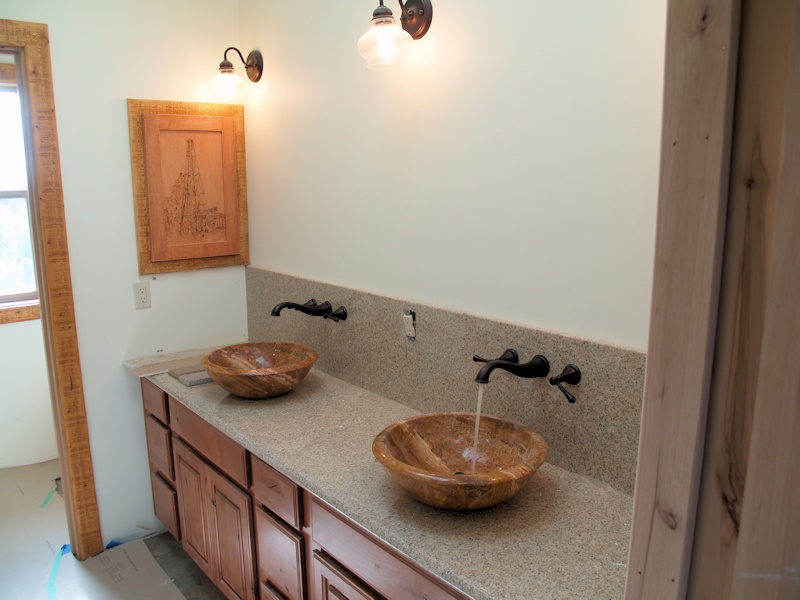
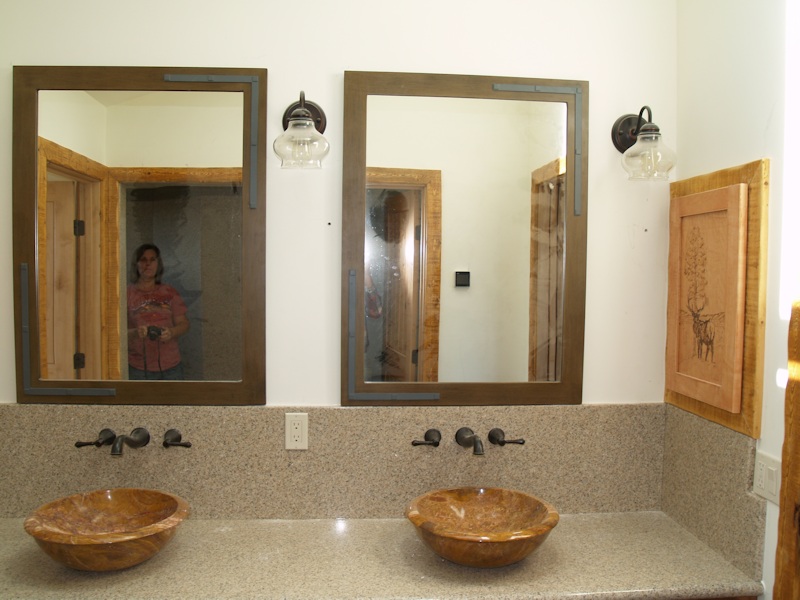
The mirrors in the master bathroom:
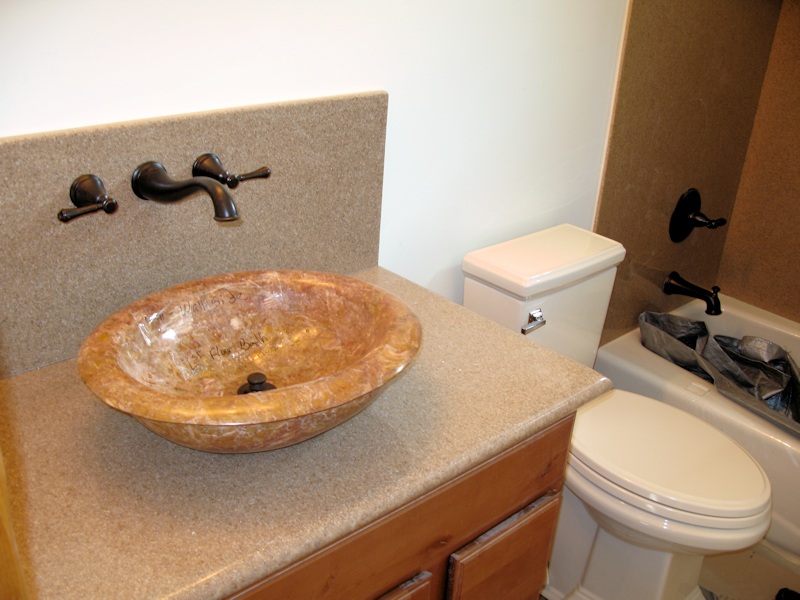
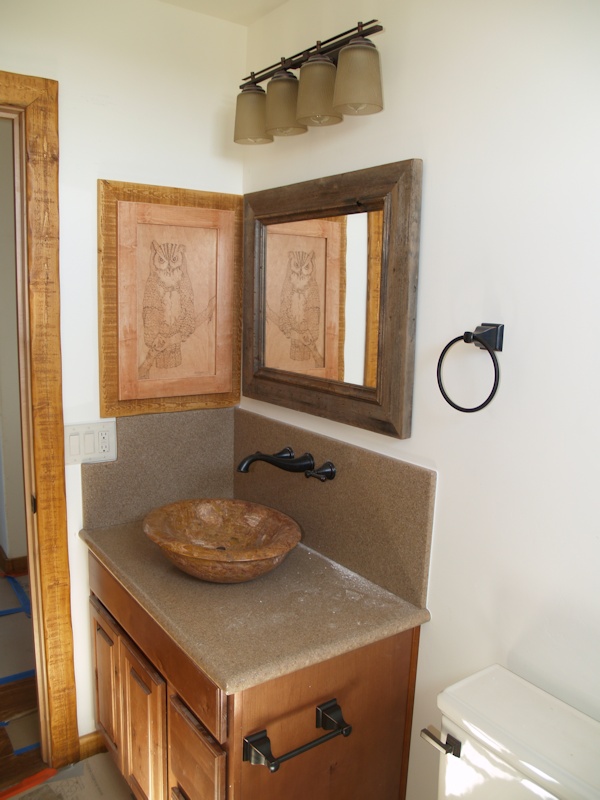
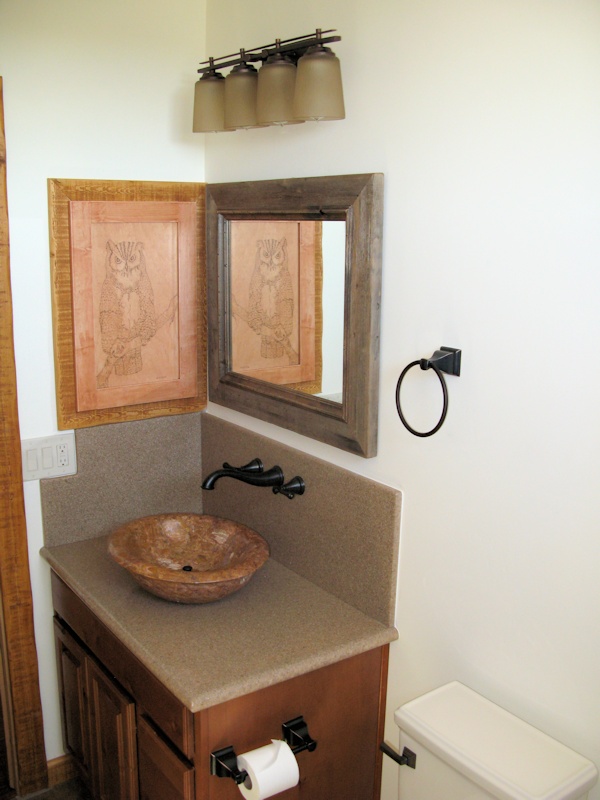
The mirror in the first floor bathroom:
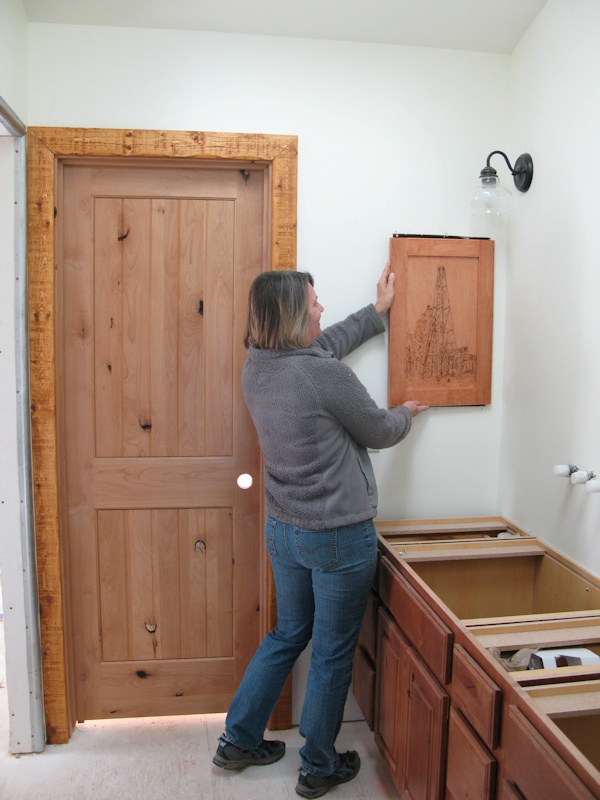
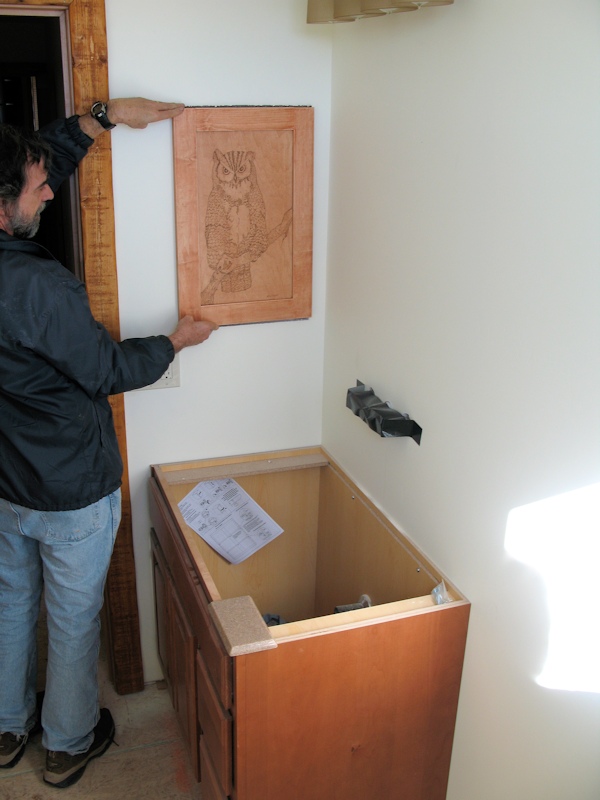
12/13/14 - We bought some plain
medicine cabinets and Jane did
The nearby Arizona Well (water):
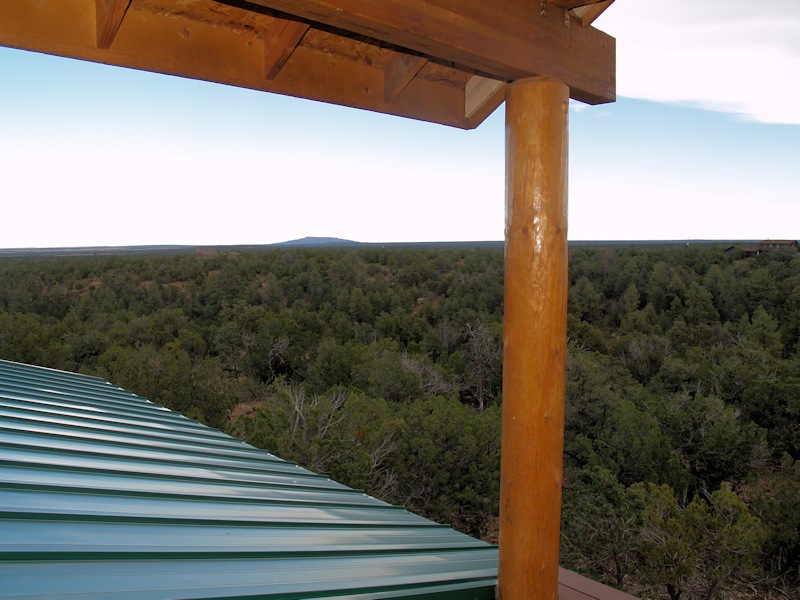
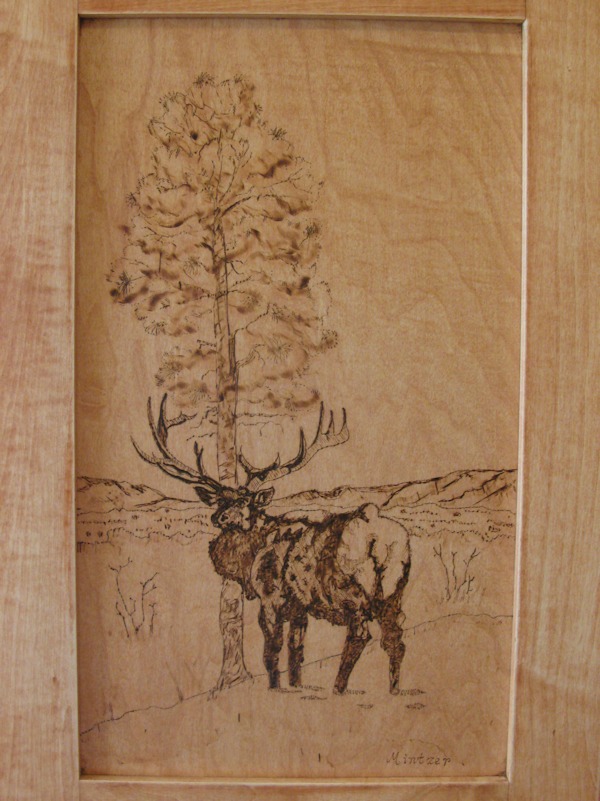
An elk, one of our trees, and the Sunset Mountains in the background:
12/14/14 - It snowed yesterday:
They installed most of the exterior electrical wall fixtures and poured the slabs:
The rear garage door fixture and slab:
Out on the deck:
The deck upstairs:
The slab out back was poured:
The slab for the front stairs was
poured and the rocks are in place to hold
Still lots going on in the garage:
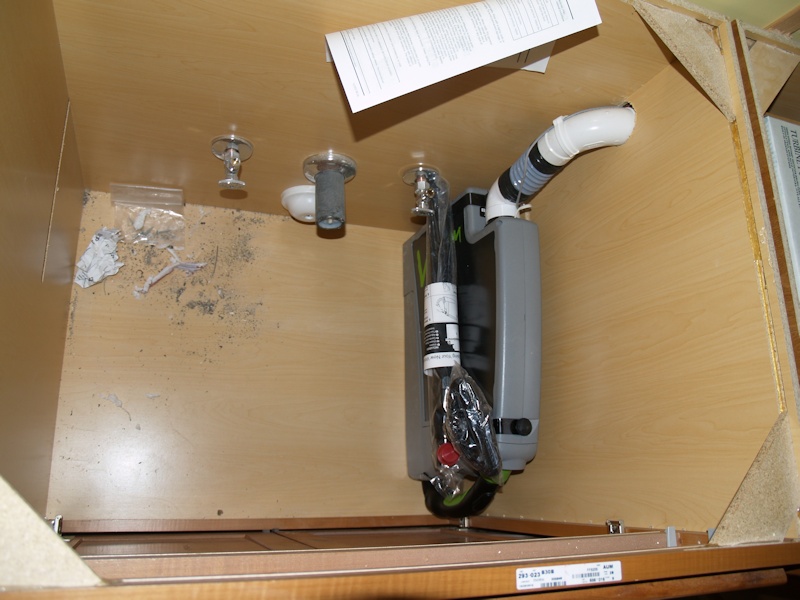
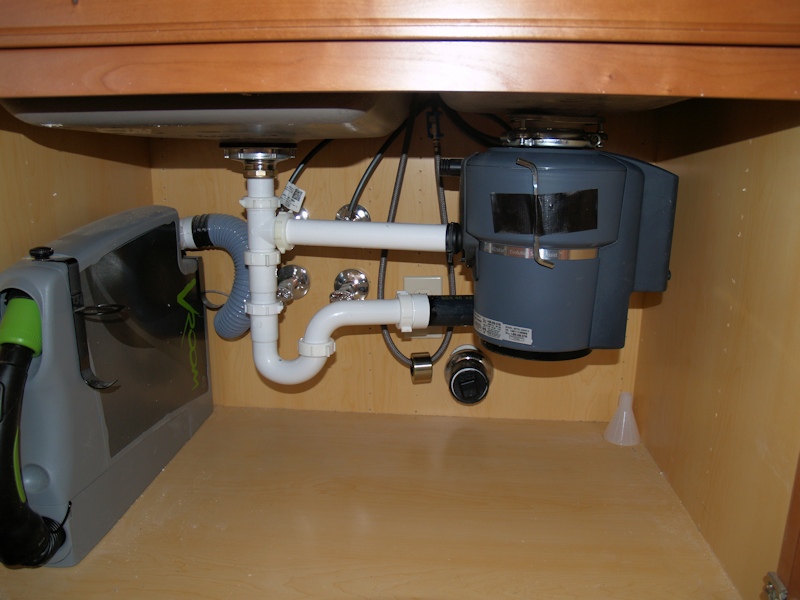
The central vac was installed -
here's a Vroom (installed in a cabinet - you pull out the black
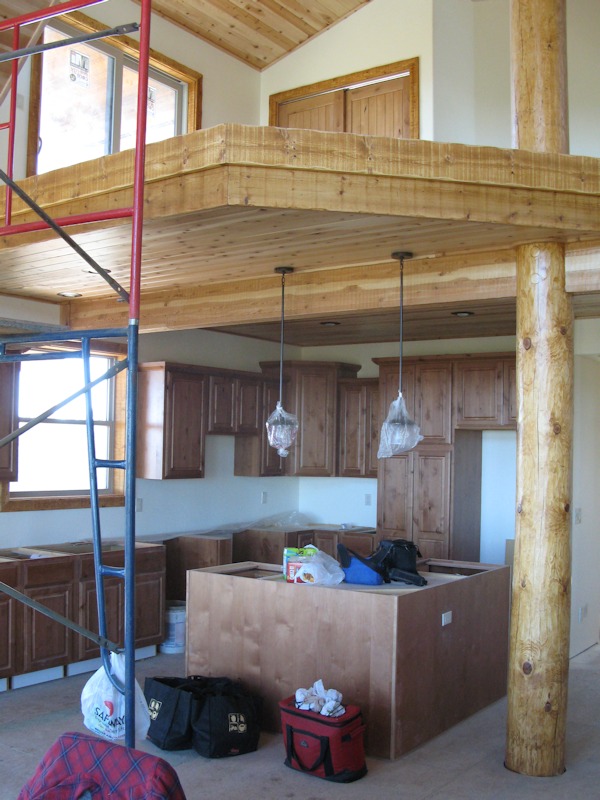
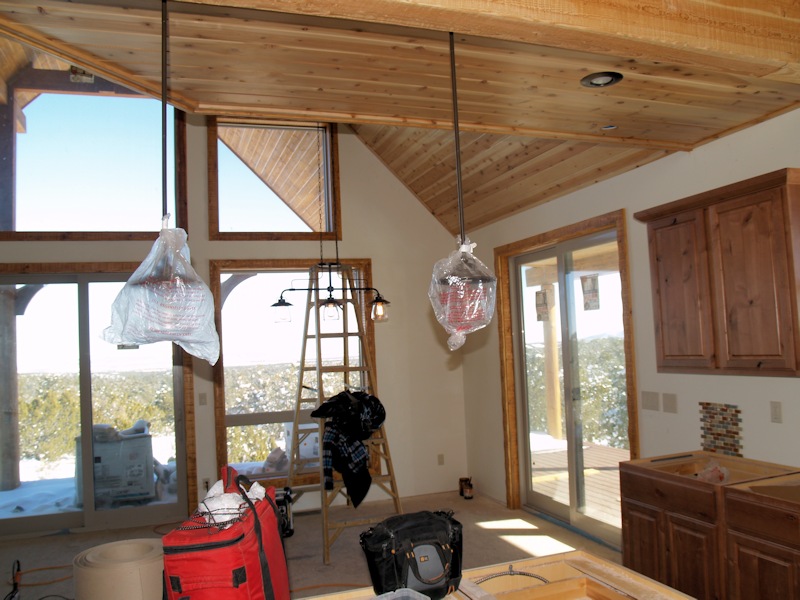
The replacement cabinet is in place and the pendant lights are hung:
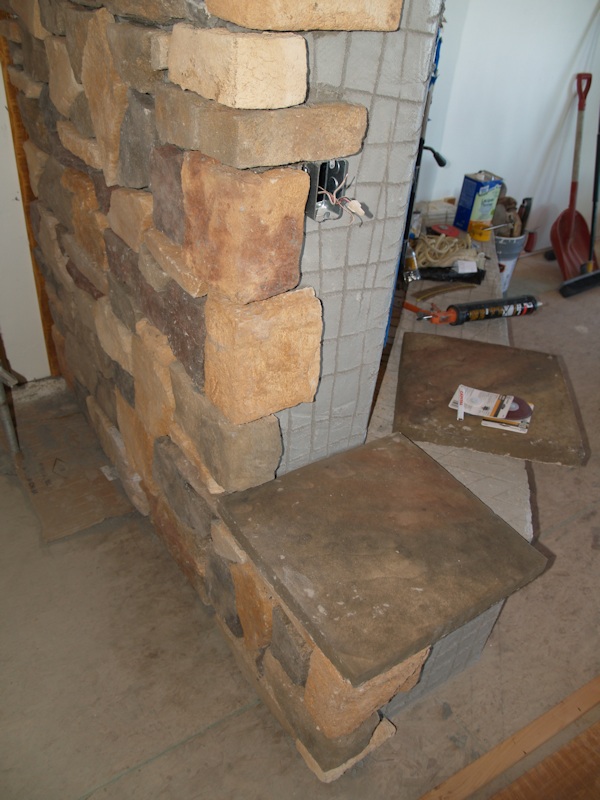
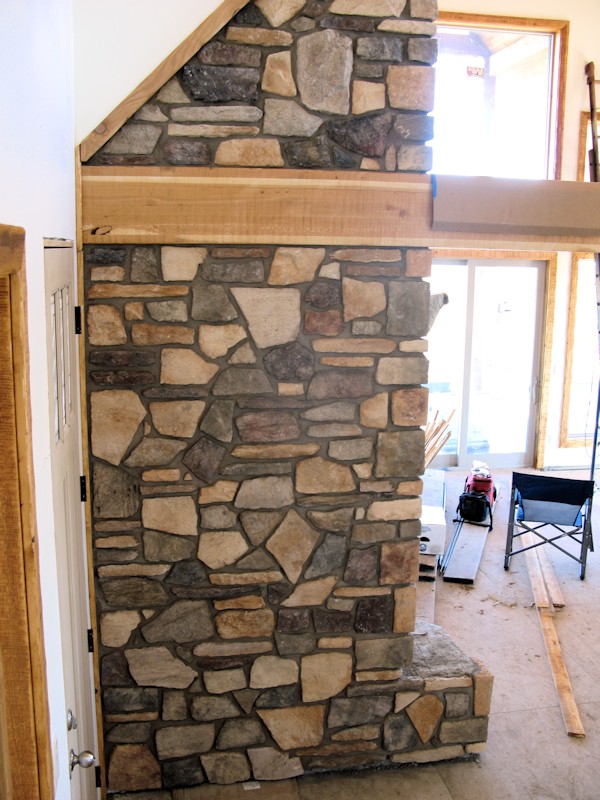
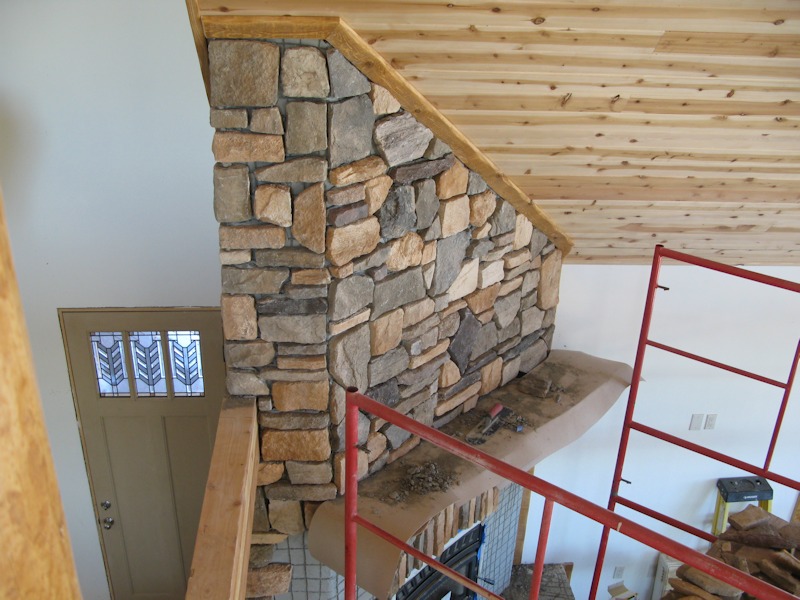
They started on the interior stonework:
A closer view:
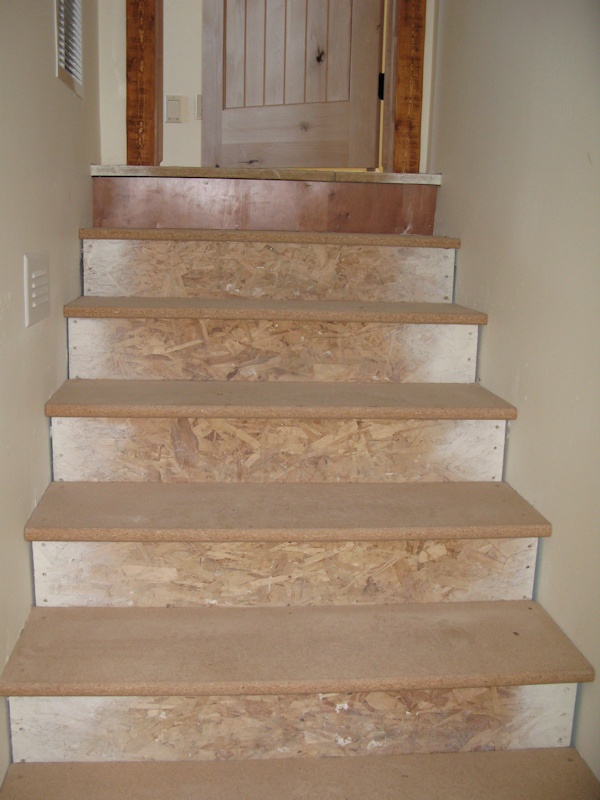
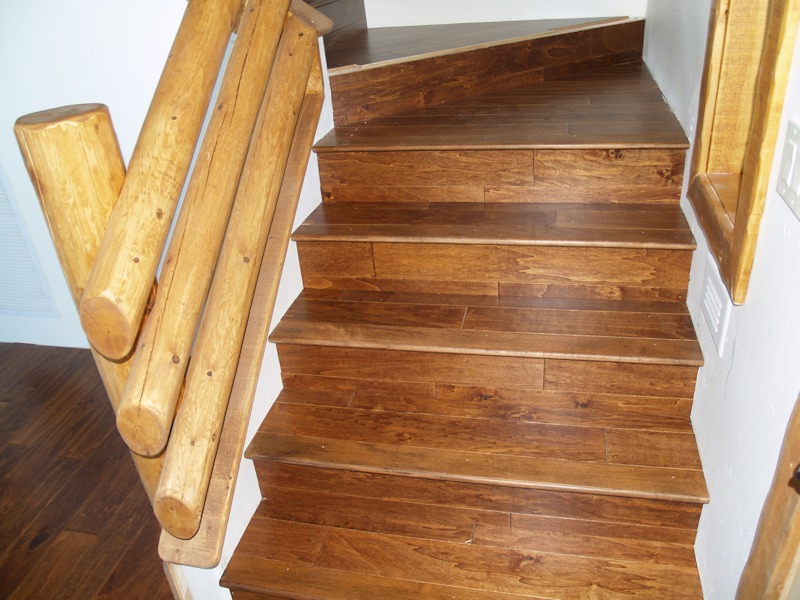
New treads for the basement stairs:
The basement is getting trimmed out:
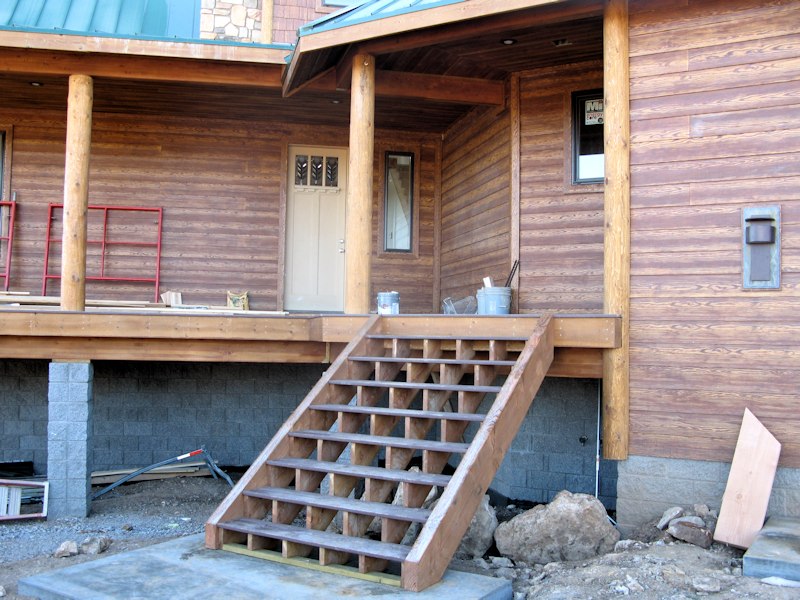
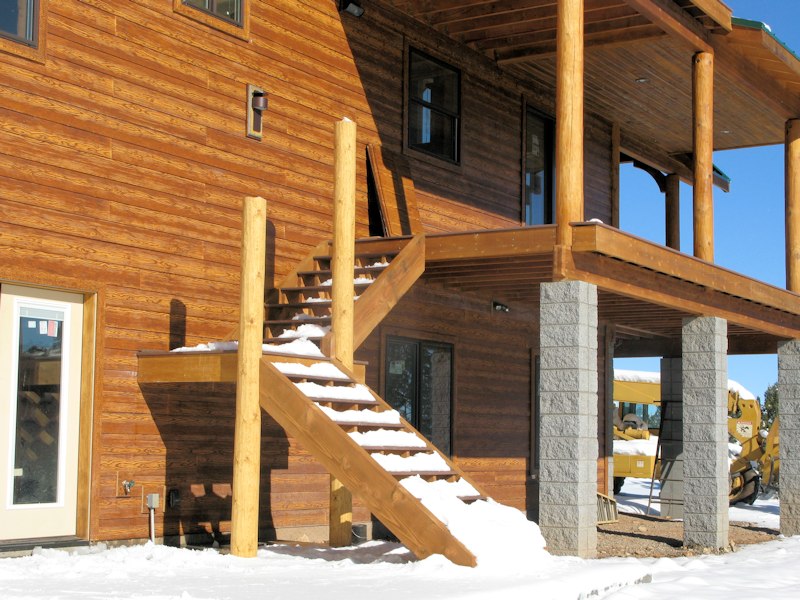
12/20/14 - They started on the exterior steps - here's the front:
Trying them out:
Trying out the platform out the garage door:
The stars for the rear deck are just started:
Another view:
The apron in front of the garage is already getting a workout:
Inside the mud room closet - the
low voltage cabinet is done, but there's lots of wires that need
On the other wall in the closet
the circuits that will run if the (future) generator
In the mud room itself the counter top was installed:
Sizing up one of the medicine cabinet doors in the master bathroom:
The medicine cabinet door for the first floor bath:
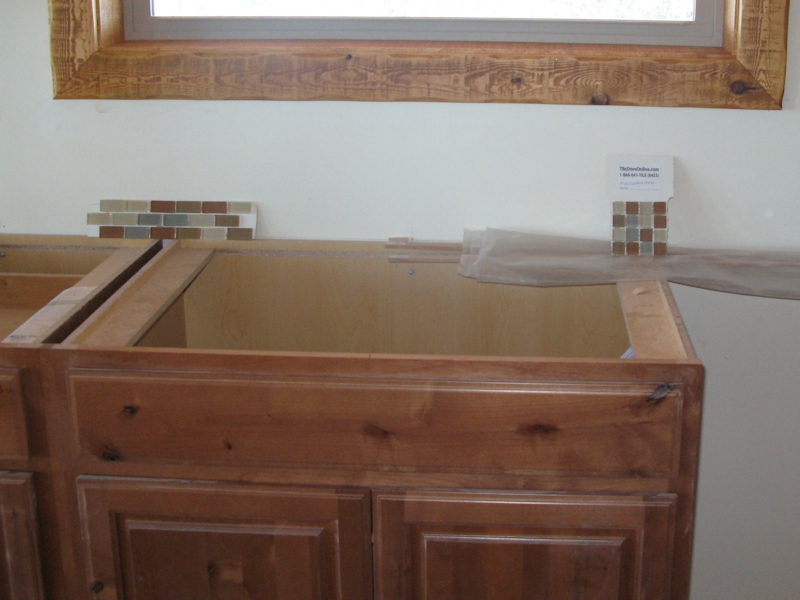
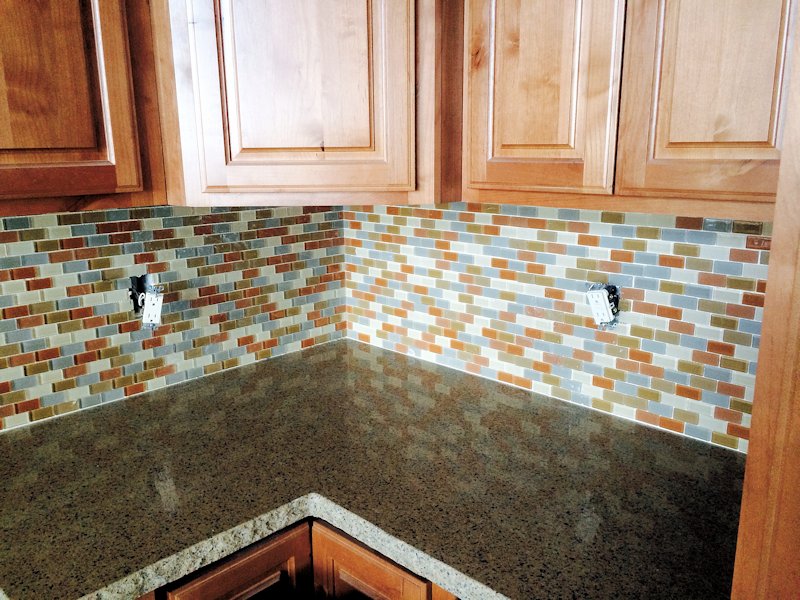
Which tile for the backsplash? We're leaning toward the rectangle pattern:
They grouted the one rock wall:
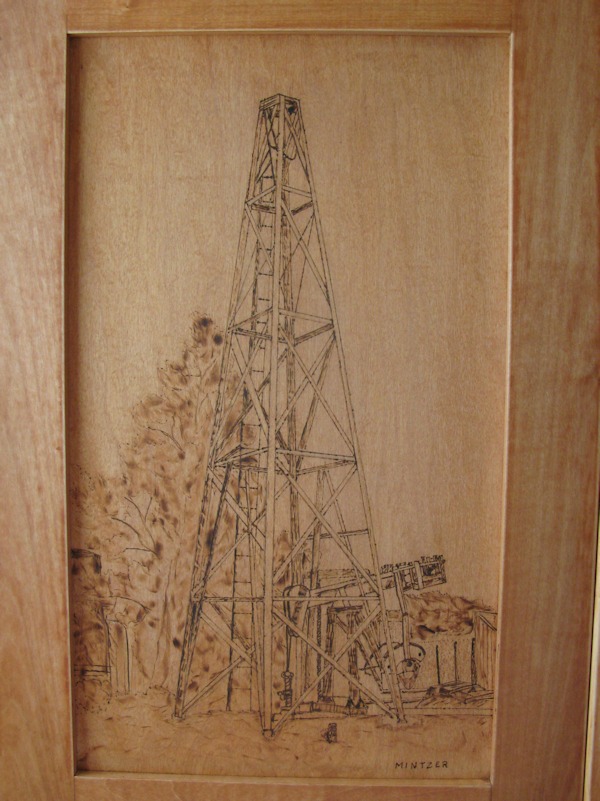
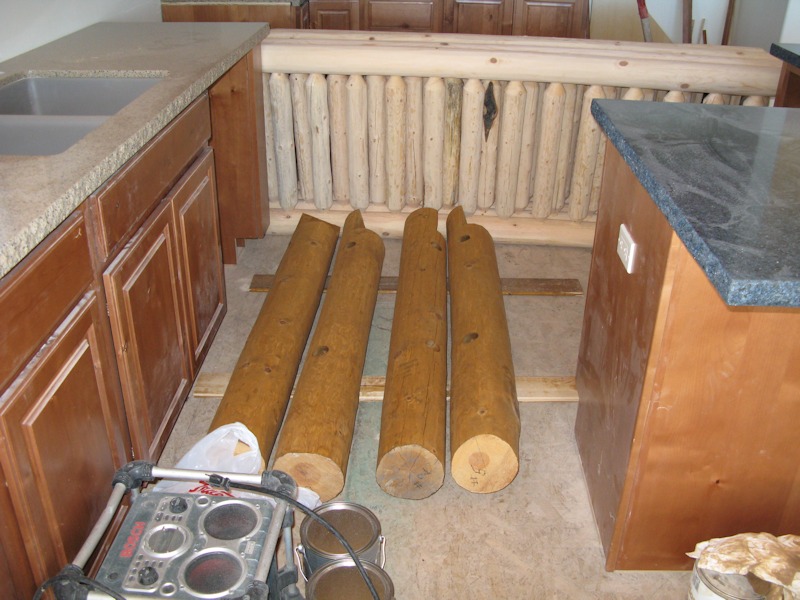
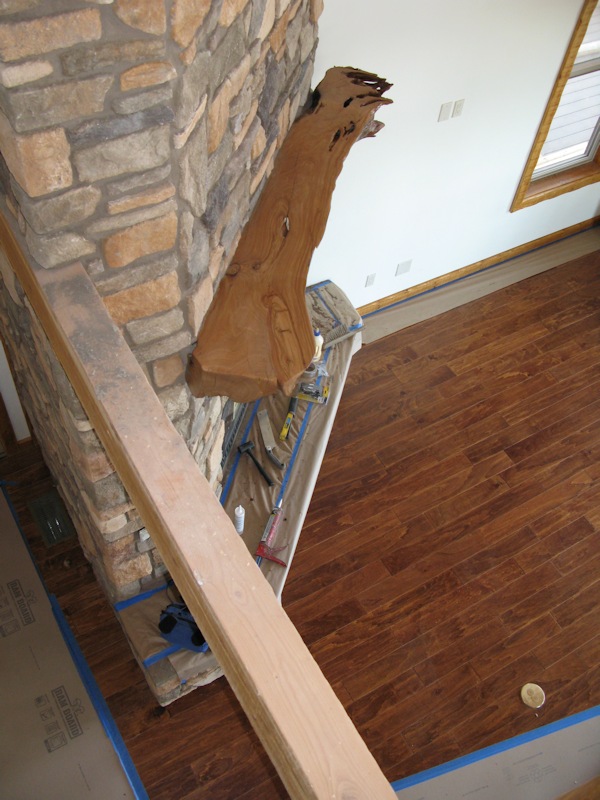
Remember when we pulled a
tree stump out of the ground in June for our
View of our trophy from above. It just needs a little adjustments, cleaning, and some clear stain to bring out the grain:
1/3/15 - They did some work before
Christmas and before New Years and there is
The rear steps are finished (still needs railings):
More work on the fireplace:
View from up top:
More work trim work complete:
Checking out the tile with a trim piece:
One of the medicine cabinets is in place:
More of the fixtures are wired:
Bathroom and mud room floor are prepped for tile:
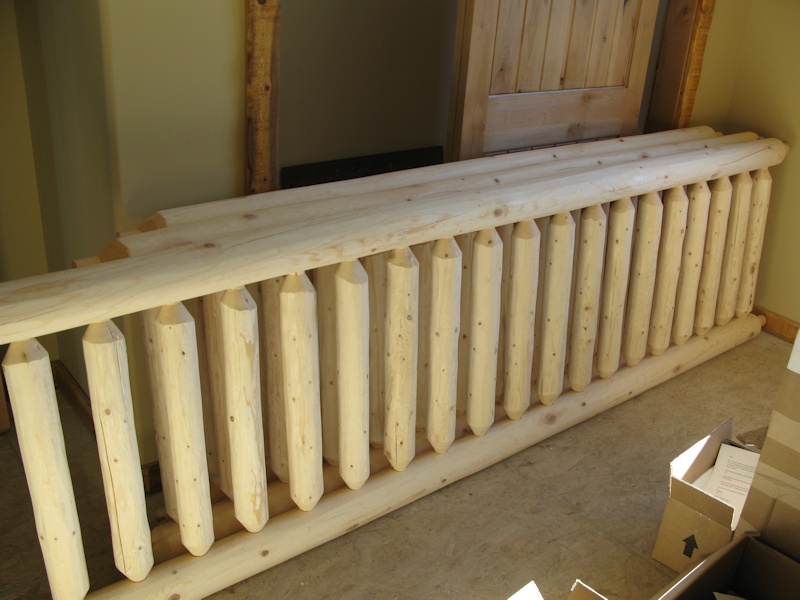
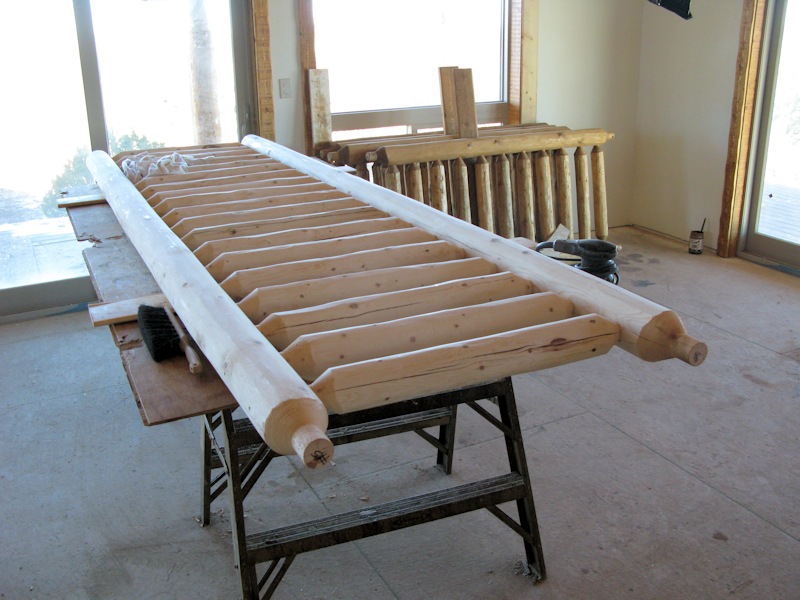
1/11/15 - Setting up to make the railings:
A closer look at some of the equipment used to fabricate the railings:
They started on the railings around the deck:
Railing around back:
Railing started on the side:
Back inside, more work on the fireplace - almost done:
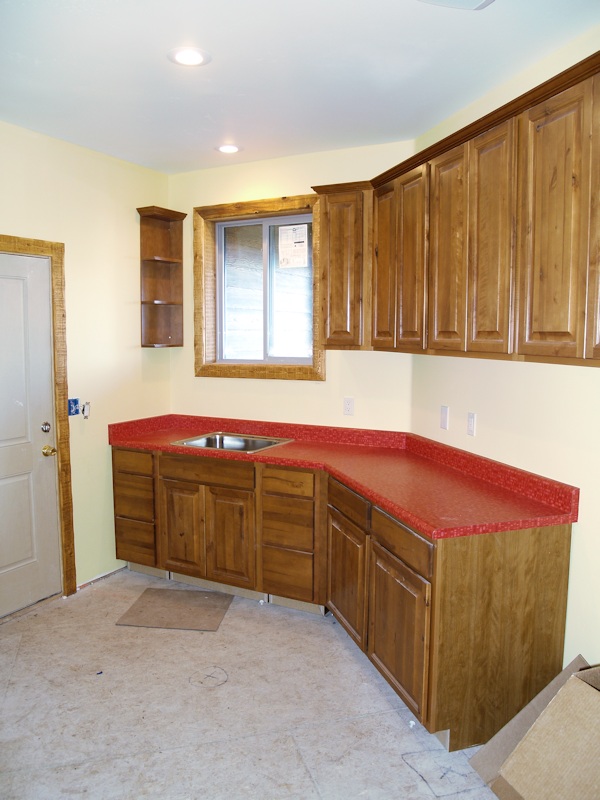
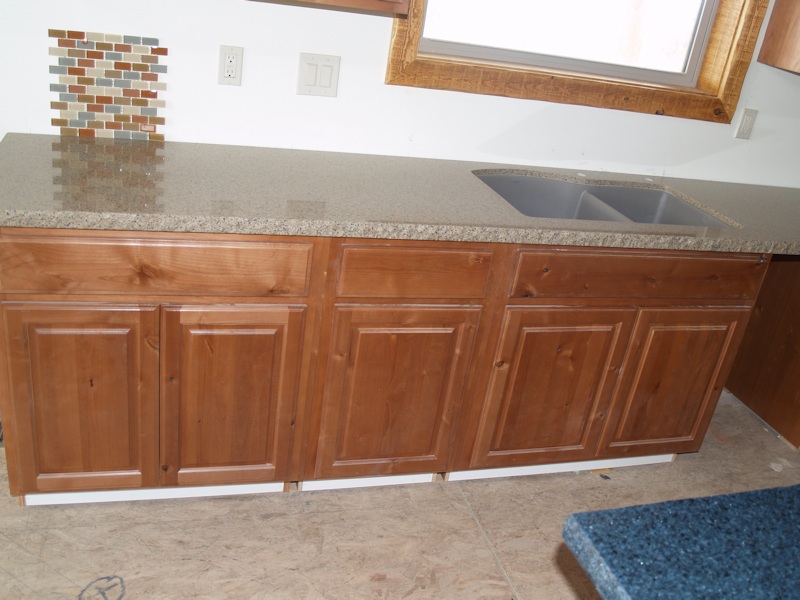
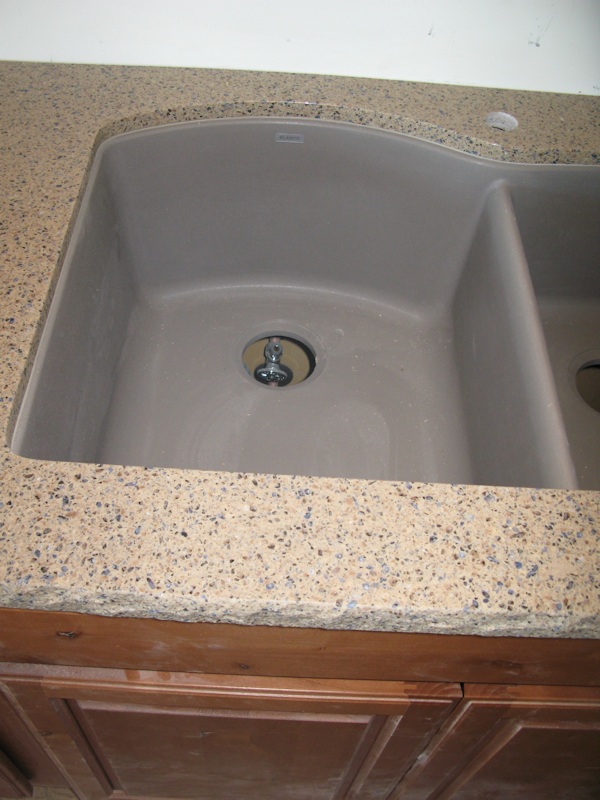
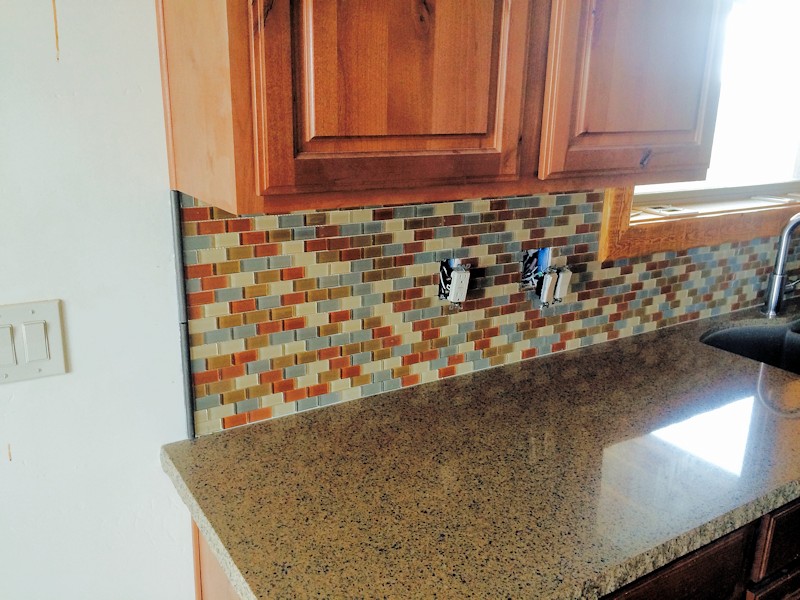
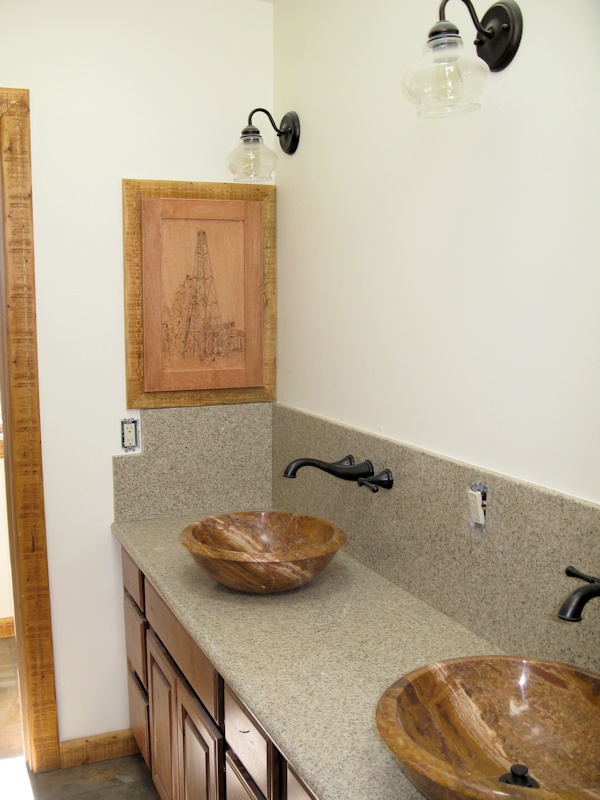
In the kitchen the countertops and sink were installed (sample backsplash on the wall):
Closer view of the sink:
The island - the hole to the left is for the microwave:
The kitchen with the countertops, and it looks like some work above:
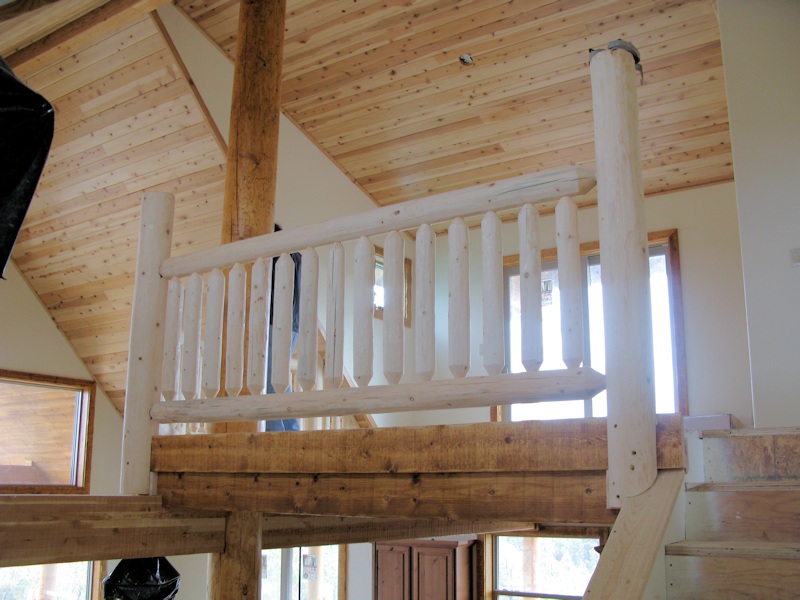
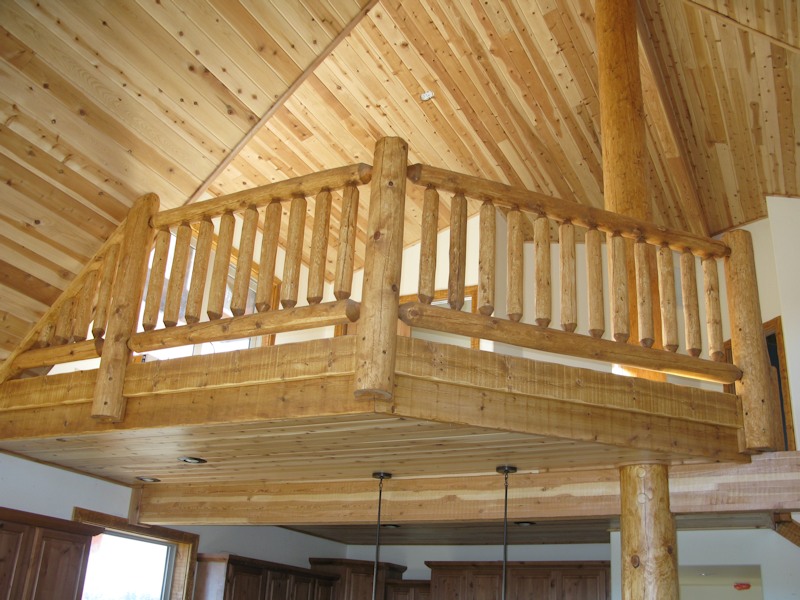
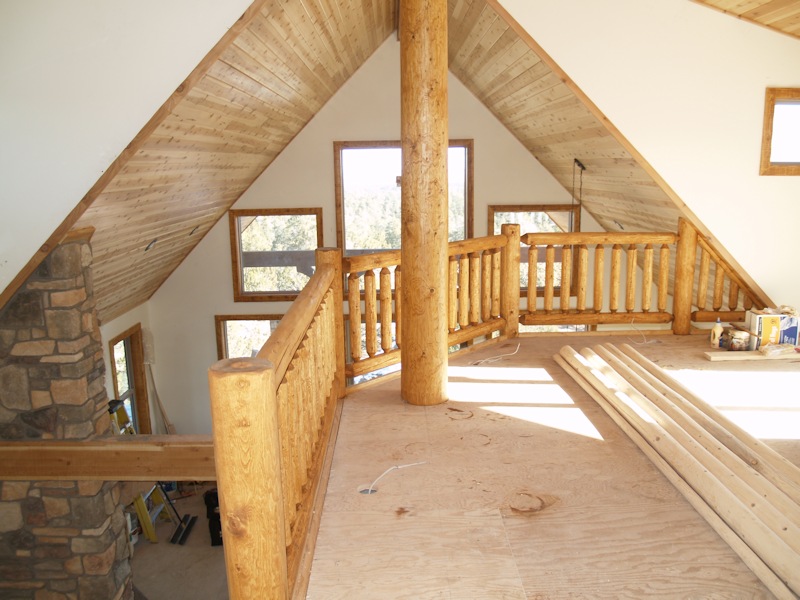
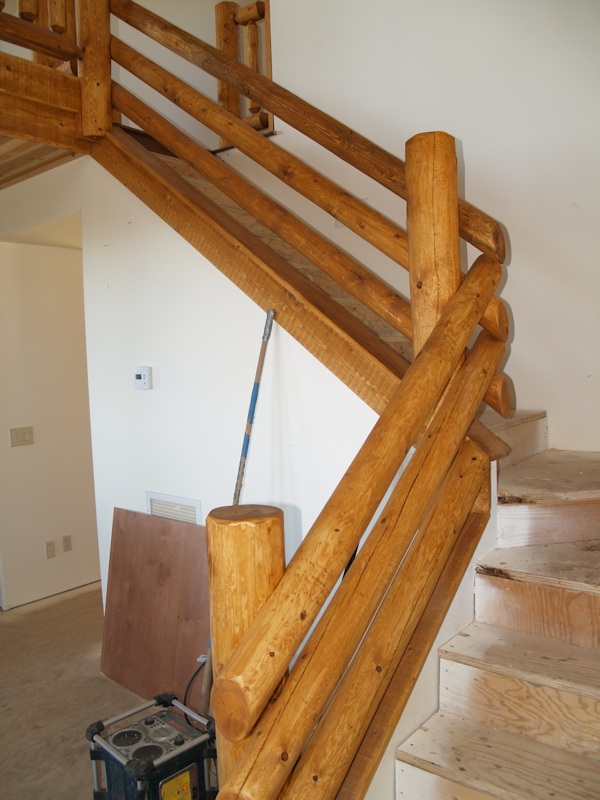
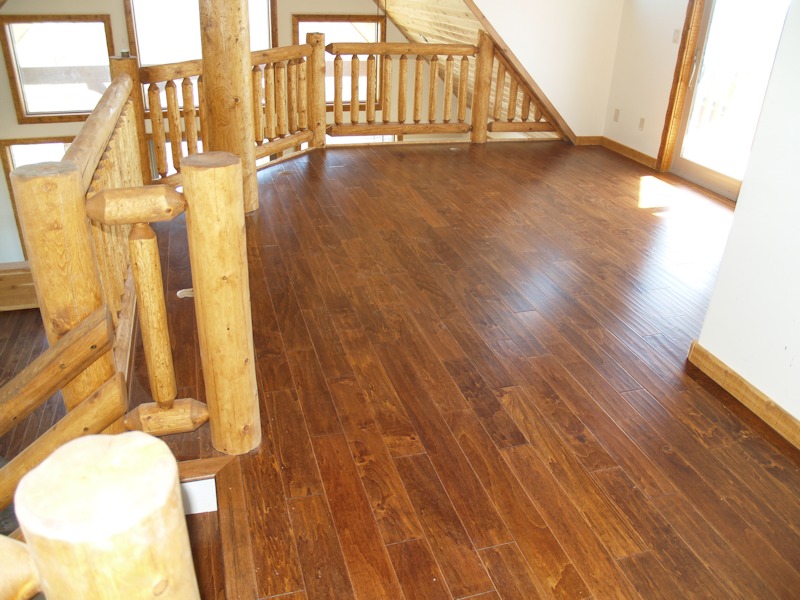
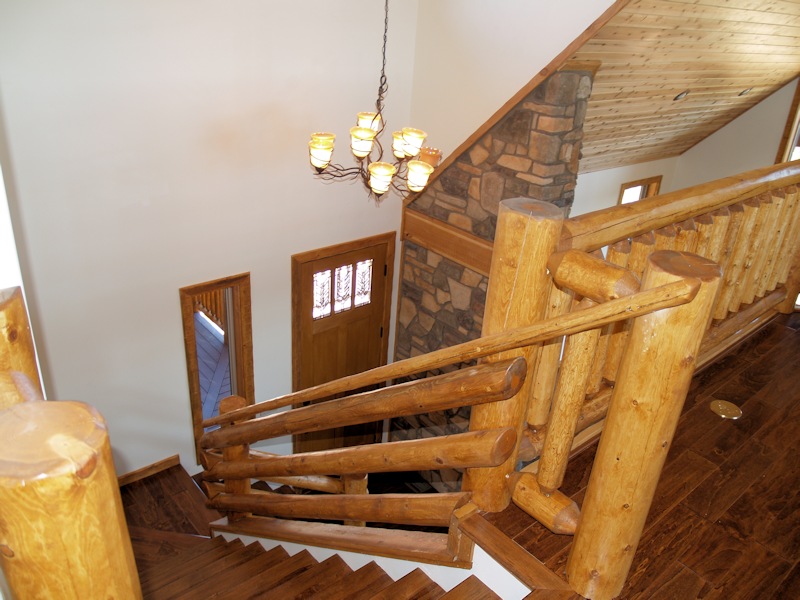
They got a lot of work done on the railings upstairs:
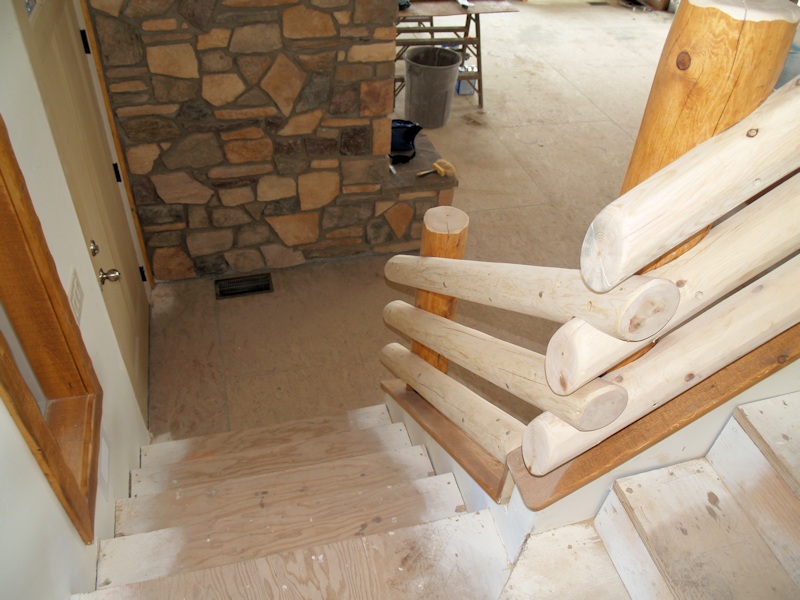
Walking upstairs to the loft - the railing still needs some stain:
The railing from the loft:
1/18/15 - More signage up front:
More progress on the fireplace:
The medicine cabinets are now mounted:
Upstairs:
The pocket door was installed too:
More railings - these are for the deck outside:
Tile for the bathrooms and mud room:
1/25/15 - Still getting snow so construction delays are still occurring:
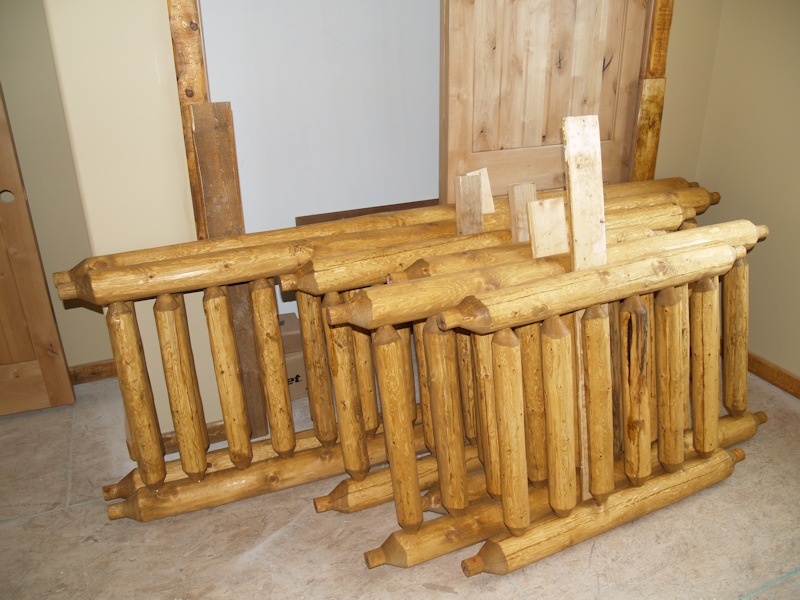
It's warm and dry inside to make and stain the outside railings:
More staged inside:
More:
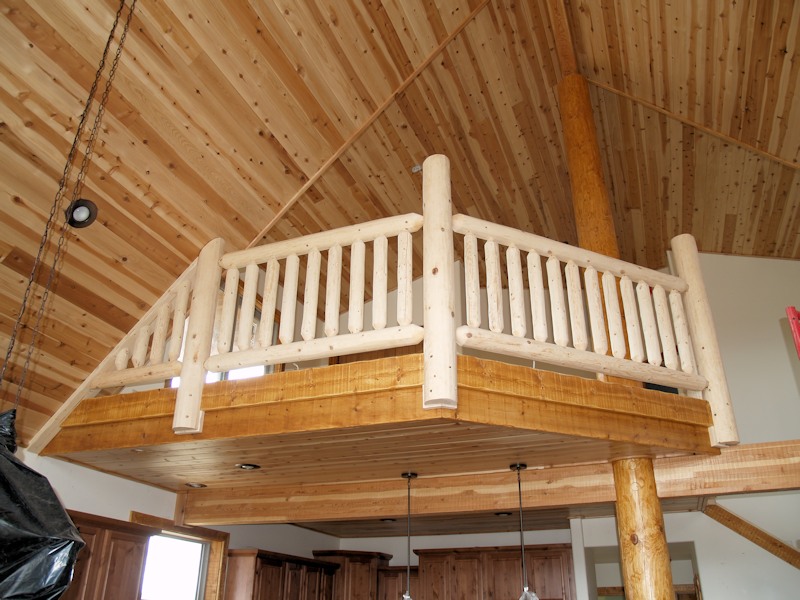
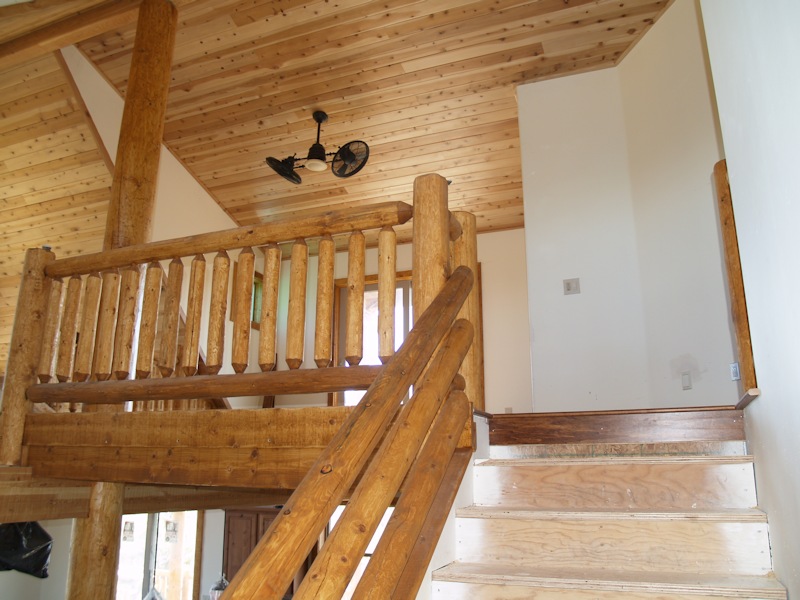
Speaking of railings, the inside loft railings were finished:
View from the loft:
Close-up of one of the poles:
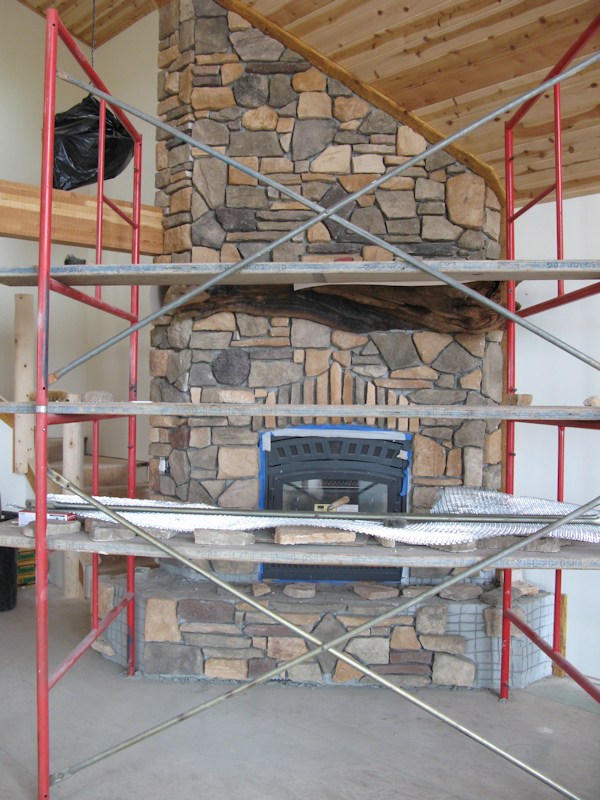
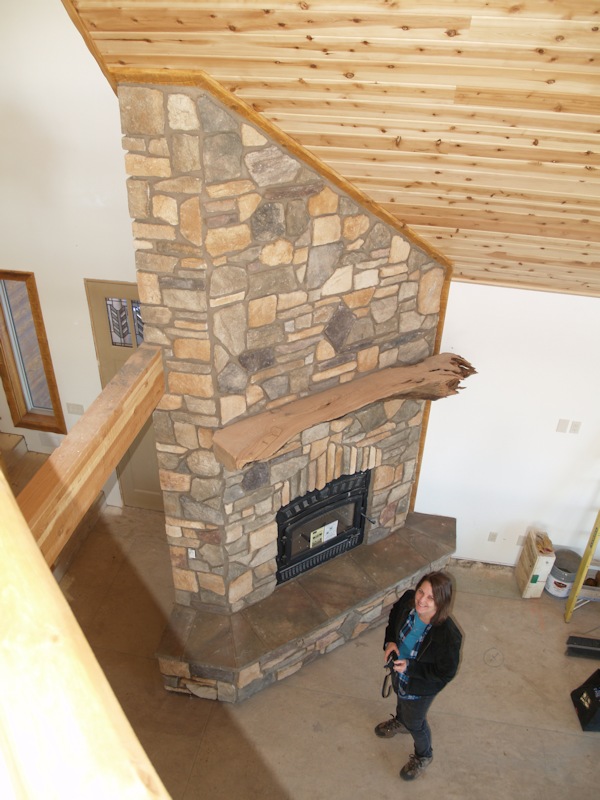
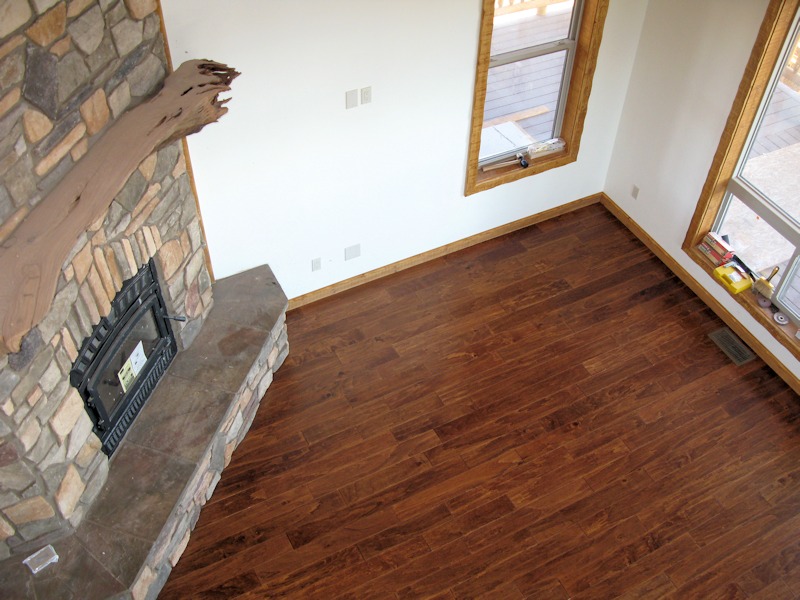
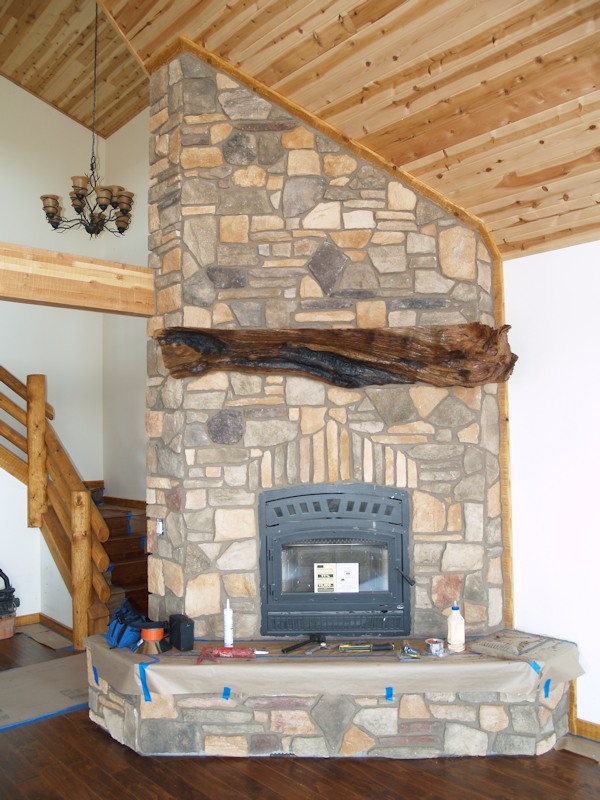
The stone work on the fireplace is complete:
View from the loft:
Starting on the tile in the bathrooms:
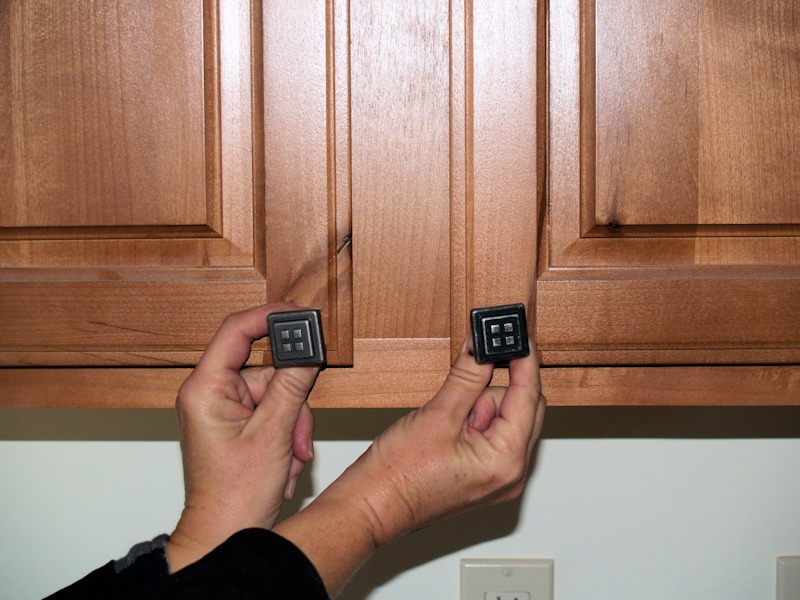
Looking at knobs for the cabinets:
2/8/15 - Notice anything new?
Lots of railing outside now:
Some around back:
Closer view of the window wall:
Scenic shot through the trees:
Up on the deck at the window wall:
More railings ready to be put in place:
The view when sitting in a chair:
Back inside, these will be used to add support to the railings:
Starting on the railing for the stairs:
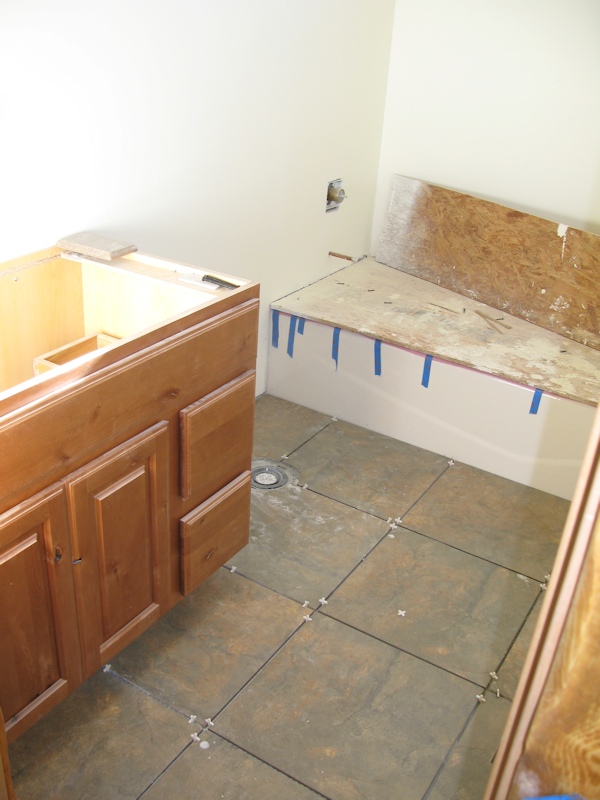
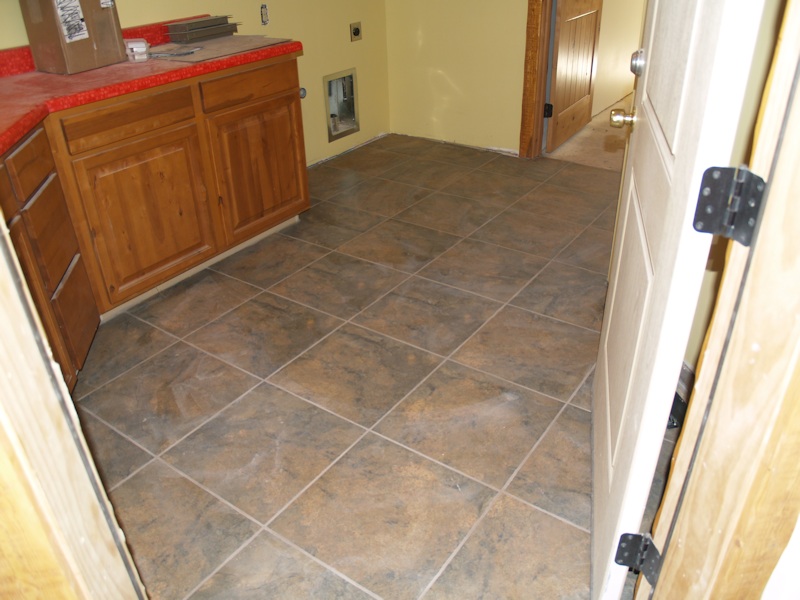
Flooring complete, but a little dusty/dirty in the mud room:
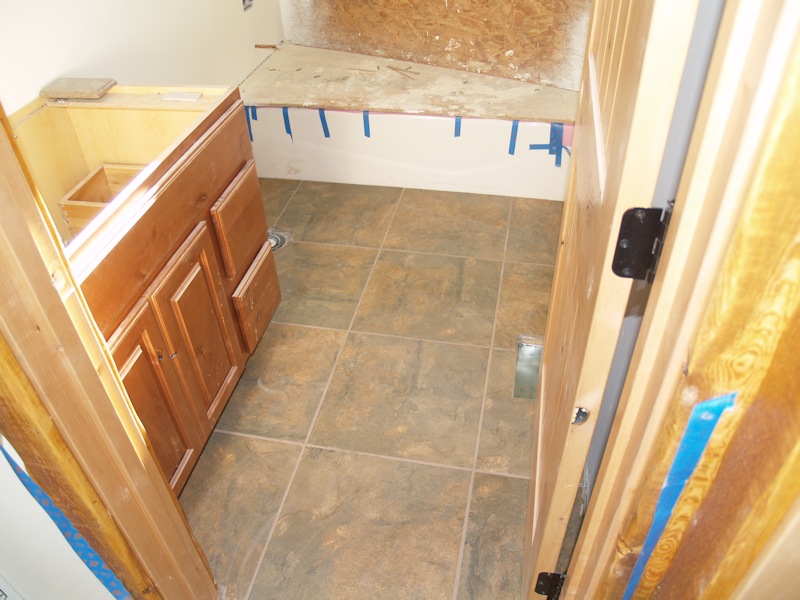
Flooring complete in the downstairs bathroom:
Fan installed in the loft:
2/15/15 - We now have running water!
Downstairs bathroom almost finished too:
Under the kitchen sink - vacuum and garbage disposal:
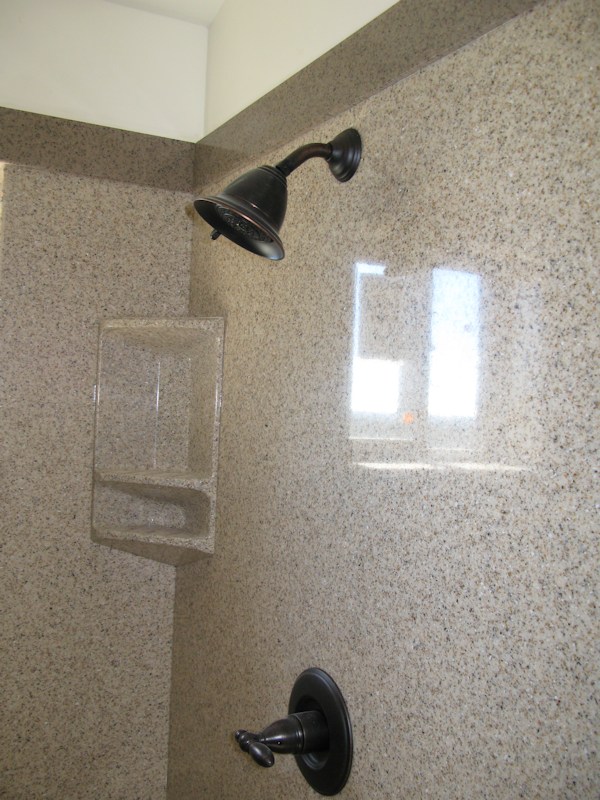
A seat in the master shower:
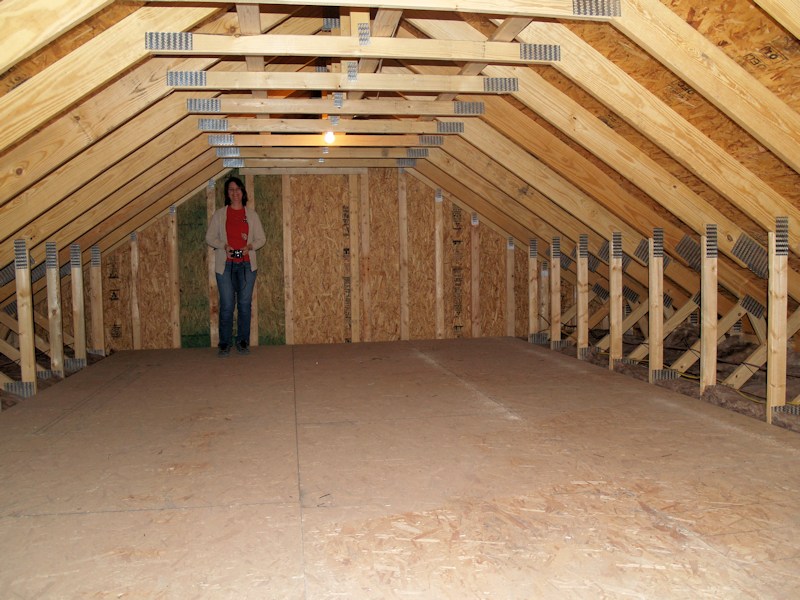
In the attic over the garage - ready for "stuff":
Railing for the stairs:
More railings to be installed outside - maybe upstairs deck?
Extra support installed:
Most of the railing up front installed:
2/22/15 - Most of the work this week was on railings - upstairs deck:
Another view:
Another view:
Looking down at the rear stairs:
View from the side yard:
Another view of the railing work:
View of the rear:
Windows wall and front:
A little railing work inside:
Some trim work on the pocket door:
Trim work in the master bath:
The basement is almost finished:
2/27/15 - Sneak peek from the builder - working on the backsplash:
It just needs grout:
3/8/15 - The backsplash is finished:
The faucet in the kitchen was installed:
Some railing work was done outside:
And inside:
A closer view:
Looking up toward the loft:
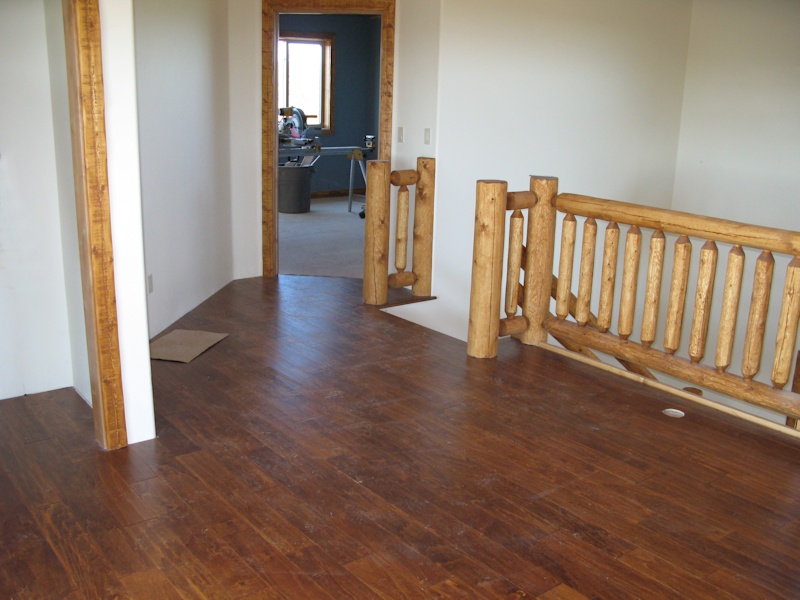
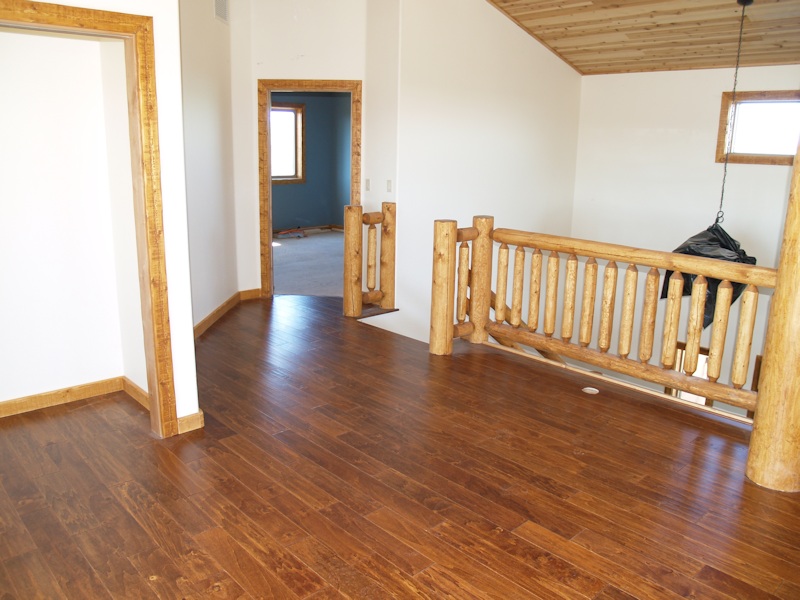
In the loft, the top of the stairs, and the flooring is going in:
View of the area from the master bedroom door:
3/15/15 - Bathroom surround complete:
Completed in the master too:
Trim in the shower complete:
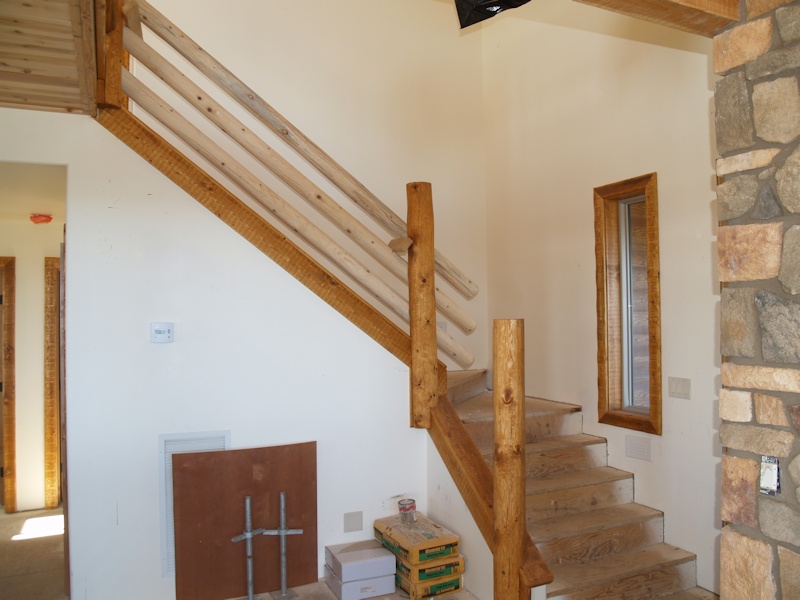
Stairs almost complete:
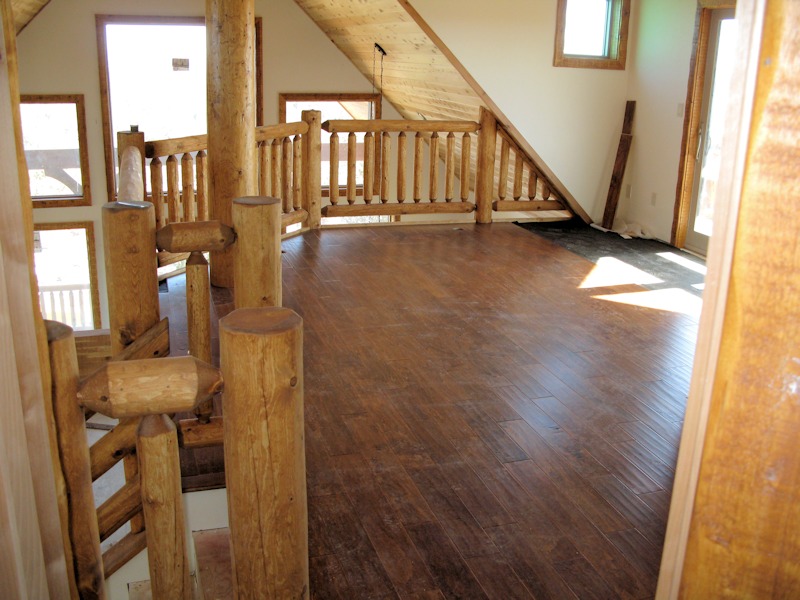
Floor in the loft complete:
View from the other side of the loft:
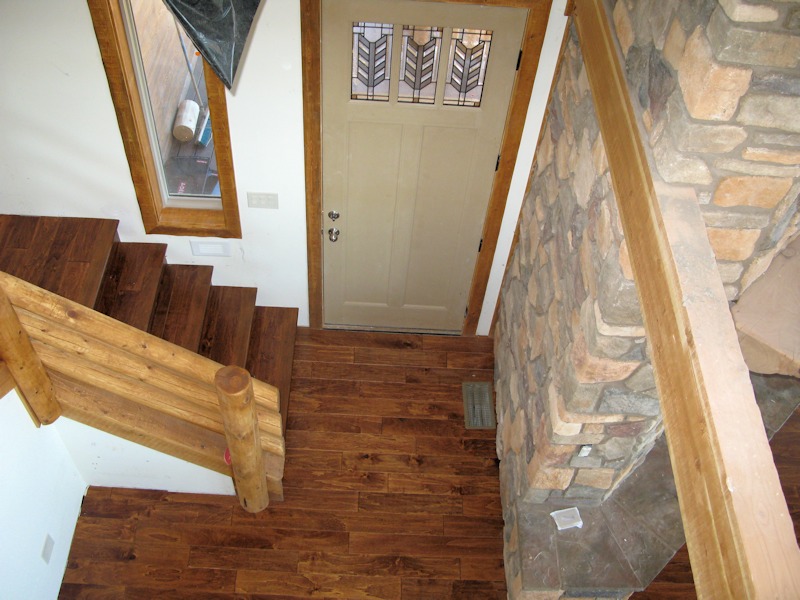
Looking down at the front door from the loft:
Looking down at the living room from the loft:
Another view with the completed floor:
Washer/dryer delivered but not installed:
Freezer delivered, but not installed:
3/29/15 - Almost ready for the final inspection - railing finishing up:
Railings almost finished:
Not much left to do:
Just needs some gravel and a little cleanup:
Cleanup and good to go:
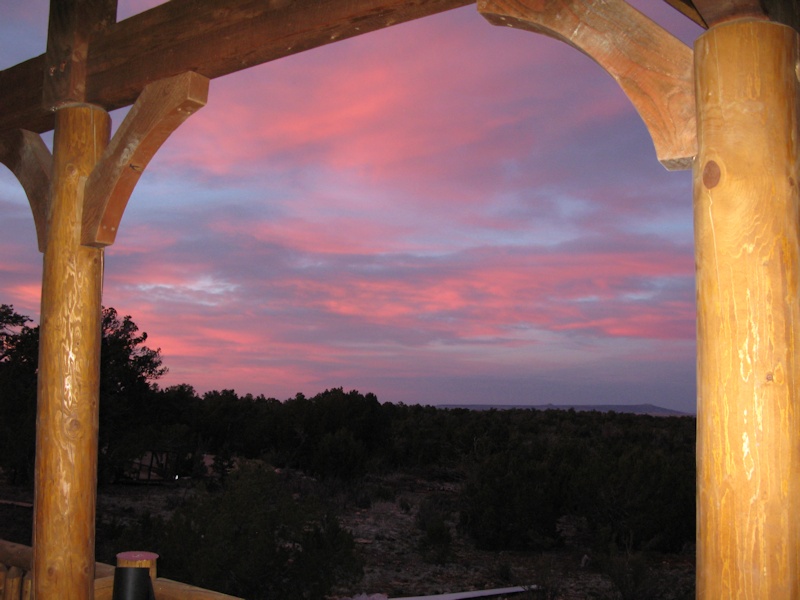
Scenic shot:
Inside the green bedroom is finihsed:
So is the brown room:
Master just needs a little touch up of the paint:
Master bath just needs some cleanup:
Same downstairs:
Same around the fireplace:
Top of the mantle with a clear coat:
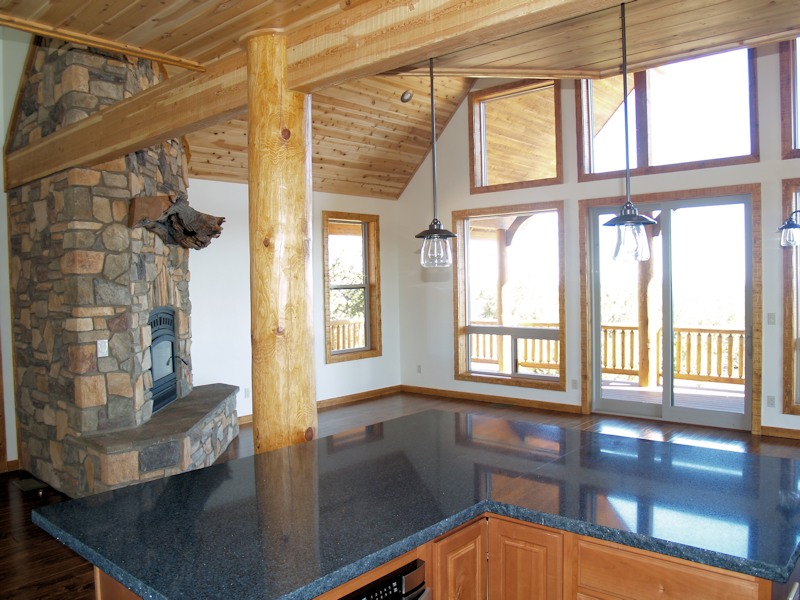
View of the kitchen and dining room:
View of the kitchen:
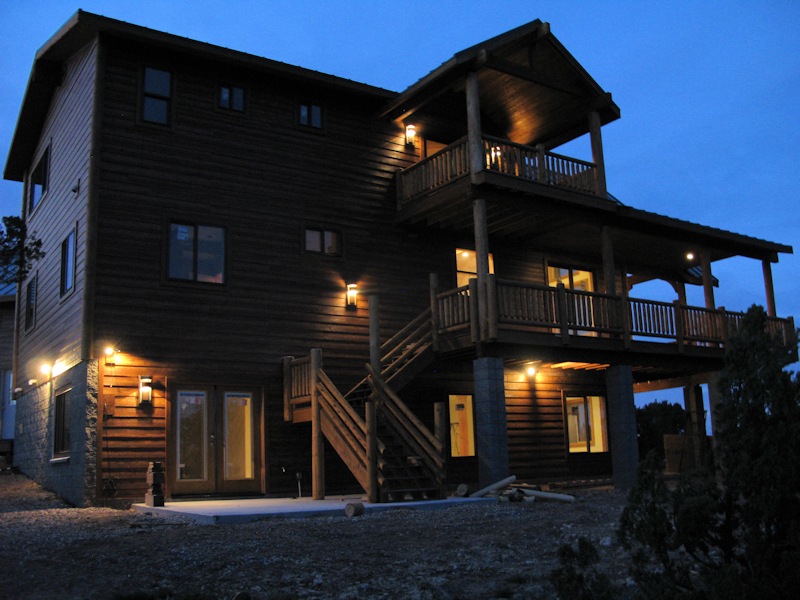
3/31/15 - The sun's going down:
Checking out the lights up front:
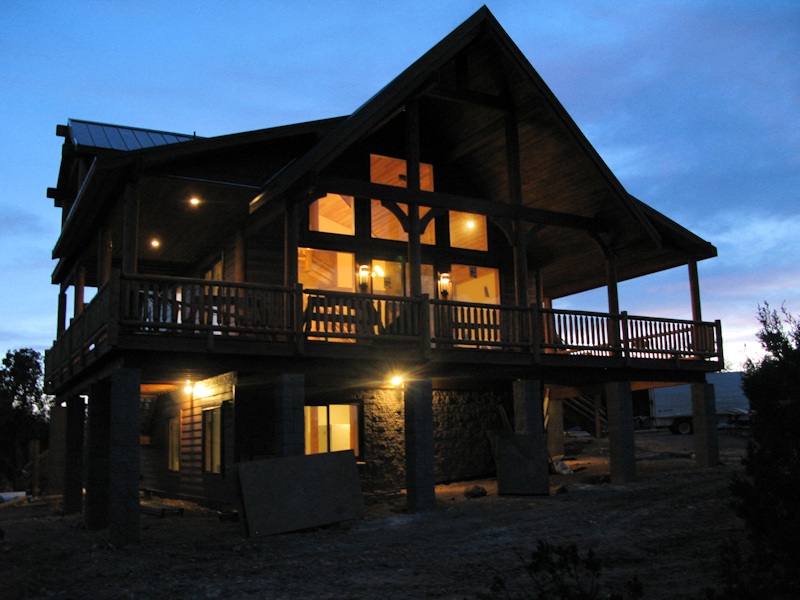
Lights around back:
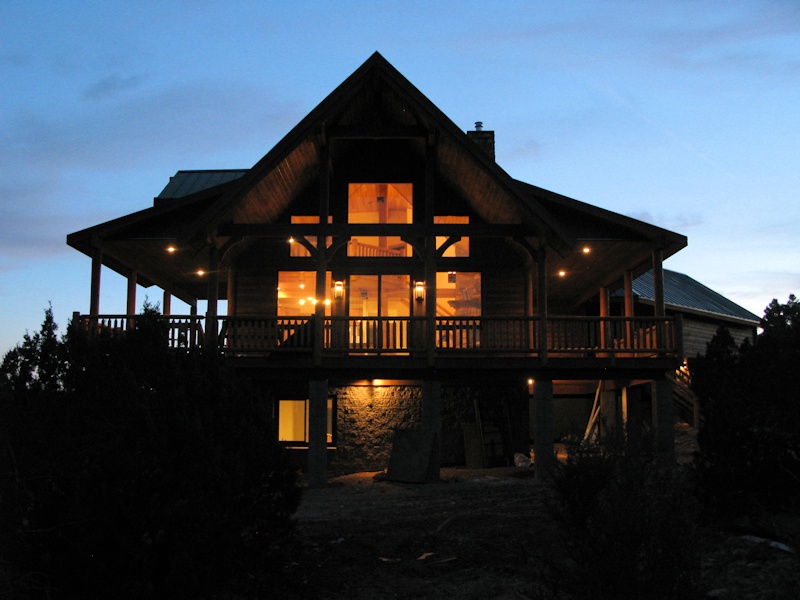
Window wall:
Another view:
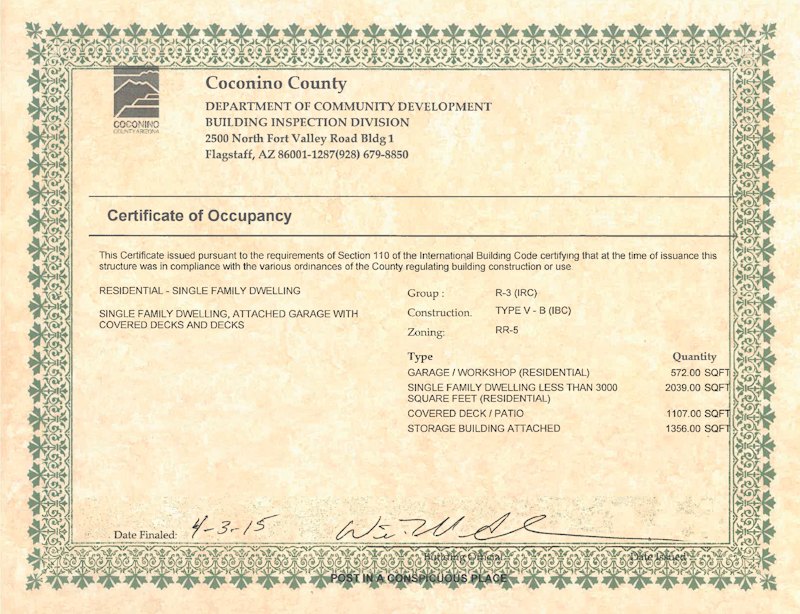
4/3/15 - Yeah!
4/29/15 - It's final walkthrough day:
The garage side is looking good:
The bedroom side yard:
The bedroom side yard with a view of the rear deck:
The back:
The window wall and deck:
Another view:
Another angle:
The scenic shot:
The garage is looking pretty clean:
Just a few things they used for the clean-up still here:
The laundry room looks to be ready to be used:
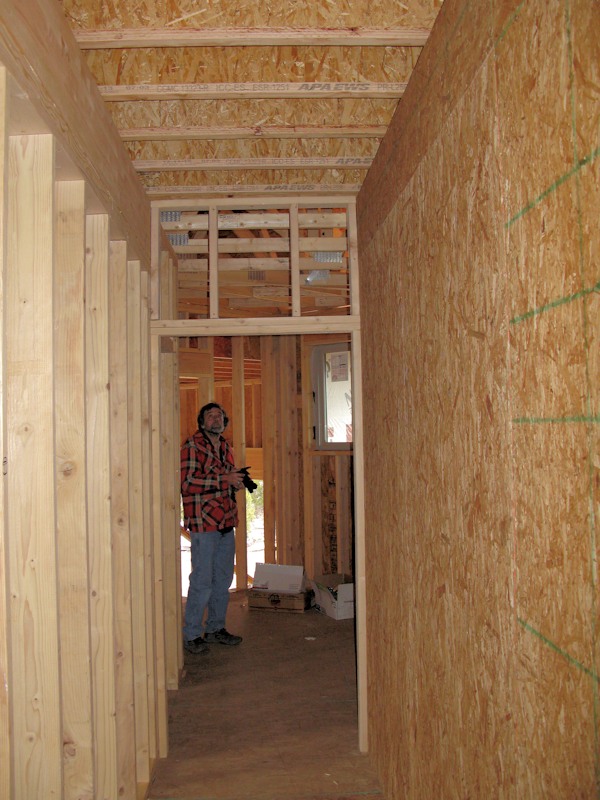
The hallway looks done:
The bathroom is clean now:
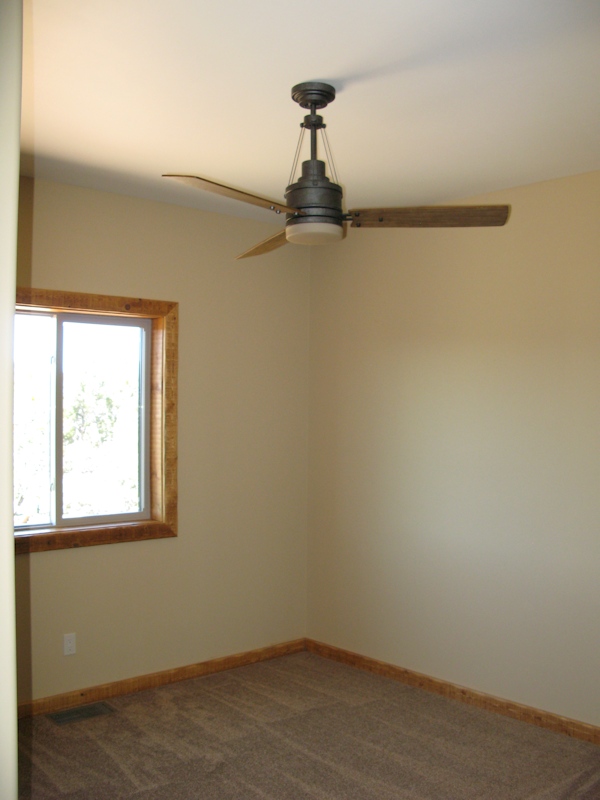
This bedroom looks like it's ready for furniture:
This one too:
A look at the front door from the outside:
And from the inside:
The family room and kitchen island look to be clean:
Another view:
The kitchen looks good to go:
The fireplace looks to be ready to be used:
The view out the window wall still looks great:
It also looks great off the the upstairs deck:
The master bathroom looks good to go:
The final stair railing looks and works great:
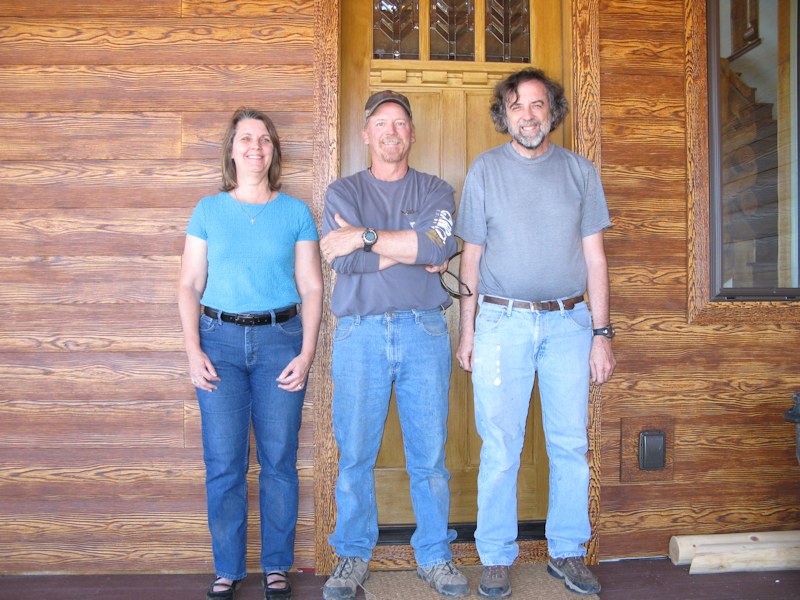
The very happy homeowners with the builder - Jim Burke (Cherry Creek Construction):
It also looks great off the the upstairs deck:
It also looks great off the the upstairs deck:
It also looks great off the the upstairs deck:
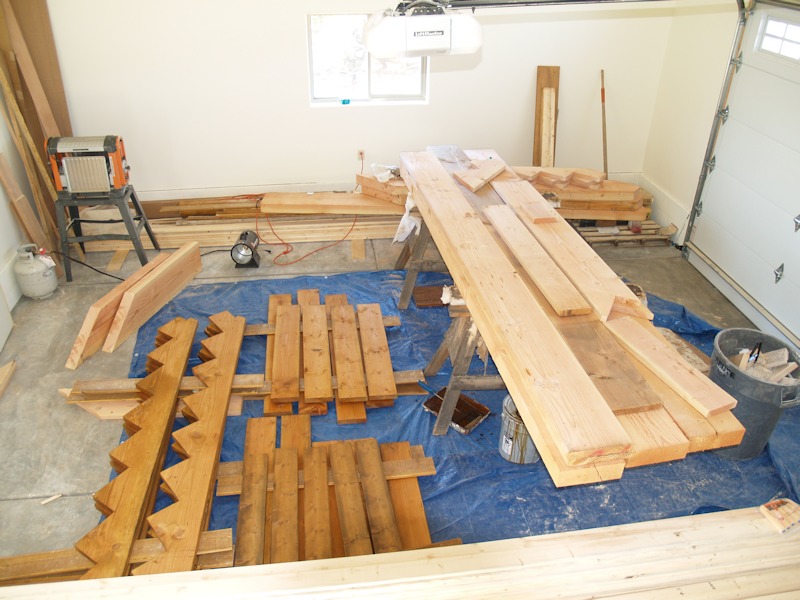
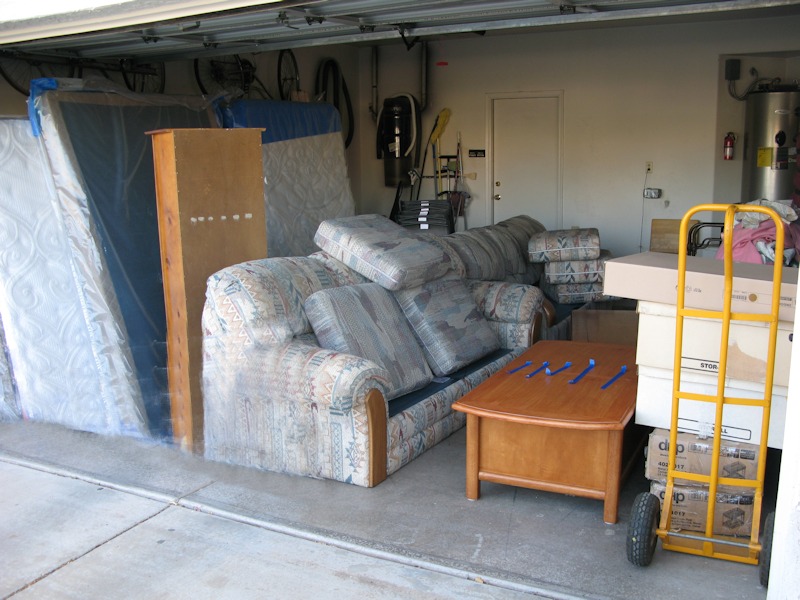
4/30/15 - The house is done so stage the Craig's List furniture in the garage:
Plus new bedding that's ready to head up north:
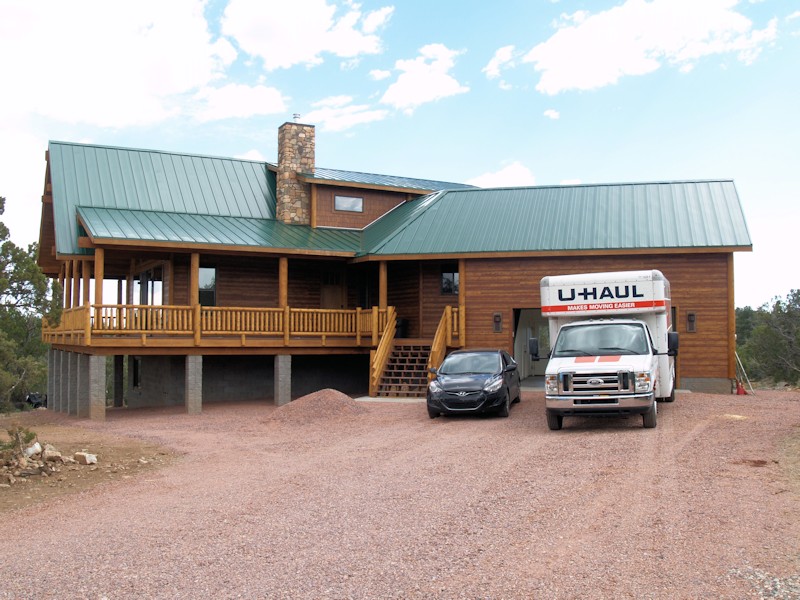
5/1/15 - Made it:
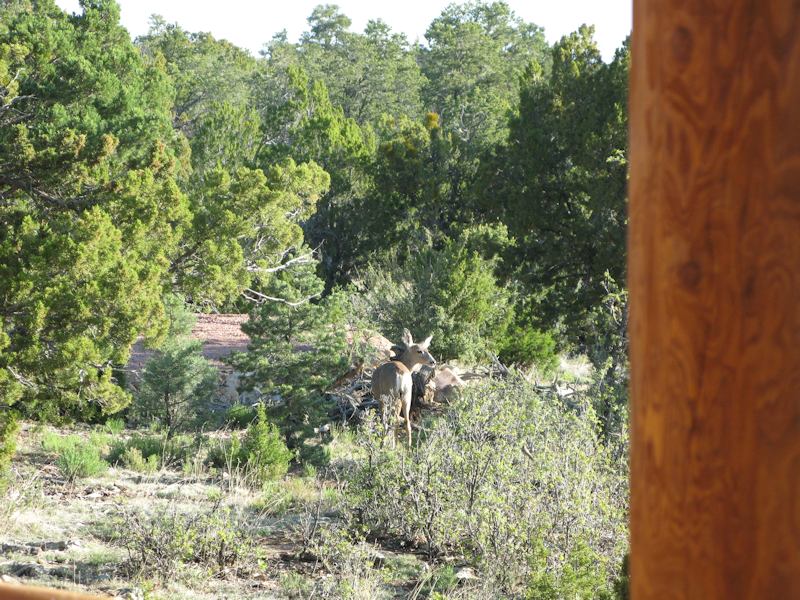
5/3/15 - A visitor in the side yard:
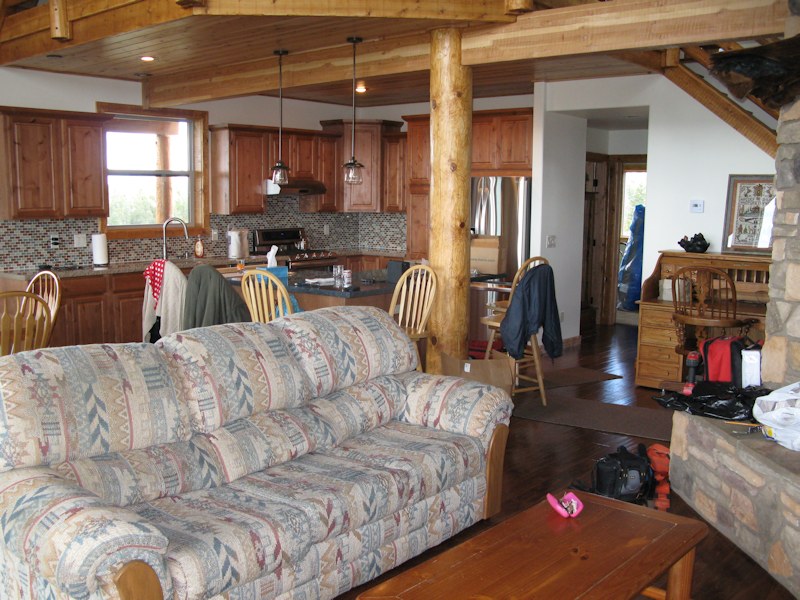
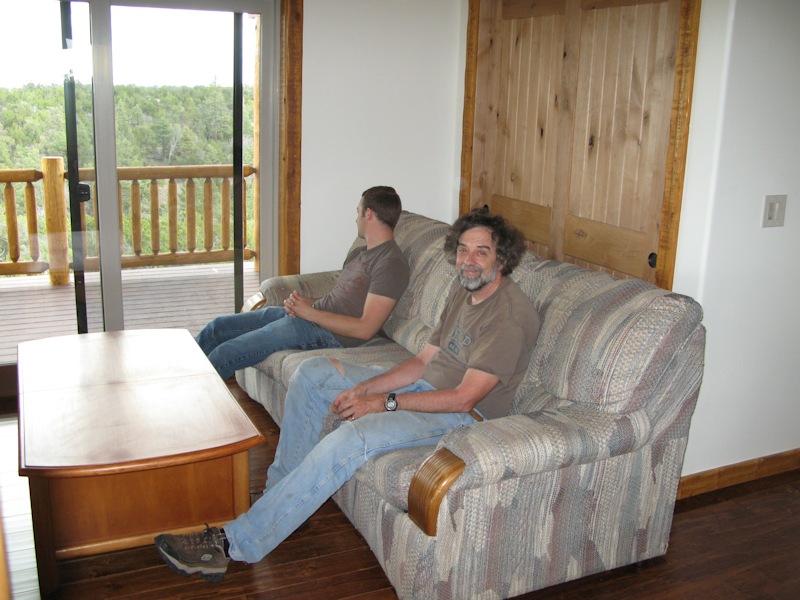
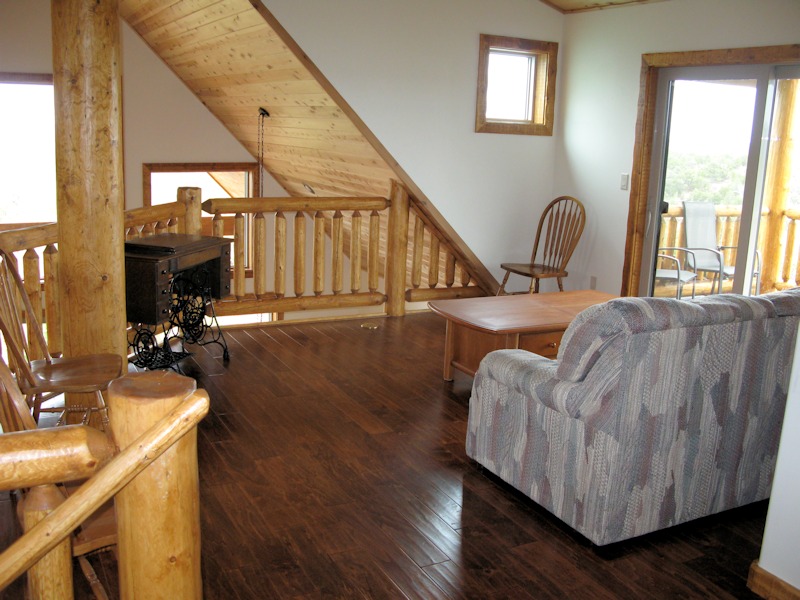
Lots of furniture and stuff in the house:
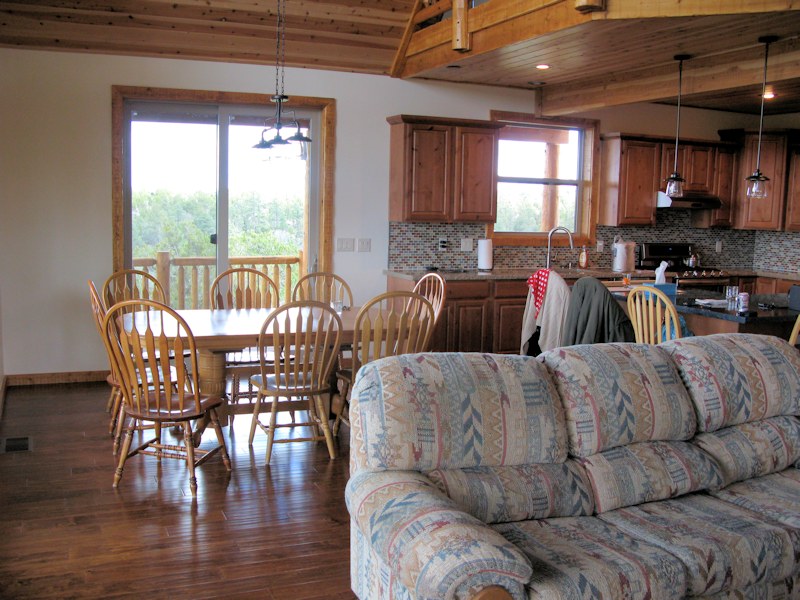
The dining area setup works best this way so we have to rotate the light fixture:
Another view of the area:
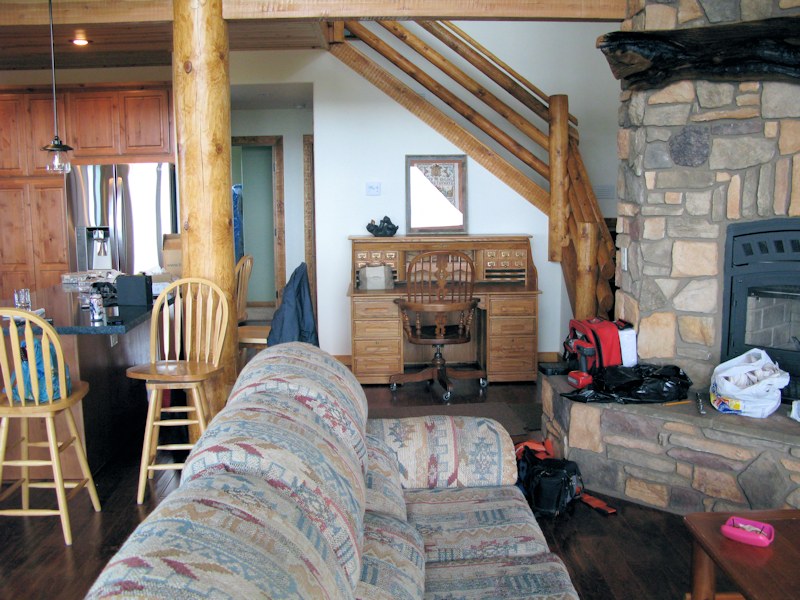
The roll top desk is in place:
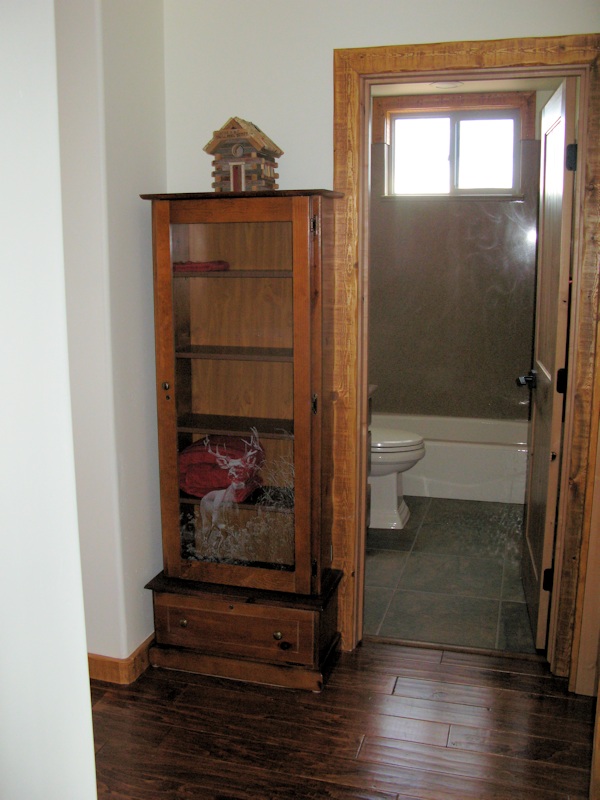
The gun cabinet we converted to a linen closet and a house warming gift:
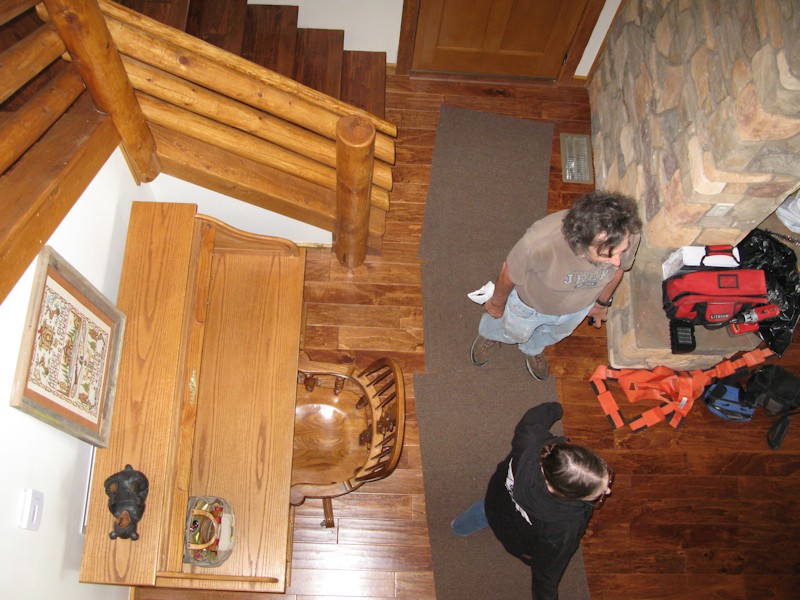
It was a bit of effort to get these old bones into the loft:
Looking down from the loft:
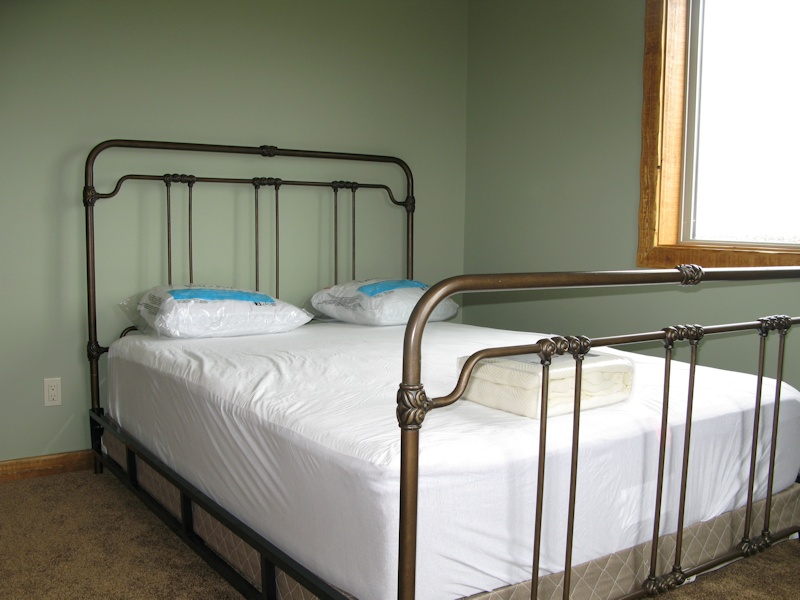
5/4/15 - Done setup for the weekend - the green room has a queen bed:
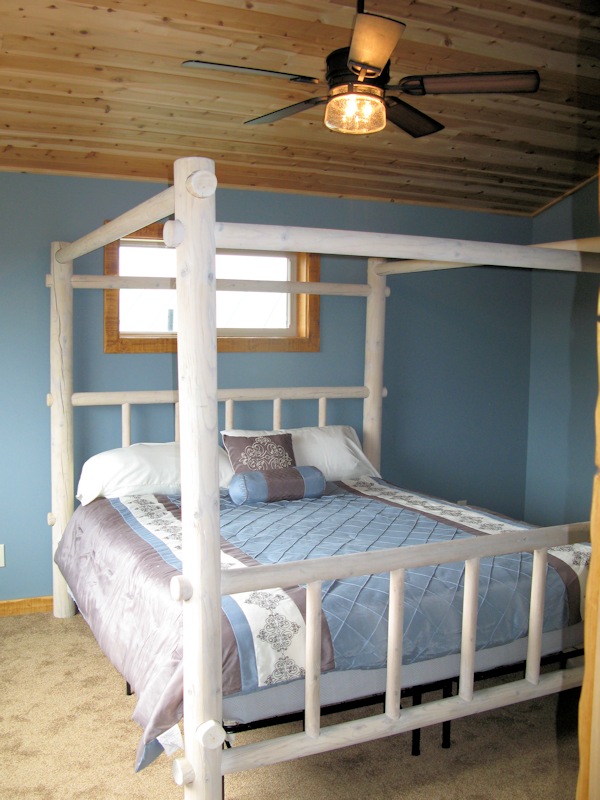
The master:
A shot of the loft:
Another:
Another:
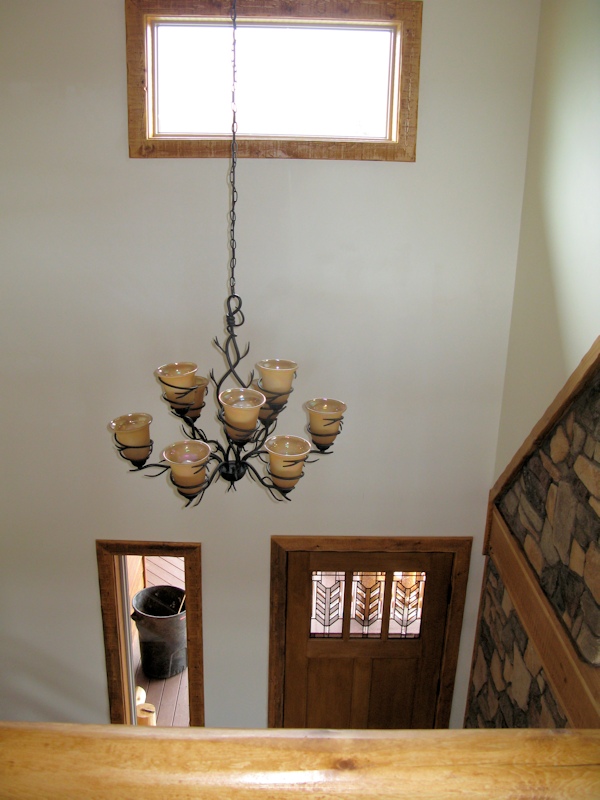
The chandelier over the front entry way:
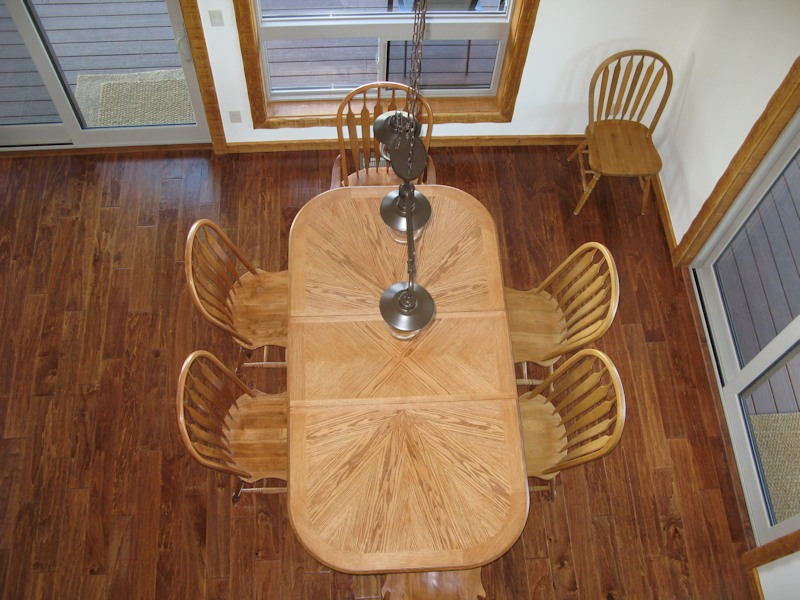
The dining room with the lamp turned properly:
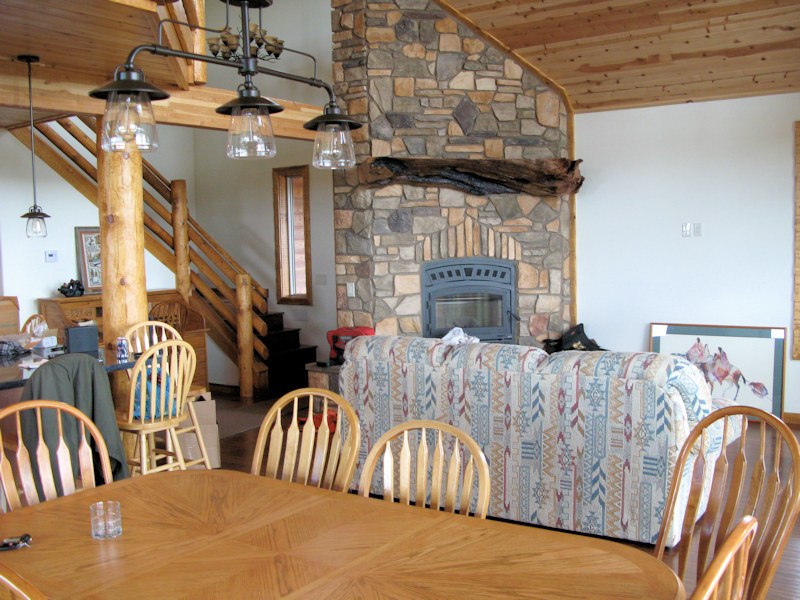
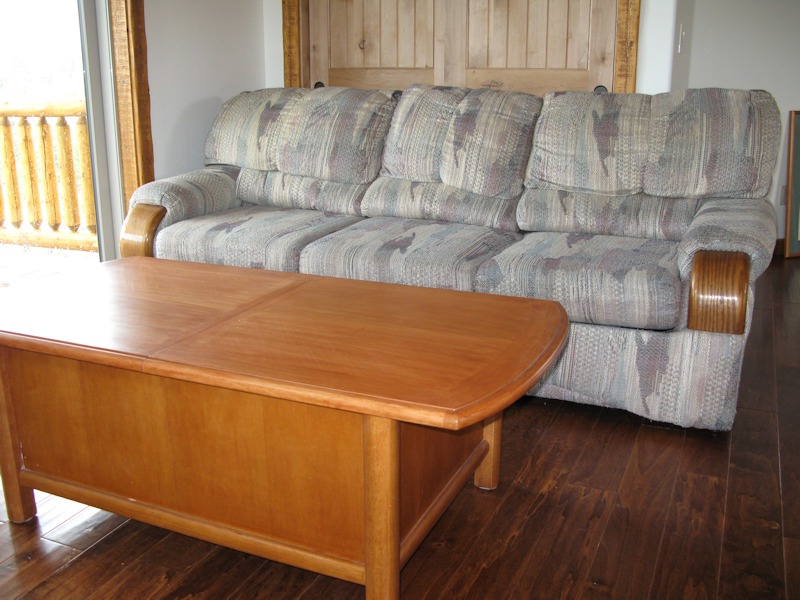
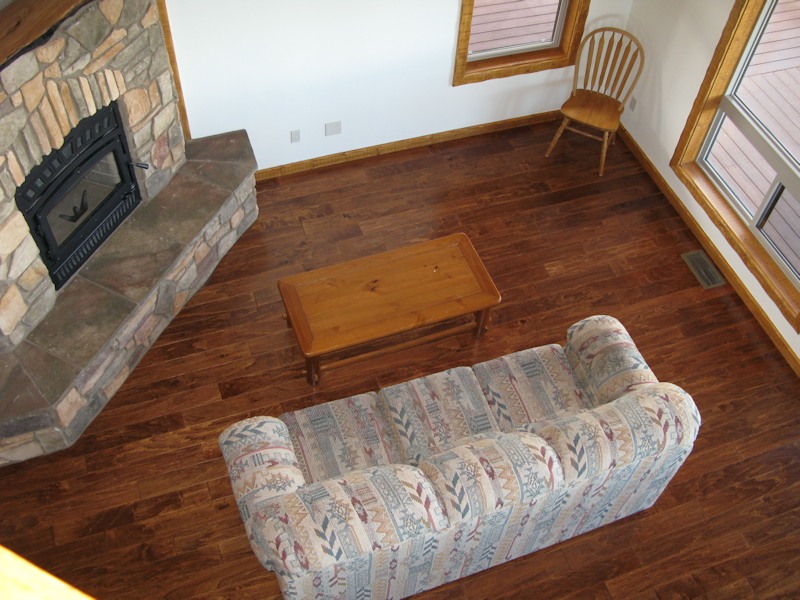
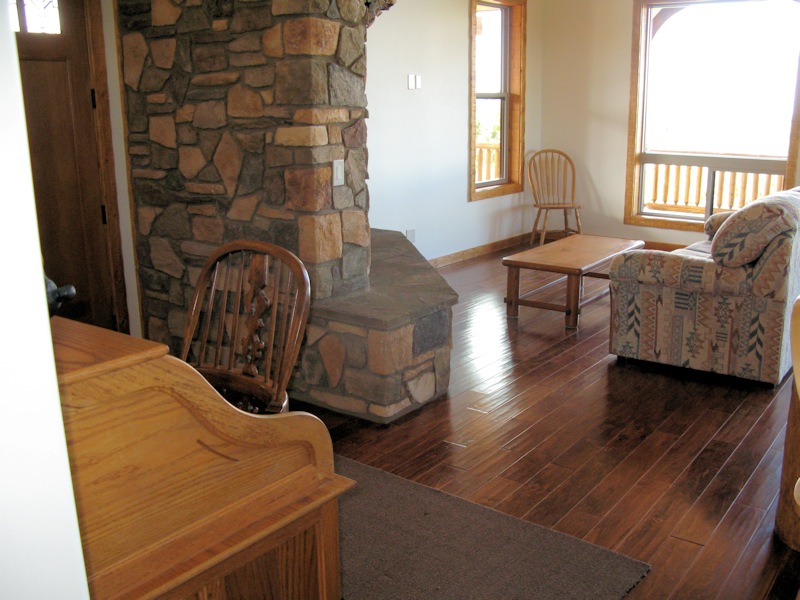
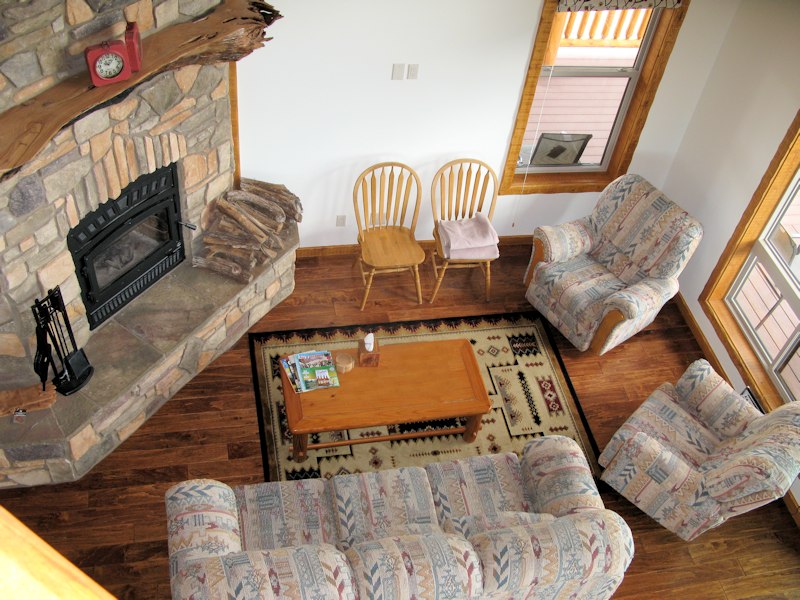
The living room:
Another view:
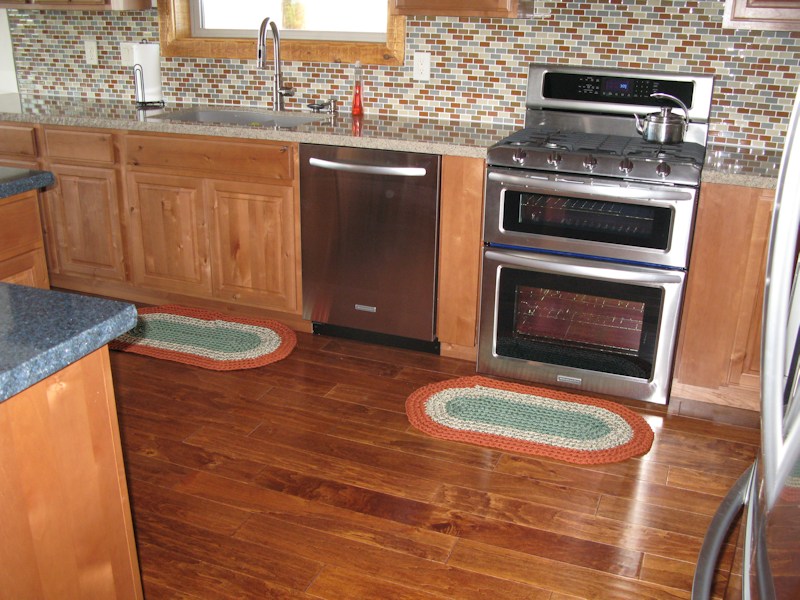
Everything in the kitchen works great:
Most of the furniture is in and
few adjustments to the house still need be completed,
Here's a video of the indoors.
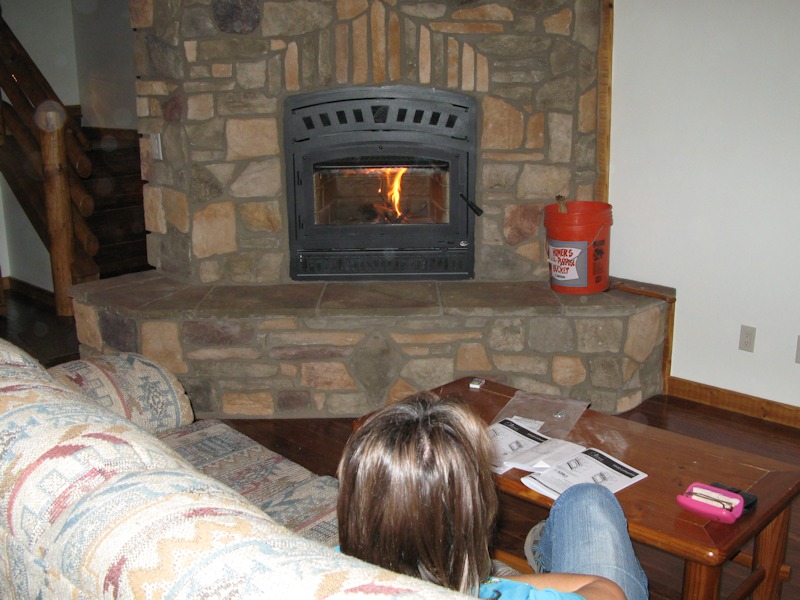
5/8/15 - We started a small fire to break in the fireplace
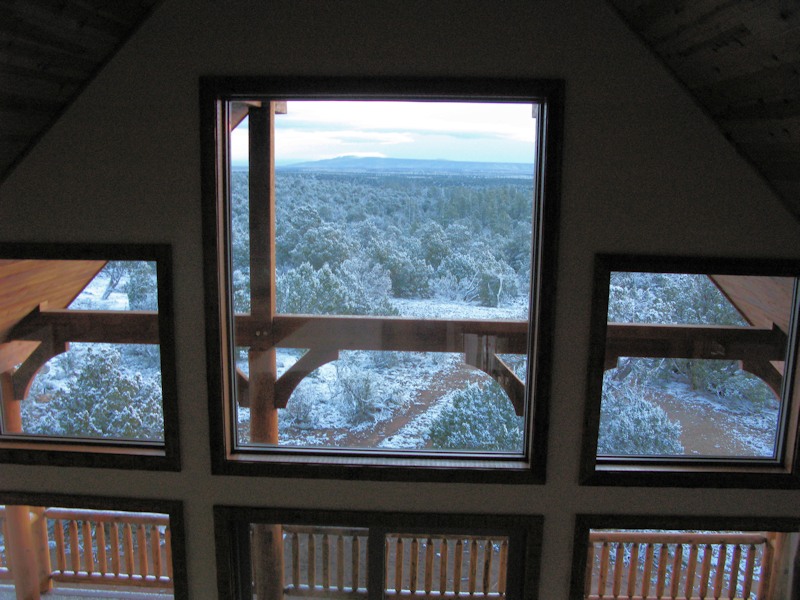
5/9/15 - It snowed last night:
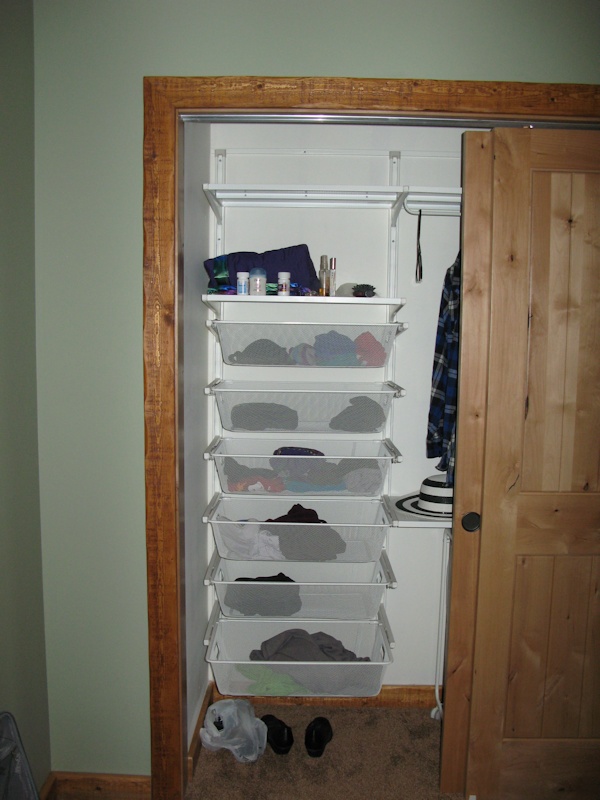
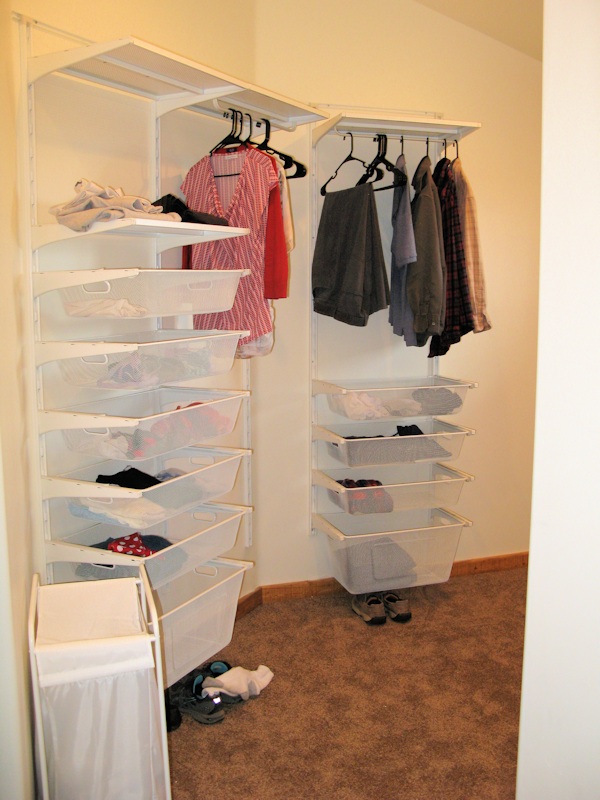
6/29/15 - Installed some closet systems from Ikea:
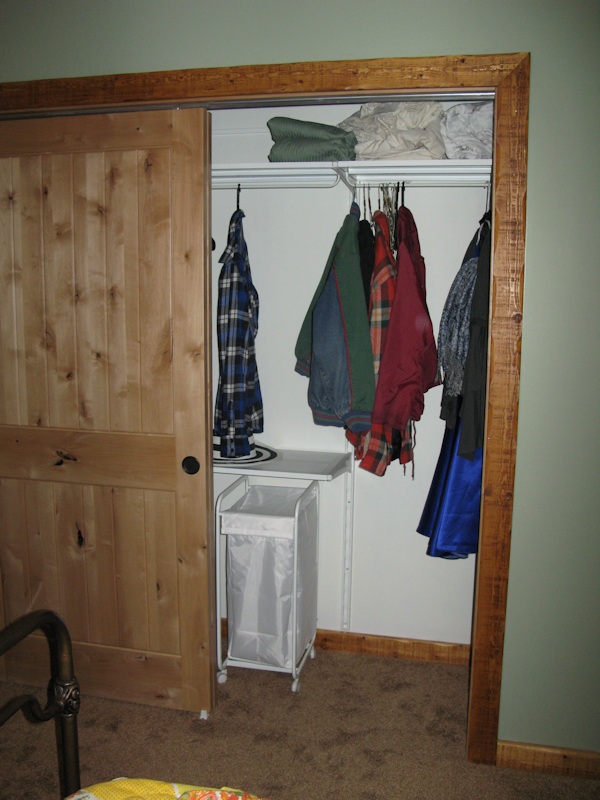
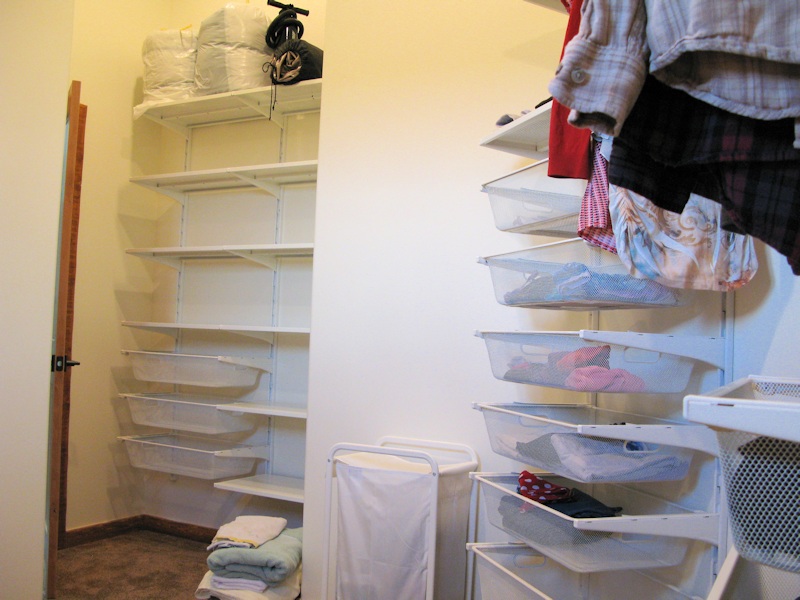
The other half:
Up in the master closet:
More in the Master:
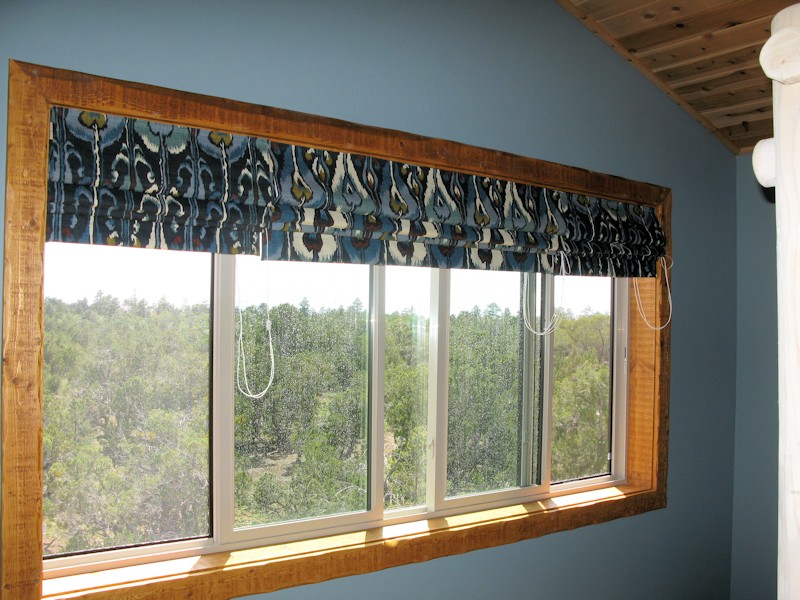
Jane made curtains - Master bedroom:
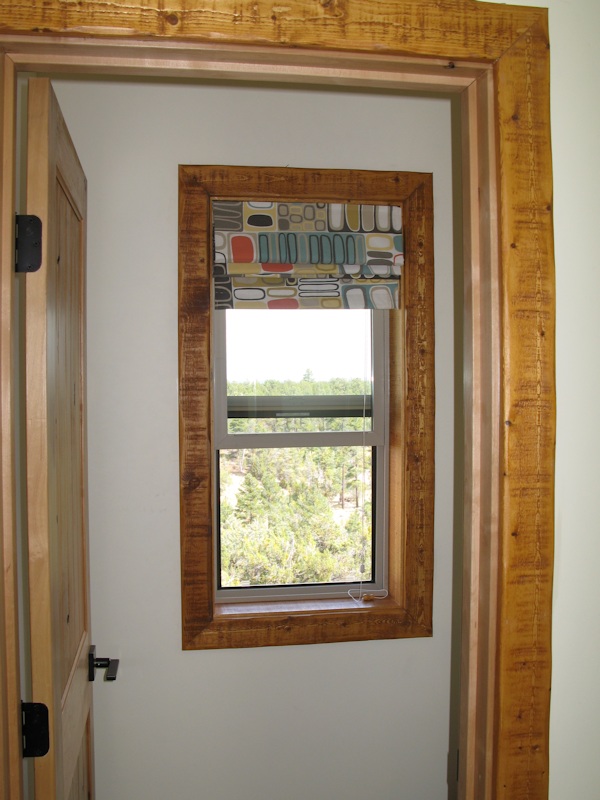
Master bath
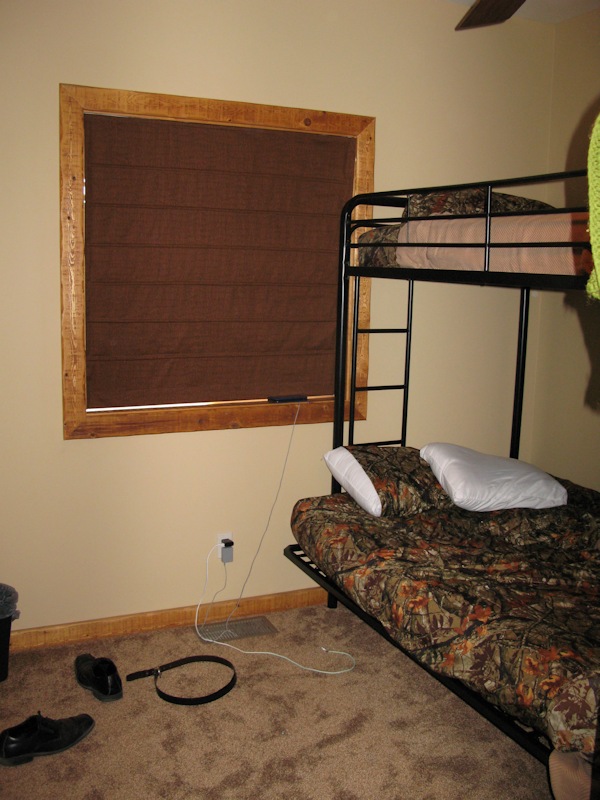
Brown room that has the bunk beds:
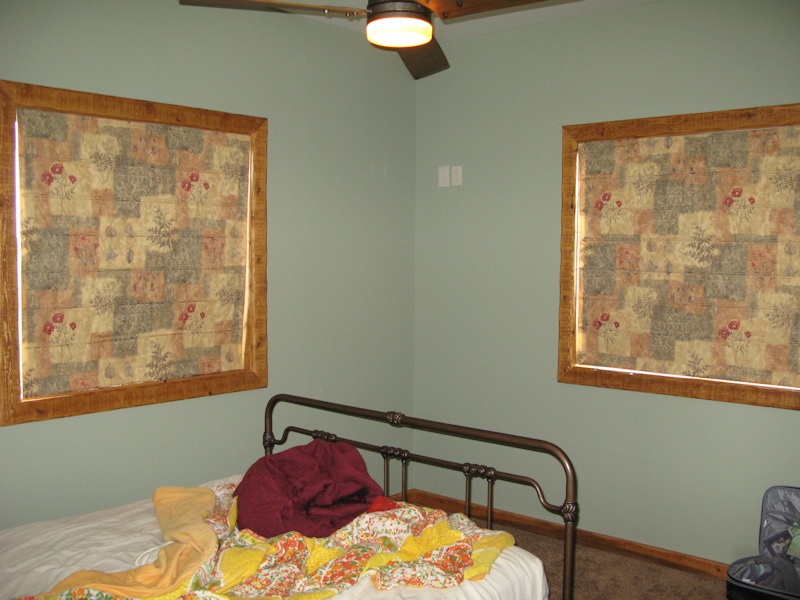
Green room that has the queen:
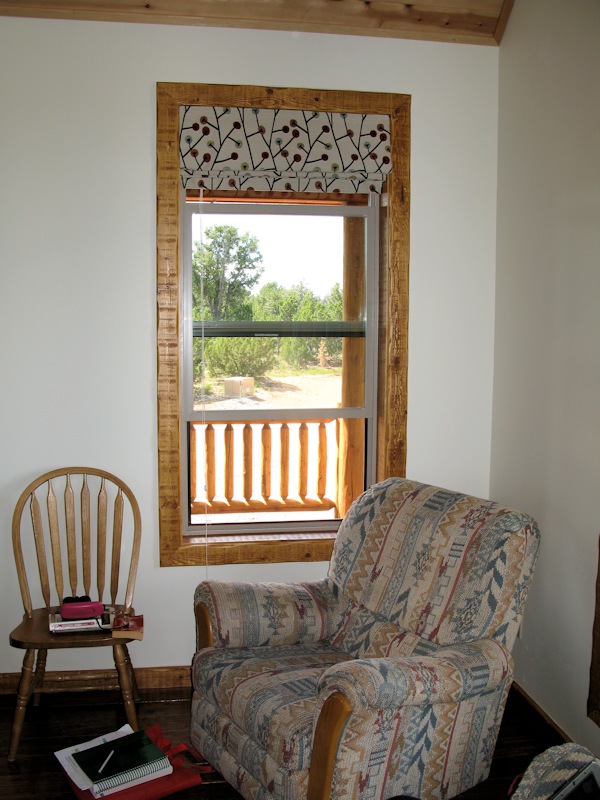
Family room:
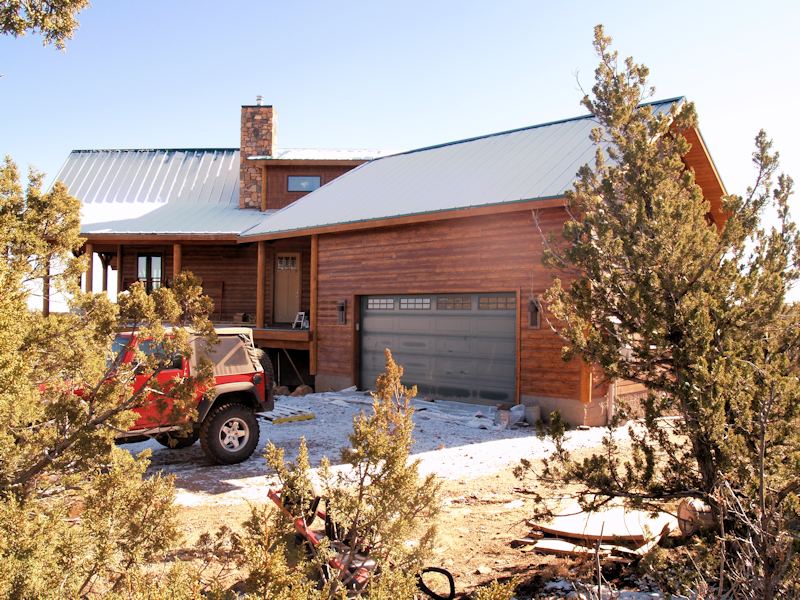
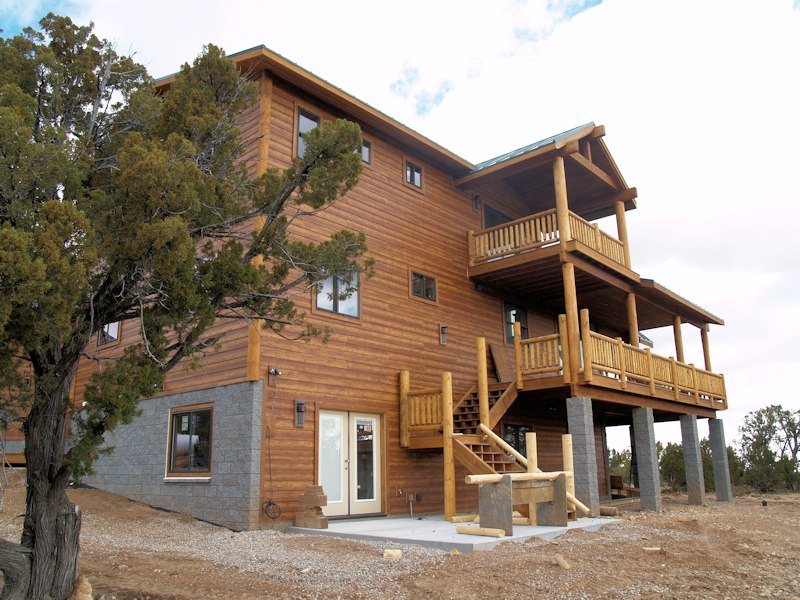
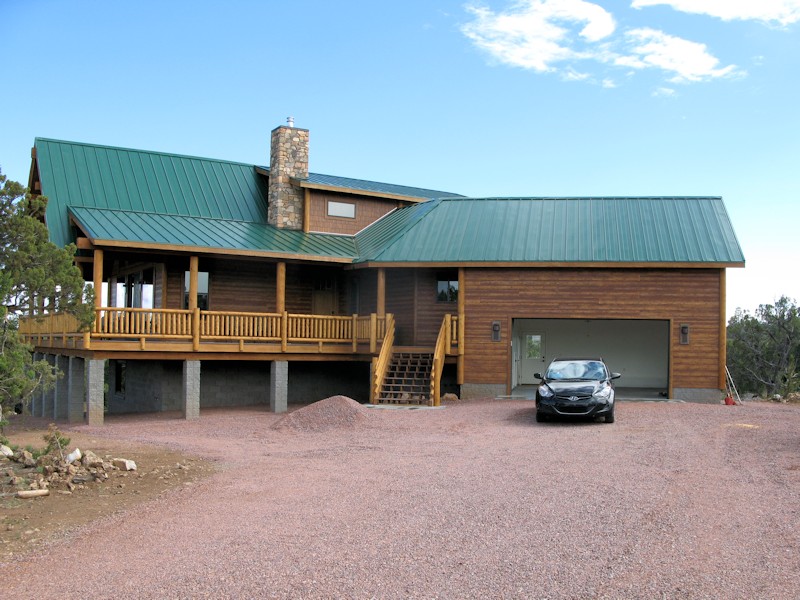
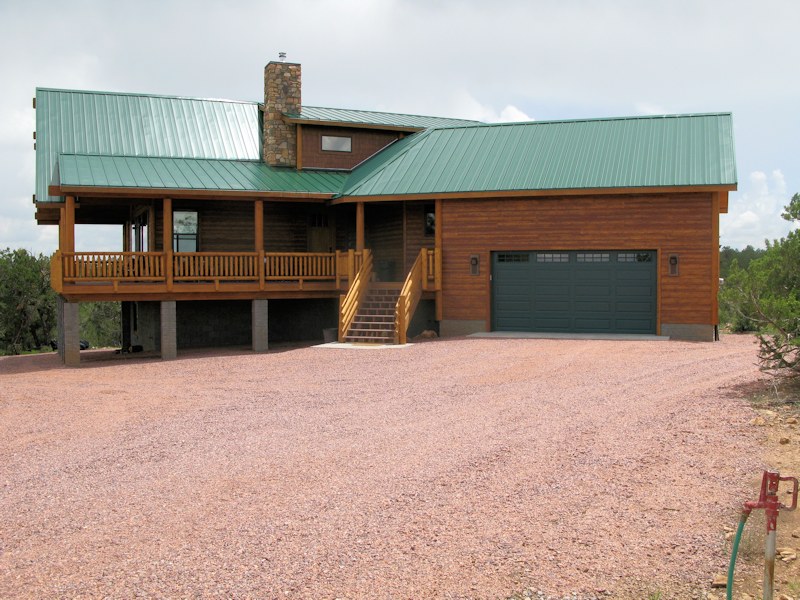
7/18/15 - The front looks done:
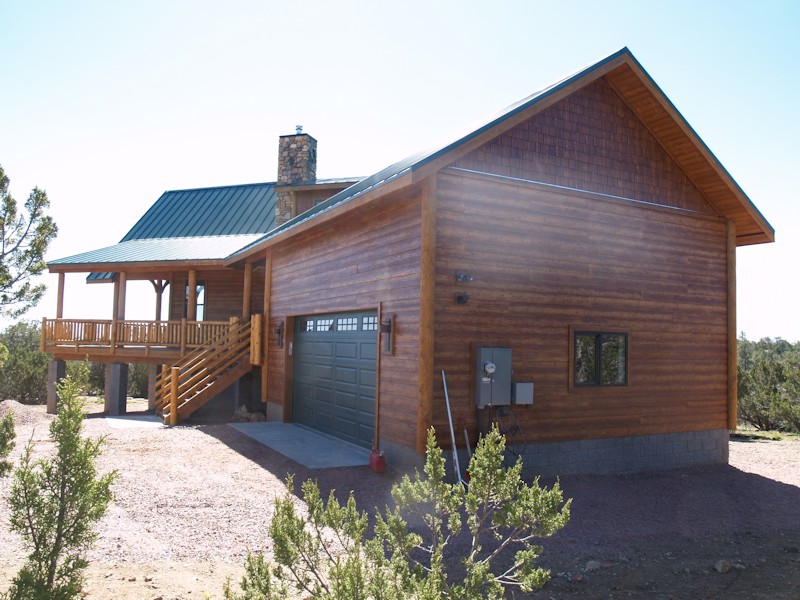
Just a little clean-up still need on the side:
Just a little clean-up still need on the side:
Just a little clean-up still need on the side:
The basement door are going to be replaced:
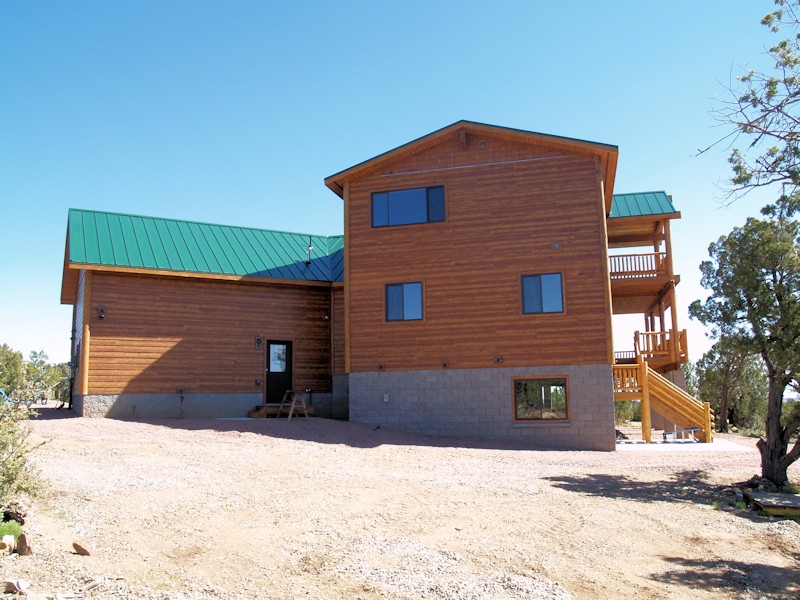
Pretty much done back here:
Just a little grading over here:
Rain was starting to wash out the turn in the driveway so we put down some rocks:
Another view:
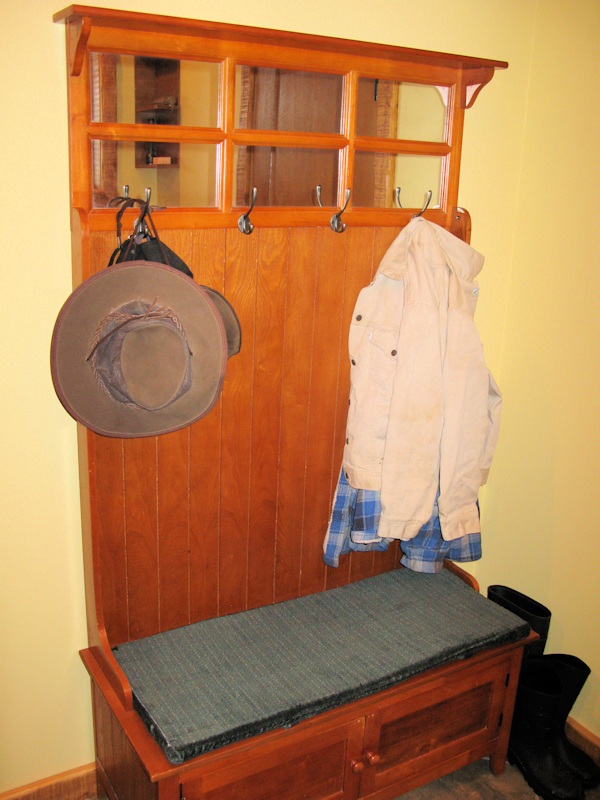
Inside we put down some rugs - in the front entryway:
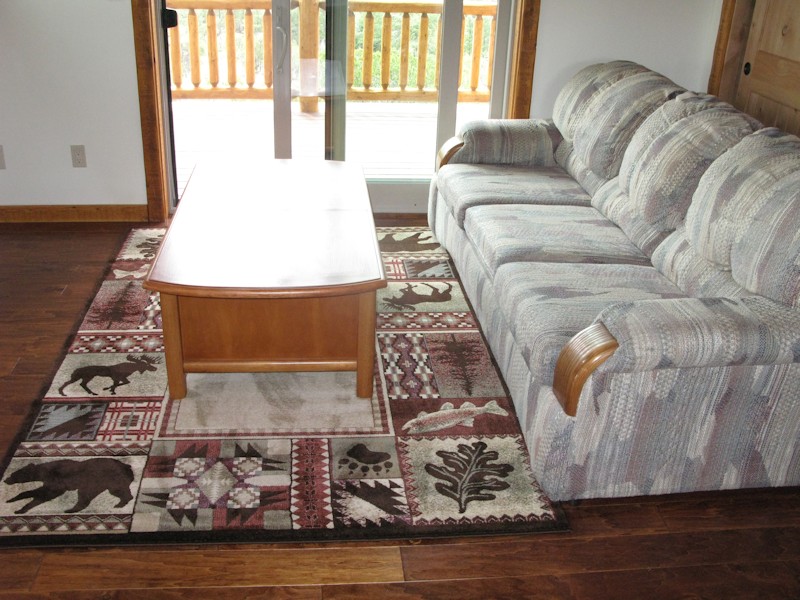
Family Room:
Up in the loft:
7/26/15 - Another addition from Craig's List:
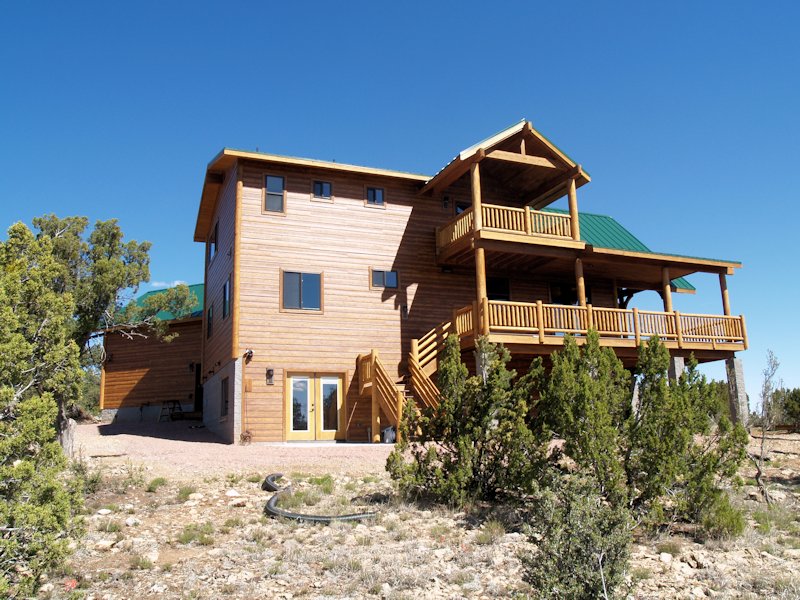
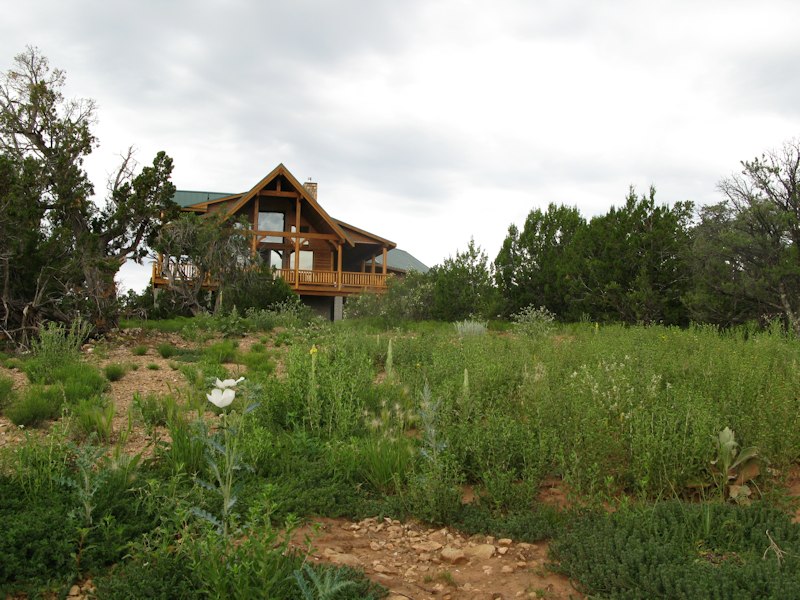
Looking at the cabin from the leach field:
Last Modified: July 27, 2015 12:19:49 AM |