|
|
|
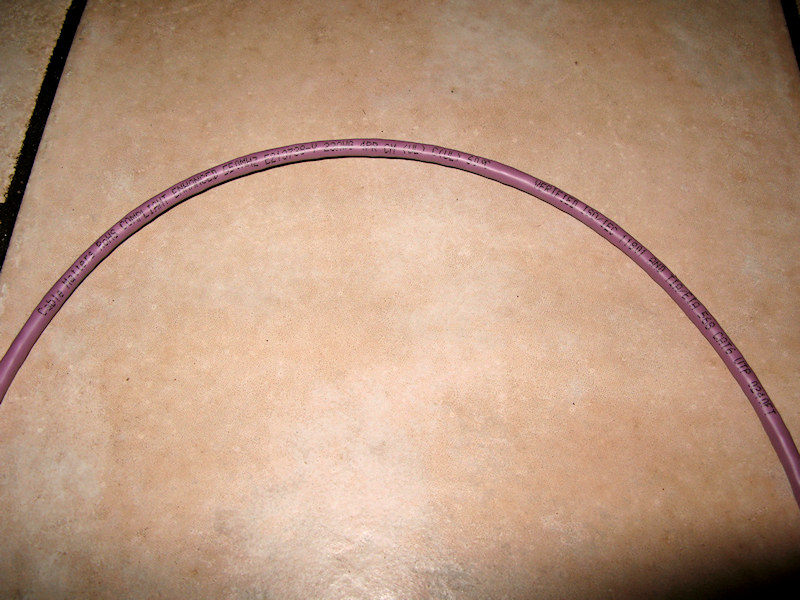
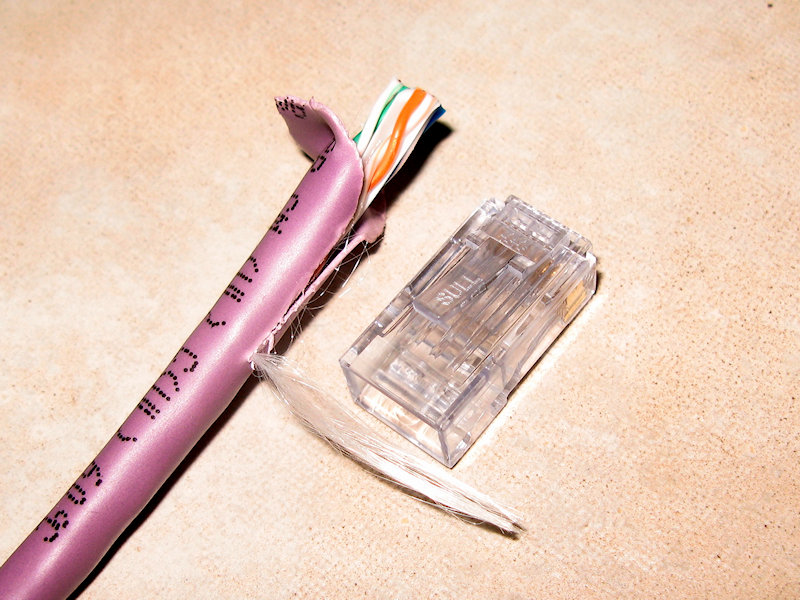
I wired my home with Cat6 cabling. This page highlights a few jobs that I needed to perform to get things to work.General:I installed Cable Matters Cat6, 23AWG, solid conductor (not CCA), CM (in wall rated), UTP (Unshielded Twisted Pair):
TIA/EIA-568-A or B? For a new installation it seems that the recommended scheme
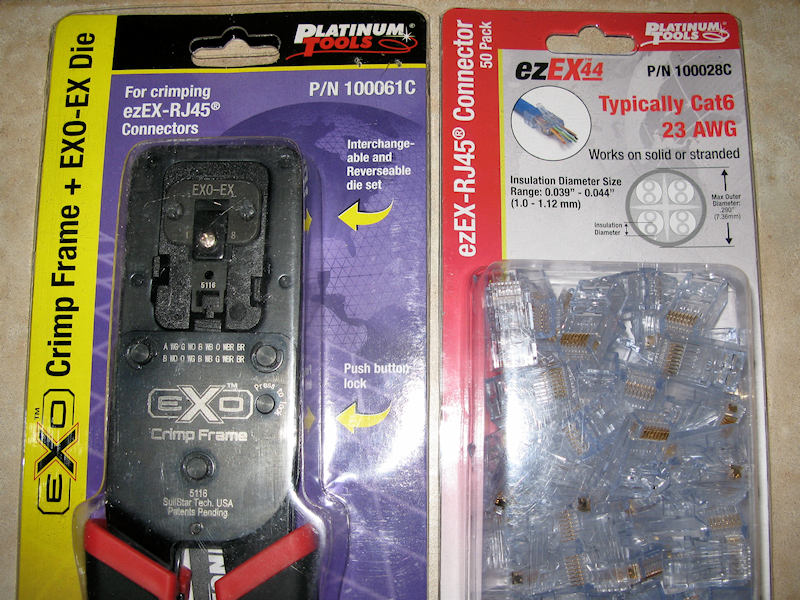
is A. Some RJ45 ConnectorYou'll probably have to put some RJ45 connecters on your cable.
I decided to use the Platinum
Tools ezEX-RJ45 system for my RJ45 connectors. I selected it from
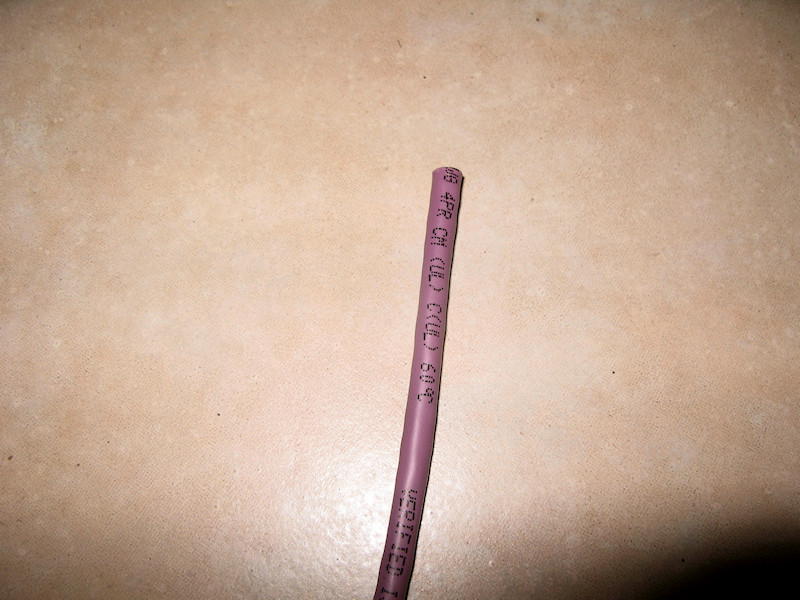
Make sure the end of your cable is cut flush:
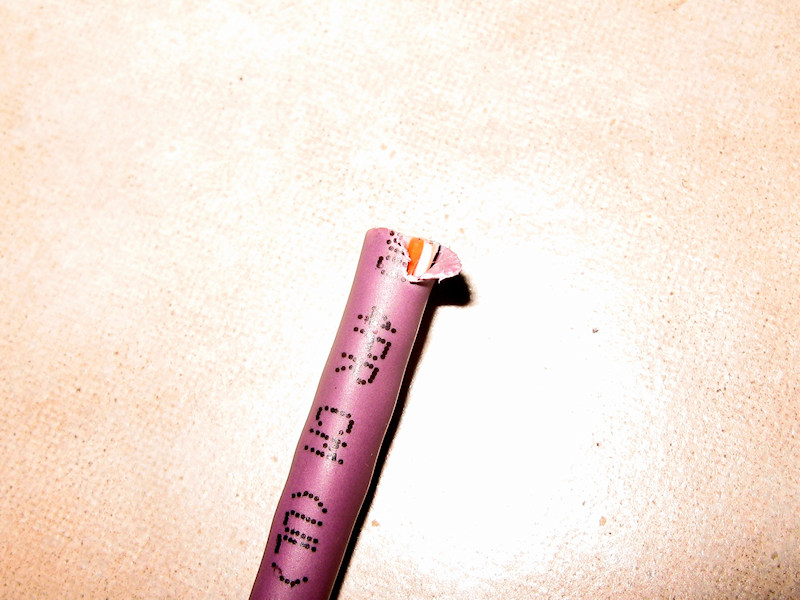
First, you need to strip off the
jacket. There is a tool that cuts off the jacket, but it can/will
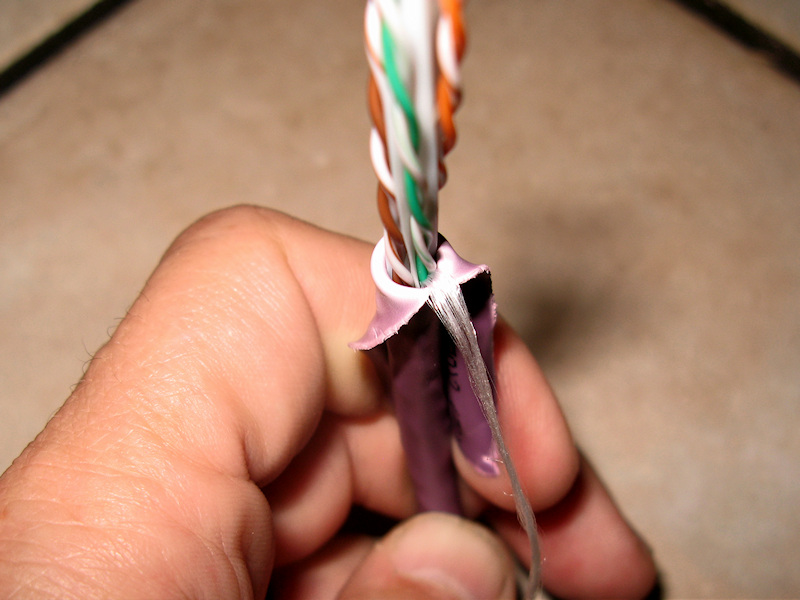
Next peel the jacket down/around a
bit looking for the string. Pull down on the string until you
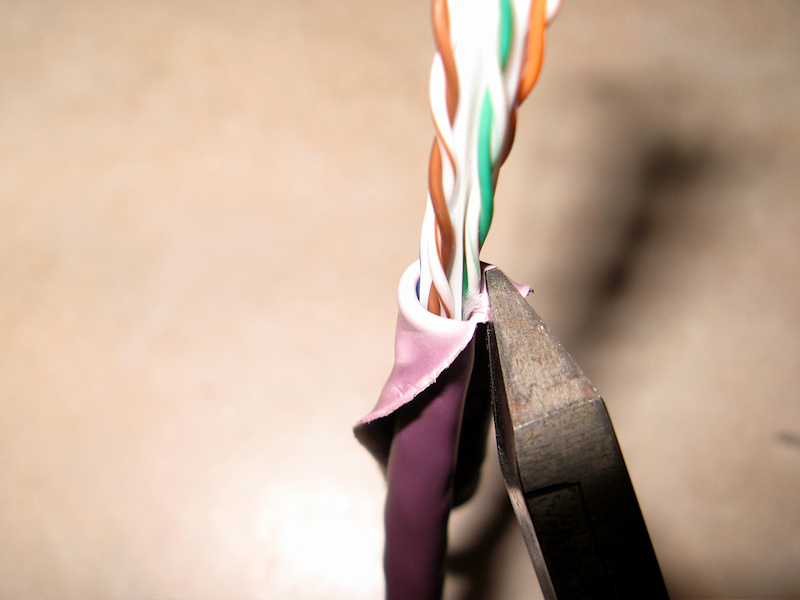
Peel the jacket down to the end of your cut:
Cut along the ring in the jacket:
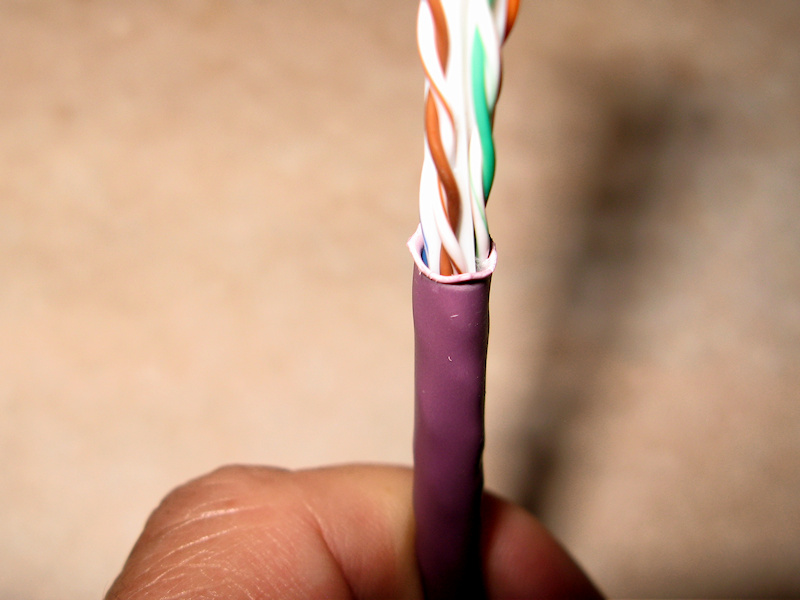
The cut should end up fairly clean with little chance in nicking the wires:
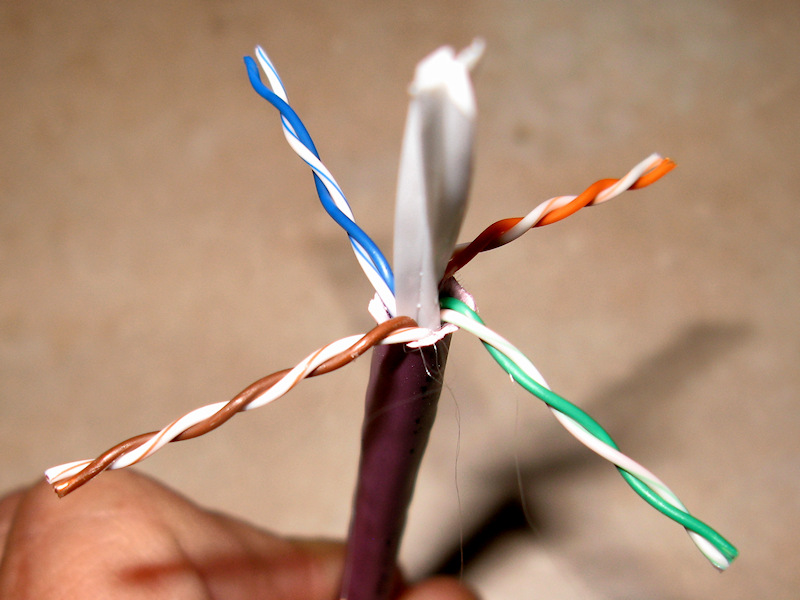
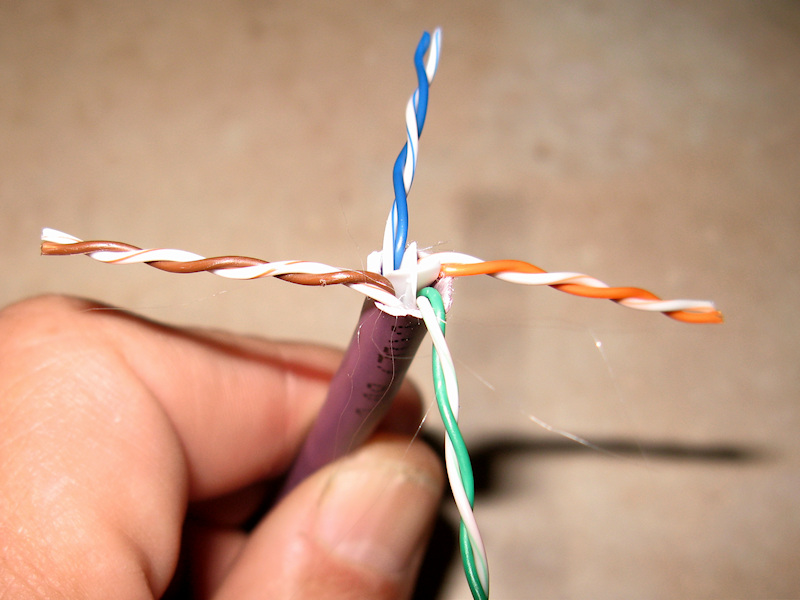
Next bend the wire pairs down to the jacket to expose the plastic core:
Carefully snip off the plastic core. I carefully snip each of the four blades then twist the core out:
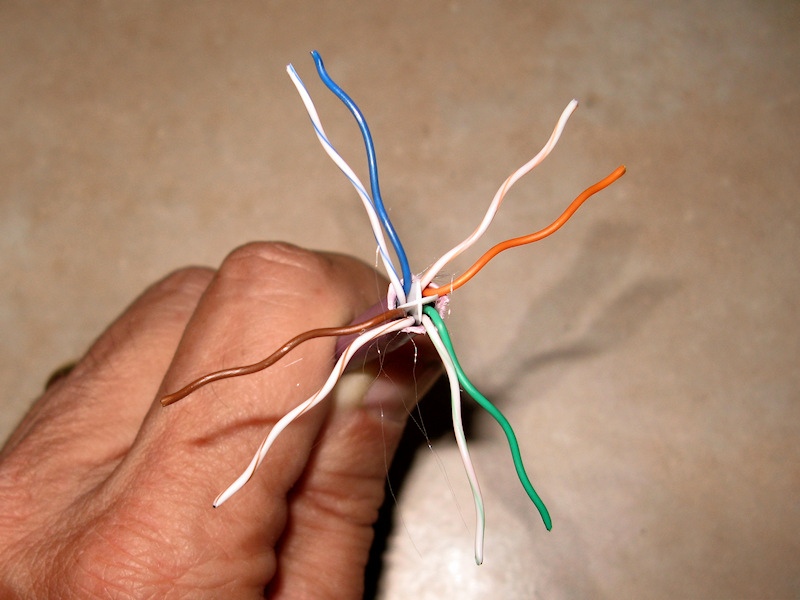
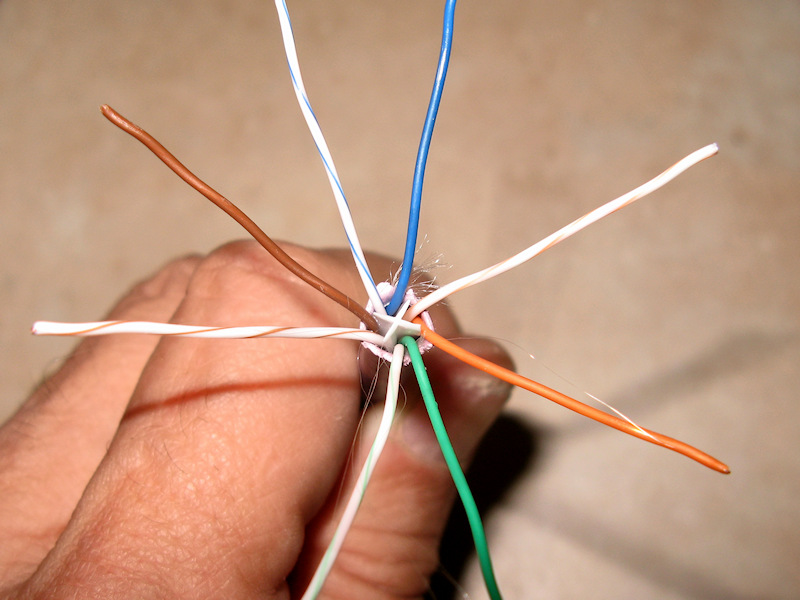
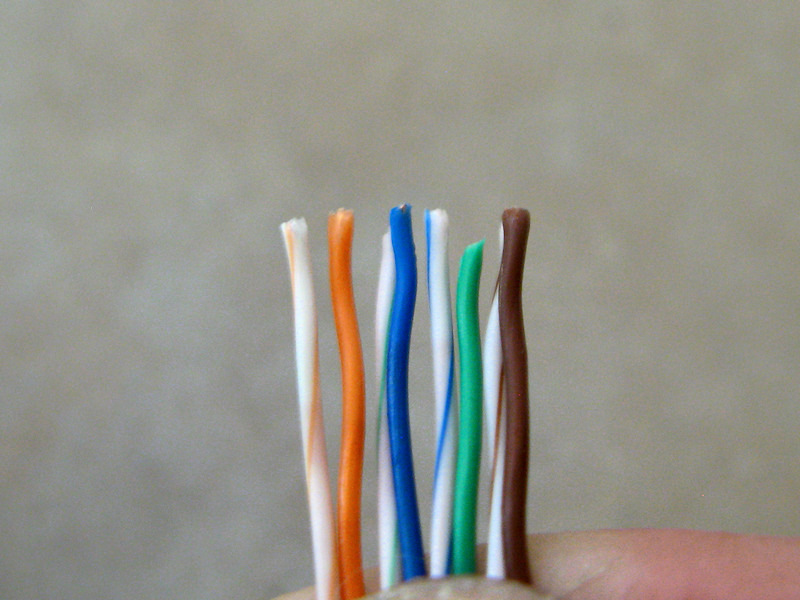
Untwist each of the twisted pairs:
Slide your fingers along each wire to get all of the bumps out:
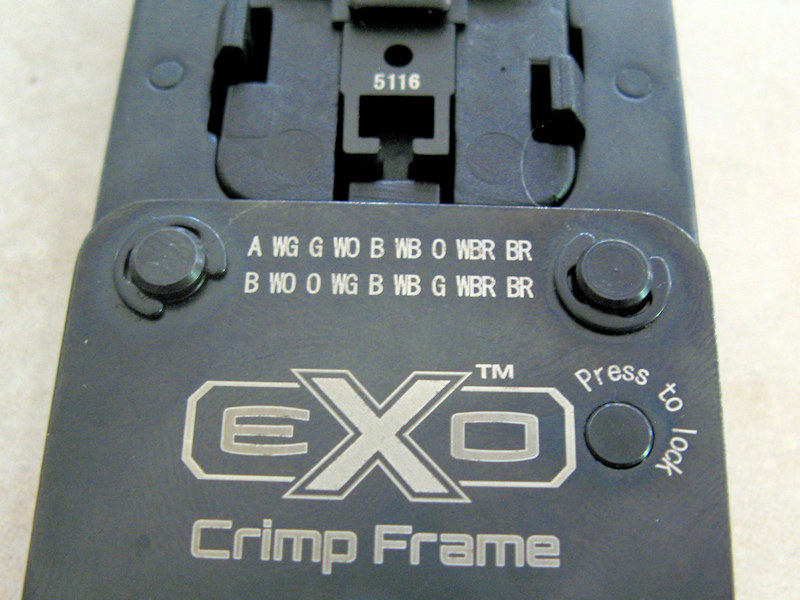
Find a guide for the cable ordering. I'm using B and the tool has the order on it:
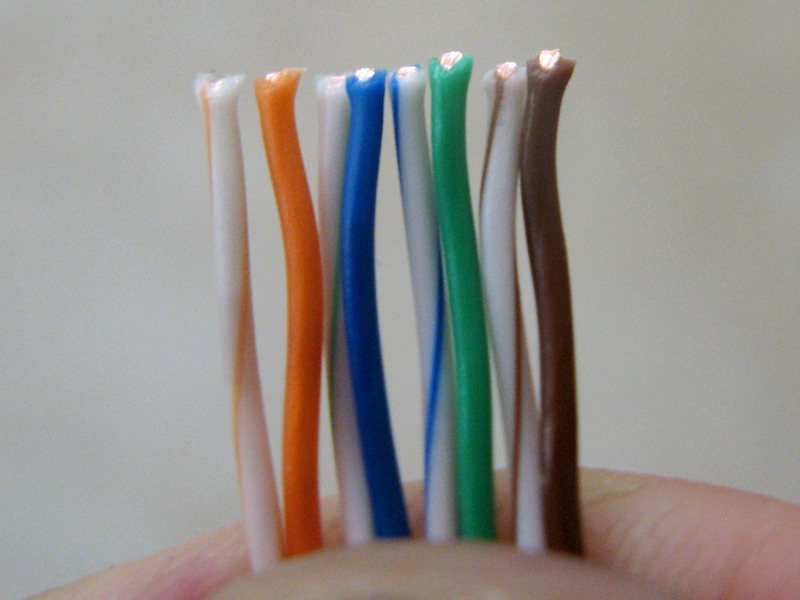
Holding the wires in one hand, line them up in order:
Snip the top of the wires so they are all about the same length. Is everything in the correct order?
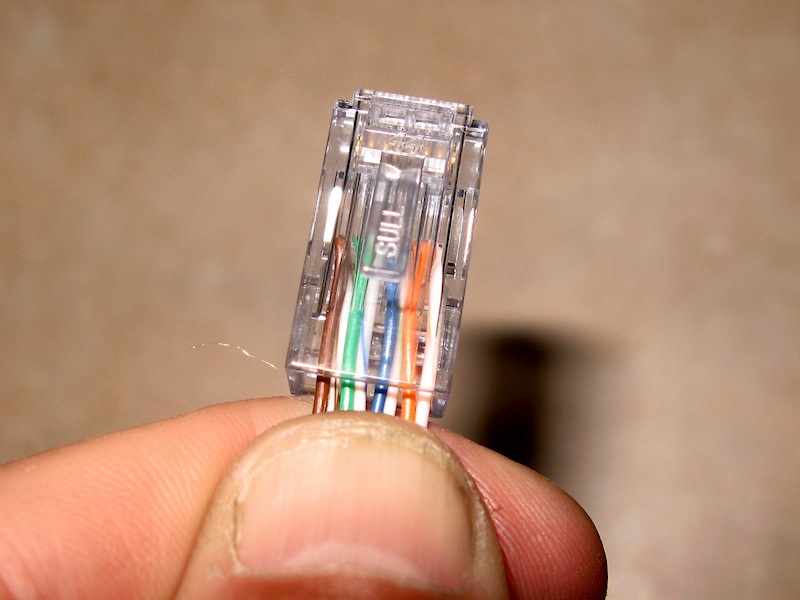
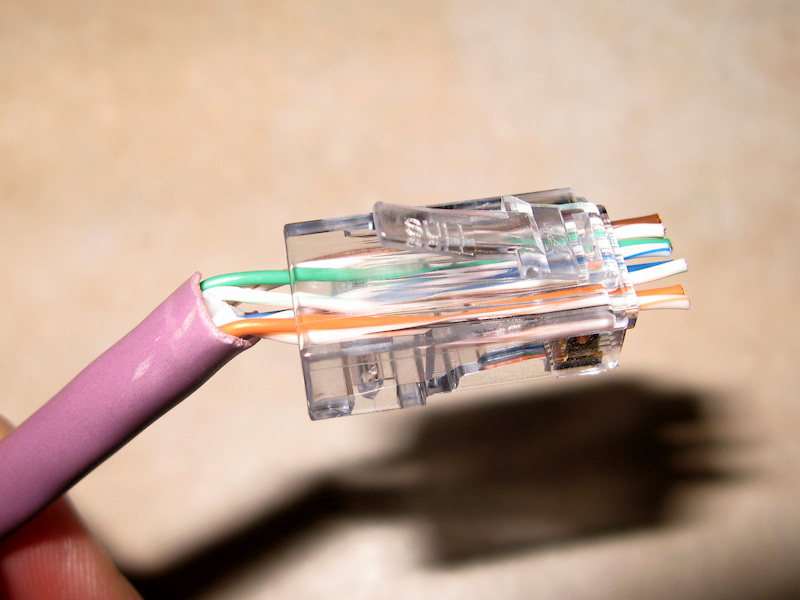
Start them into the connector:
They should slide in relatively easily and come out the other end. Are they in the correct order?
If everything looks good then push
the jacket and wiring in as far as you can. Note the little
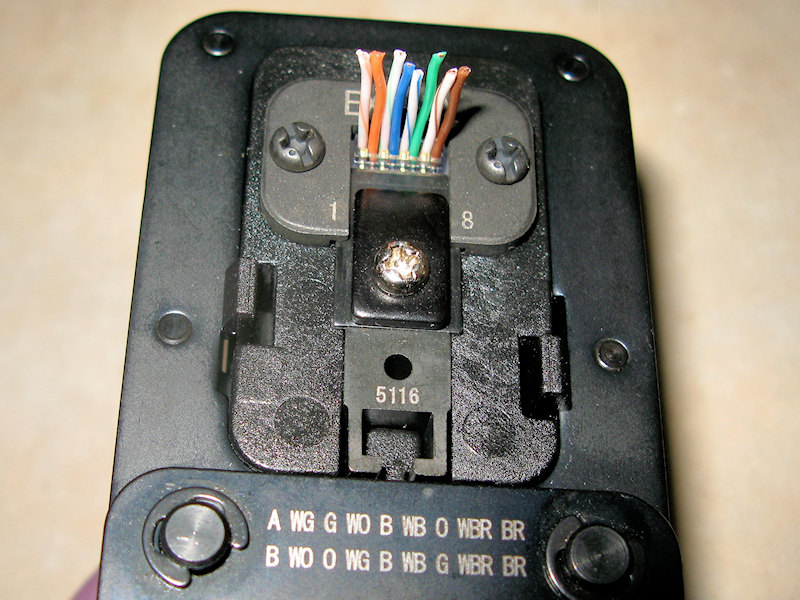
Put the connector in the tool:
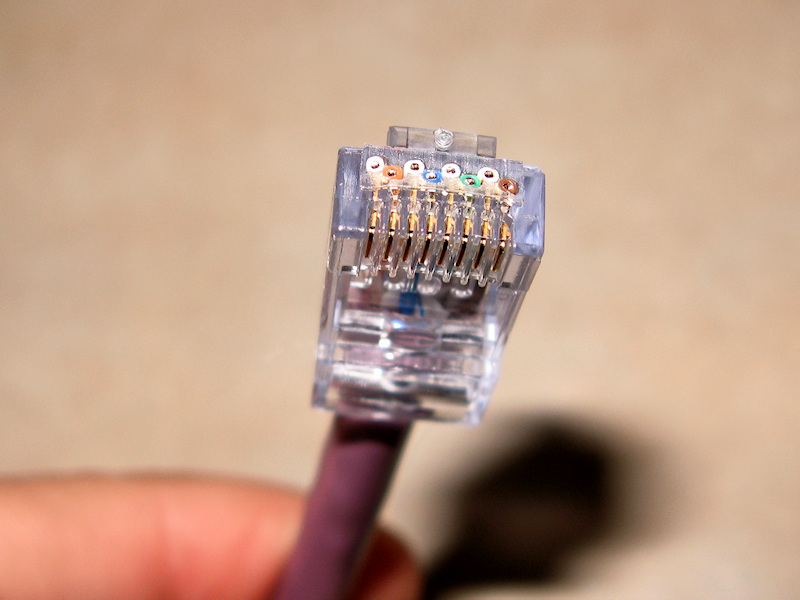
Before crimping you have one last chance to make sure the wires are in the correct order:
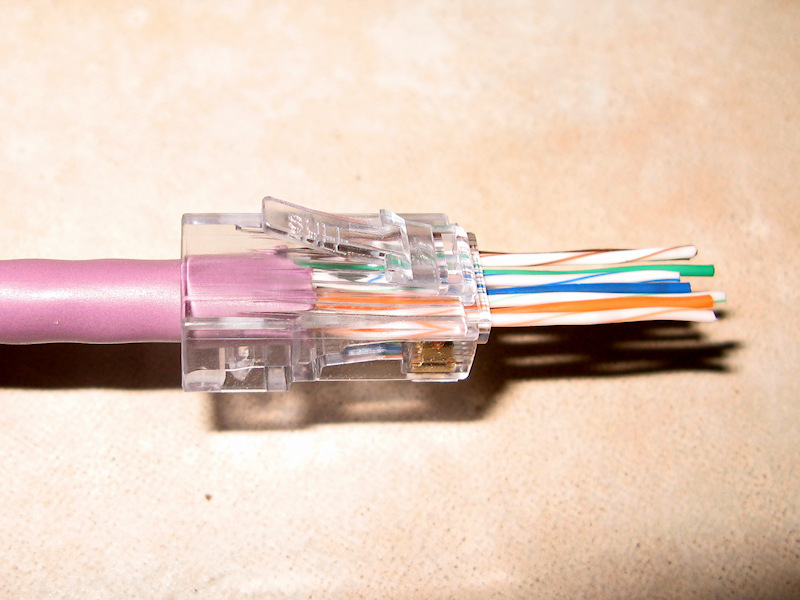
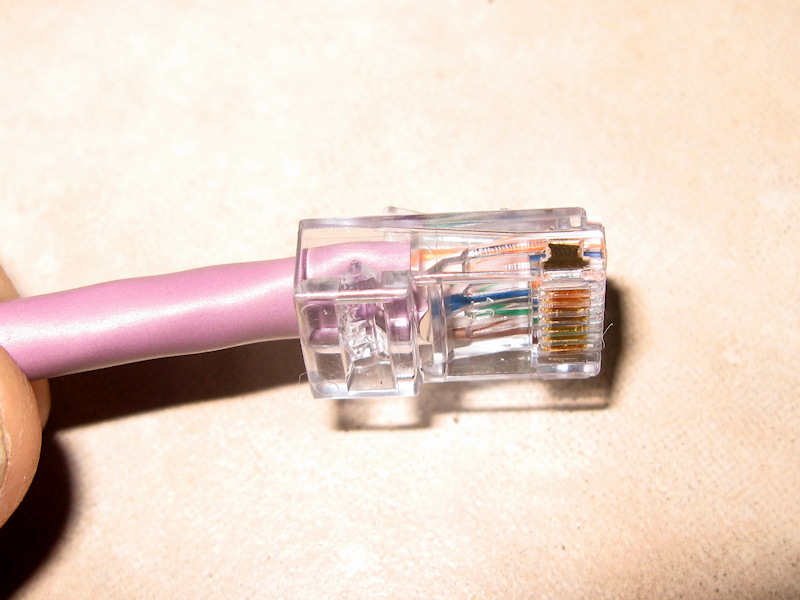
Crimp it and take it out of the
tool. You can see the jacket is crimped and the wires are cut flush.
Here you can see the staggered wires:
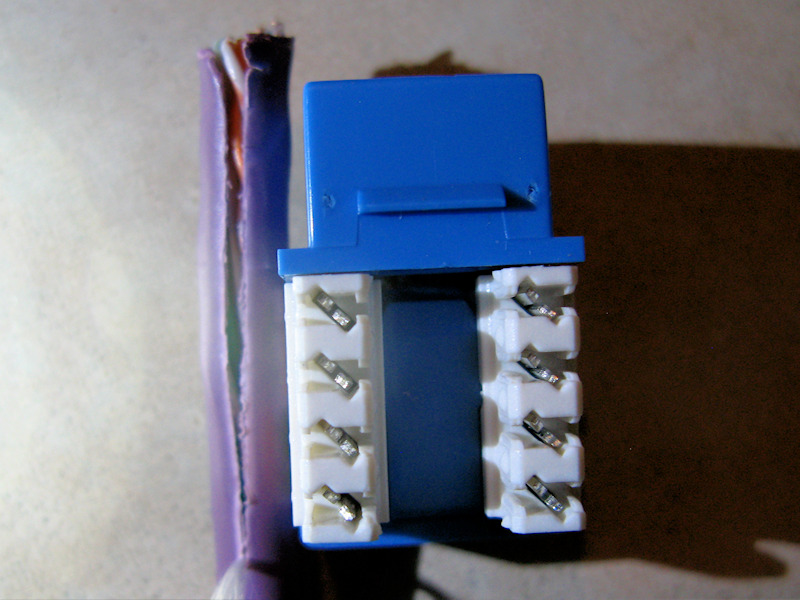
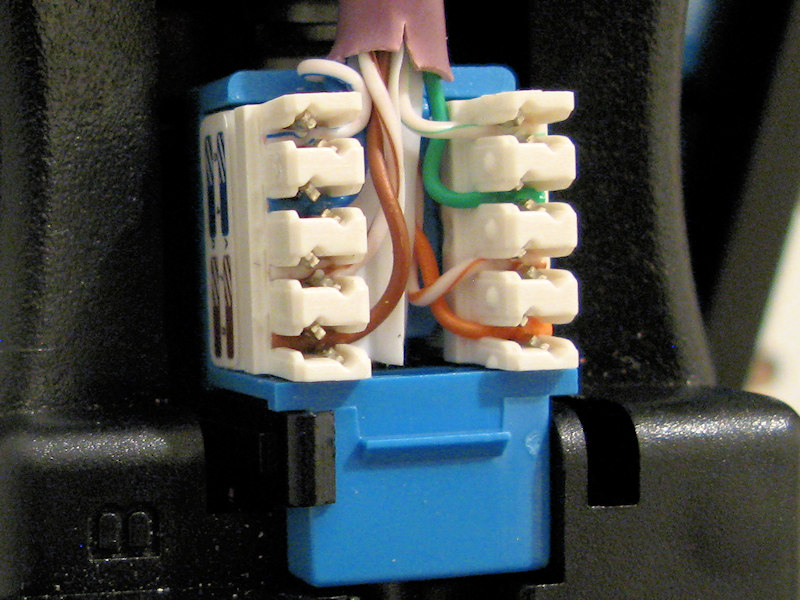
After you complete each cable you may want to test them. Keystone Punch Down BlockYou'll probably have to make some wall jacks with keystone punch down blocks.
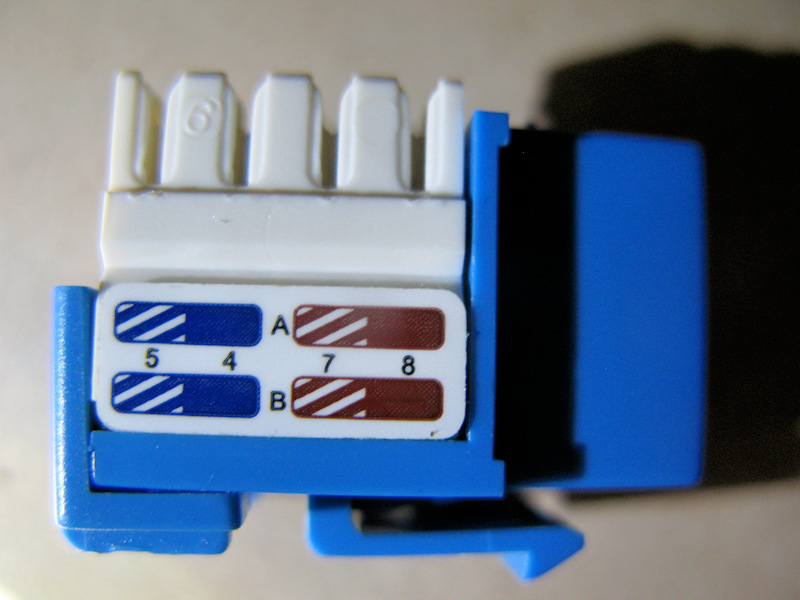
Note the colors and spacing for
the wires. This side is blue with white stripe and blue and
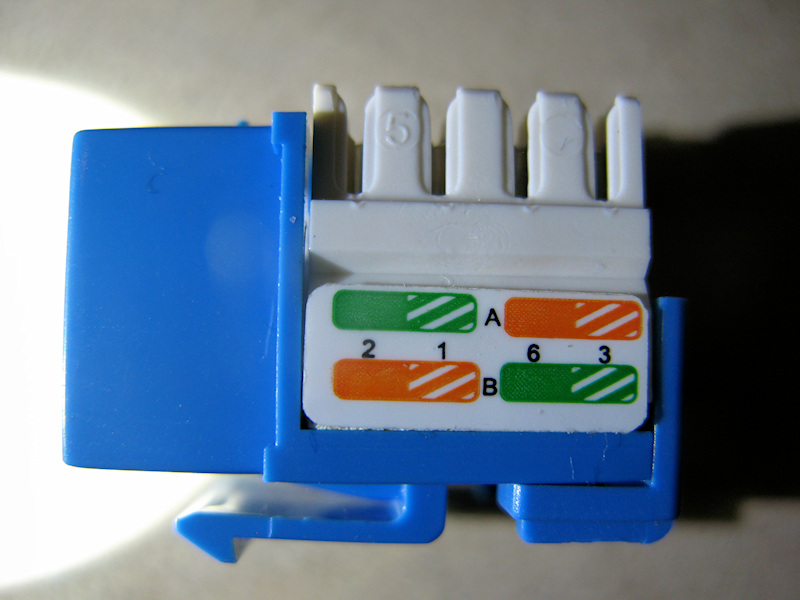
For a TIA/EIA-568-B this side is
orange and orange with white stripe, green and
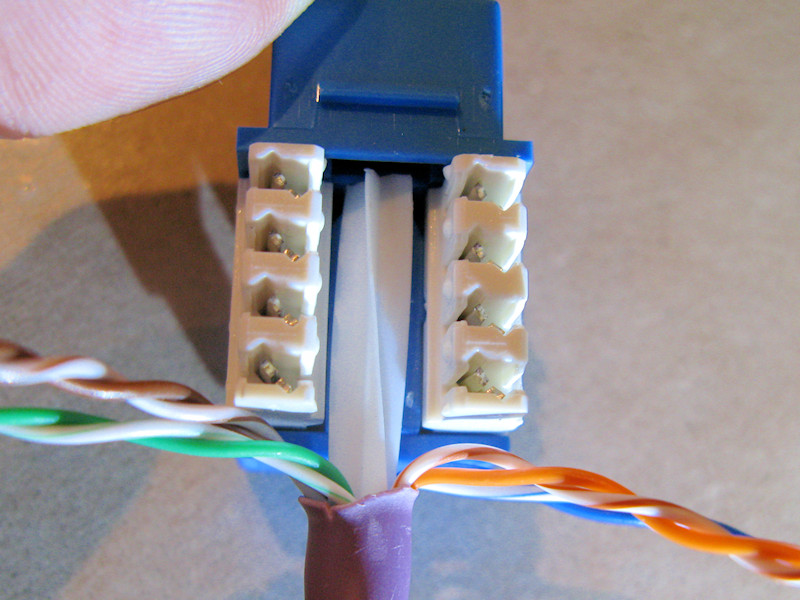
Like the RJ-45 connector, pull the
cord on the cable down on the jacket to a little longer than
Remove the jacket (see the RJ-45
write-up), insert a connector at the top (not shown) and
Put the connector into your punch
down stand and arrange the still twisted wires in the general
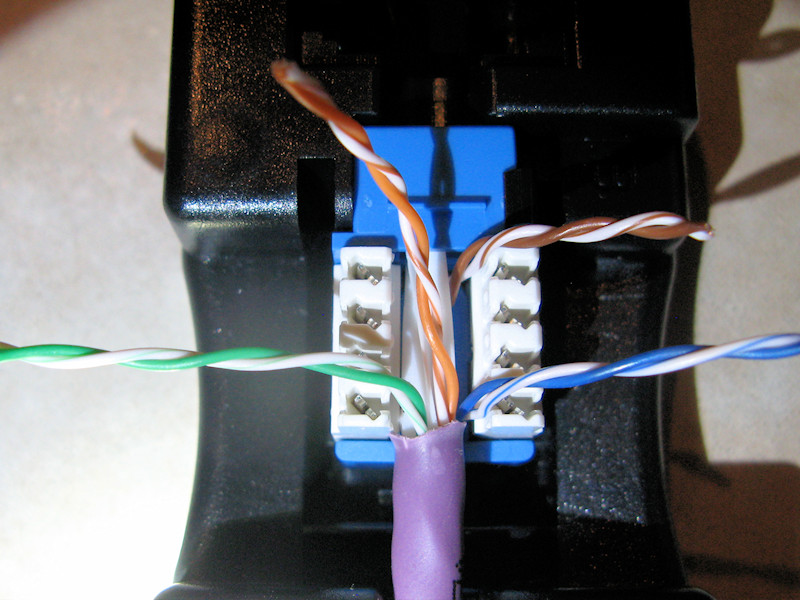
Untwist the wires only as
necessary and lay them in place. Leave a little horizontal space for
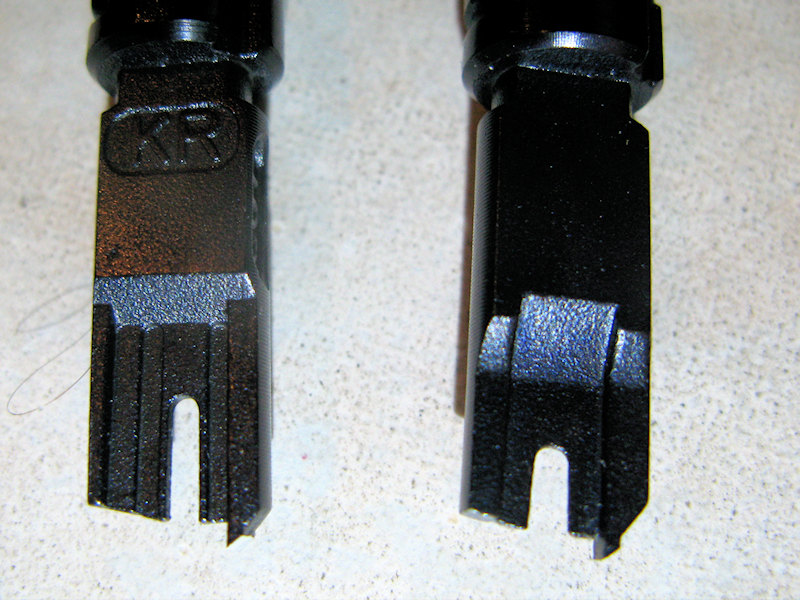
You're ready to punch down the
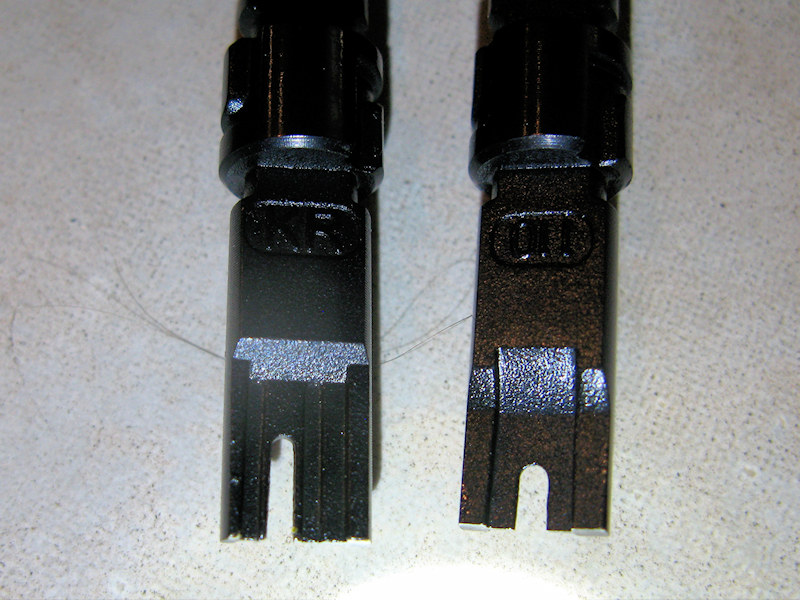
wires, but what blade to use? Here's a Krone (left) and 110 (right)
Here's the Krone (left) and 110
(right) without the cutting blade. I use the Krone without the
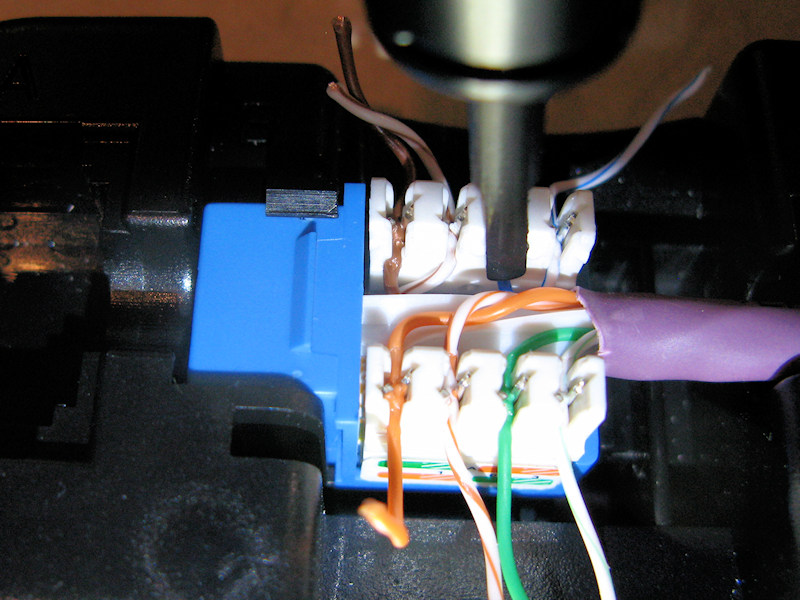
Keeping the blade centered on each
terminal push
down on the wires with the thin side (shown)
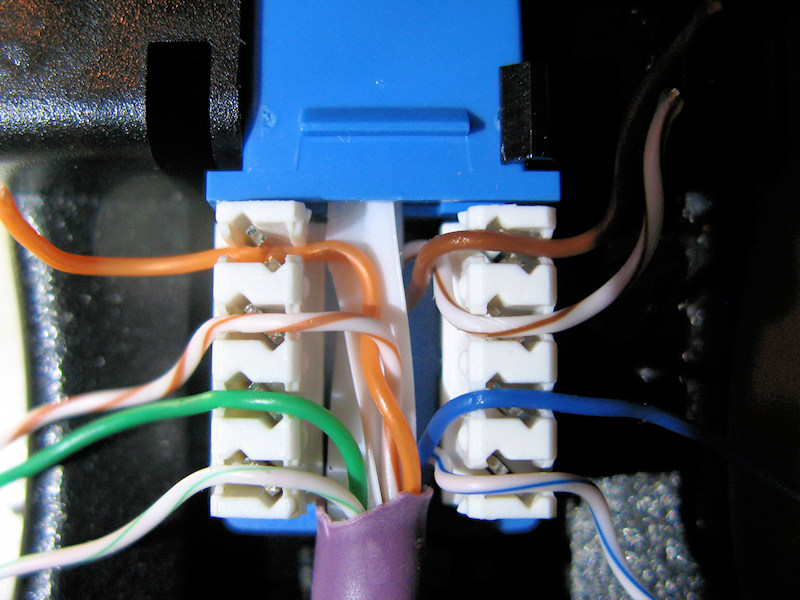
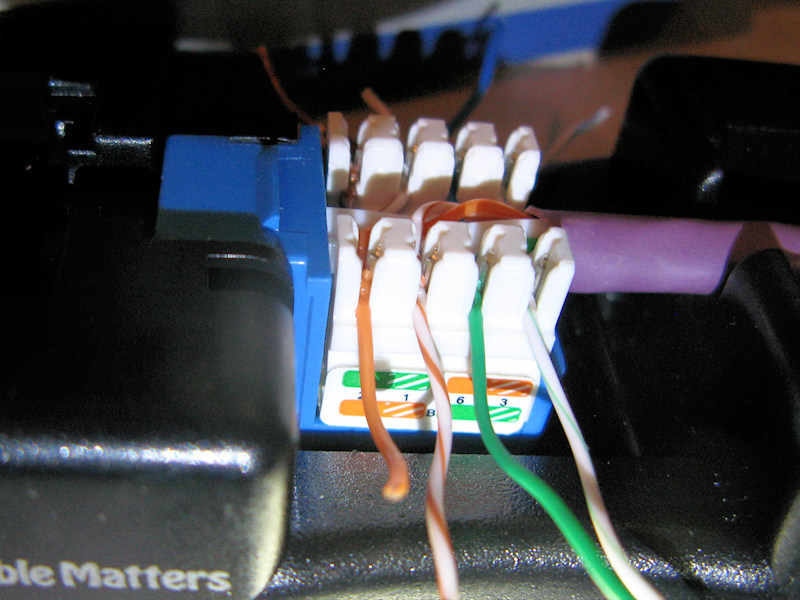
All punched down. Looking from the
outside and inside each wire should be at the bottom
Now reveres the Krone tip so you
can use the blade and only using as little force as necessary
From the top everything looks
cleanly punched down, where necessary twists still in place, If you have any questions or comments about this page click here to send email.Last Modified: July 16, 2017 08:12:33 PM |