|
|
|
I just finished a group project replacing the clutch in a 1997 KIA Sephia and wanted to save some the information about the project in this page. Handy references:
Supplies:
Equipment:
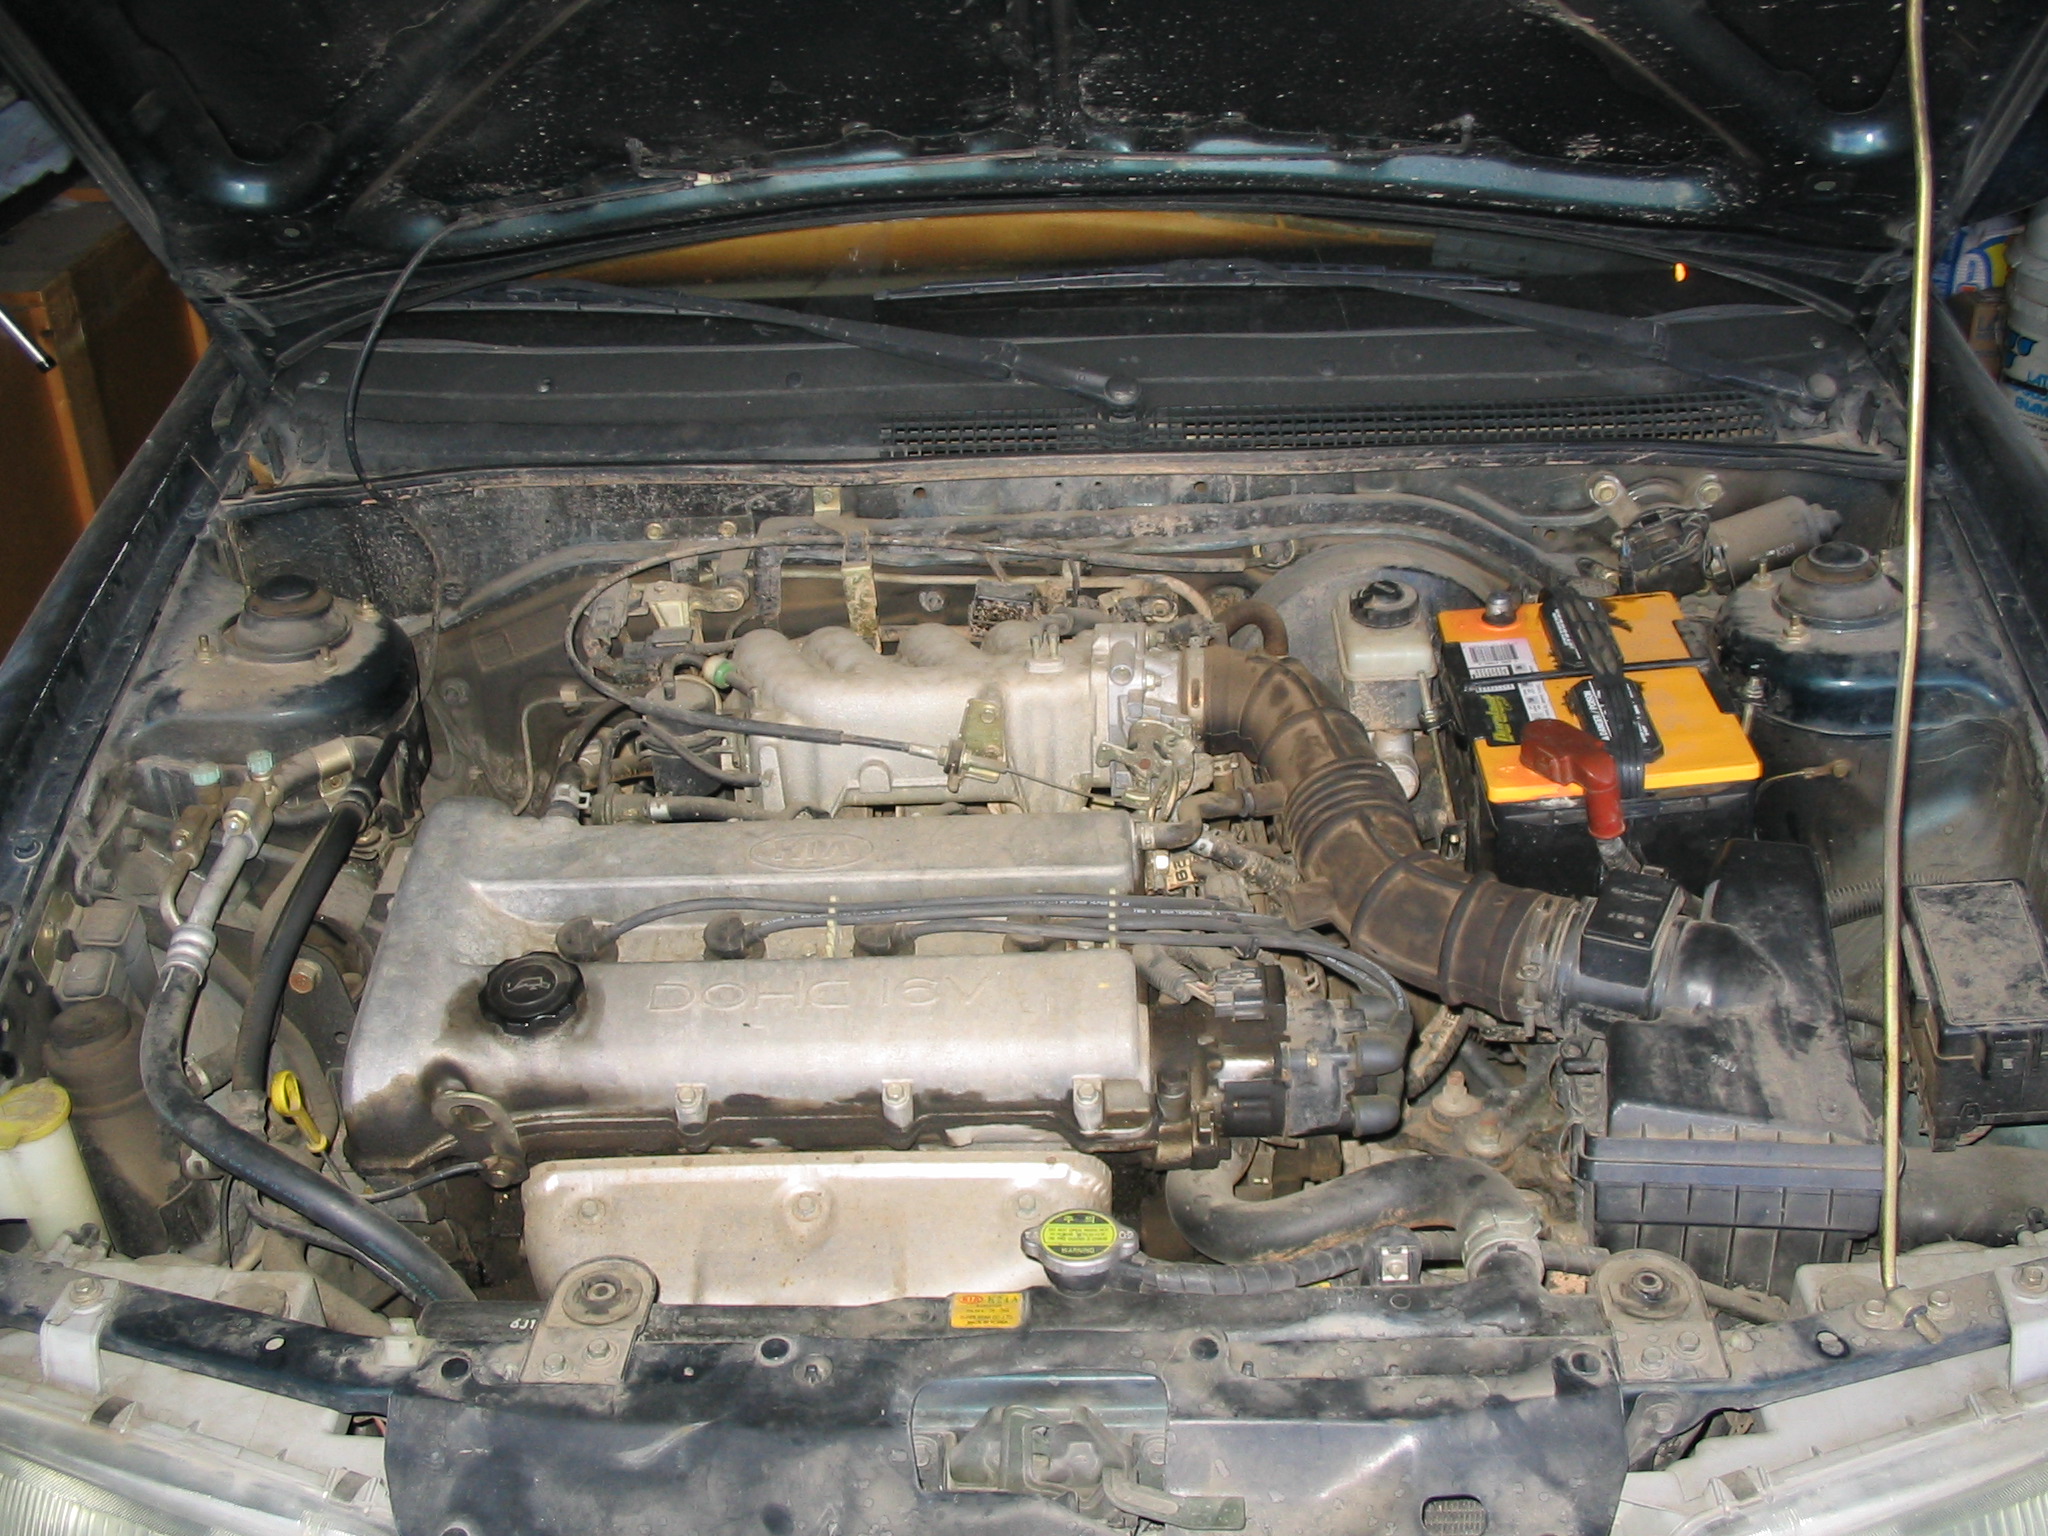
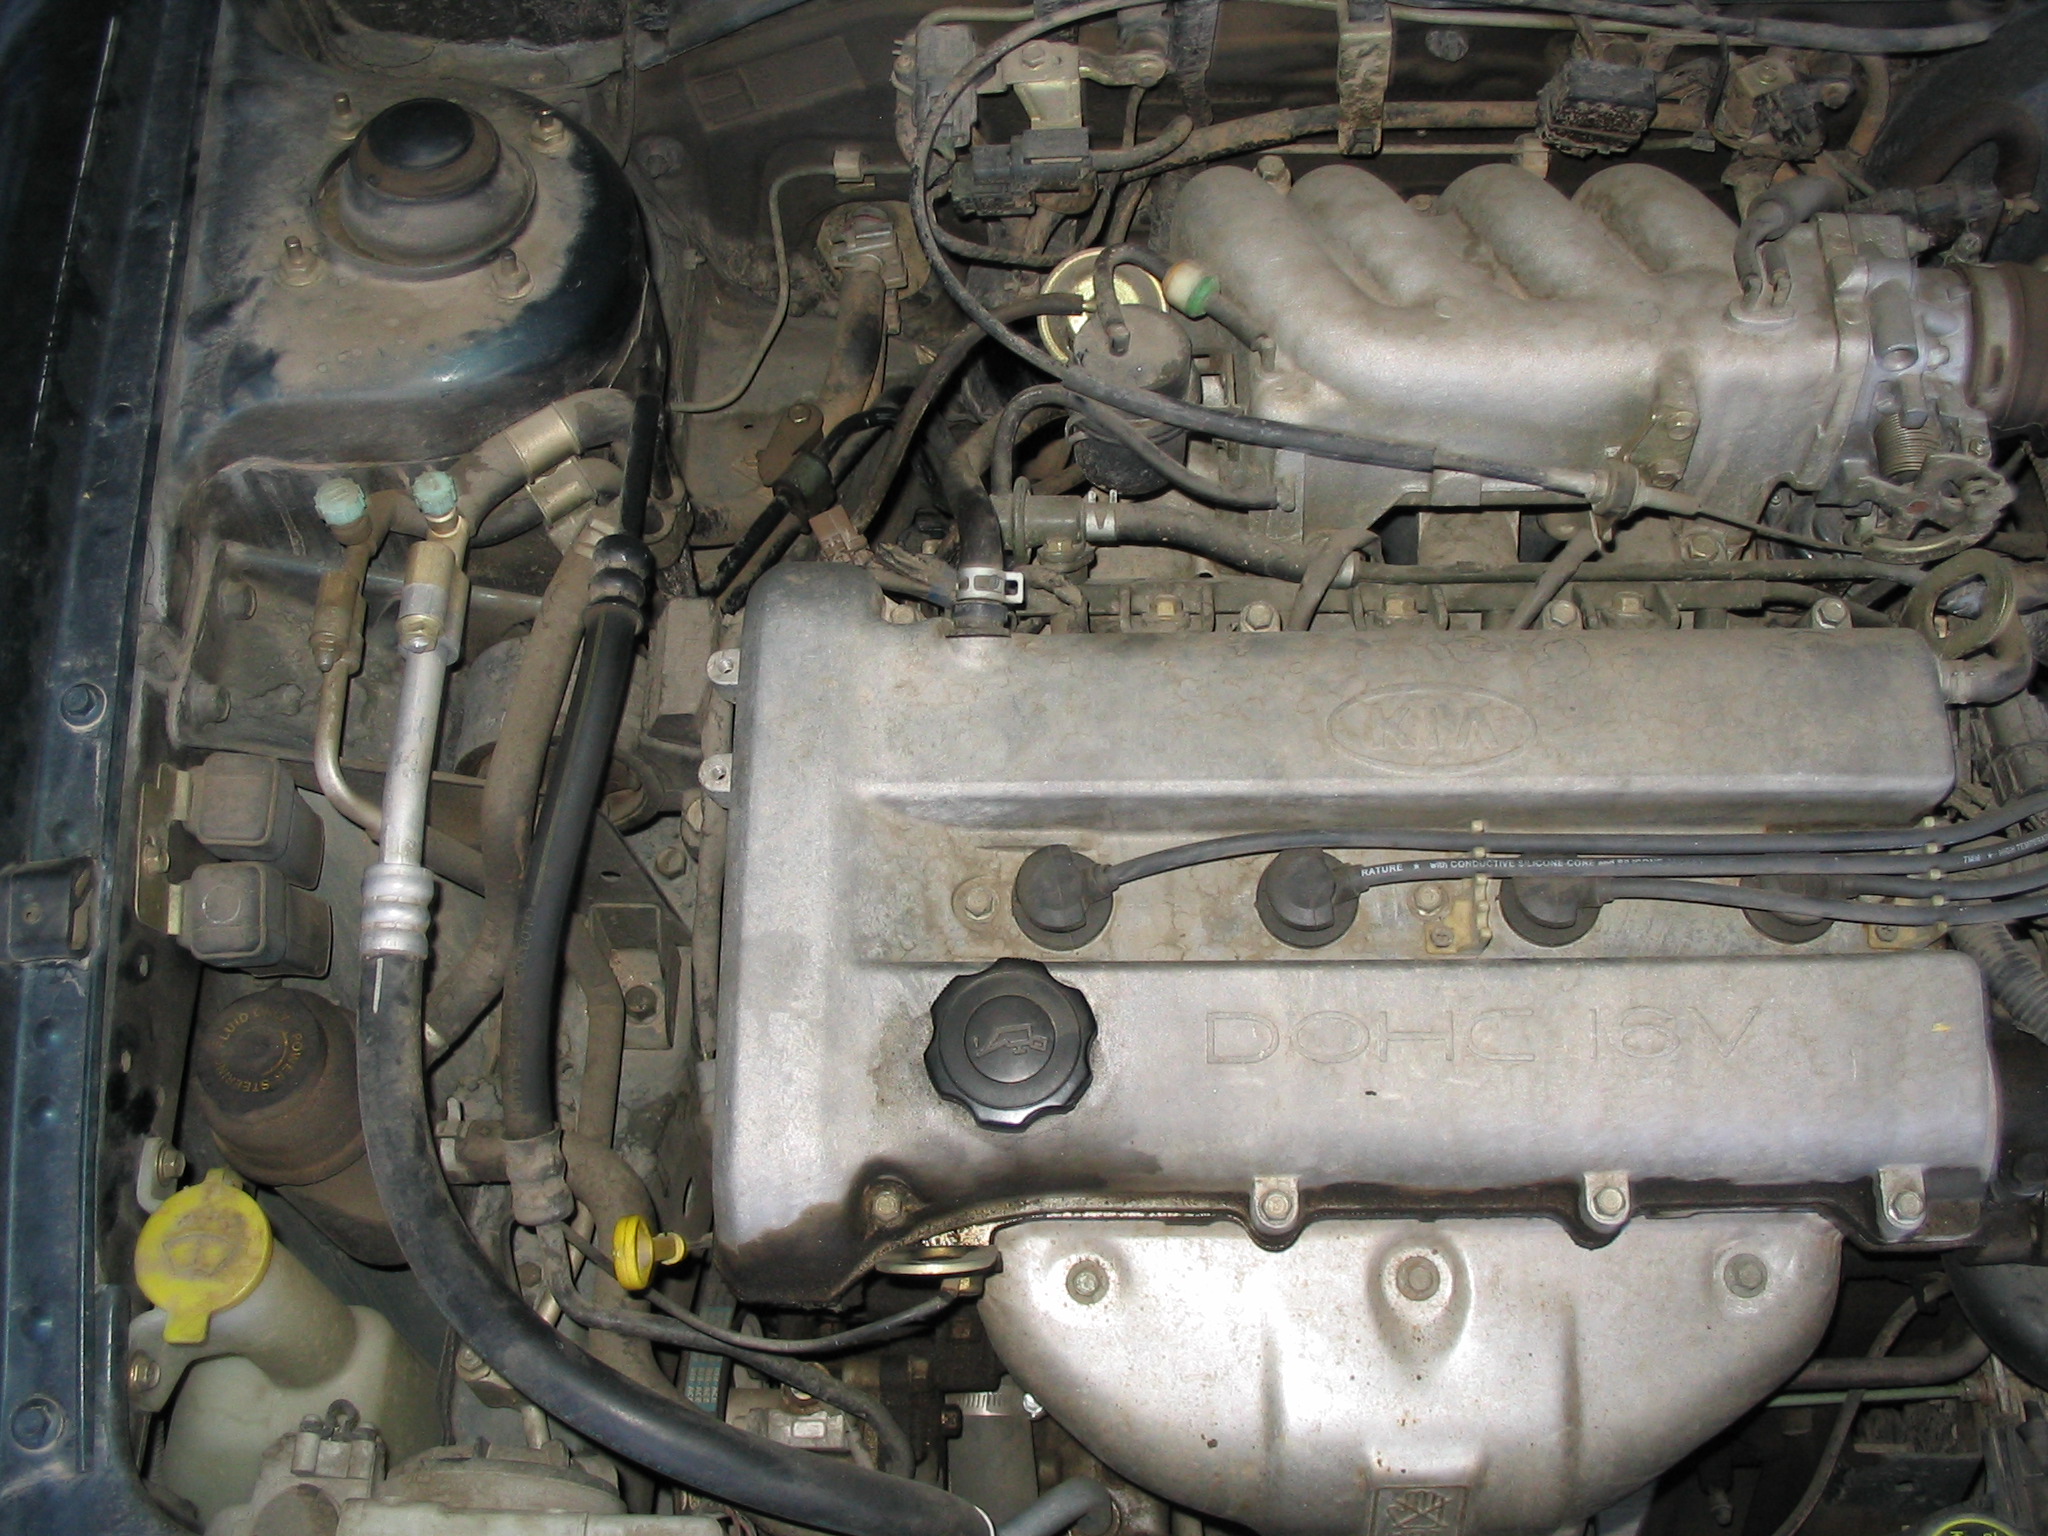
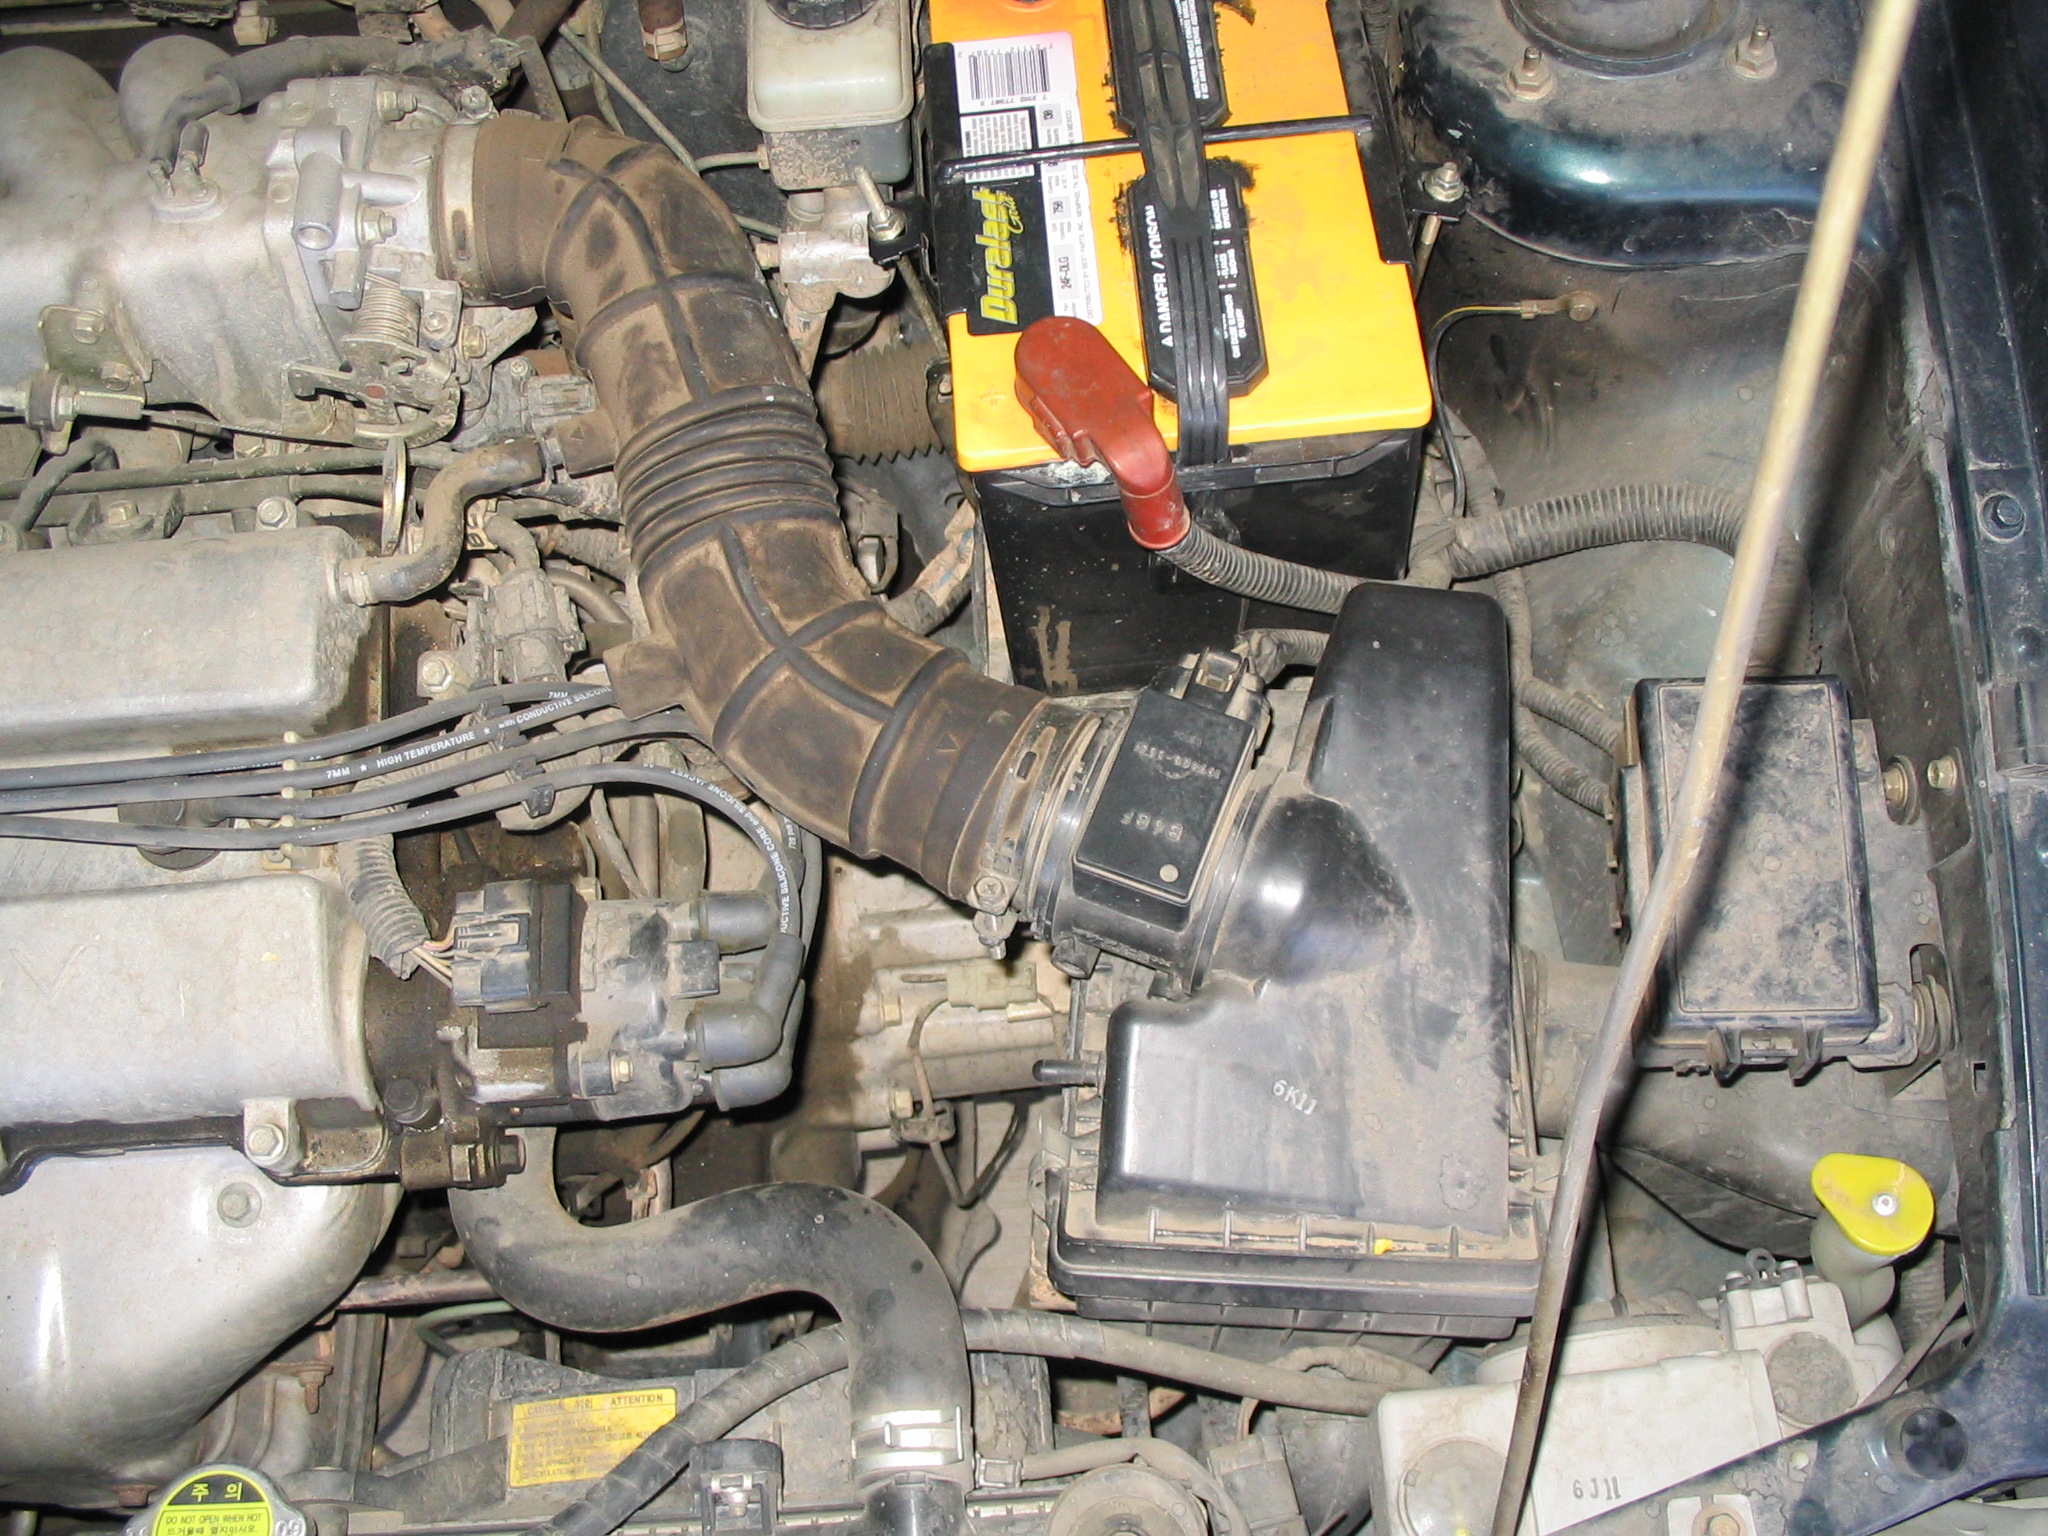
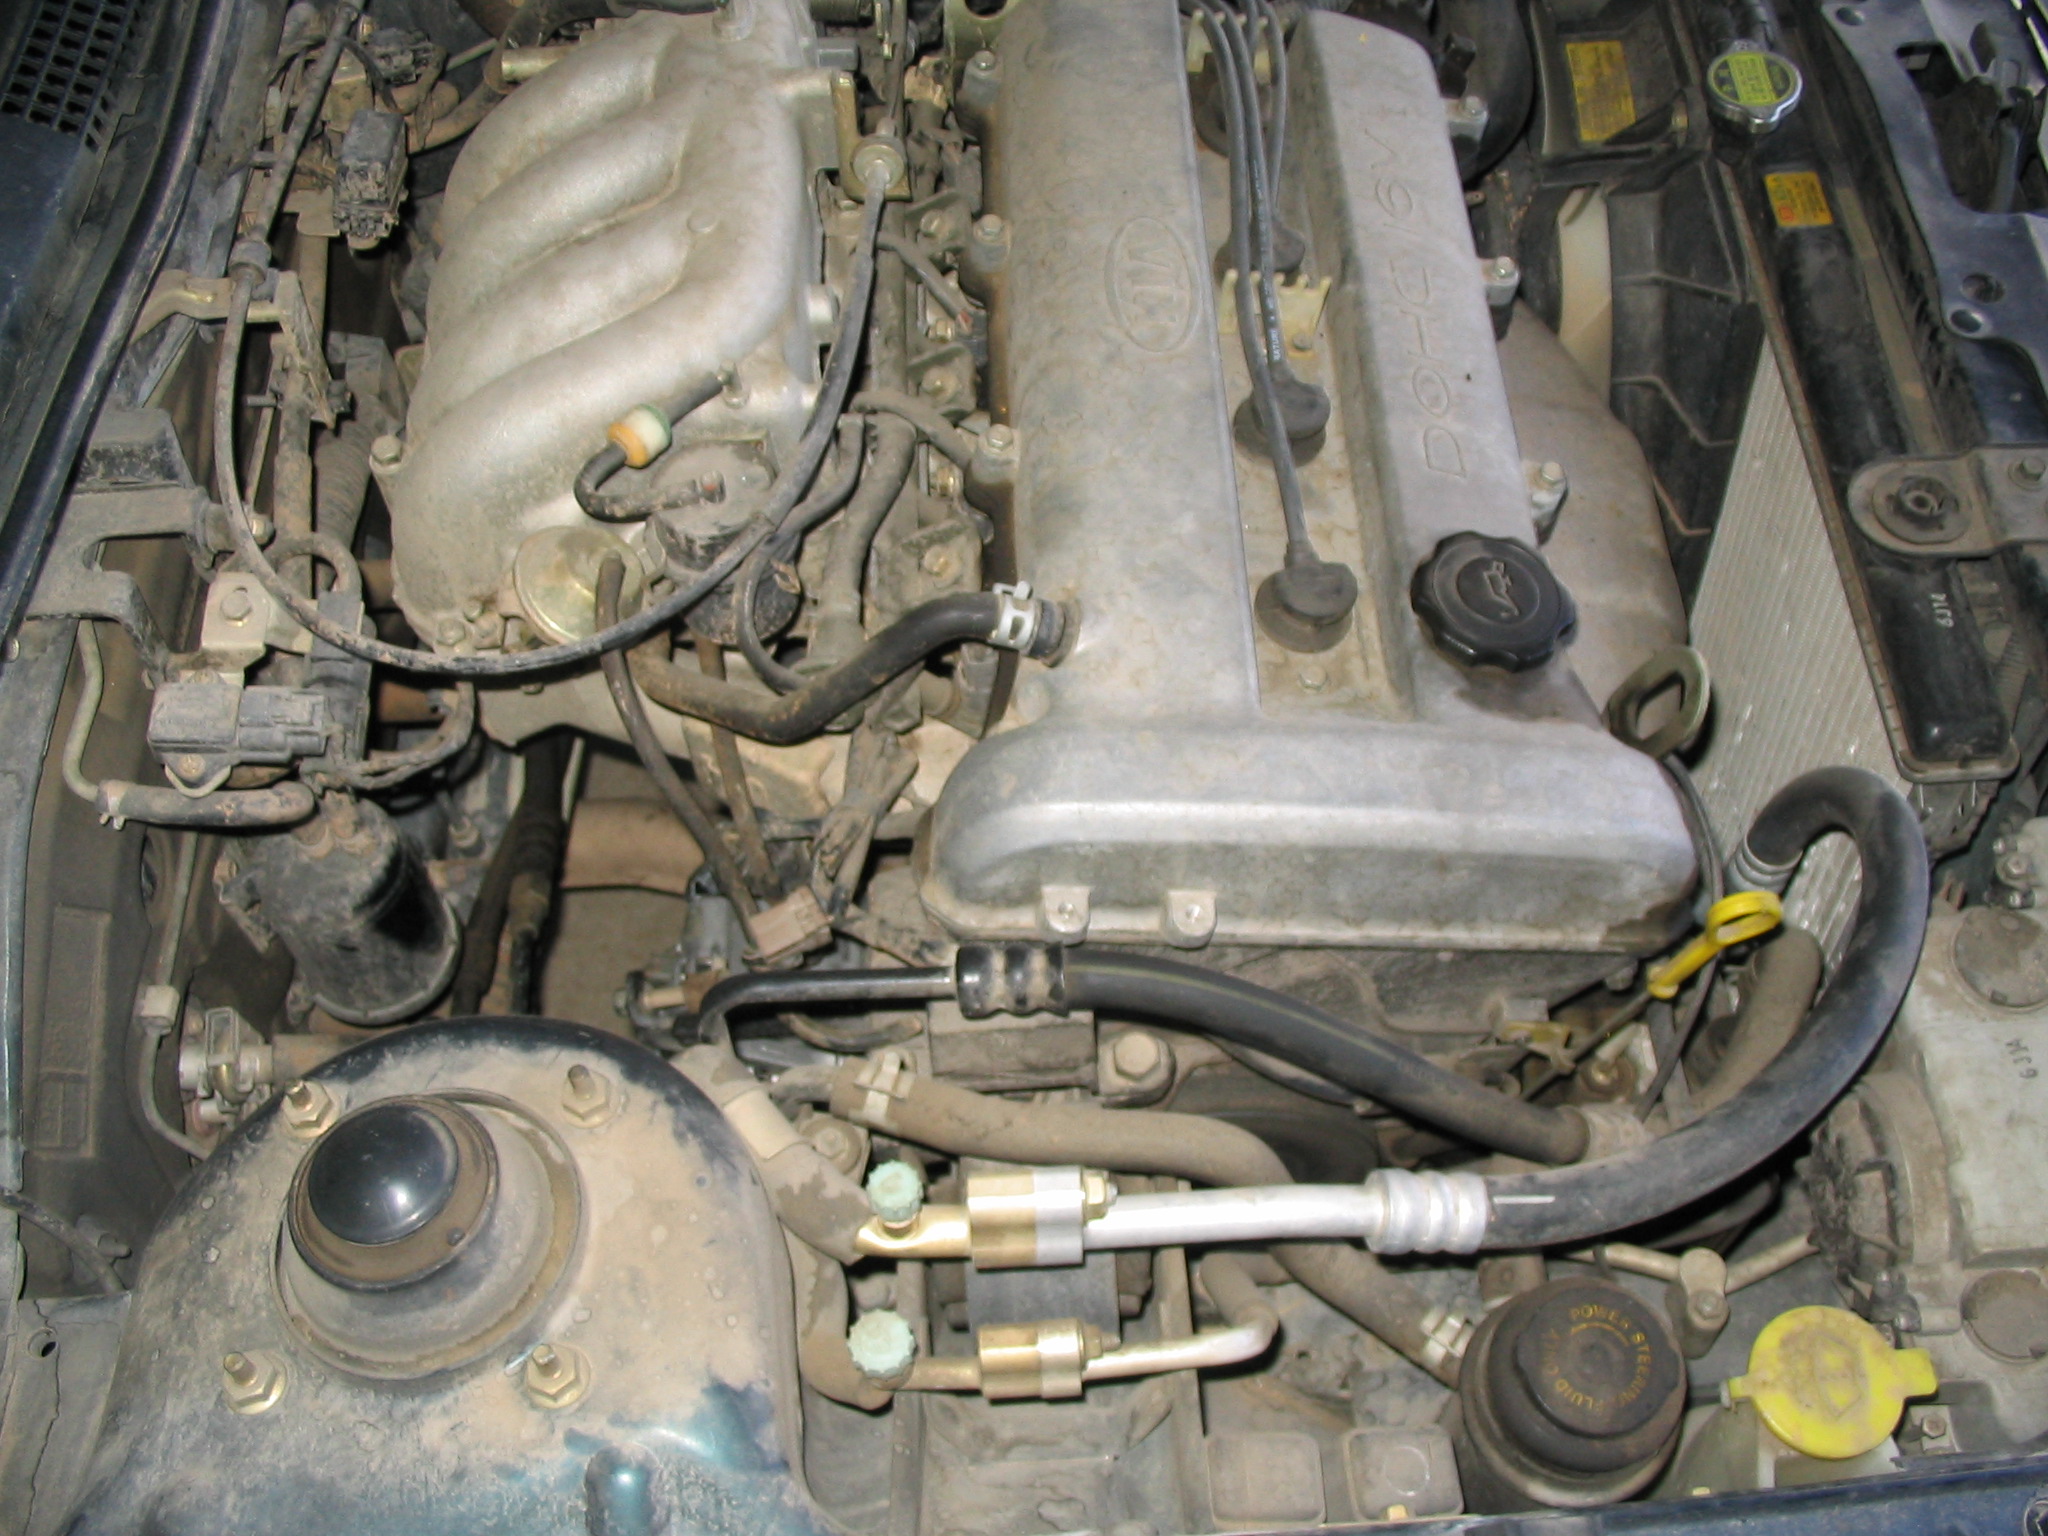
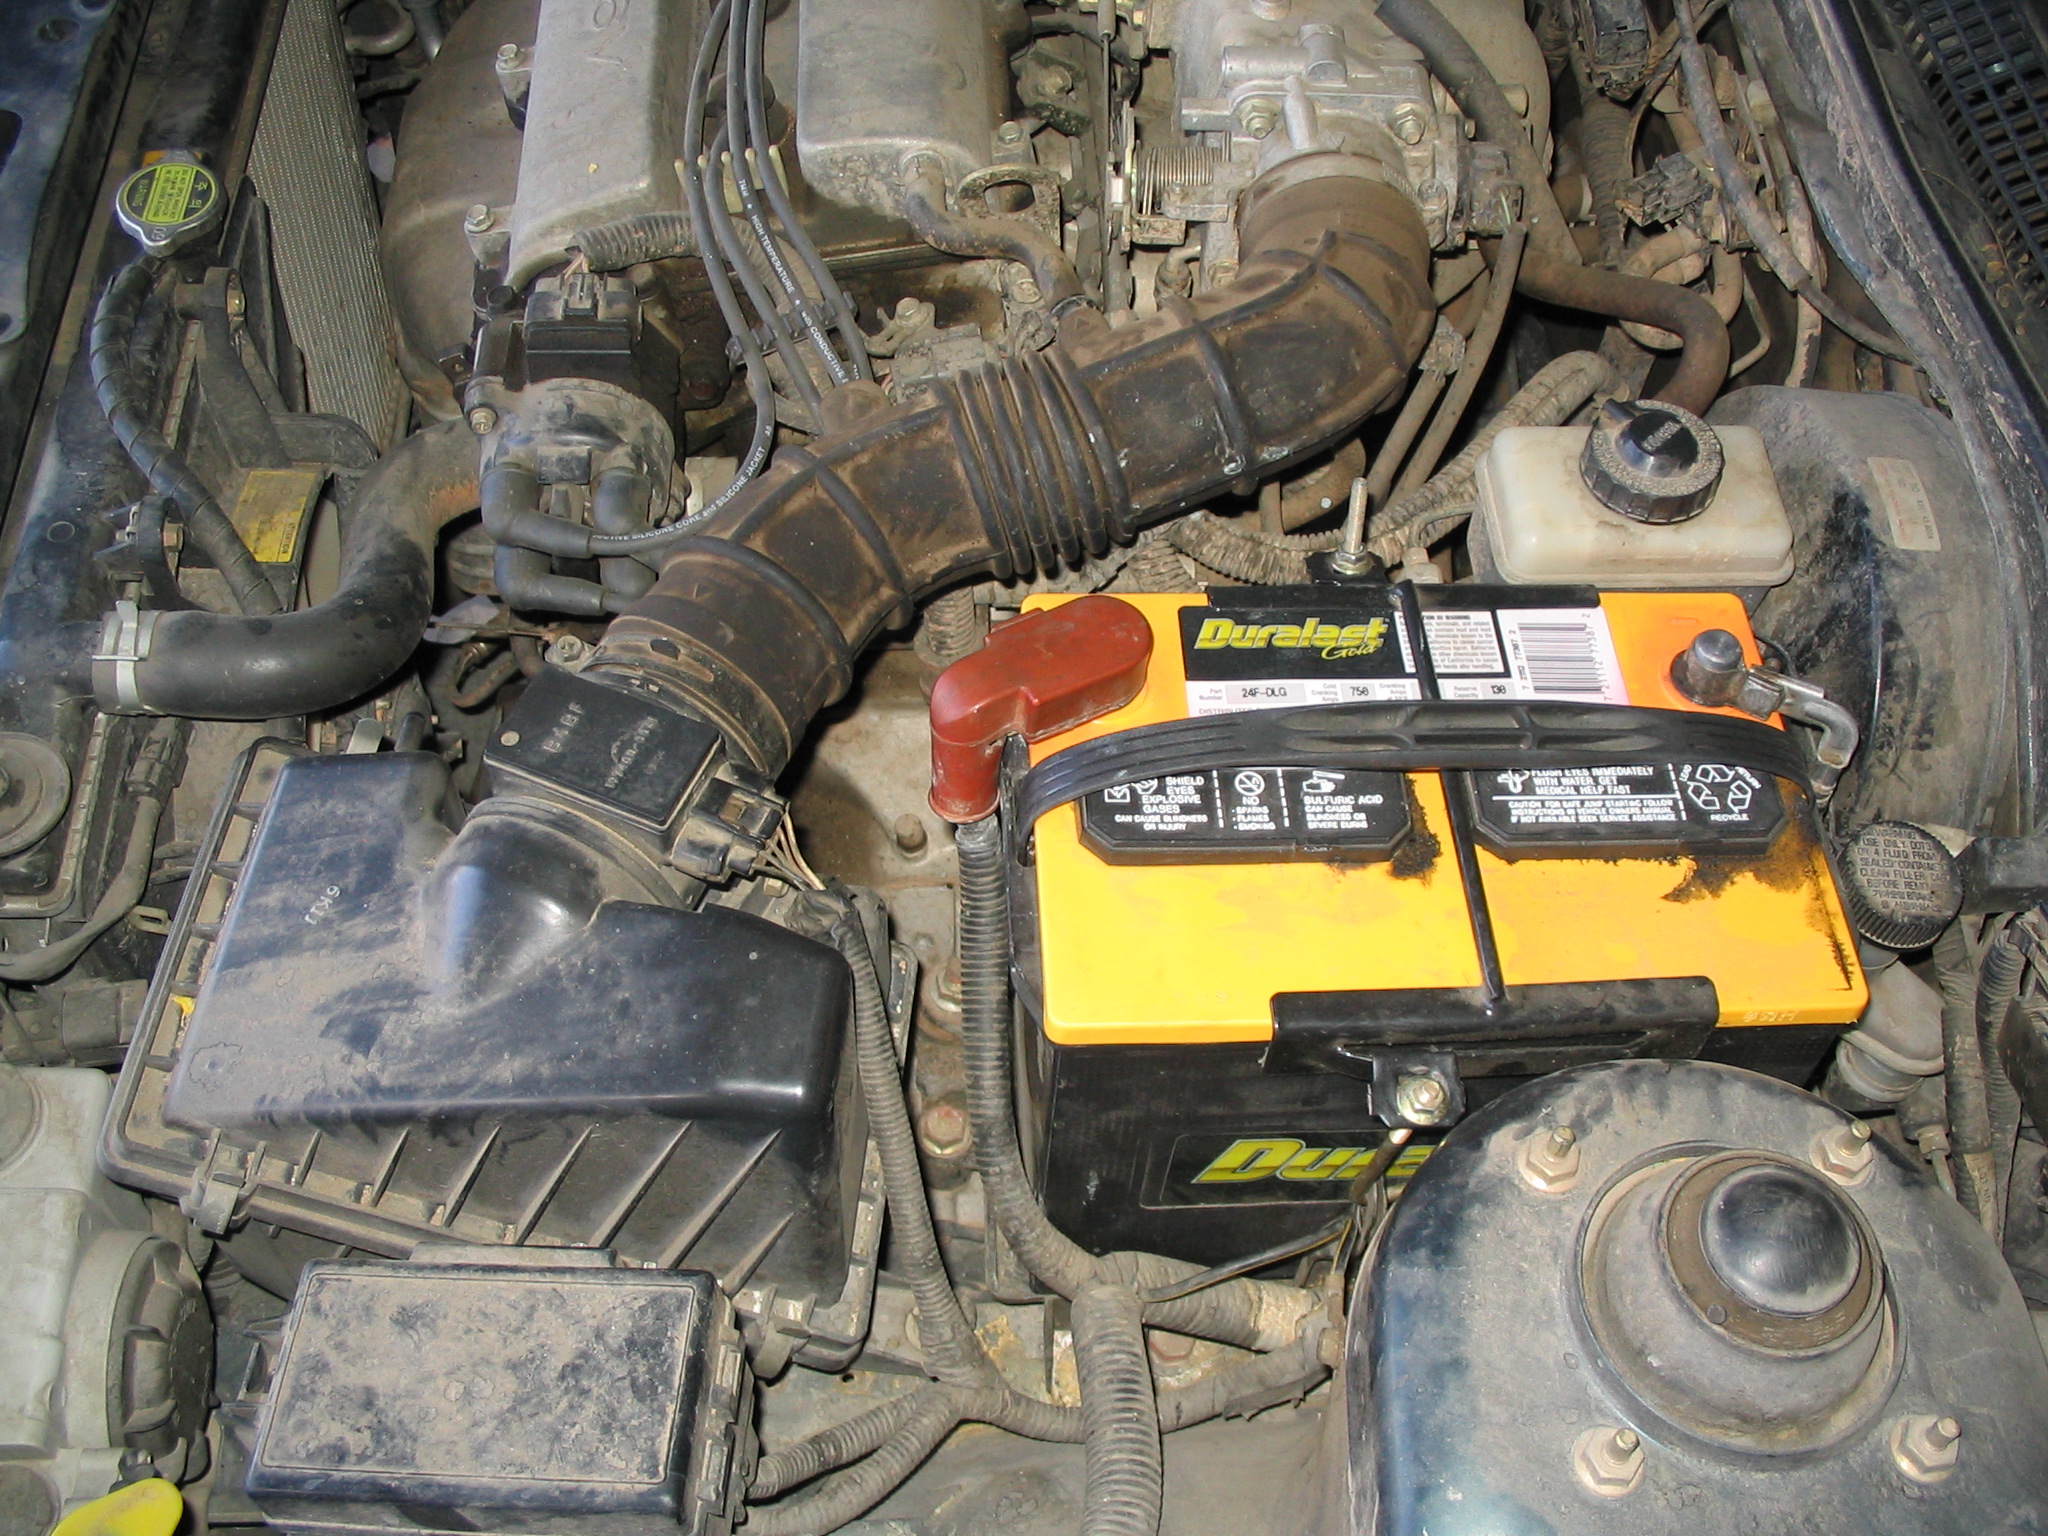
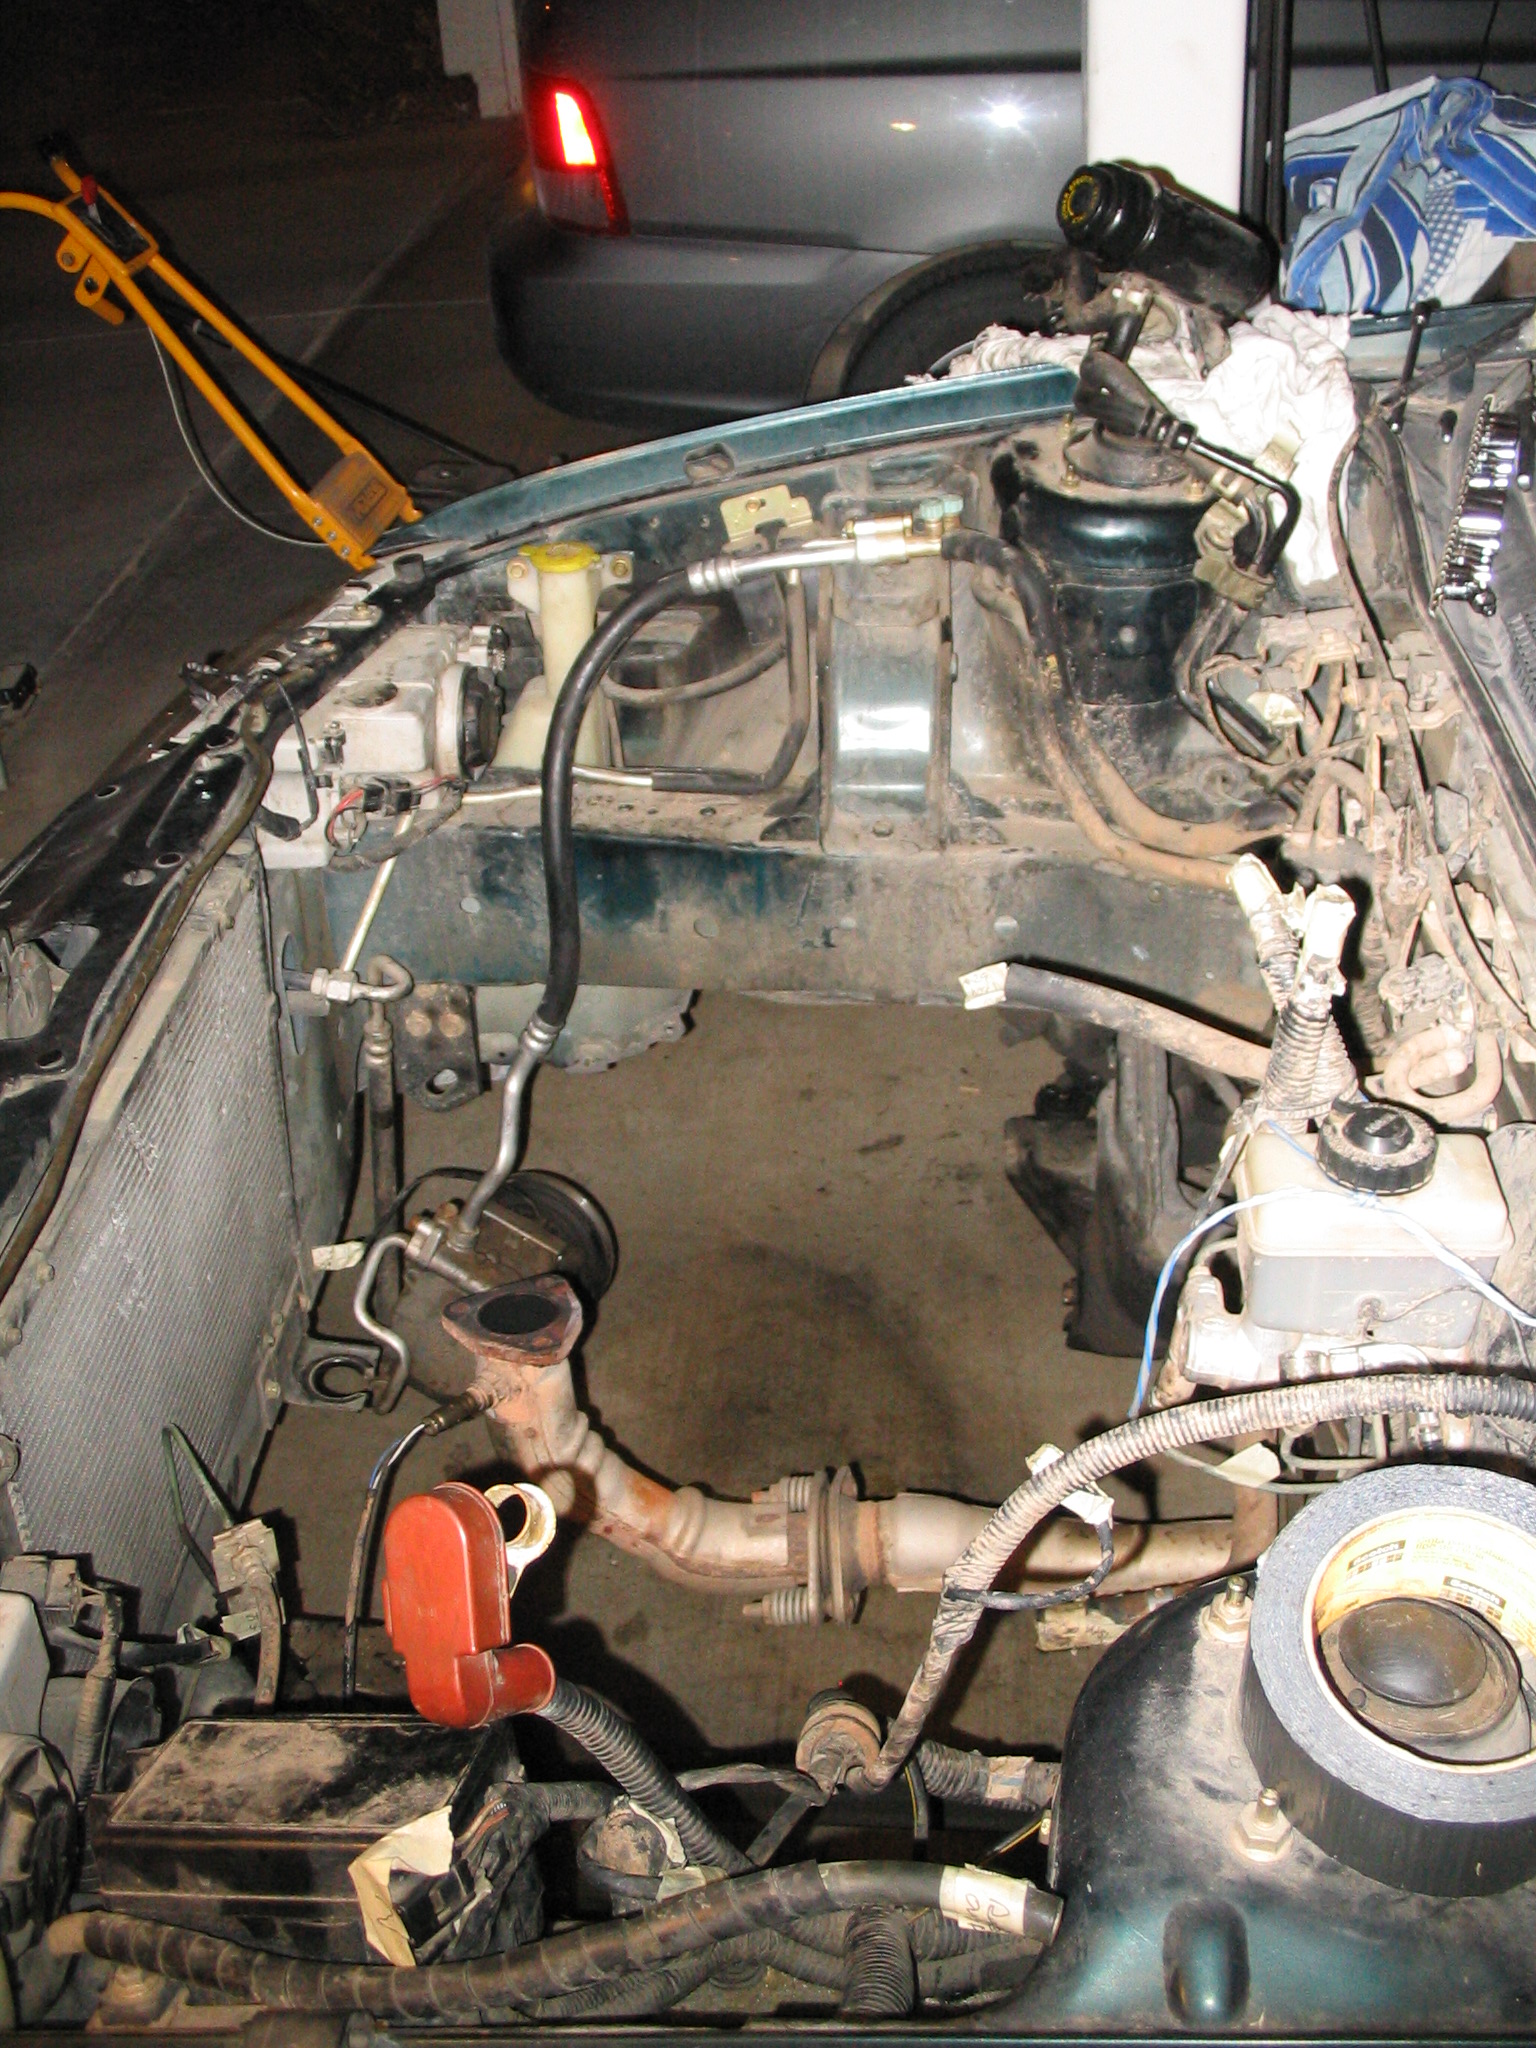
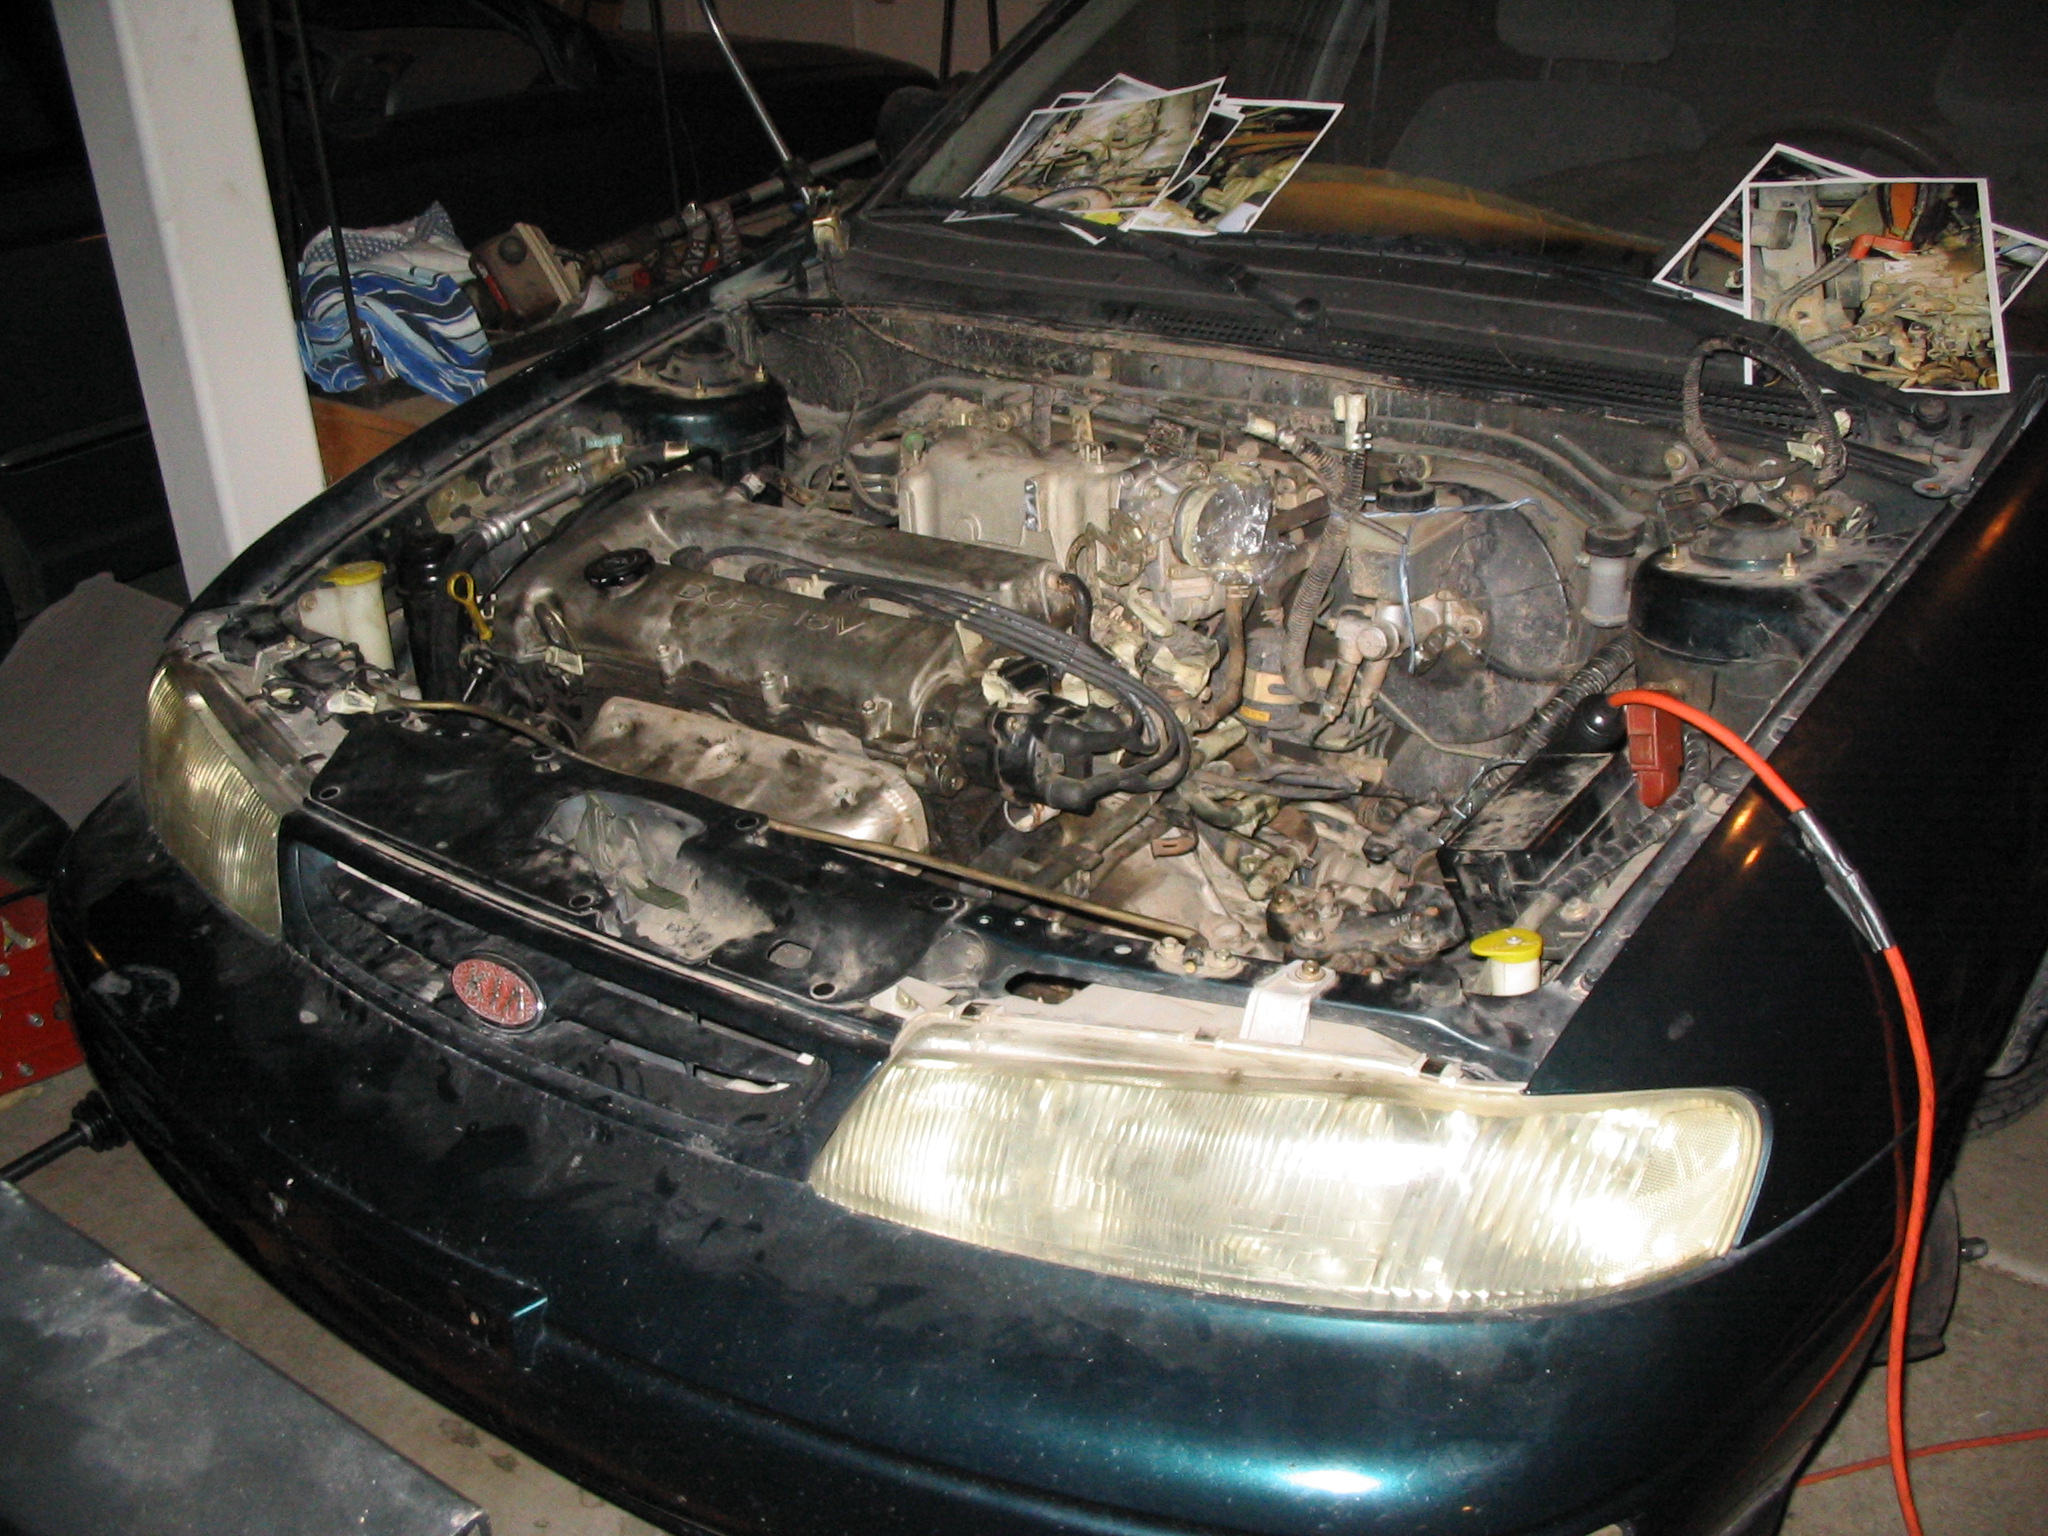
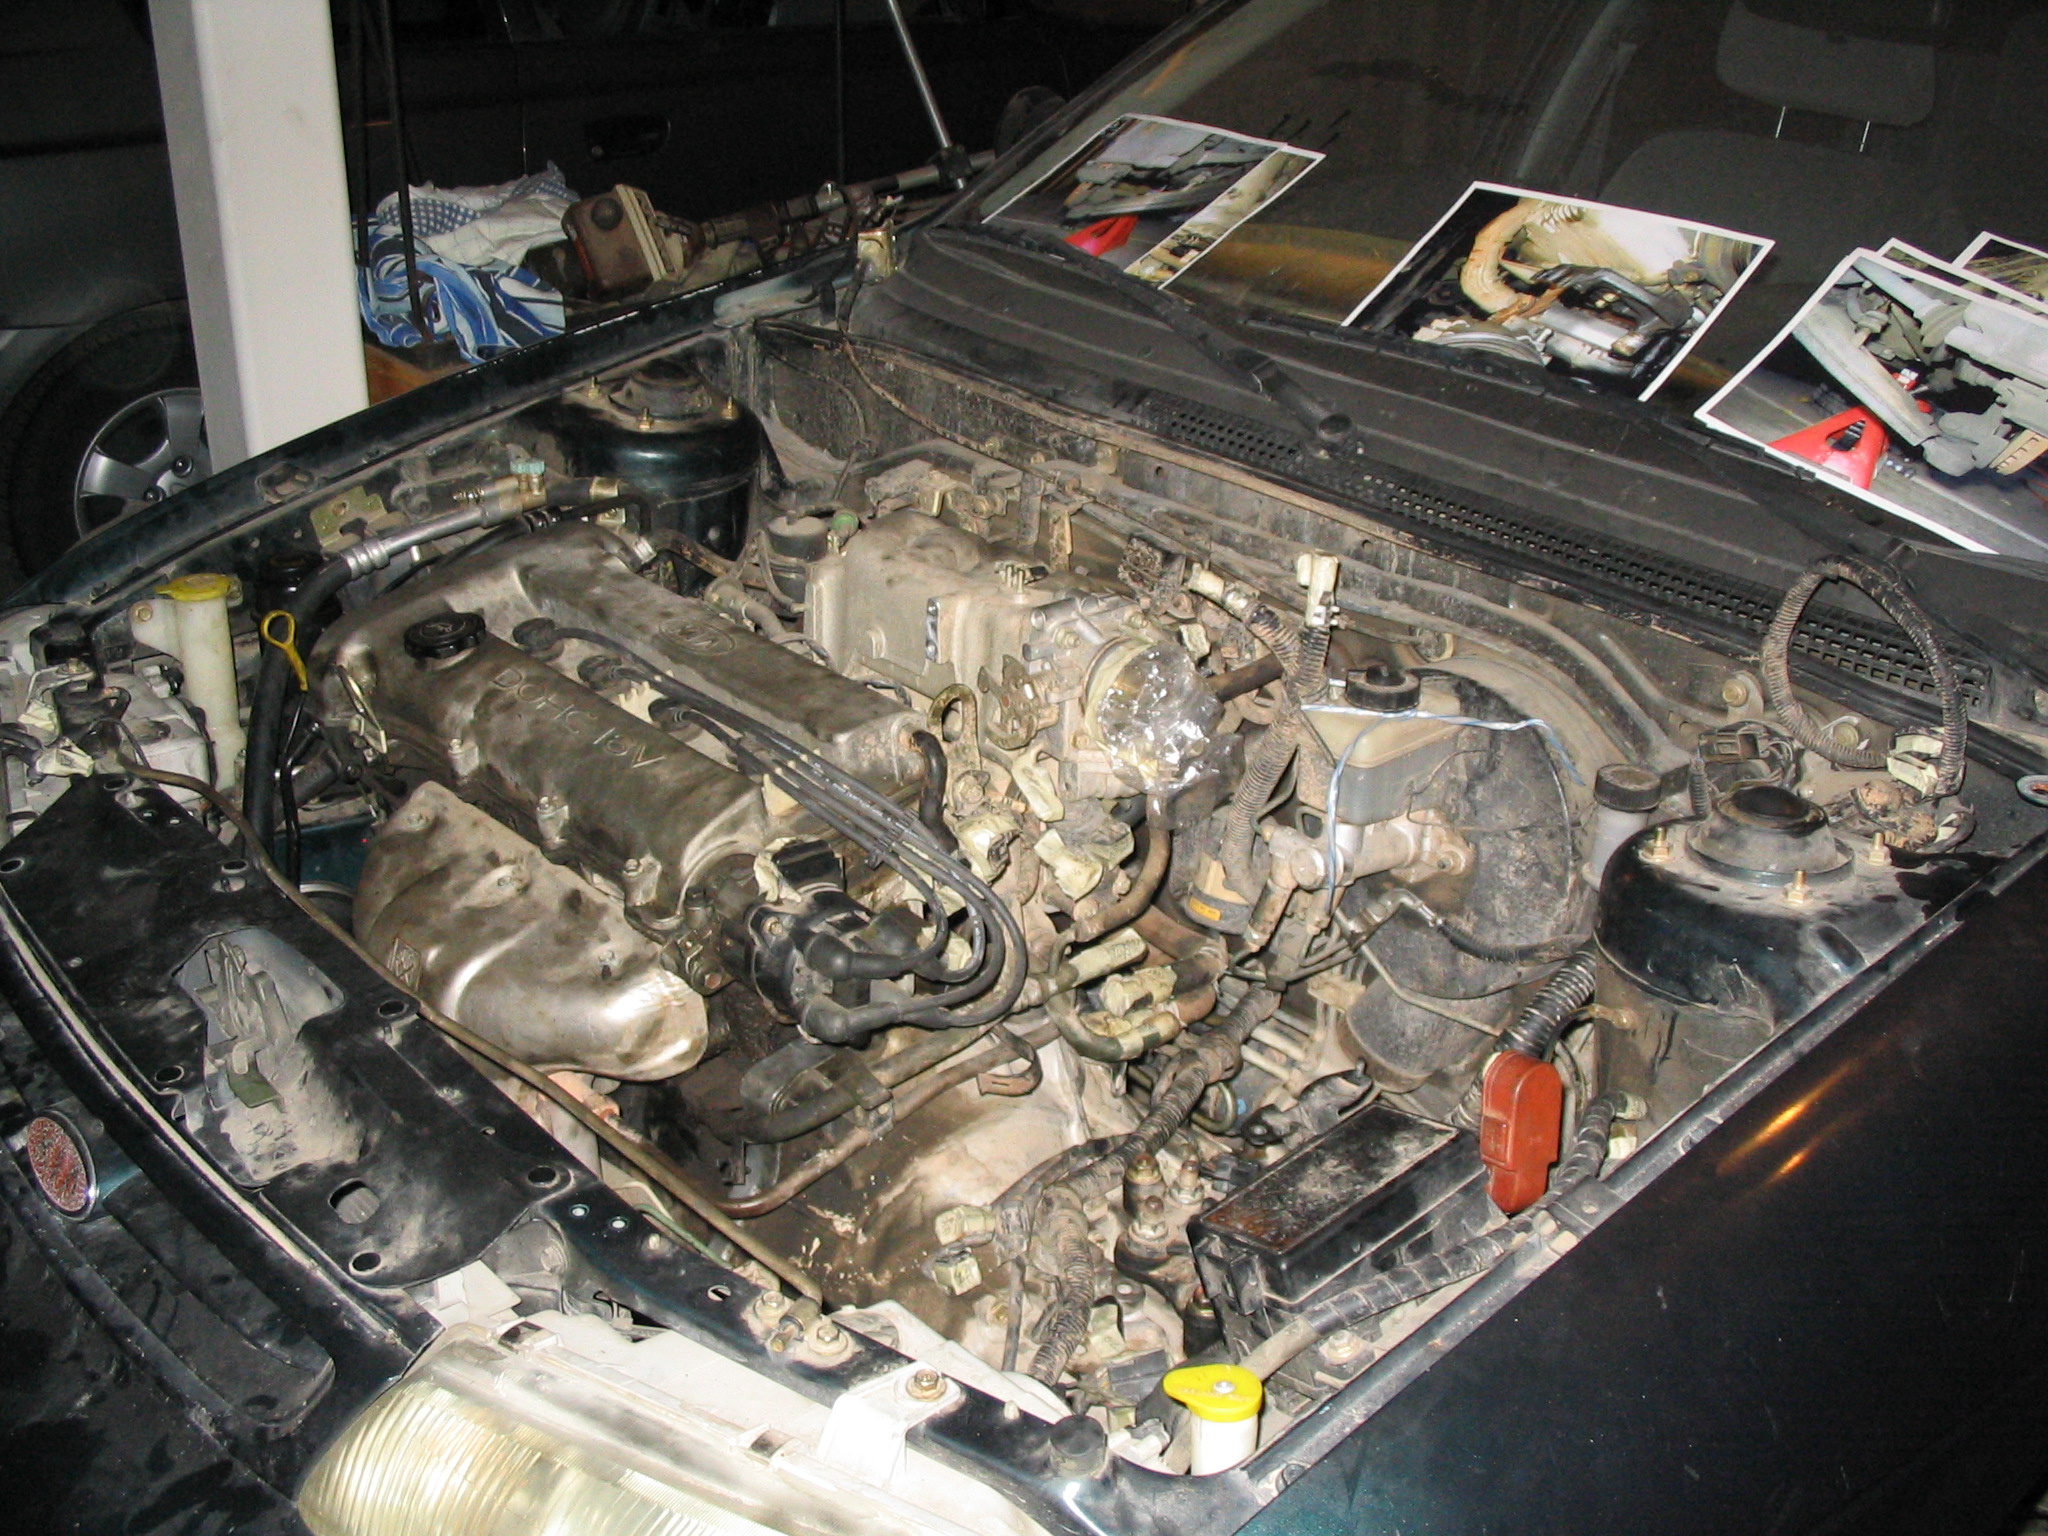
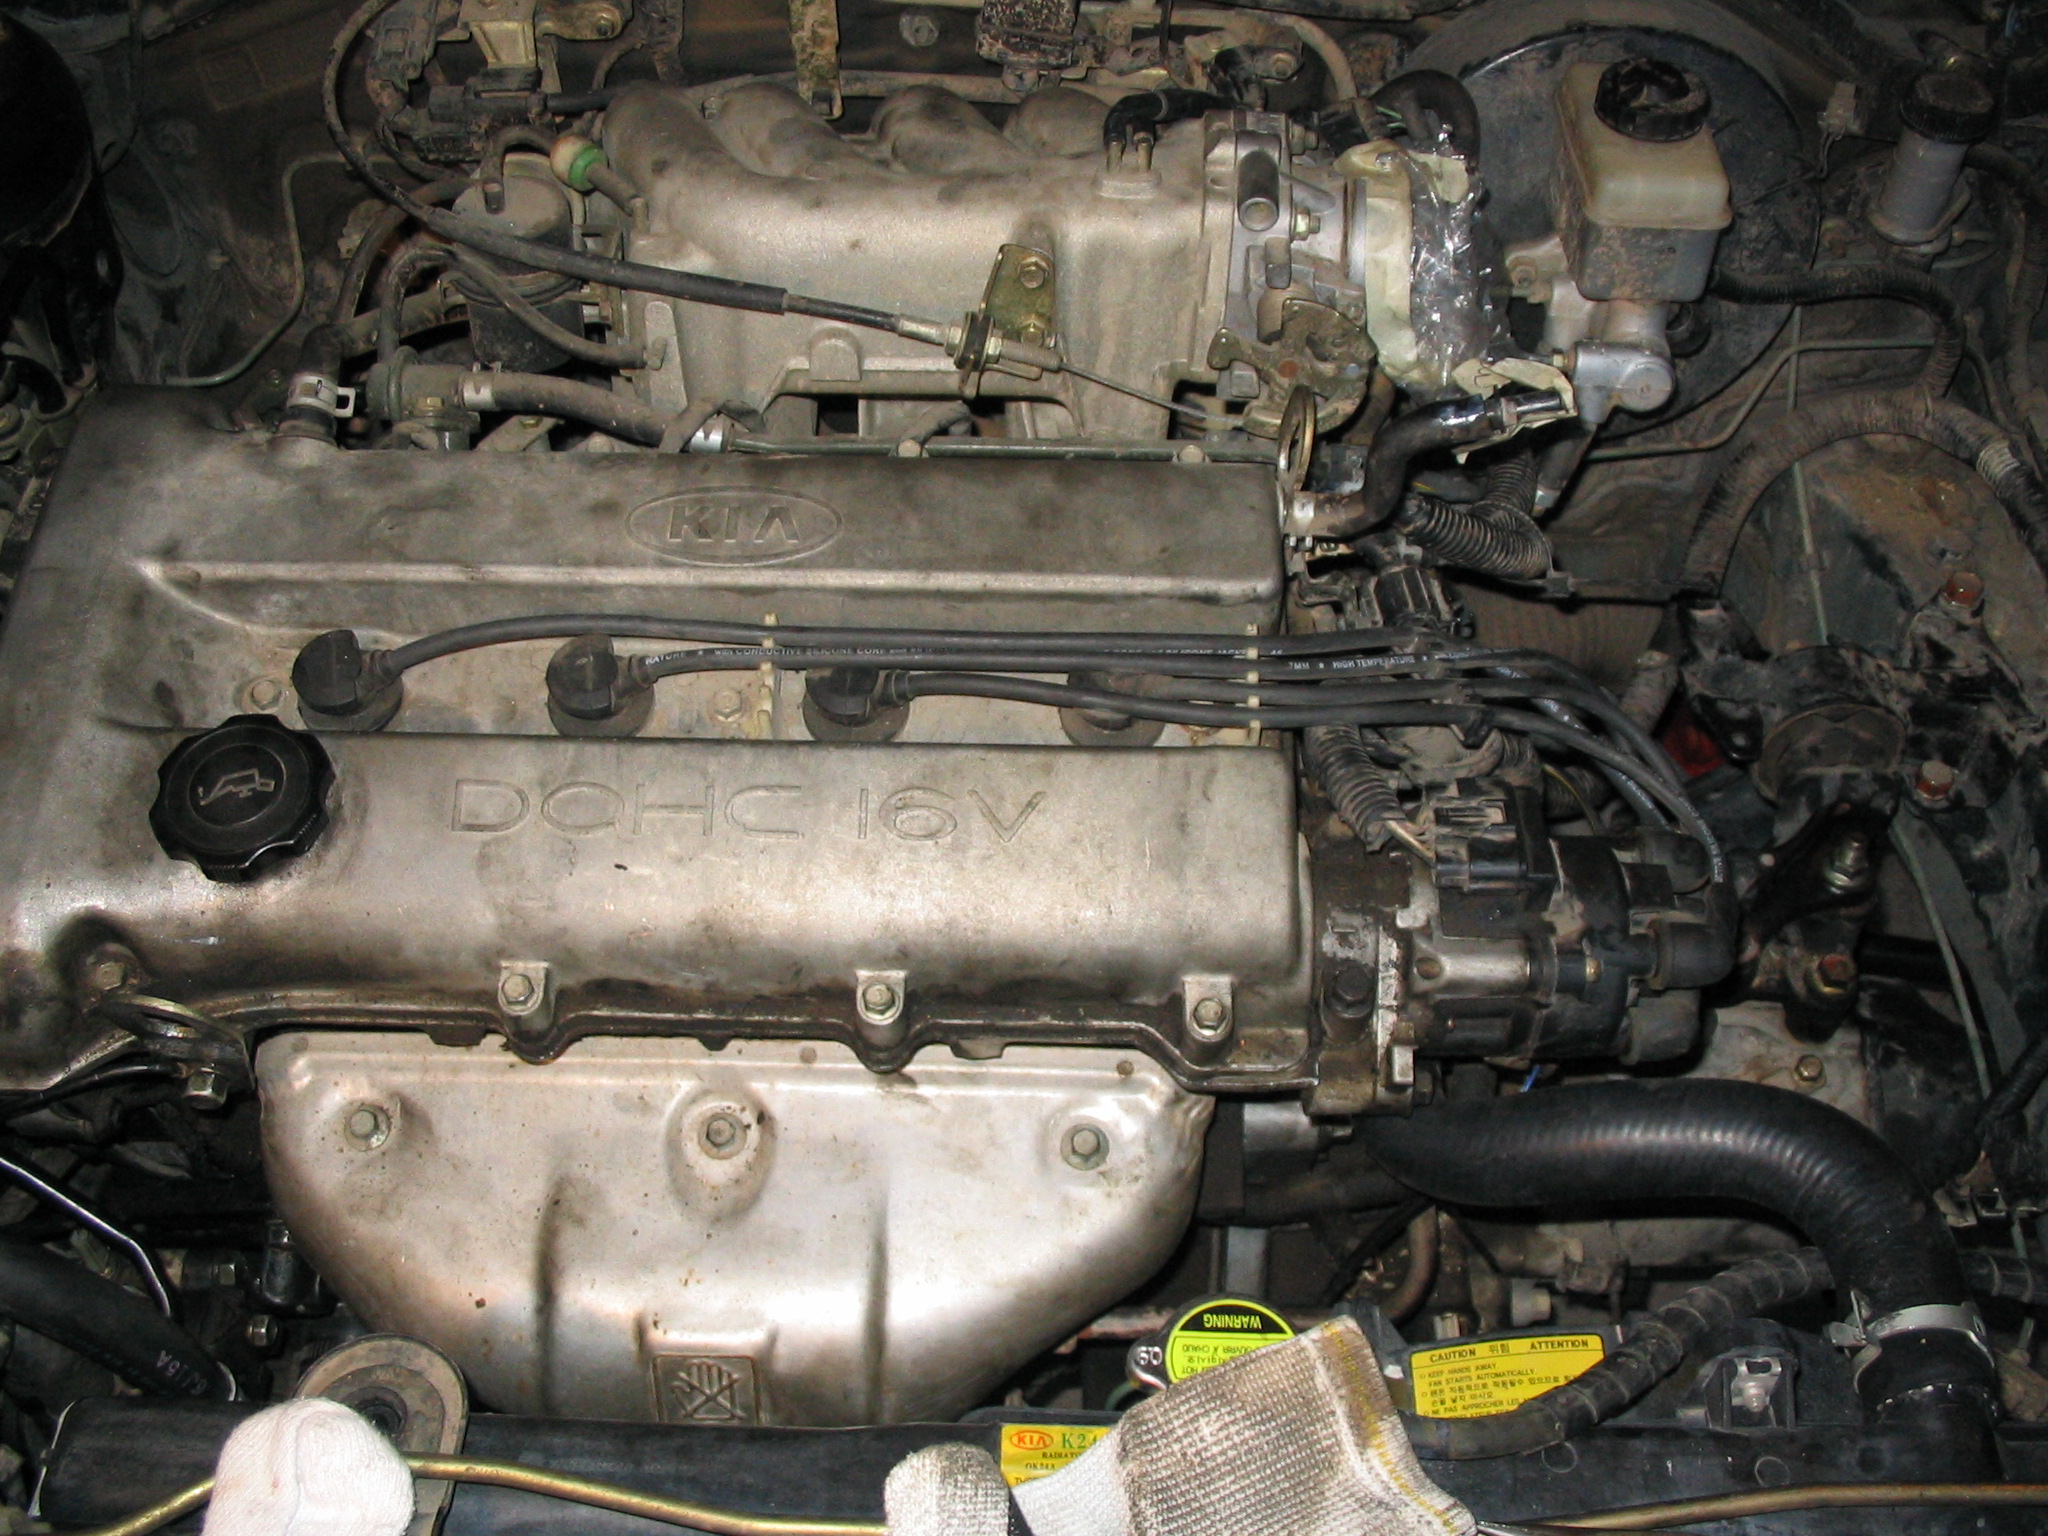
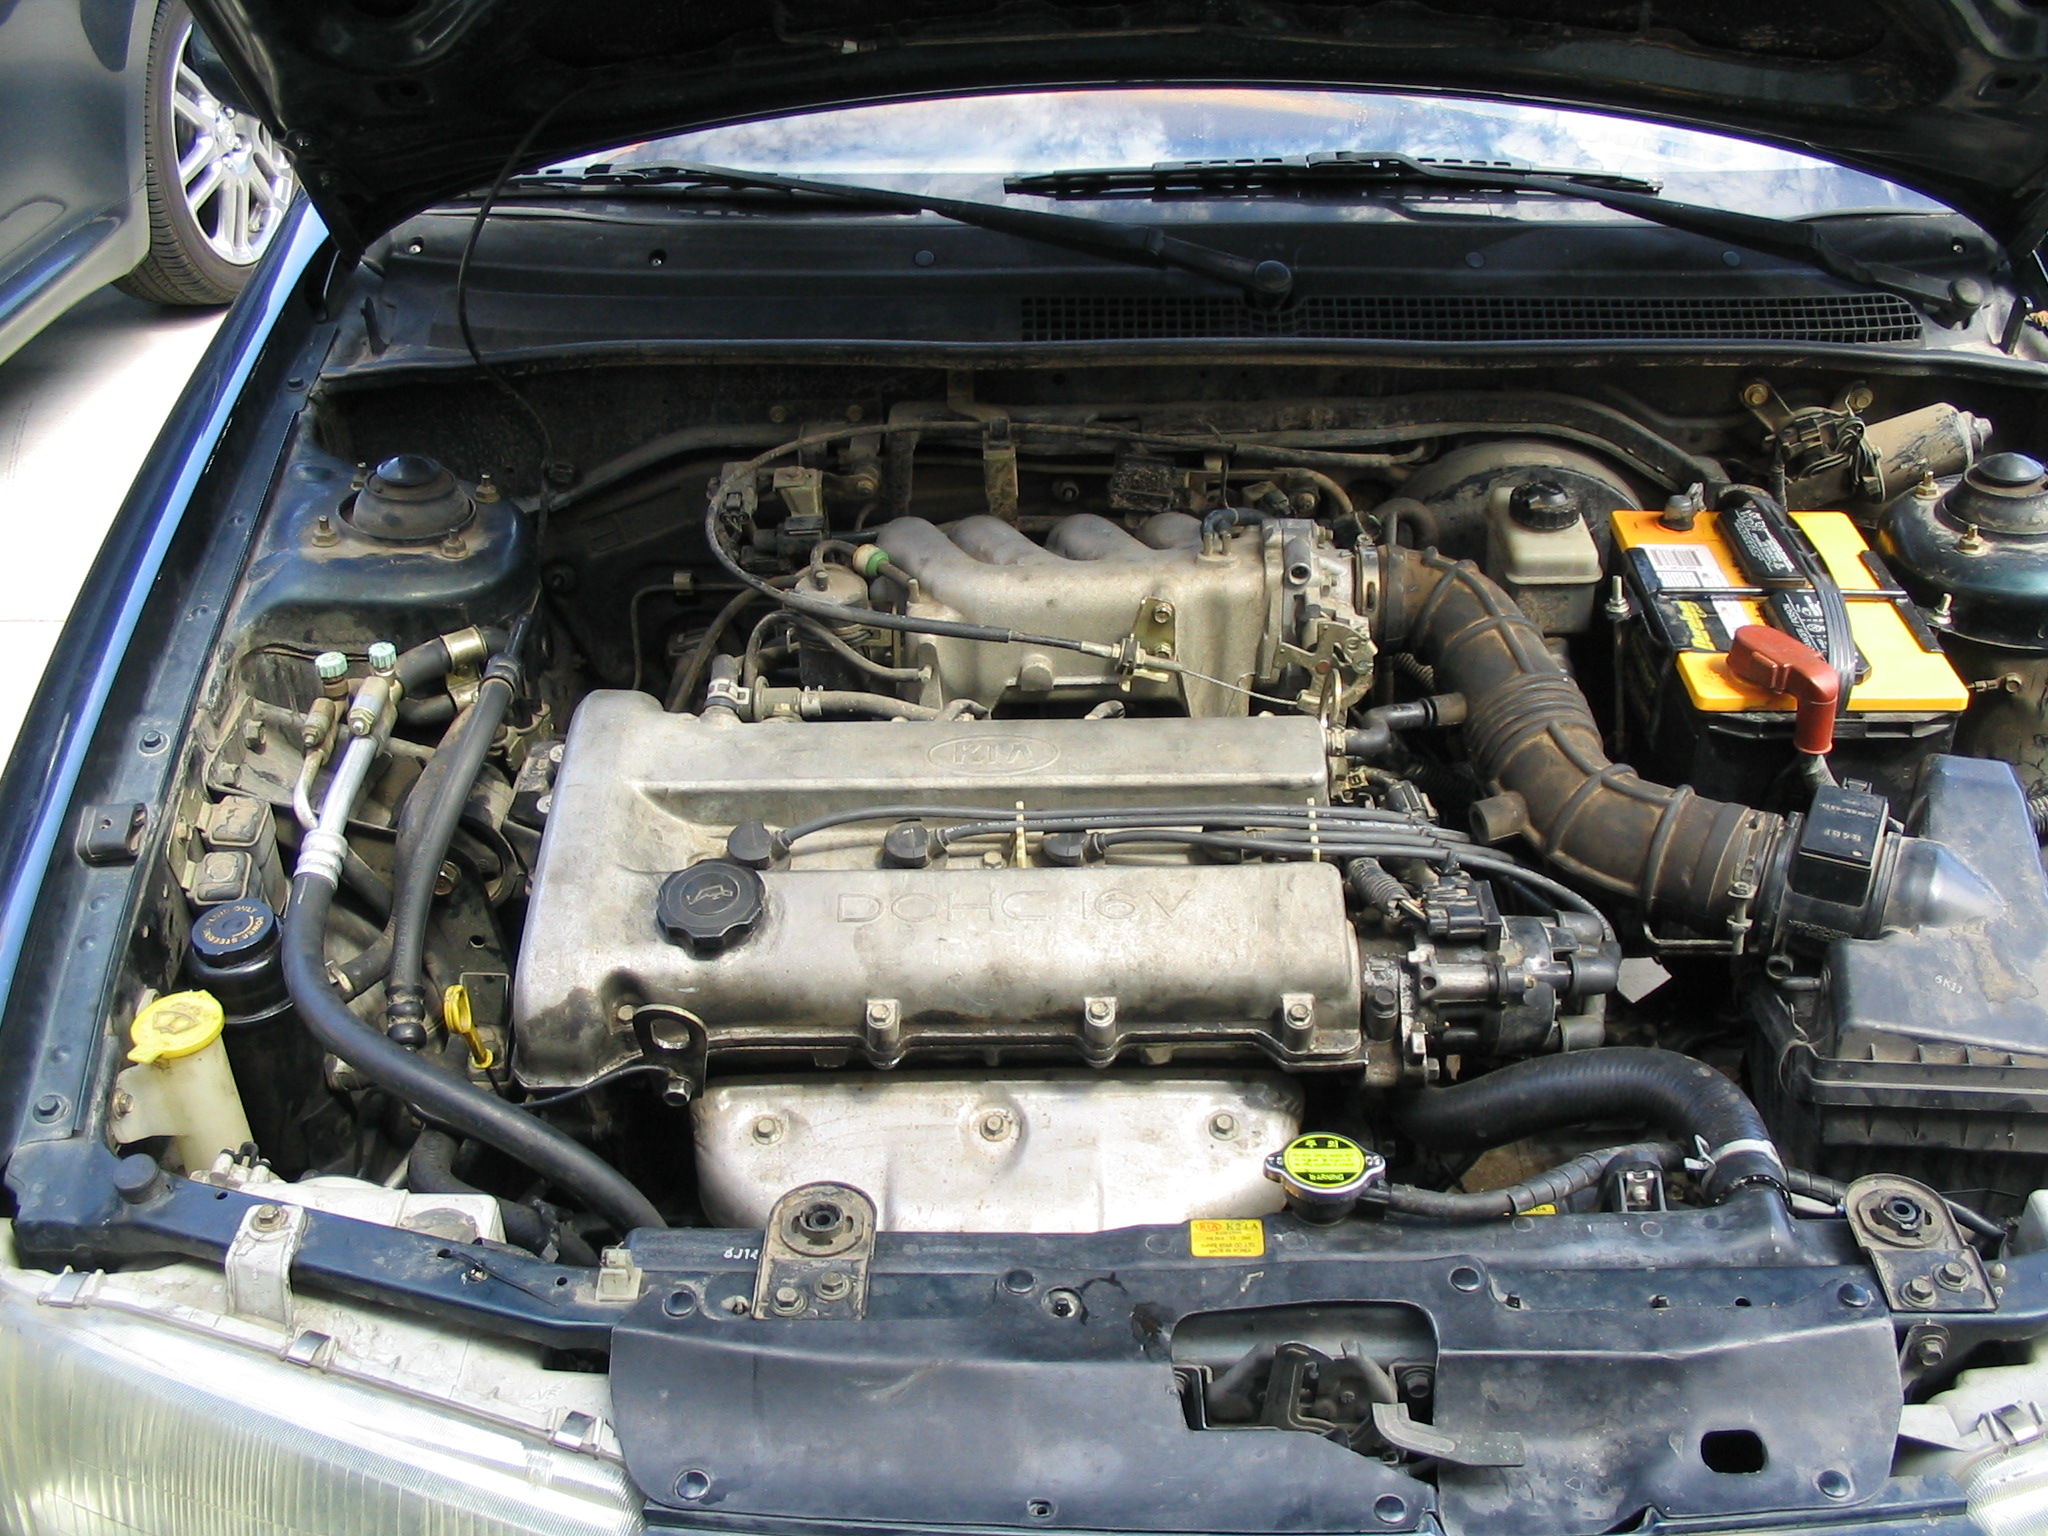
I found it easier to work in a garage with enough space cleared out so I could lay out the parts in the order they were taken out of the car. I looked in the Shop Manuals for the procedures to pull the engine and transaxle or to just pull the transaxle, and for my home shop it looked easier to just pull the entire engine and transaxle together. I first printed out the section in the on-line KIA Shop Manual that shows how to pull the engine. I used these papers to take notes about any special things that I had to do on each step that would be useful when putting everything back together again. I also decided to take pictures along the way to help me get things routed back to the way they were originally. Here are the initial pictures I took before performing any work on the car:
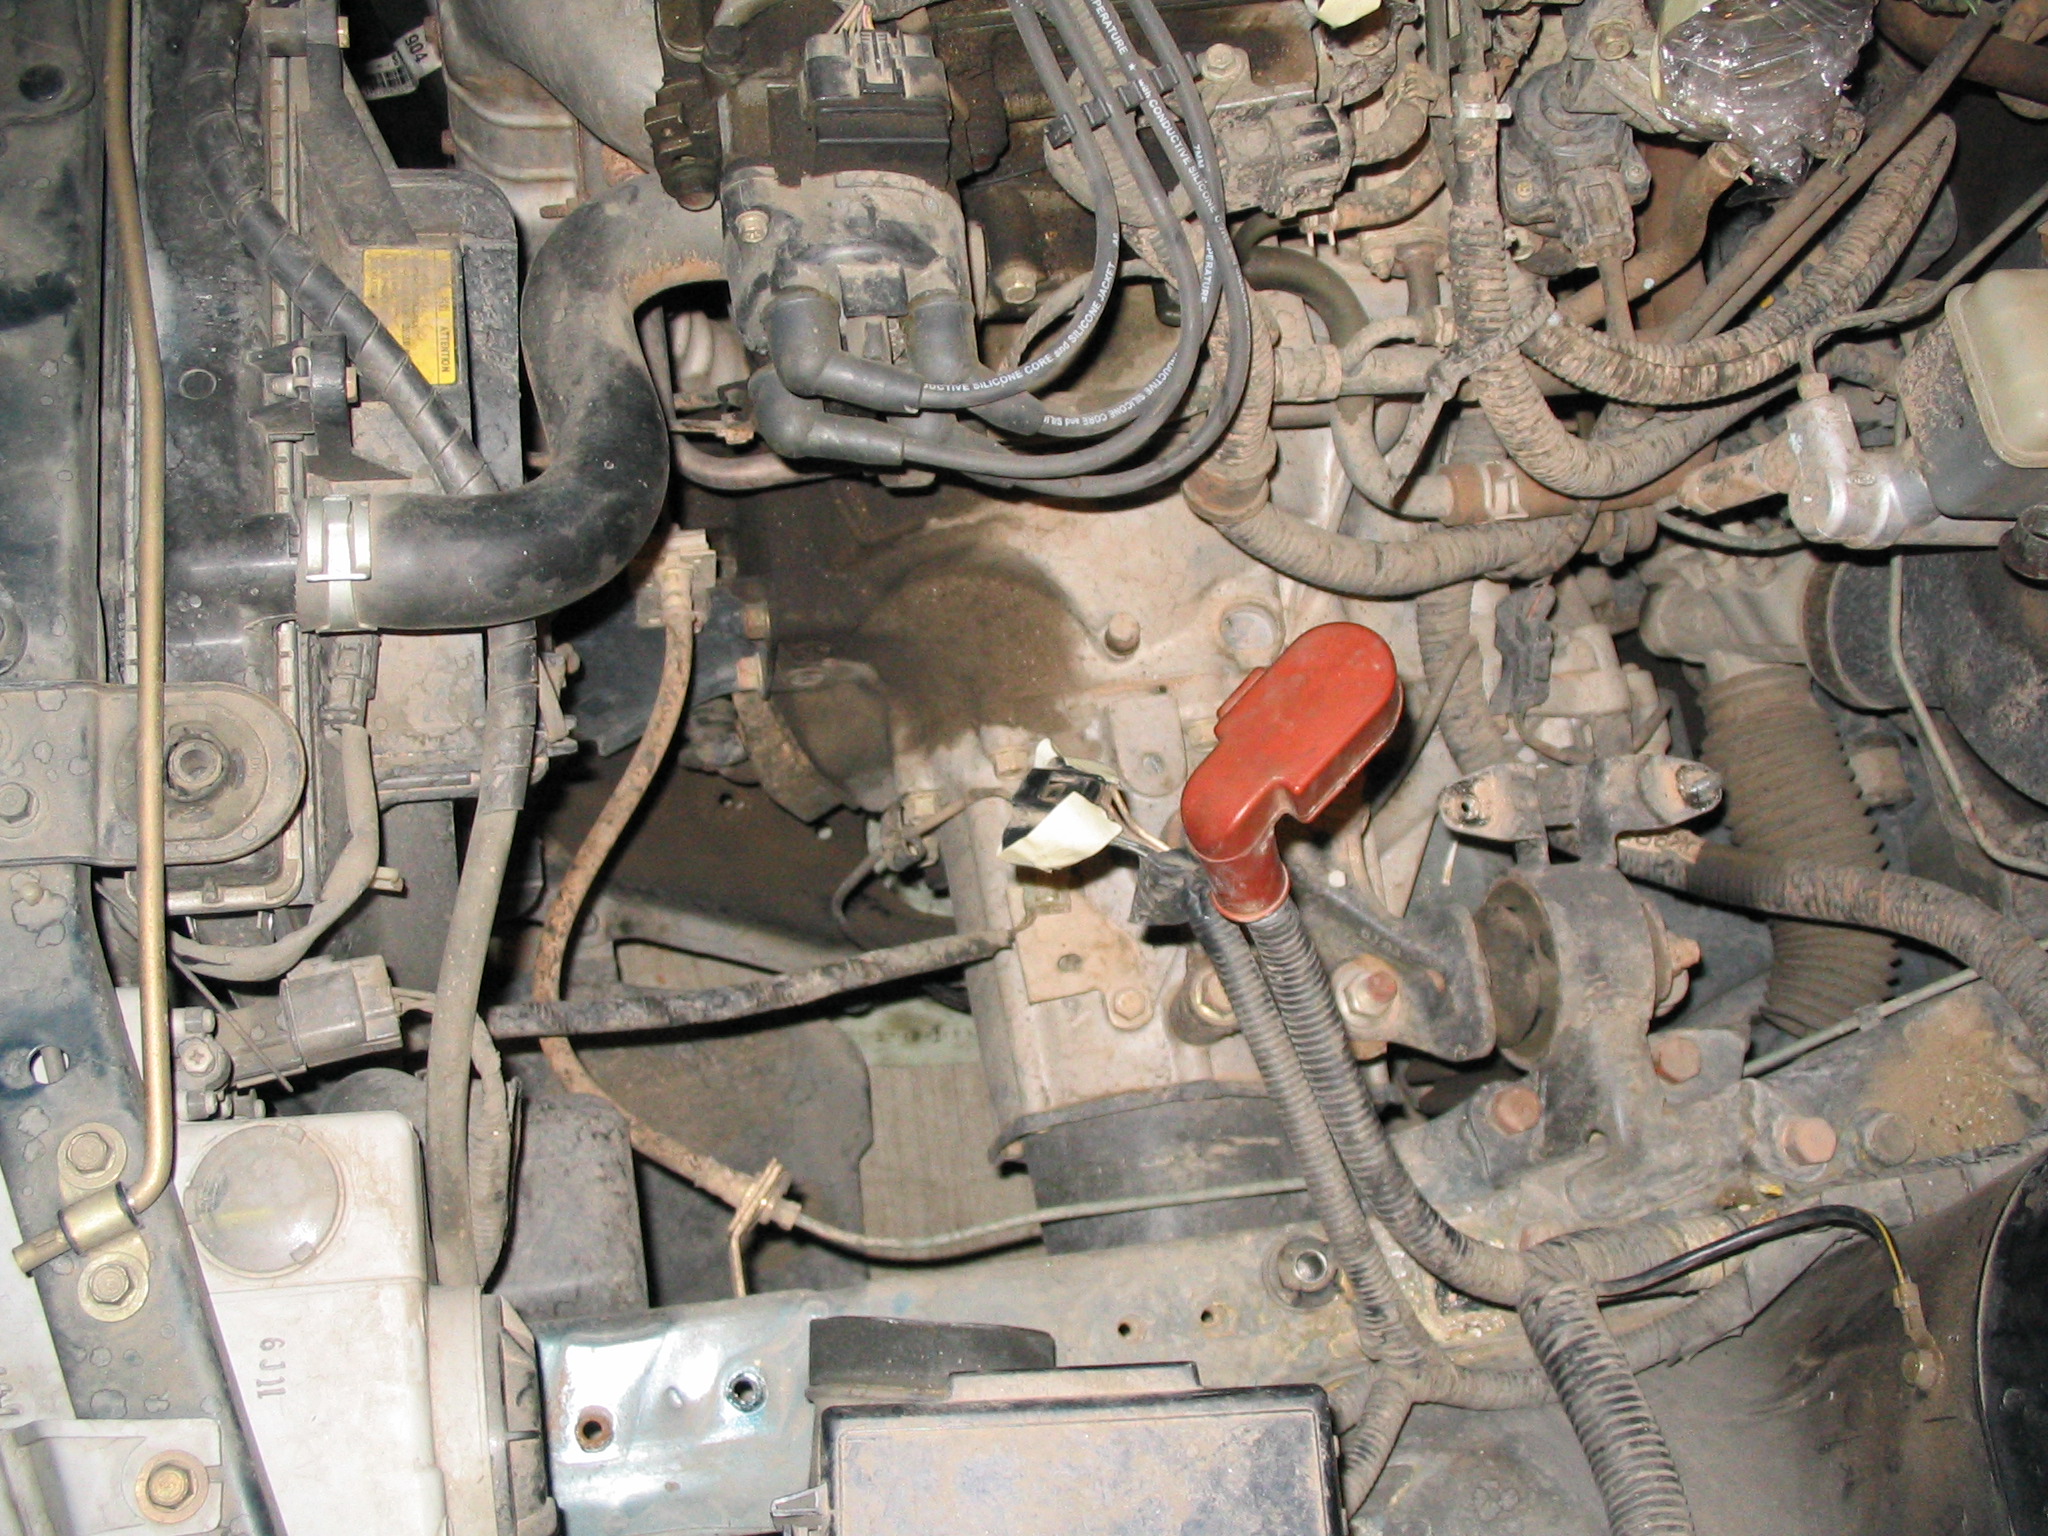
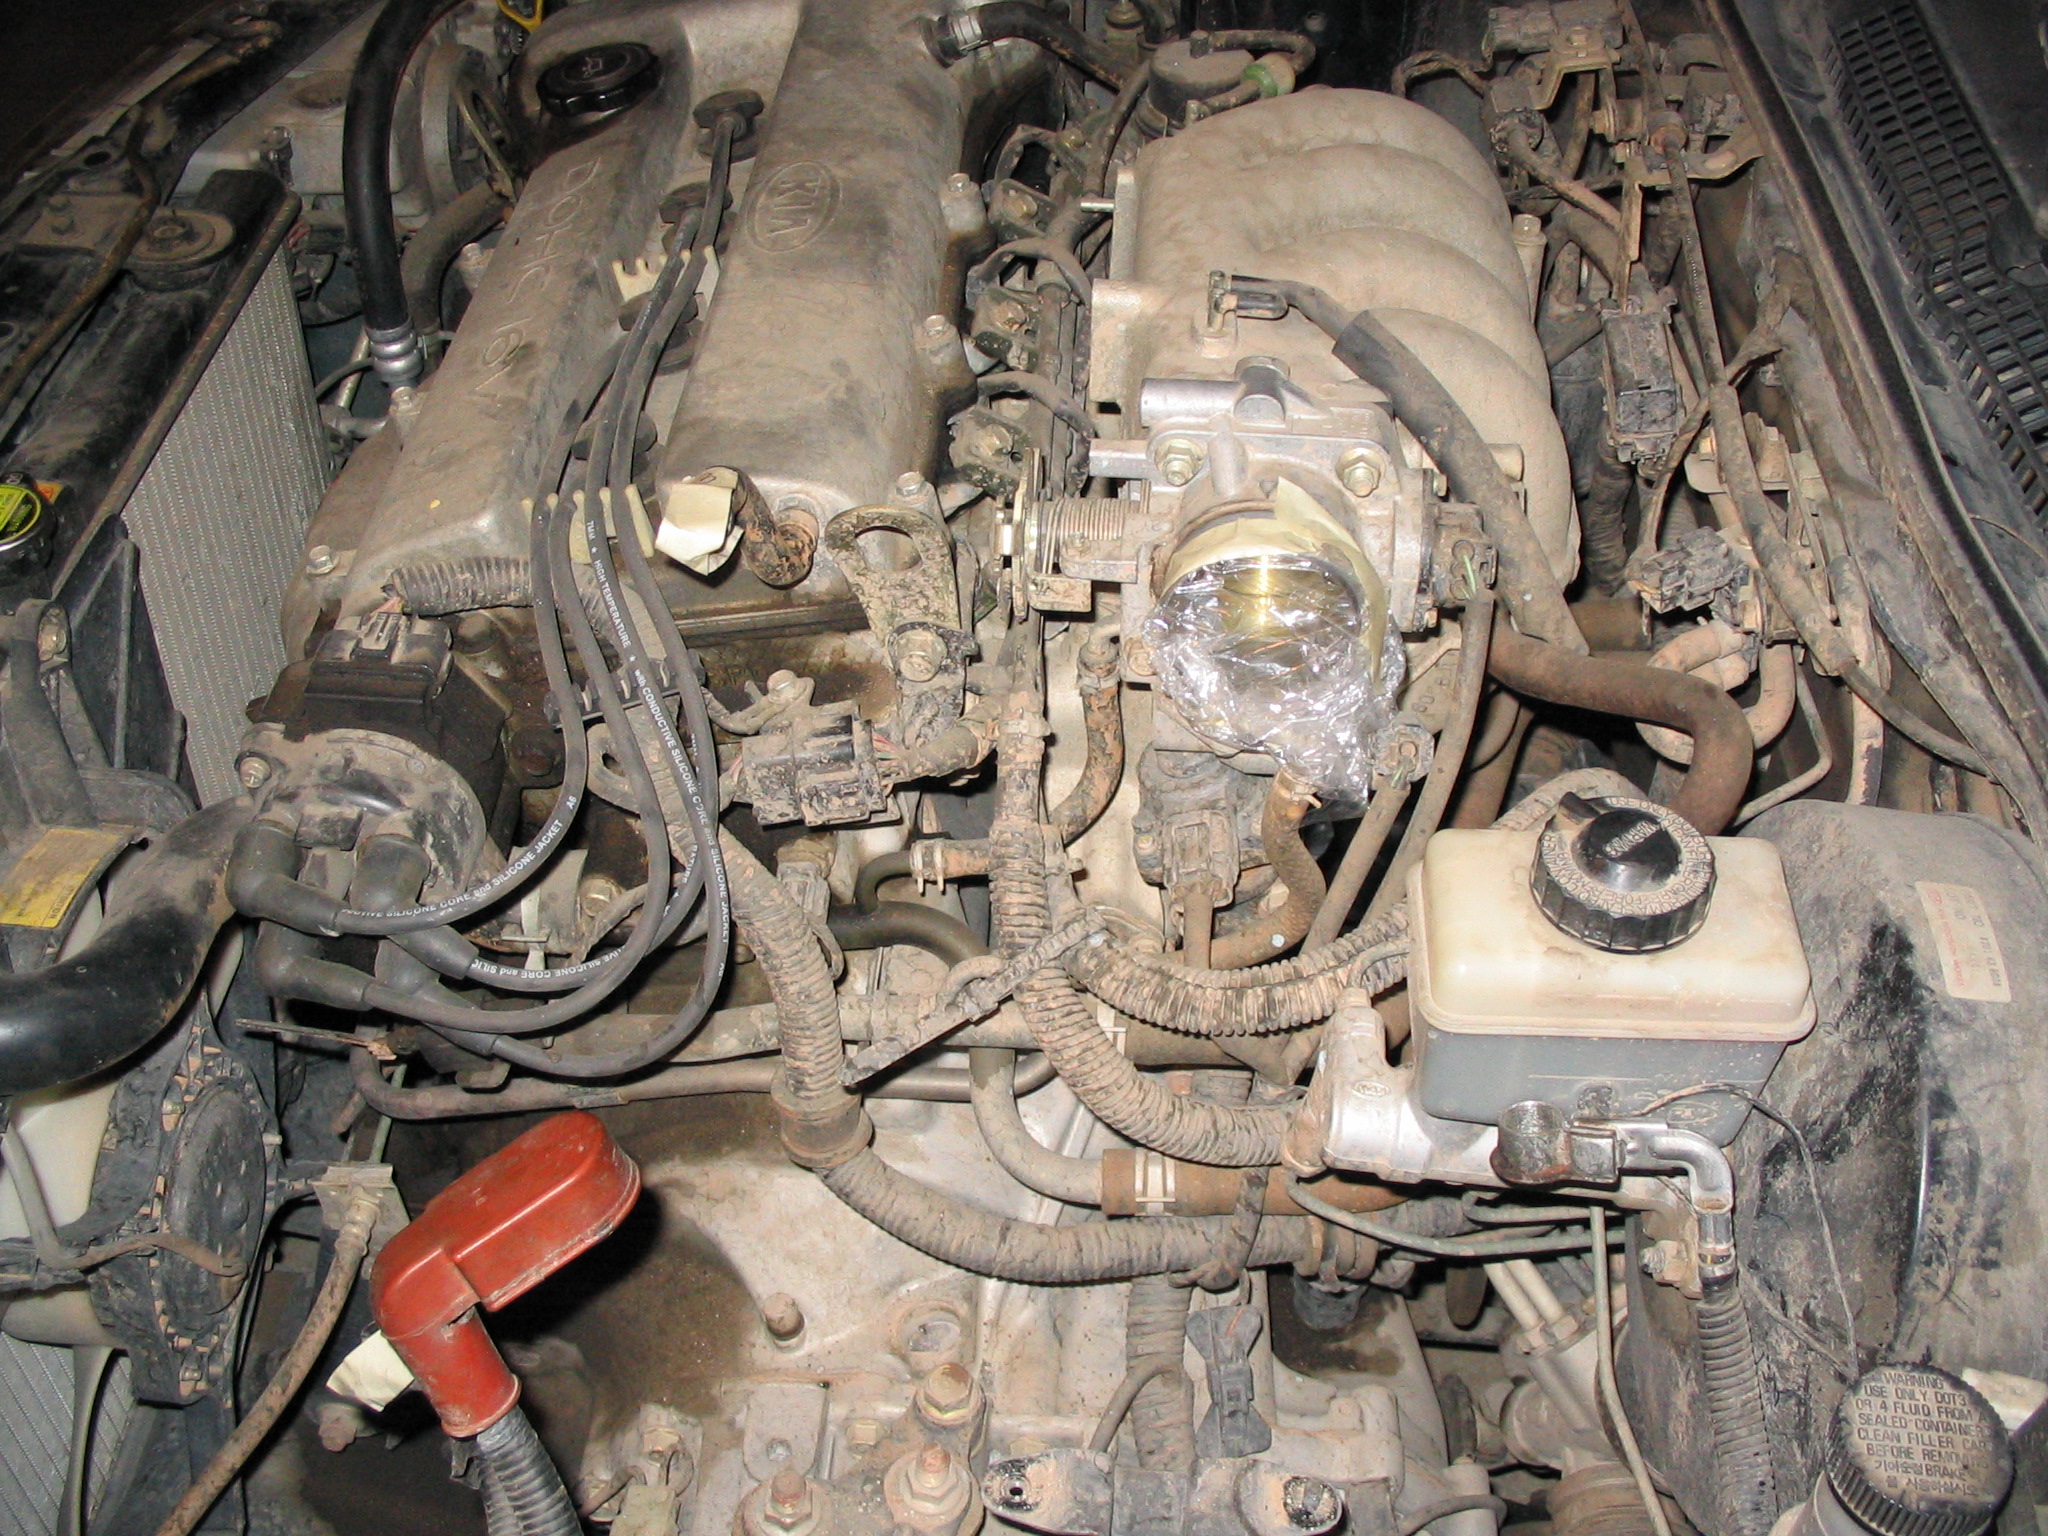
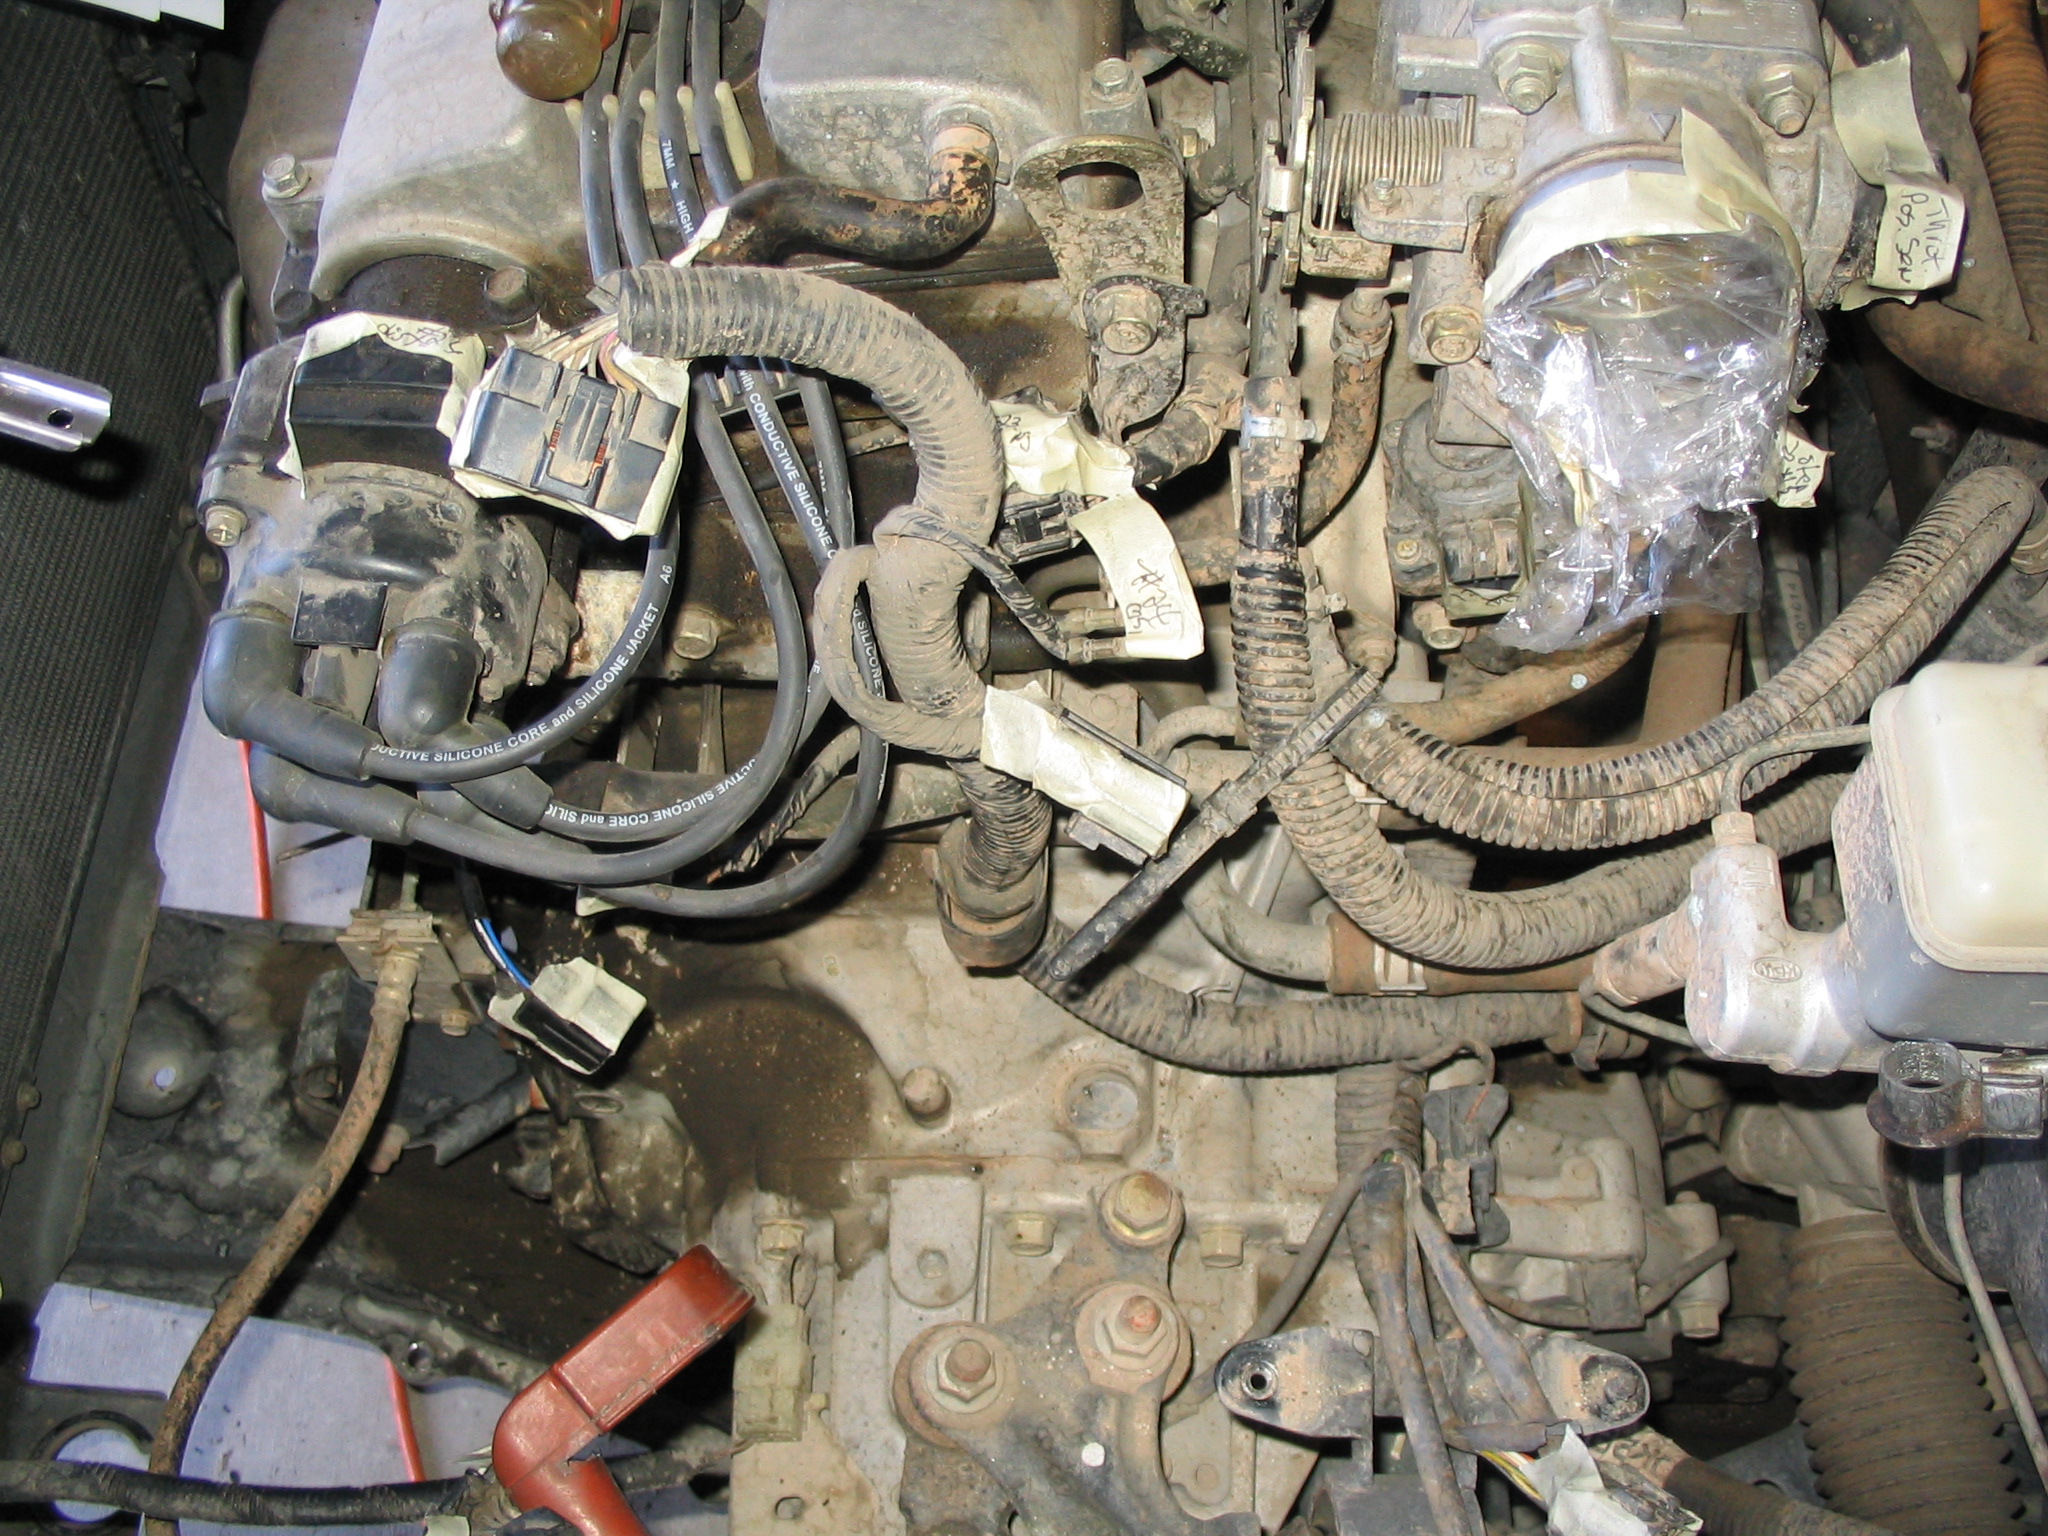
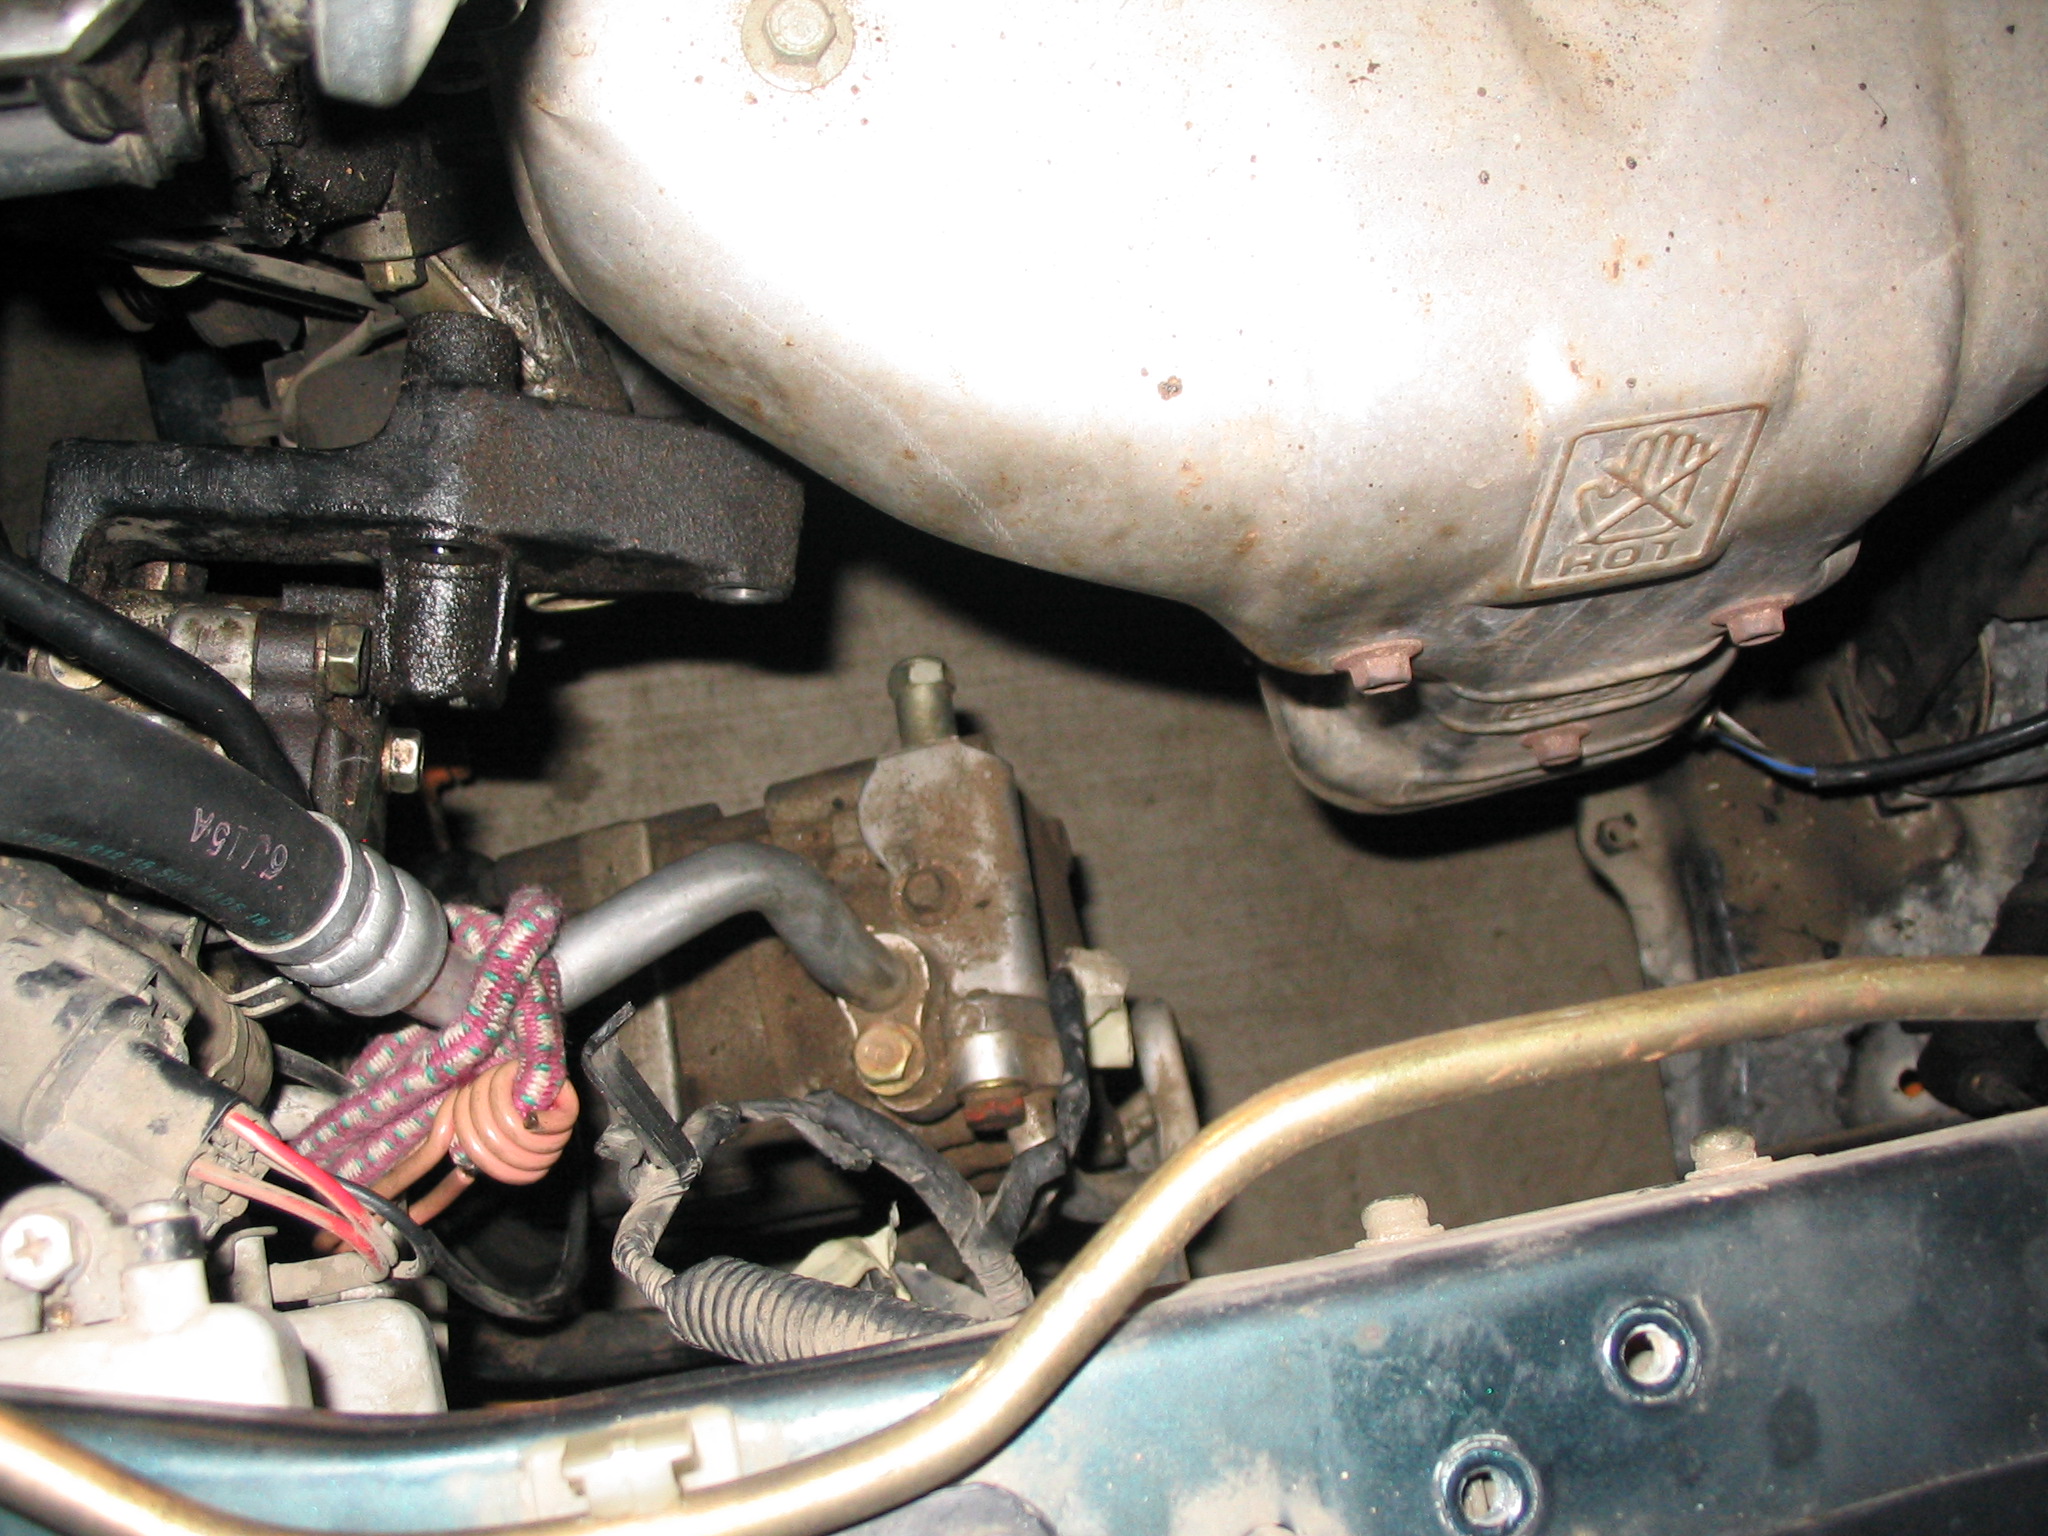
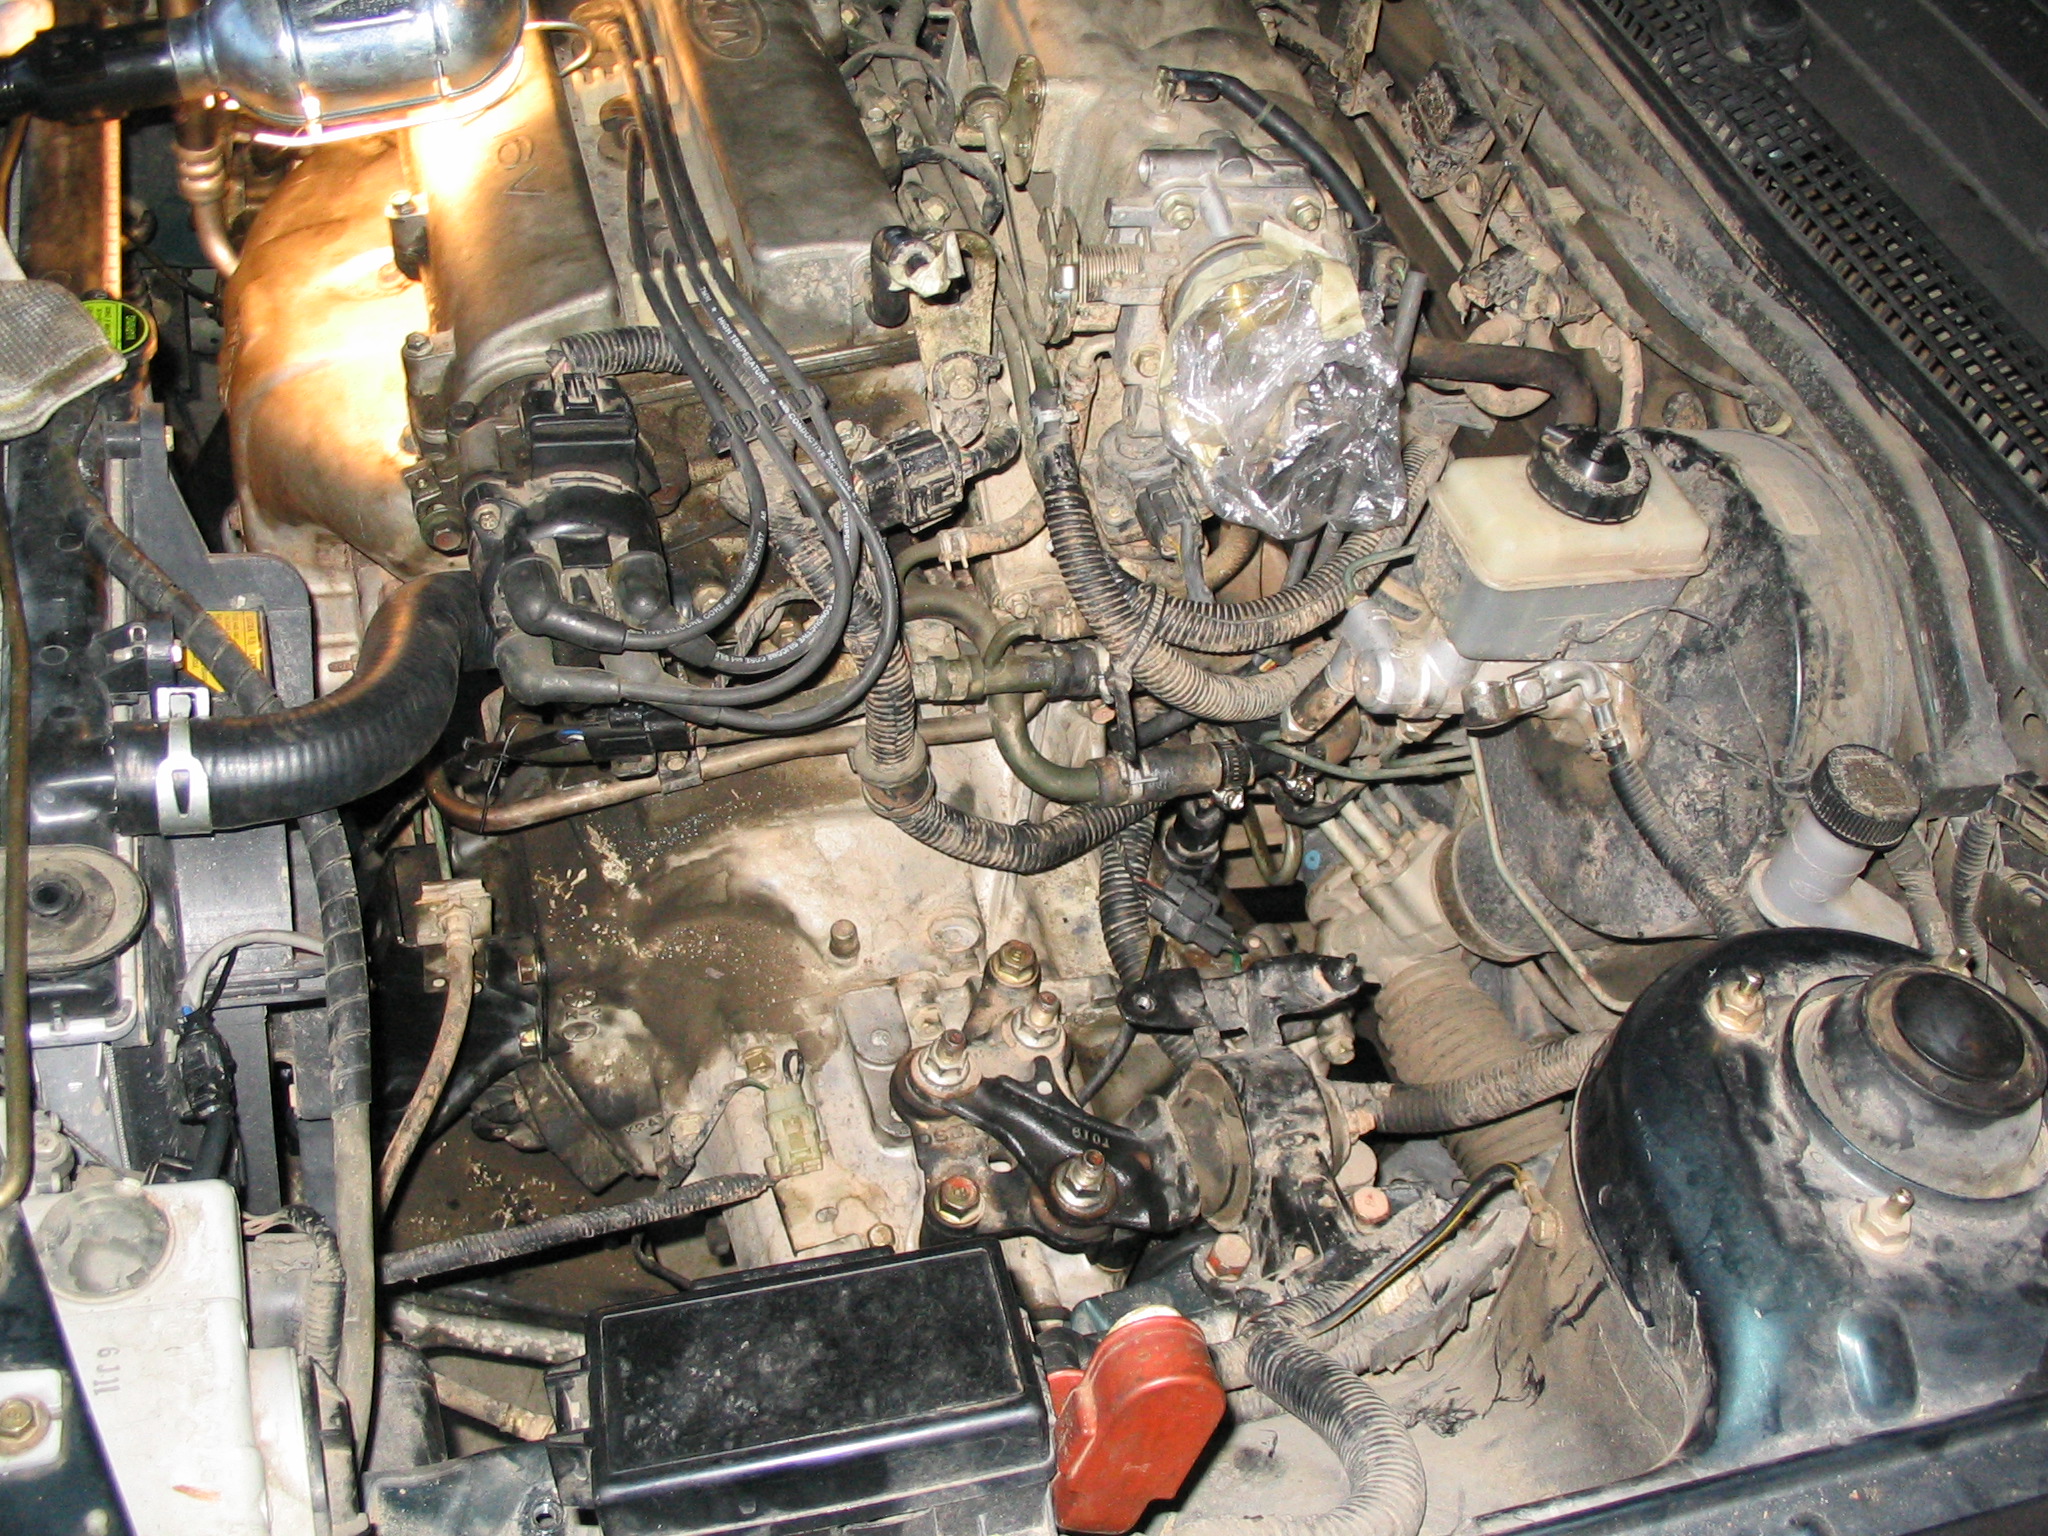
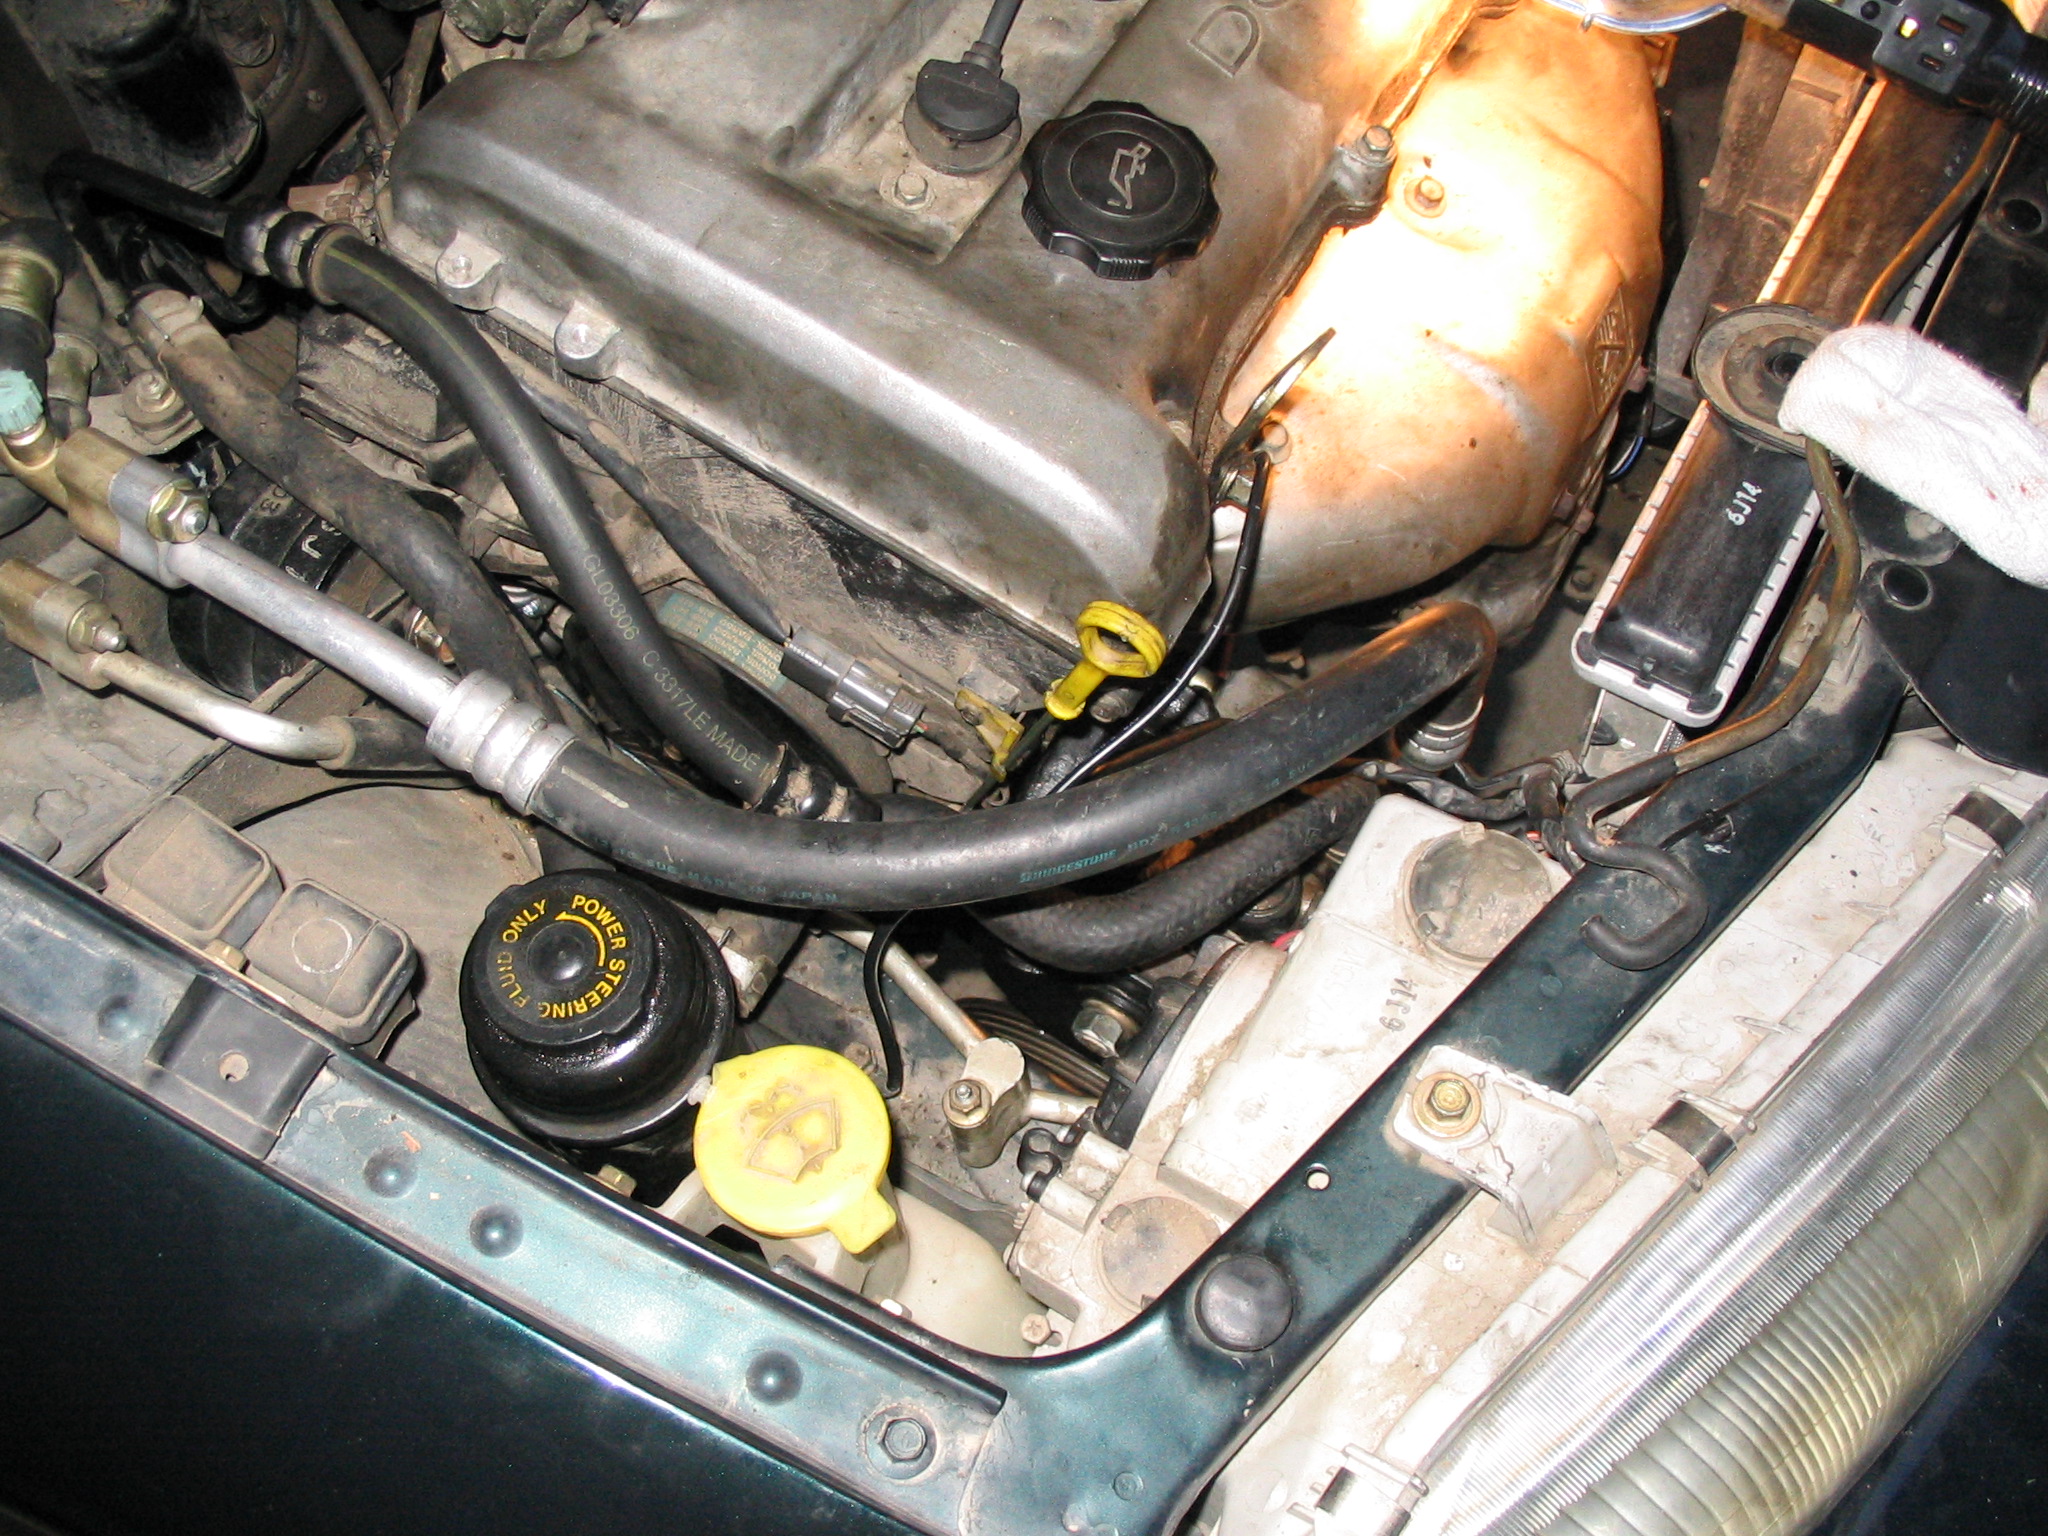
I then proceeded to remove parts according to the shop manual. I used masking tape and a Sharpie to mark the Step number on each part. I also use the tape and Sharpie to mark the the hole/other half of the hose/connector/etc. that was still in the engine compartment. Note that you can cover (protect) the end of the electrical connectors with the tape so you don't have to worry about contaminants getting in the connector while you are working on the engine. Small parts were put in baggies marked with masking tape and a sharpie. Here are some picture showing the engine compartment as parts are being removed and marked:
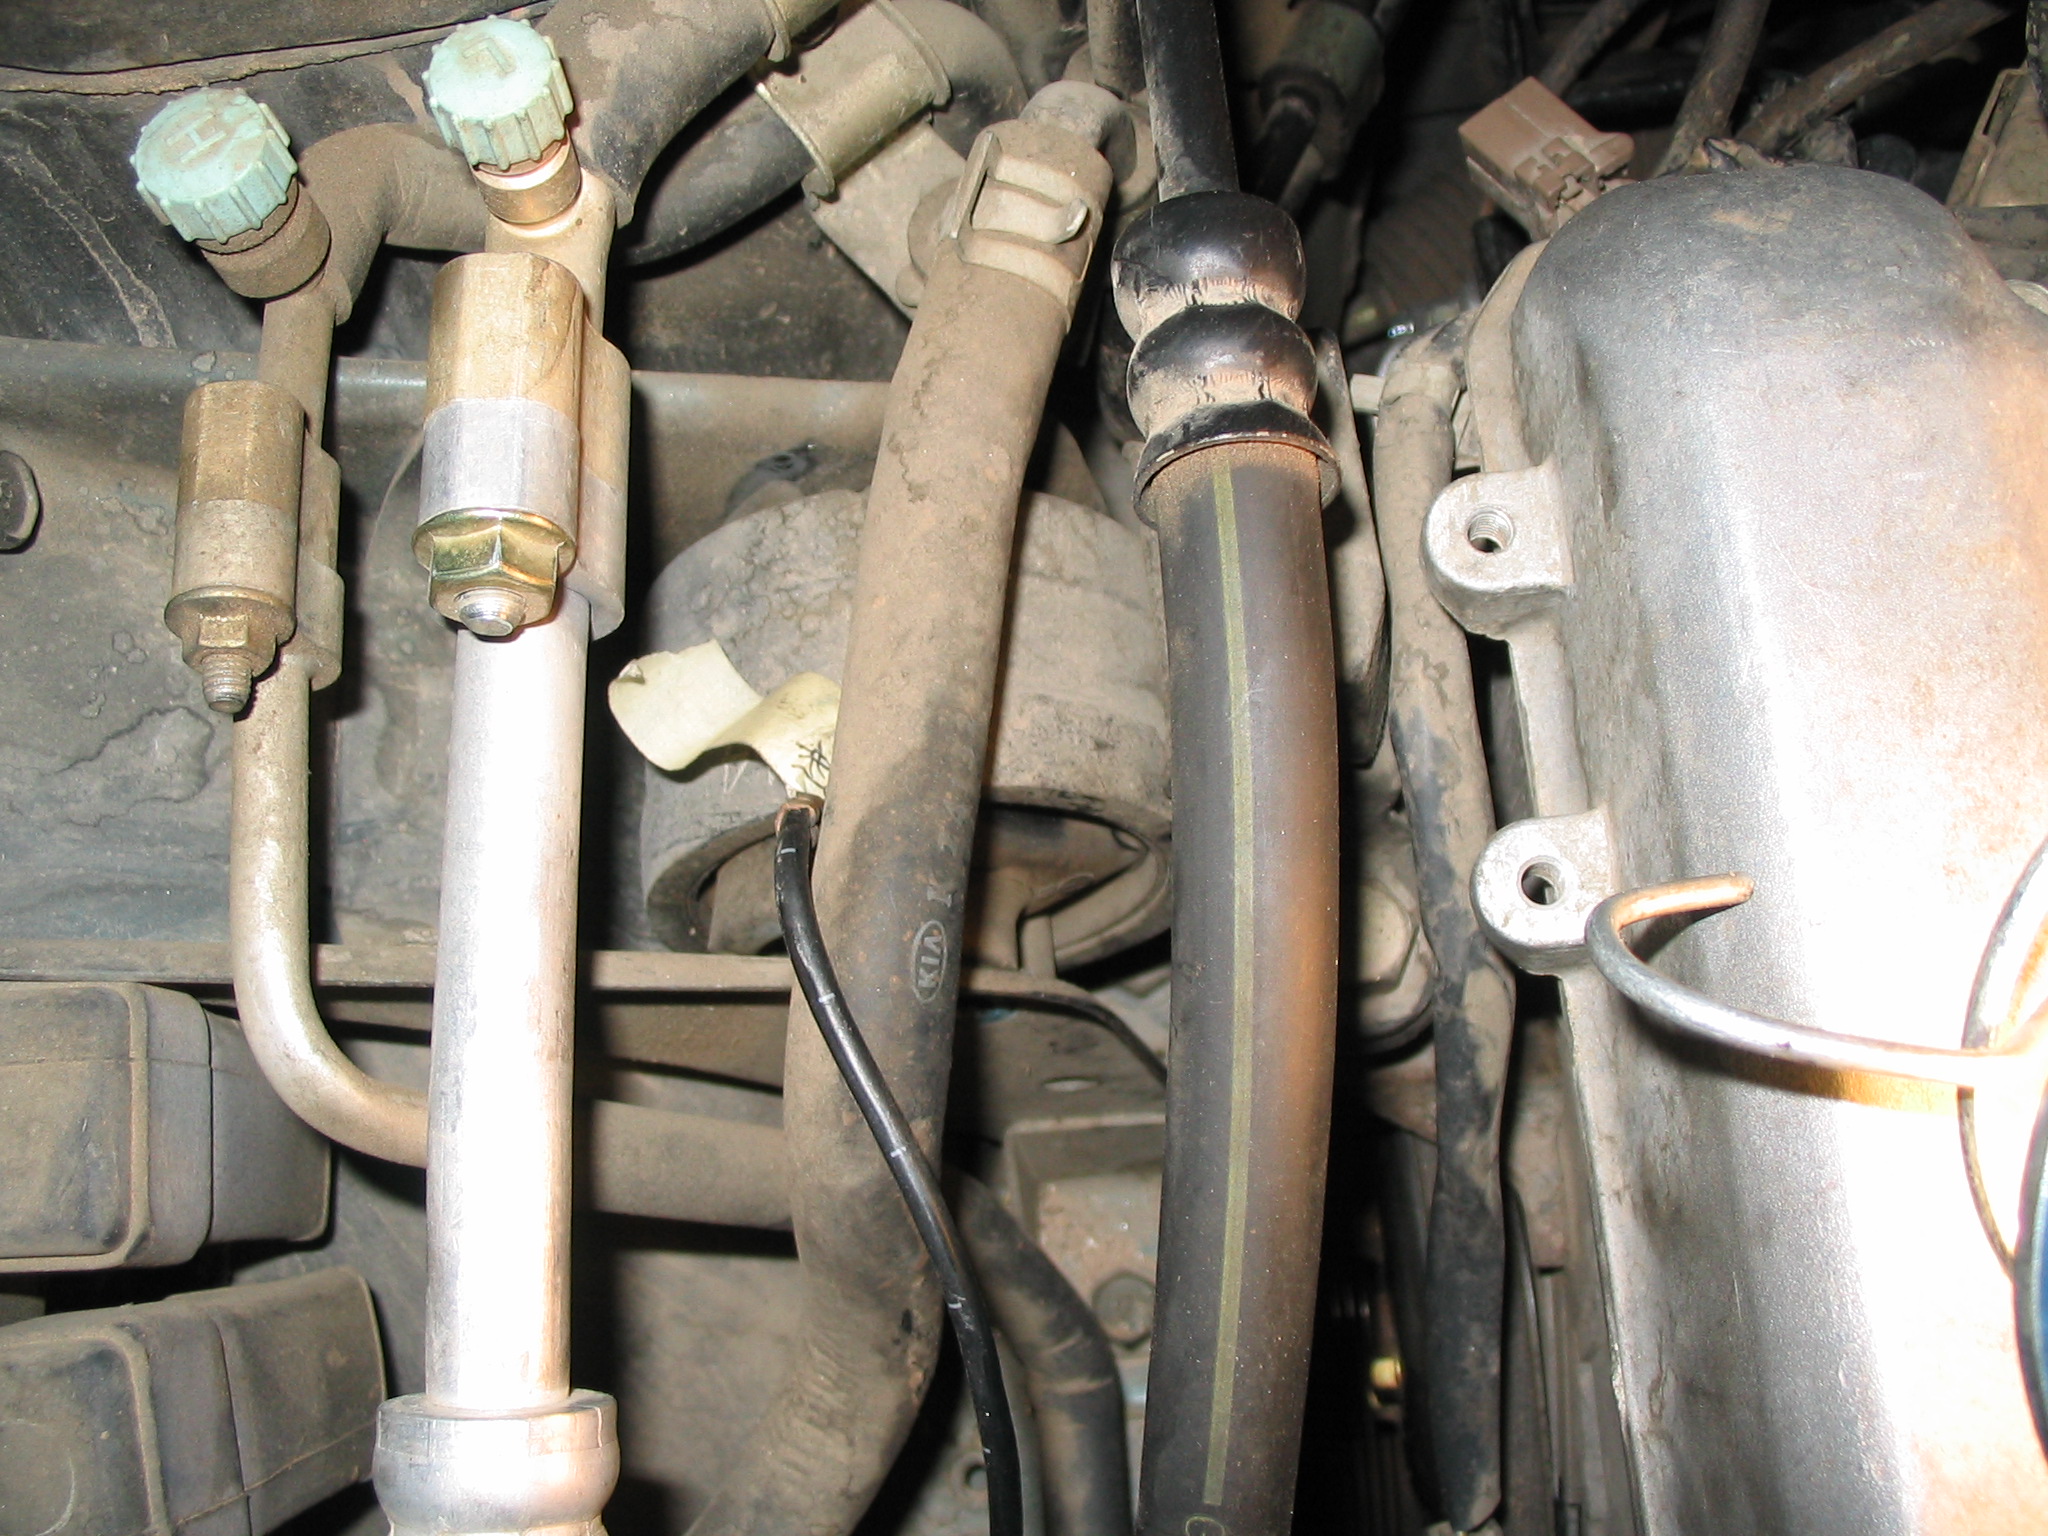
I think the hardest part to remove was the Power Steering pump. I didn't disconnect any of the lines, just had to remove the bracket from the engine using this special tool from Sears:
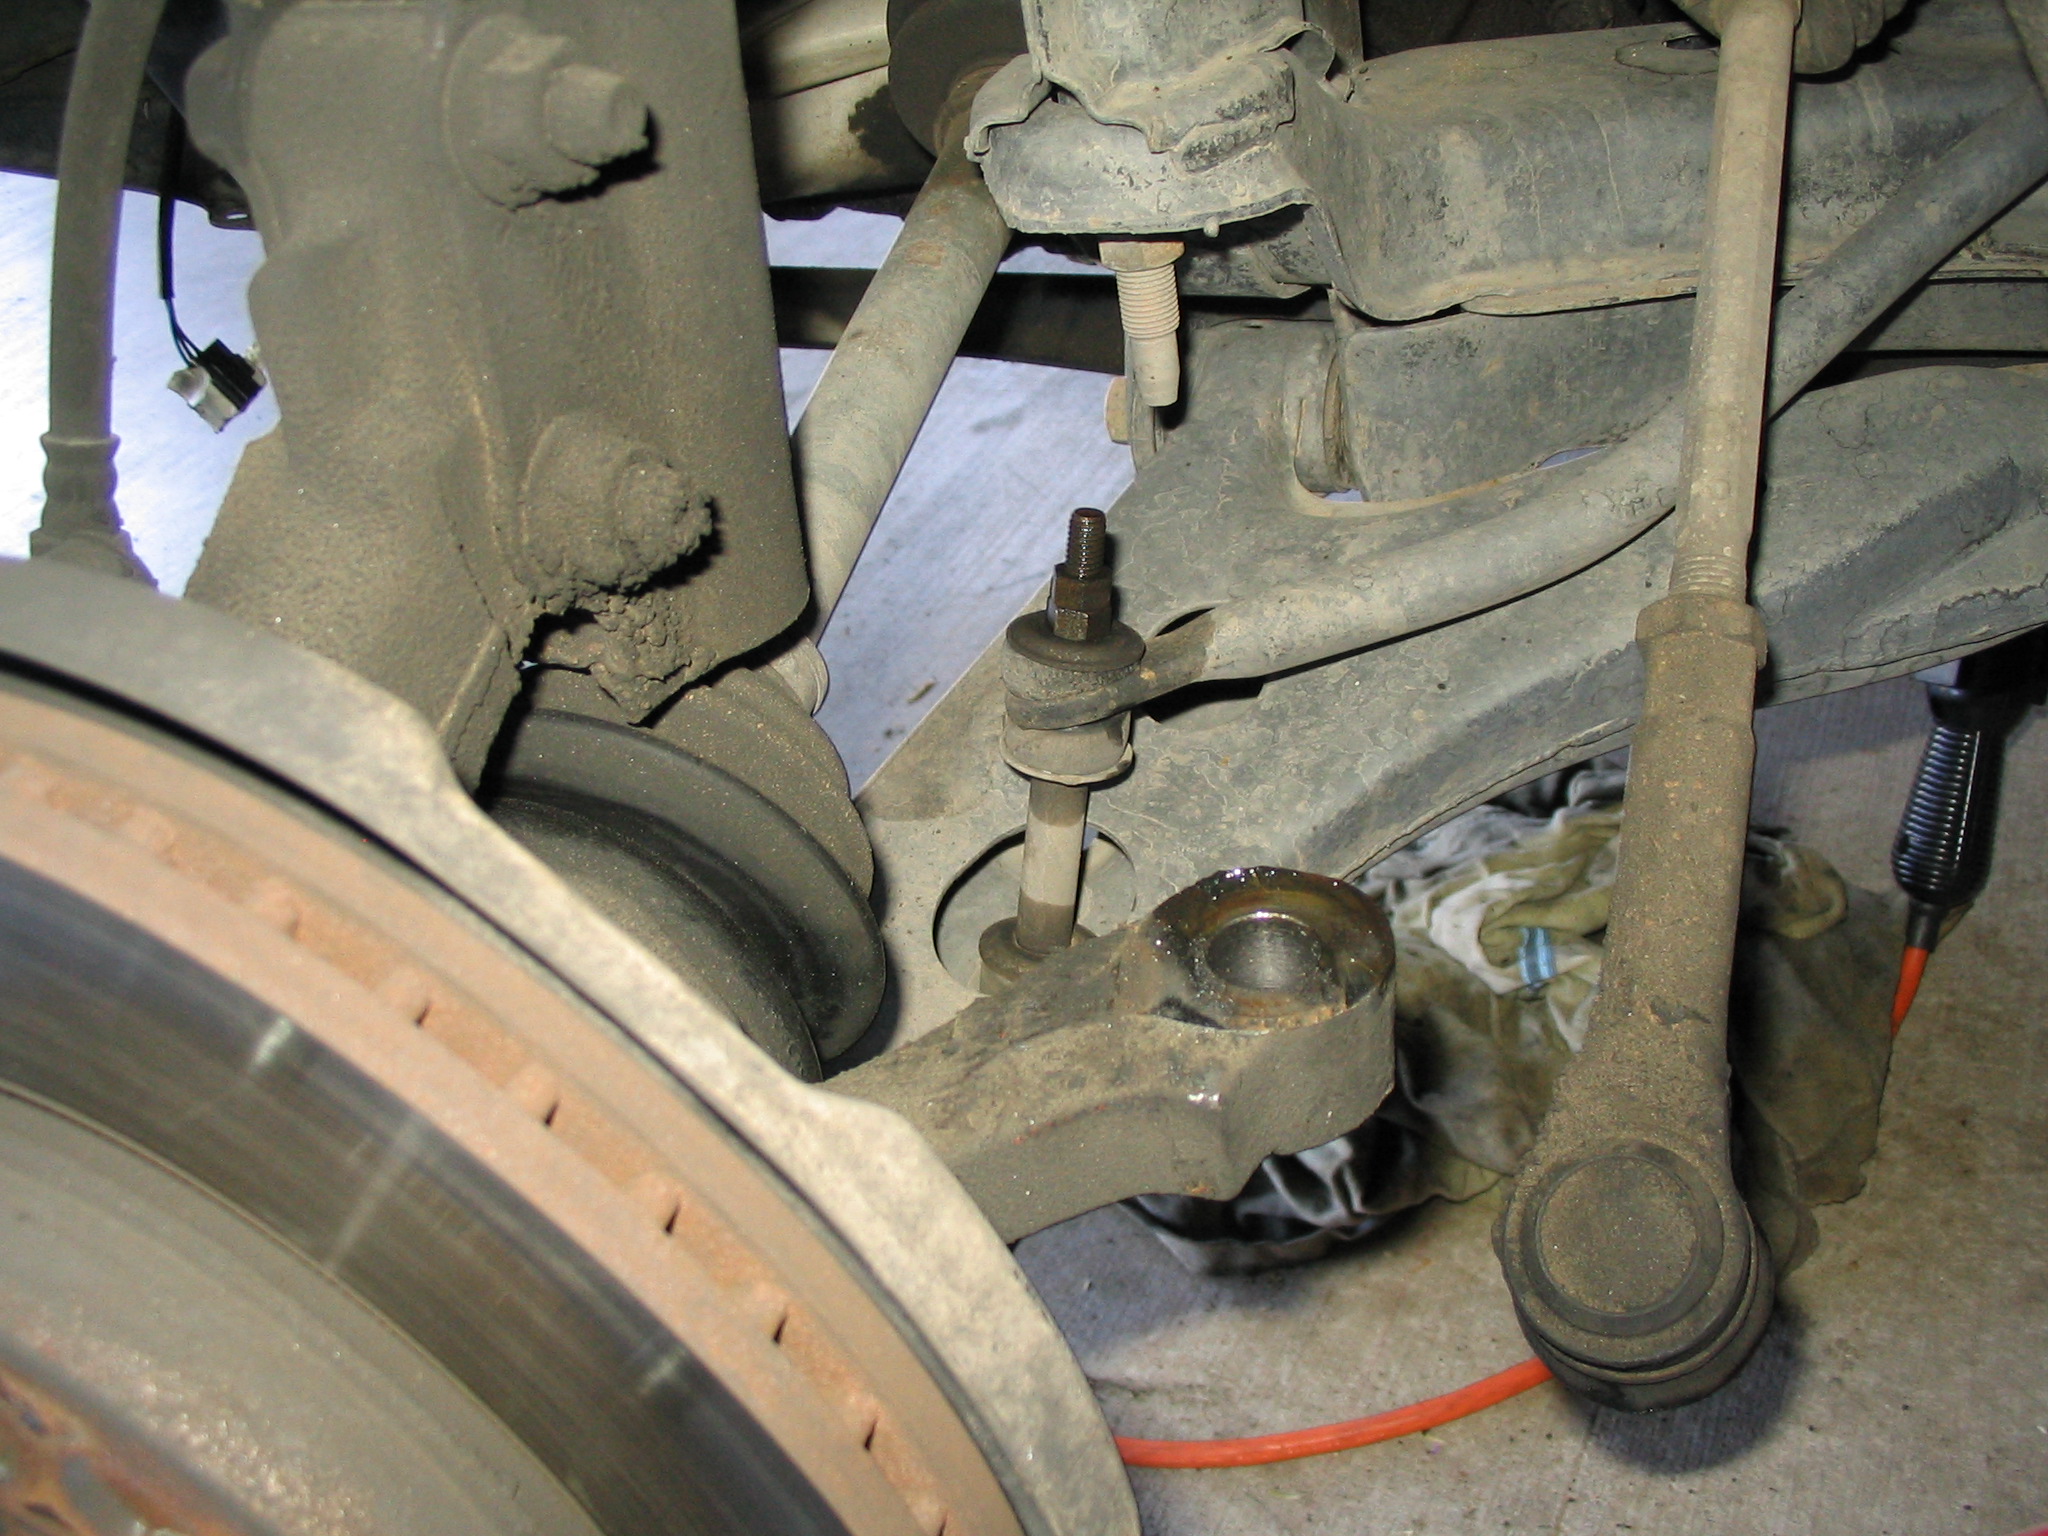
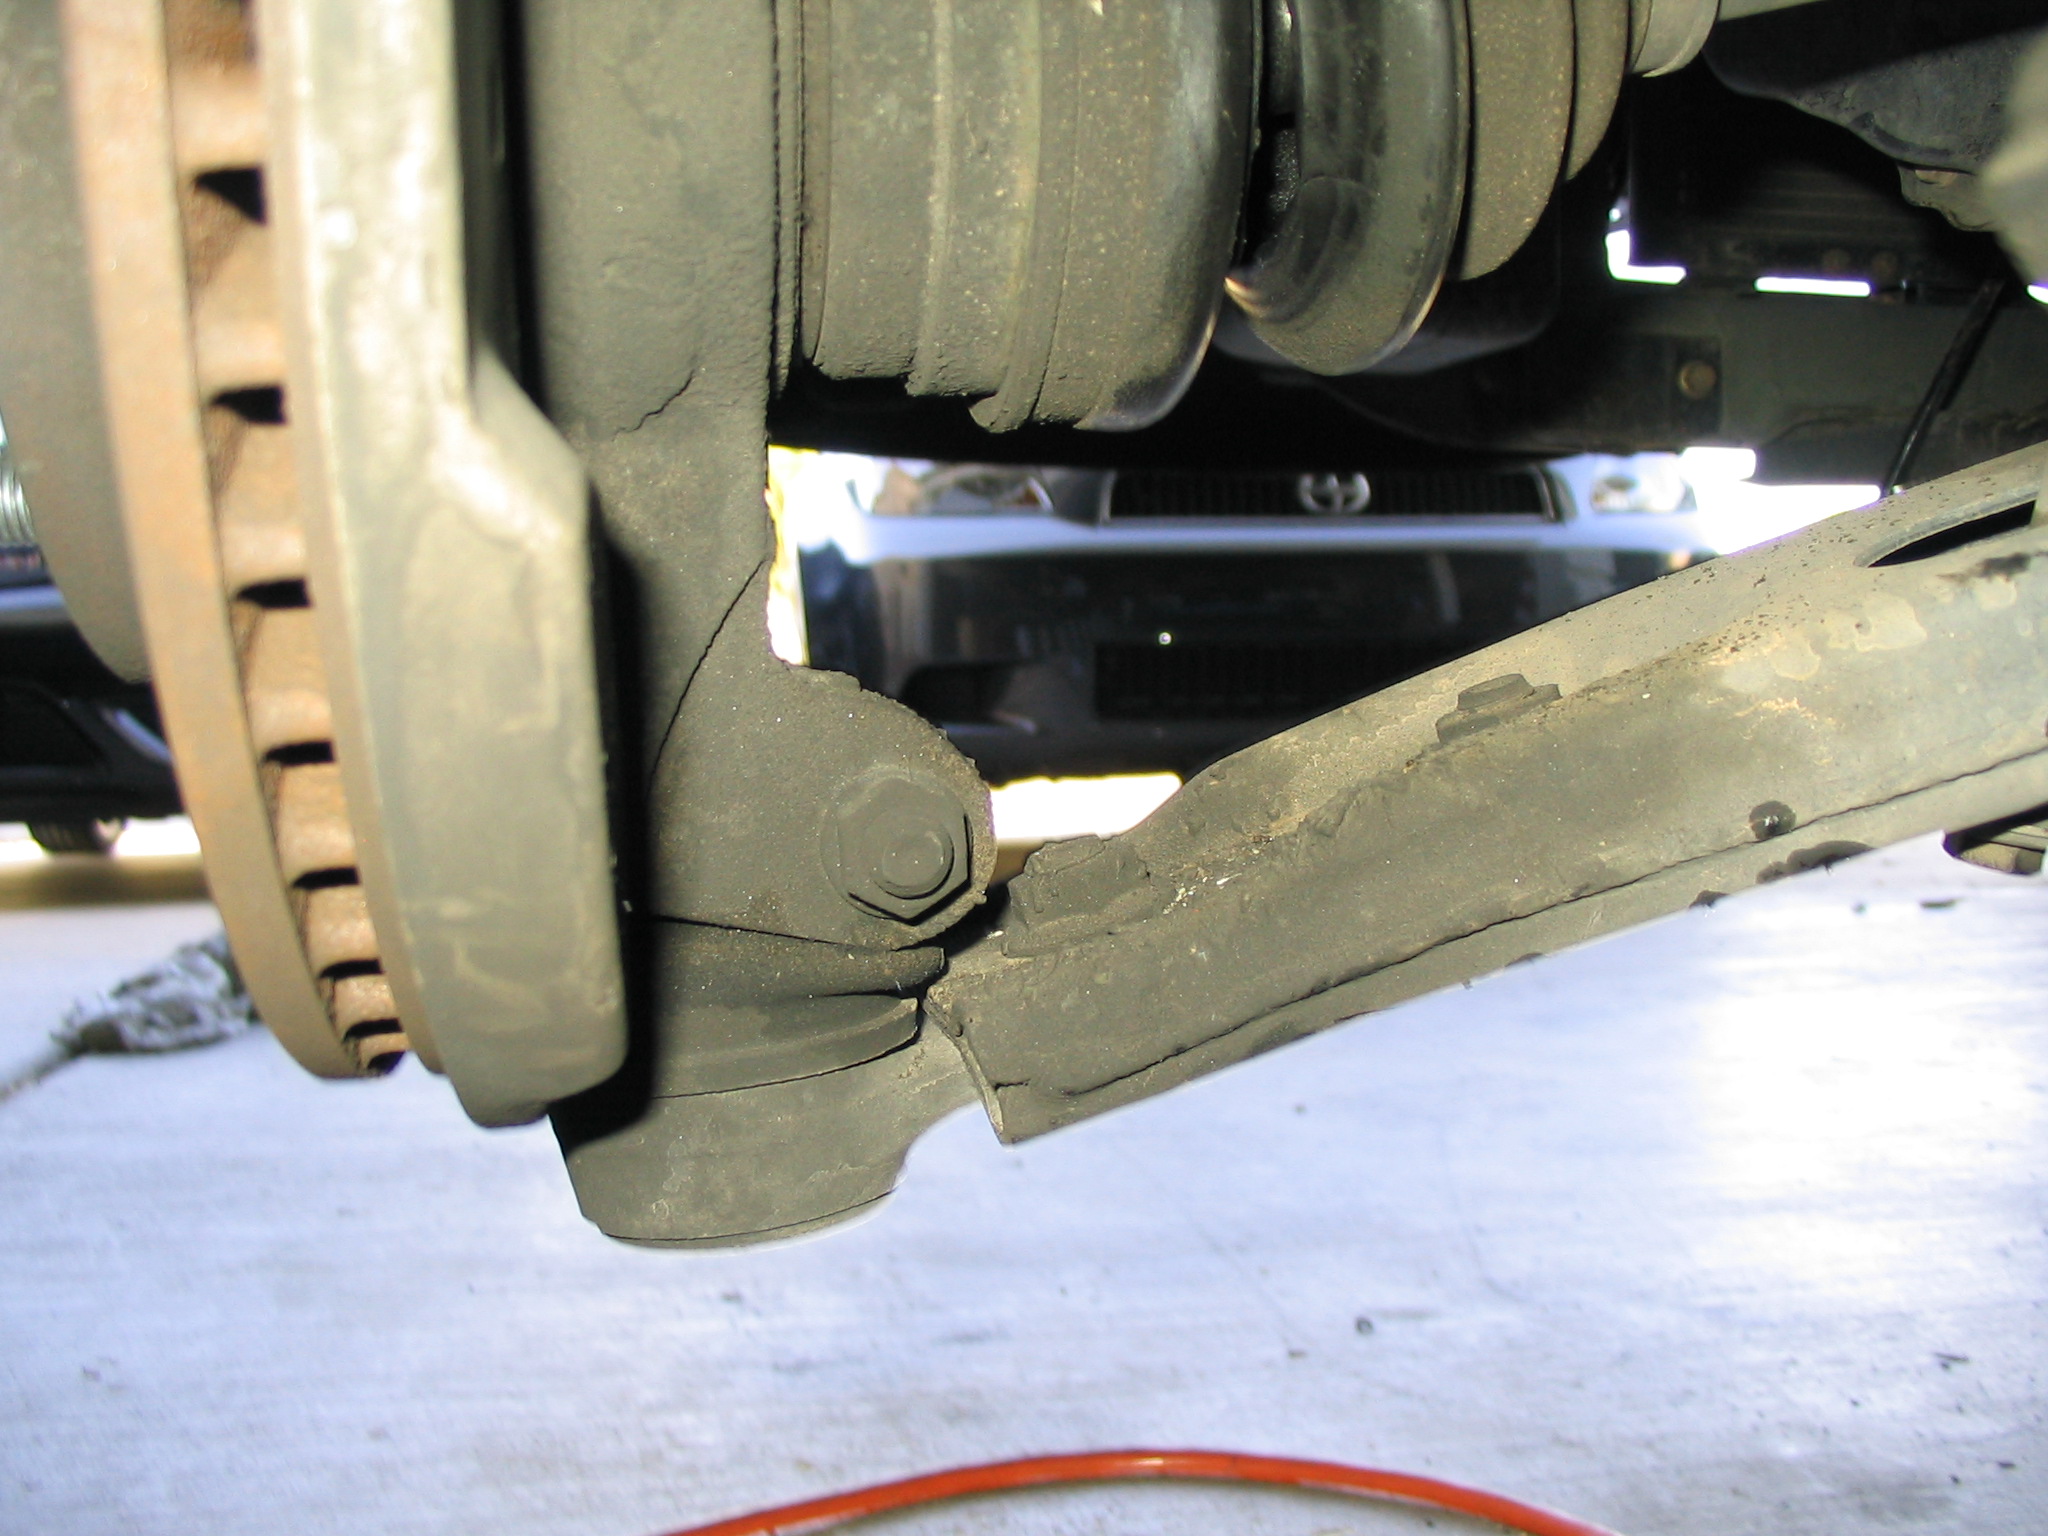
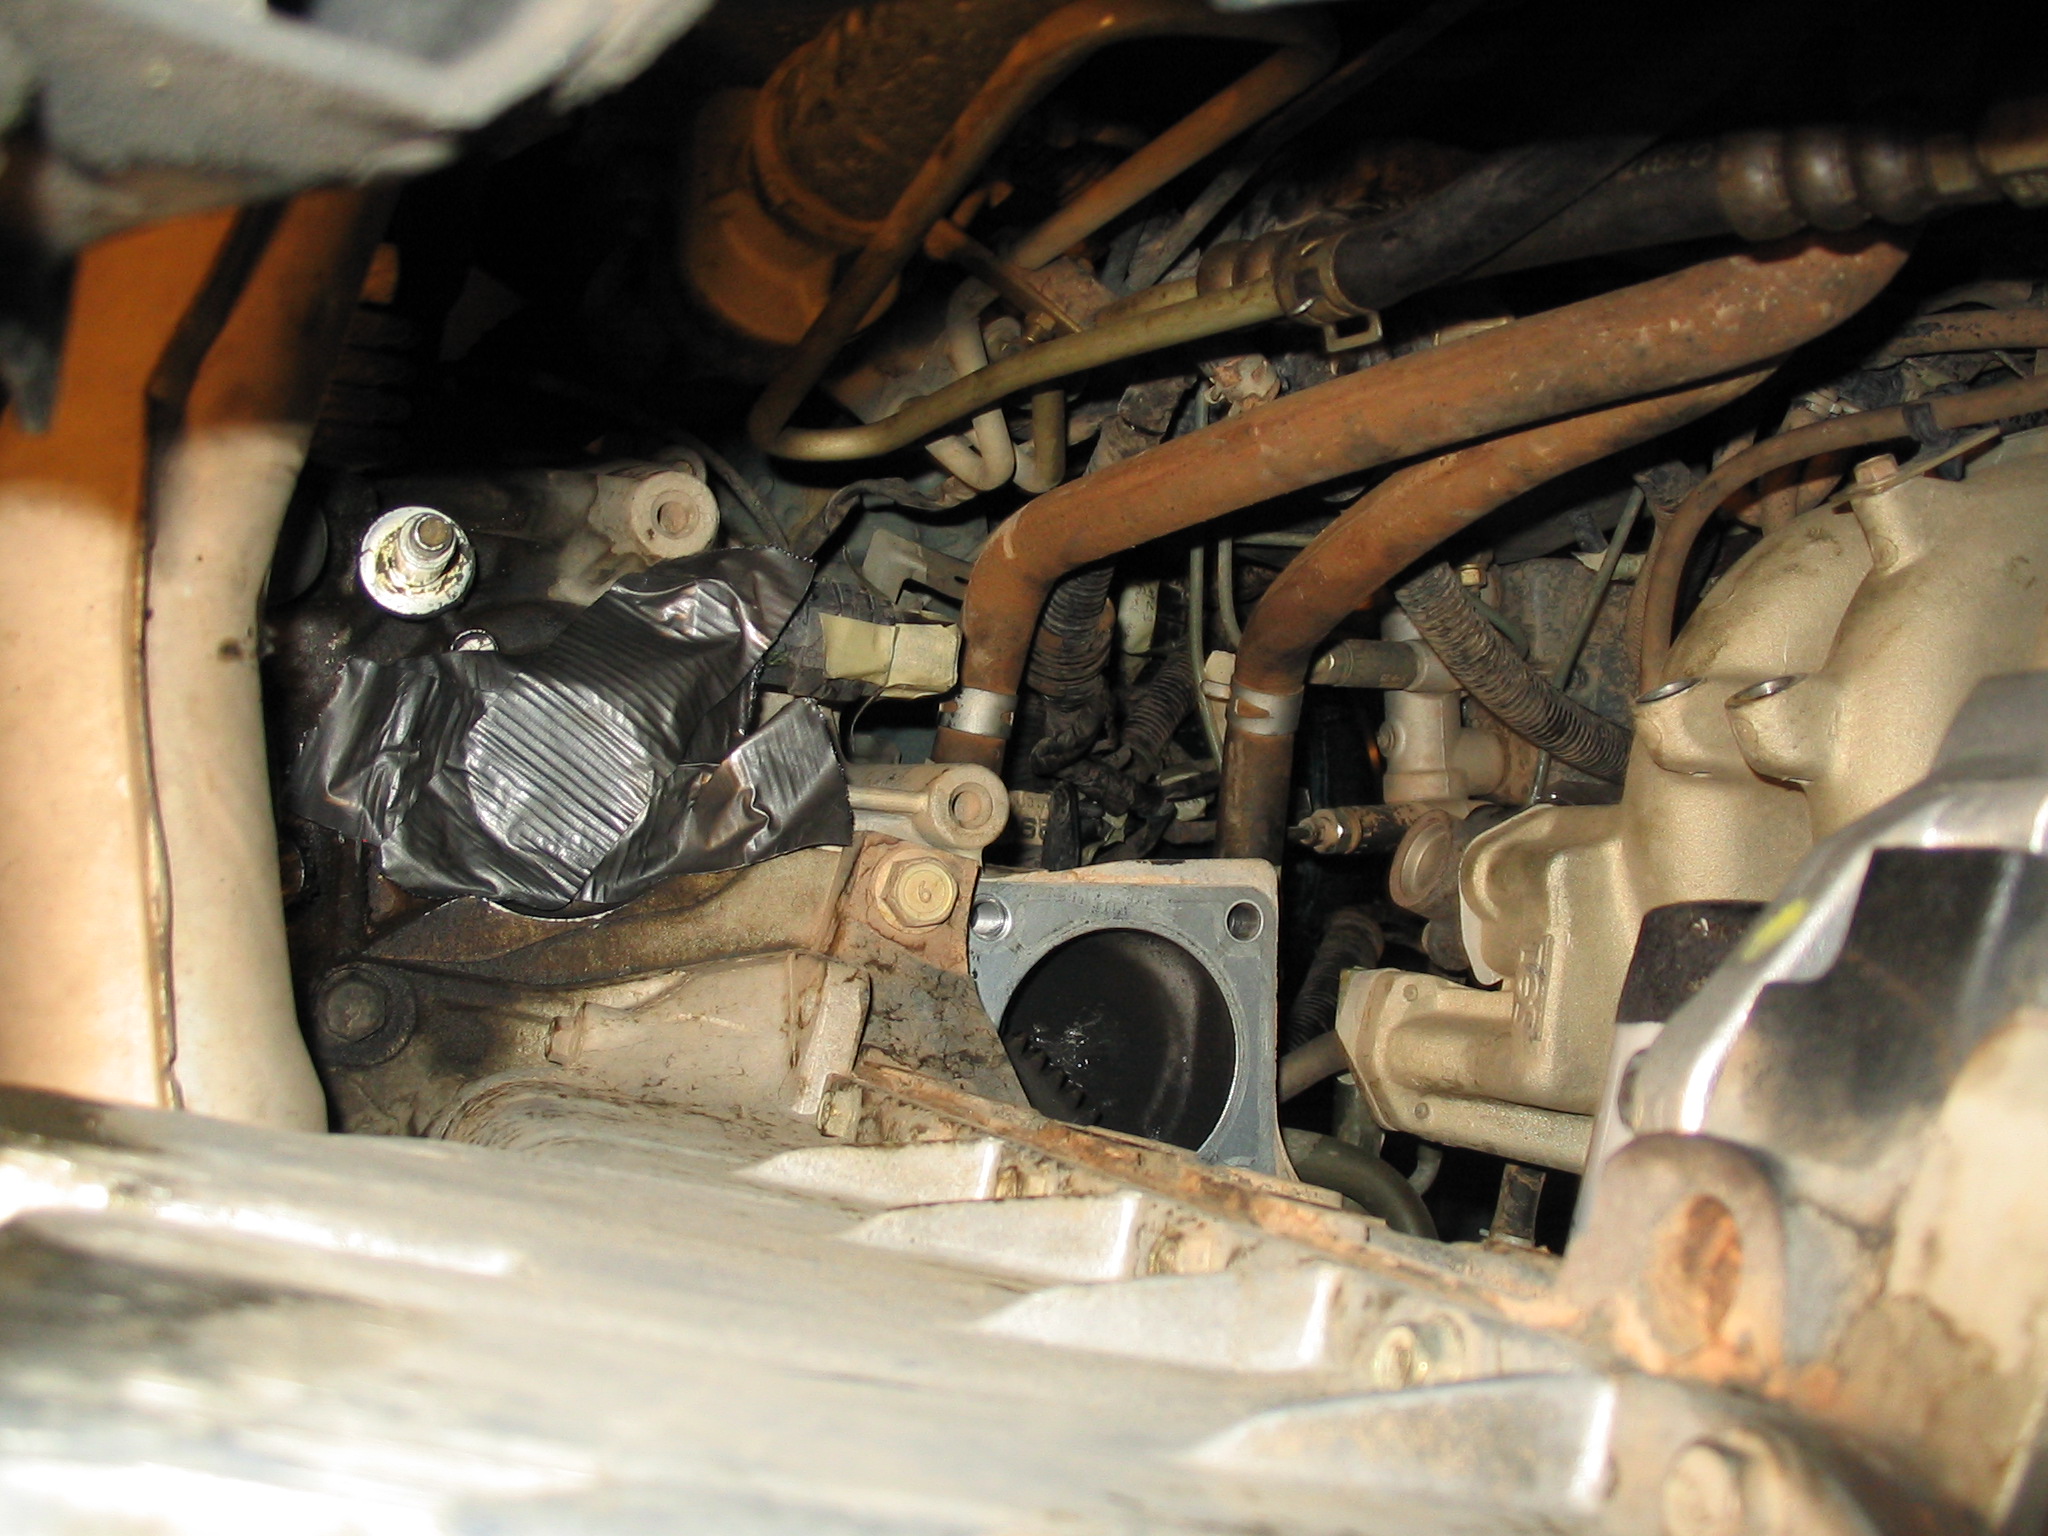
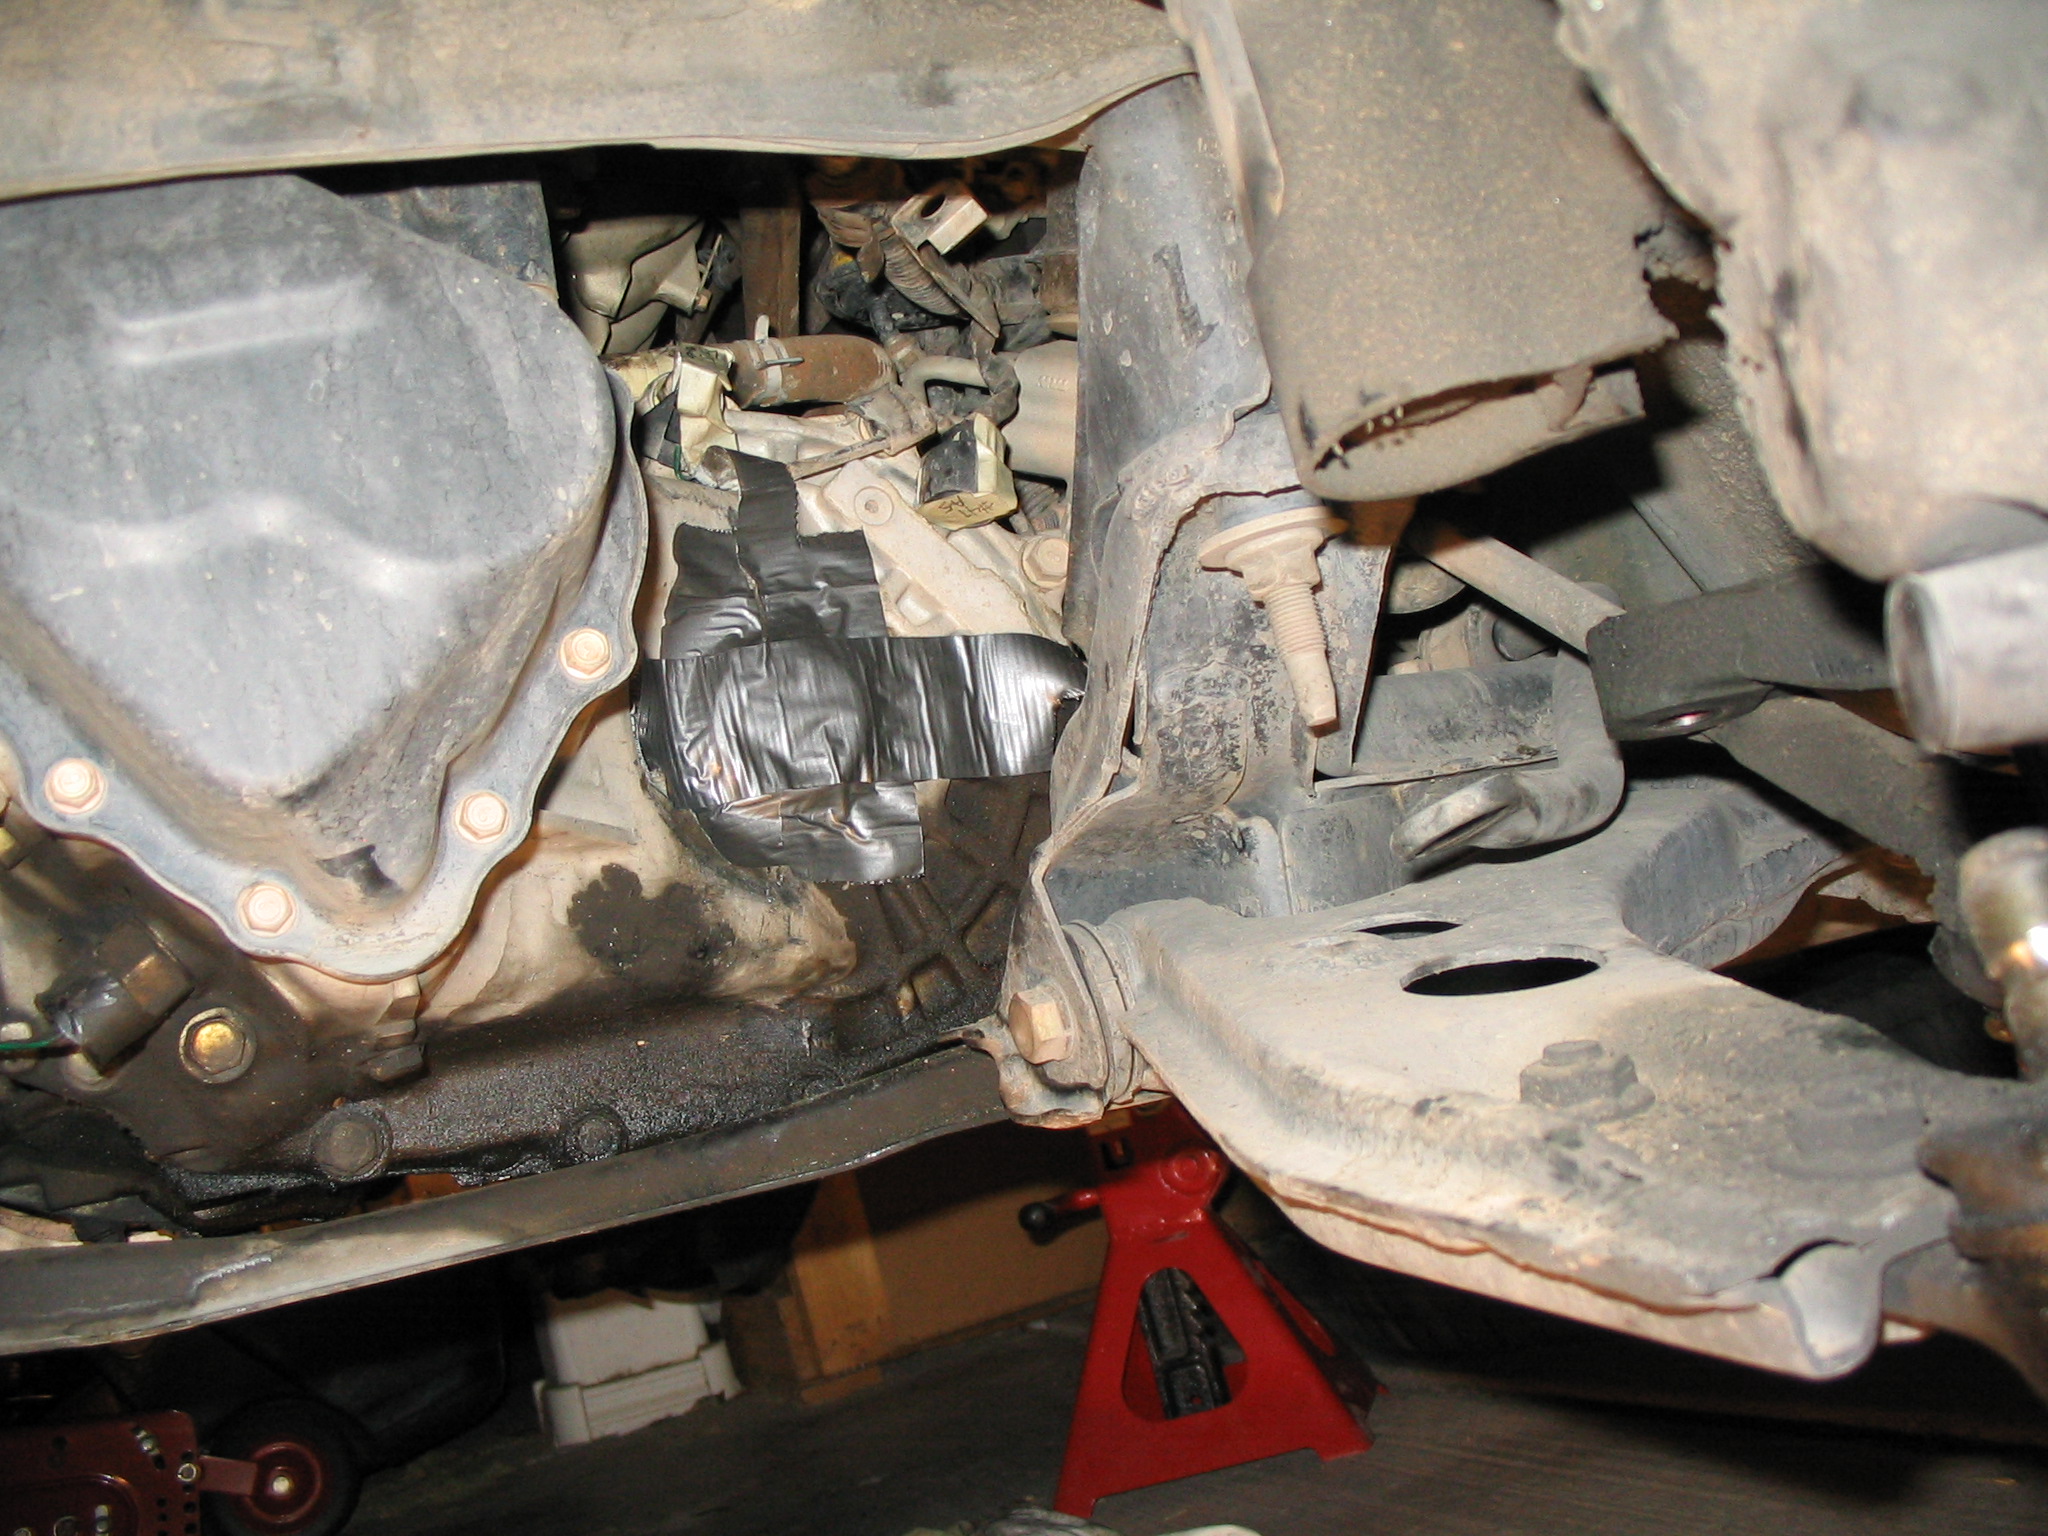
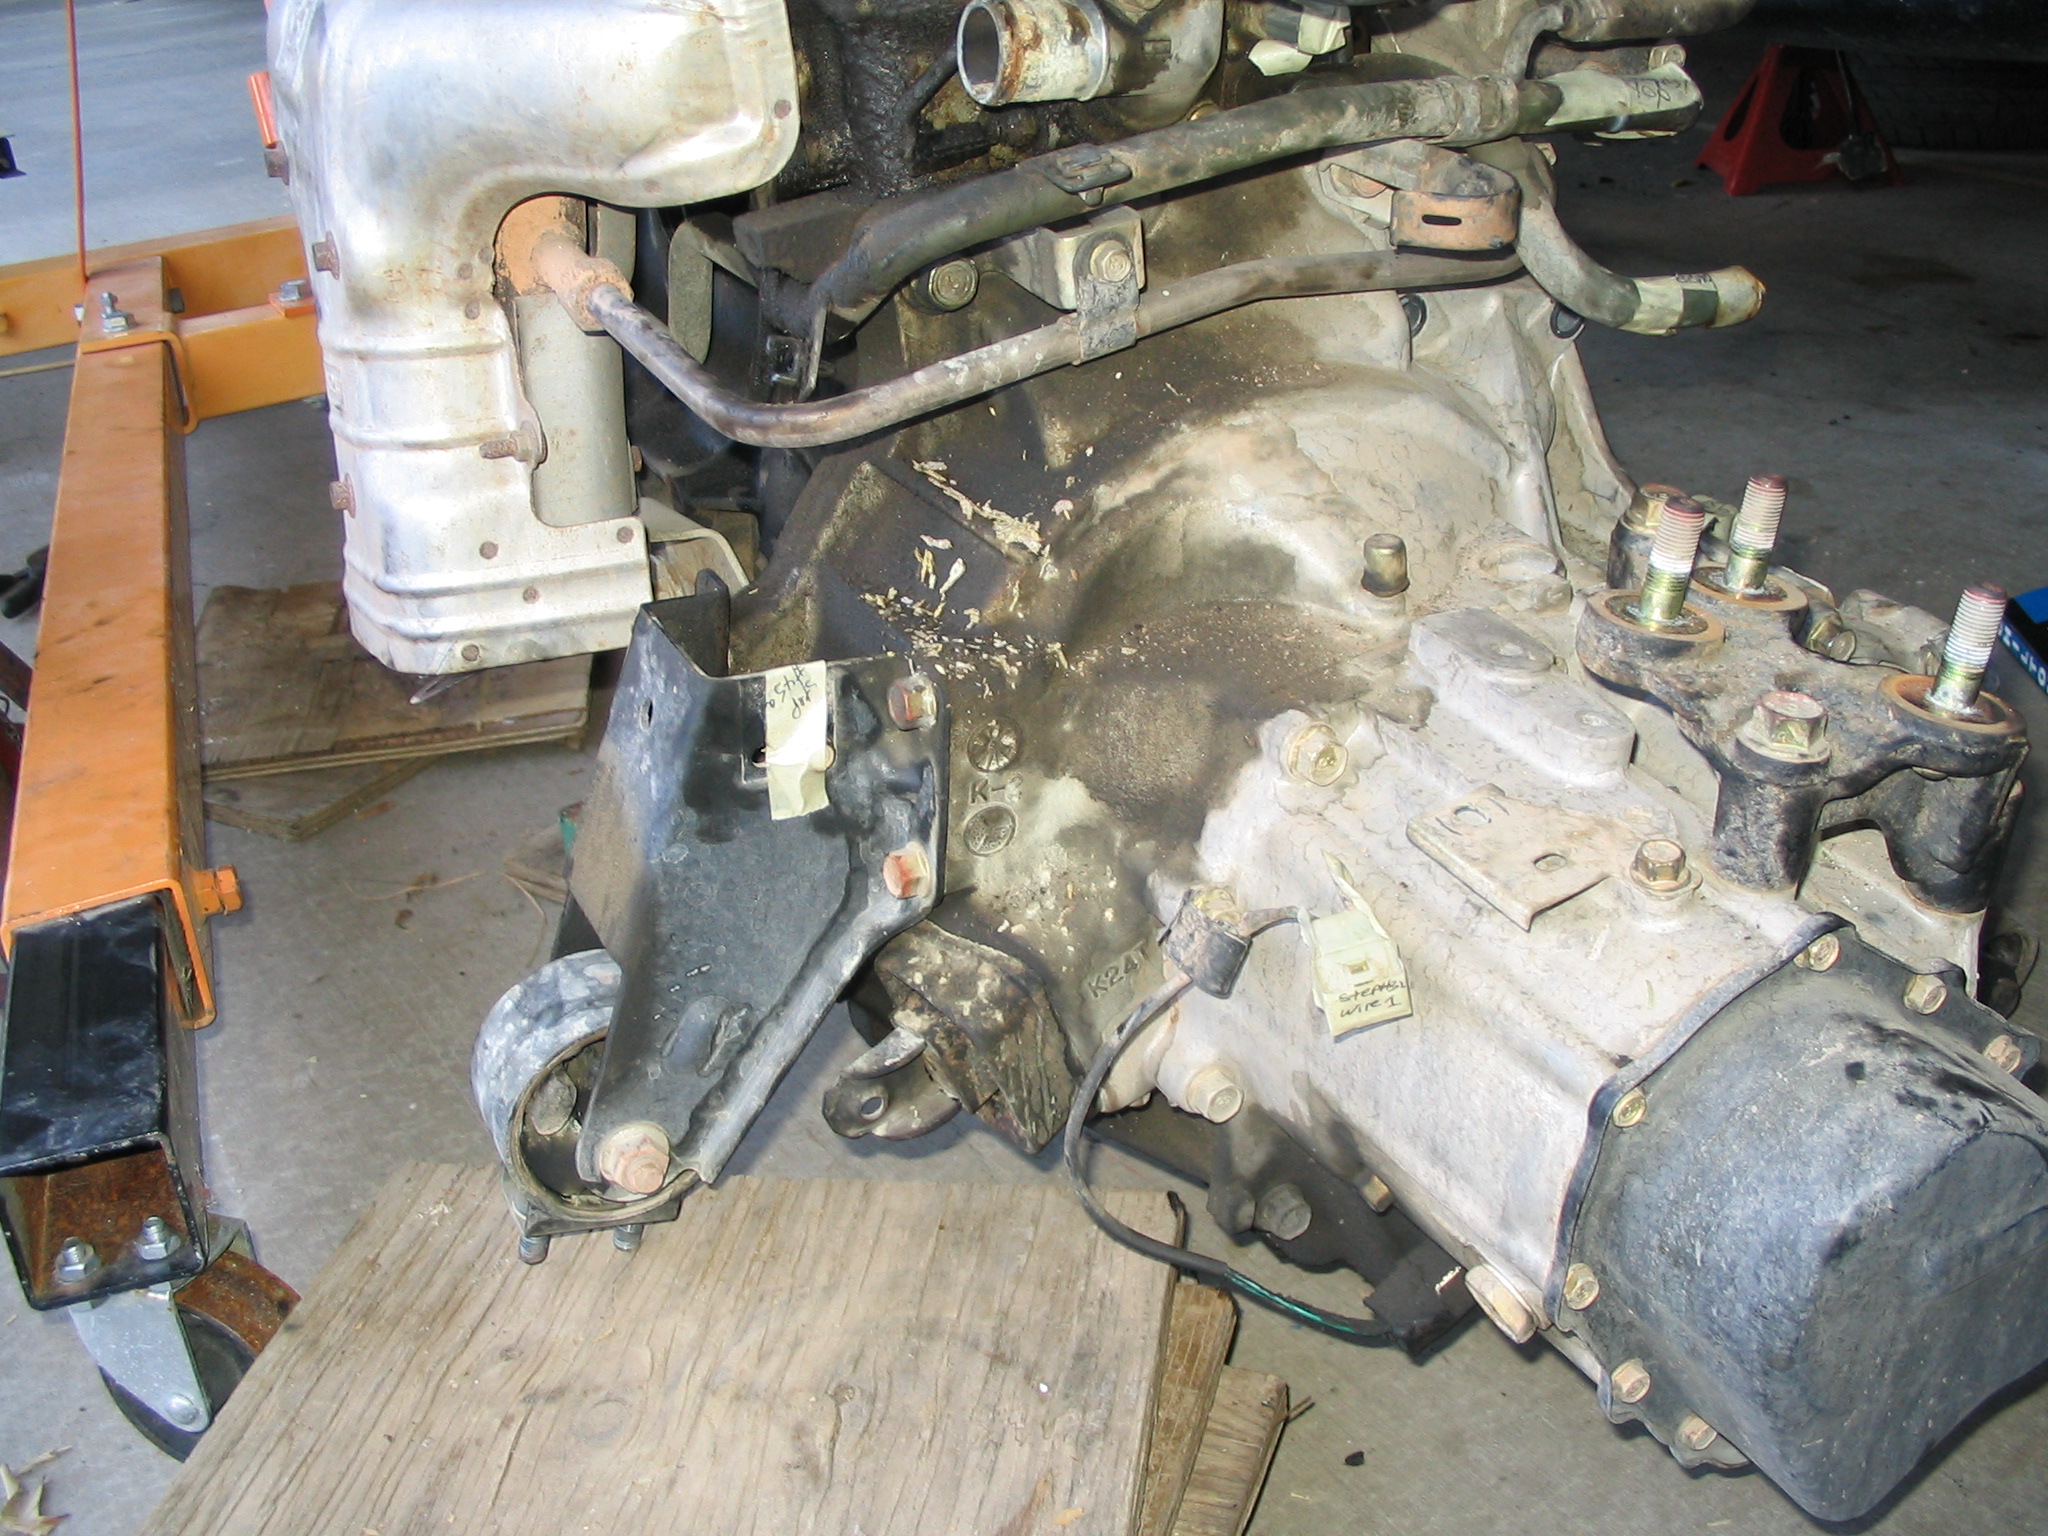
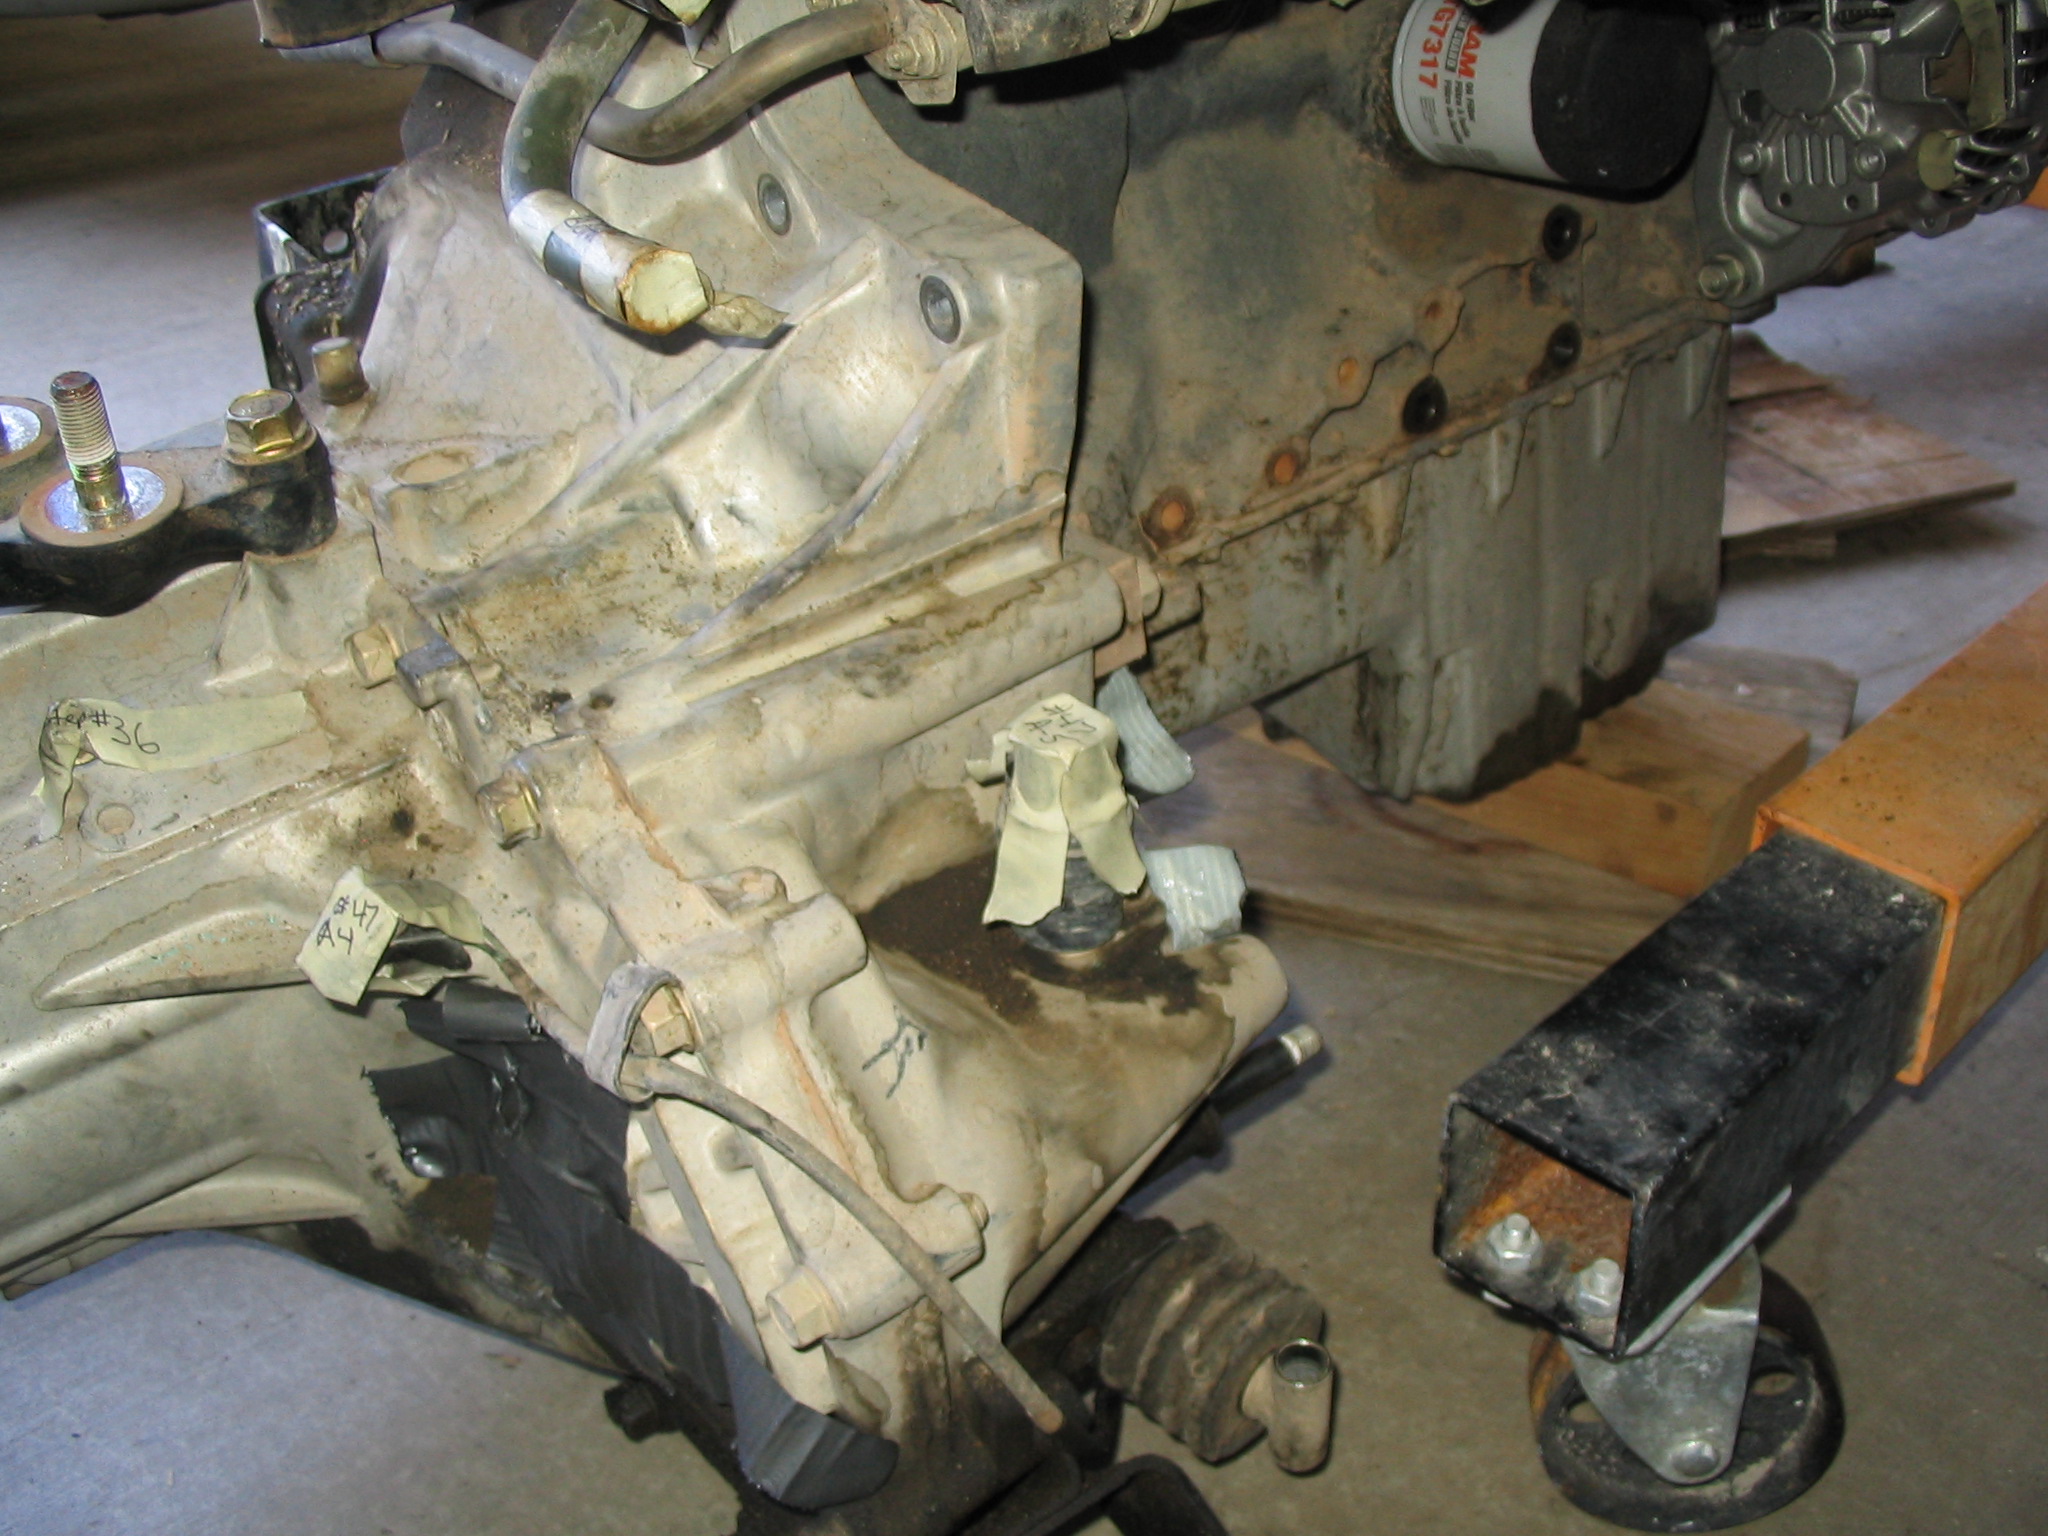
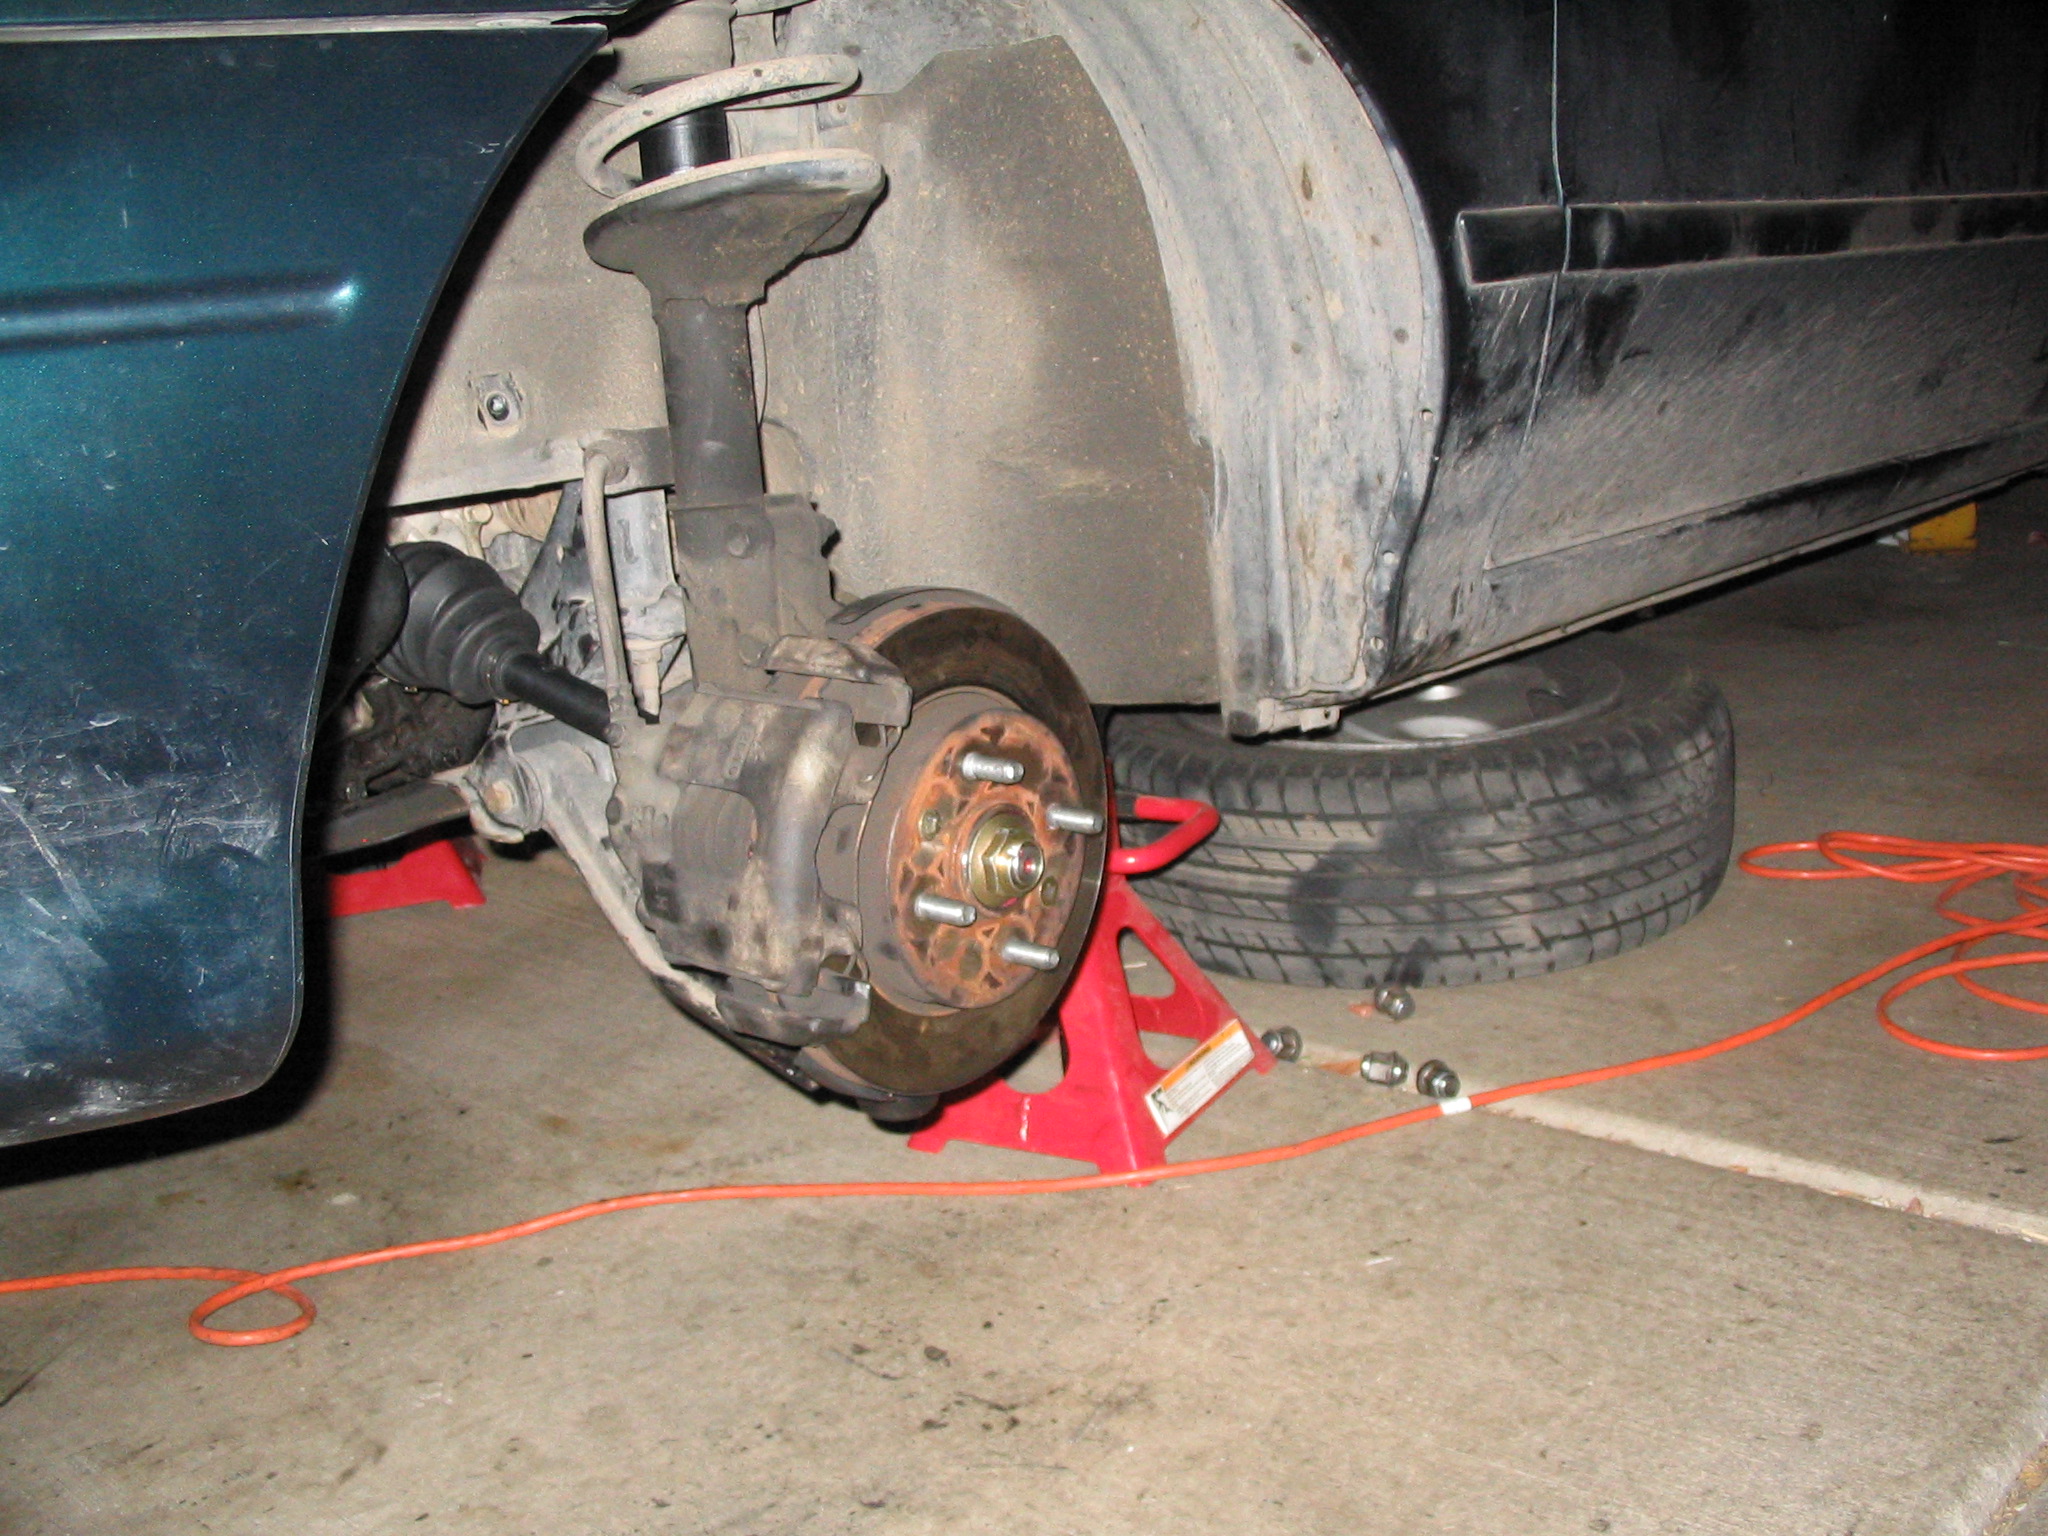
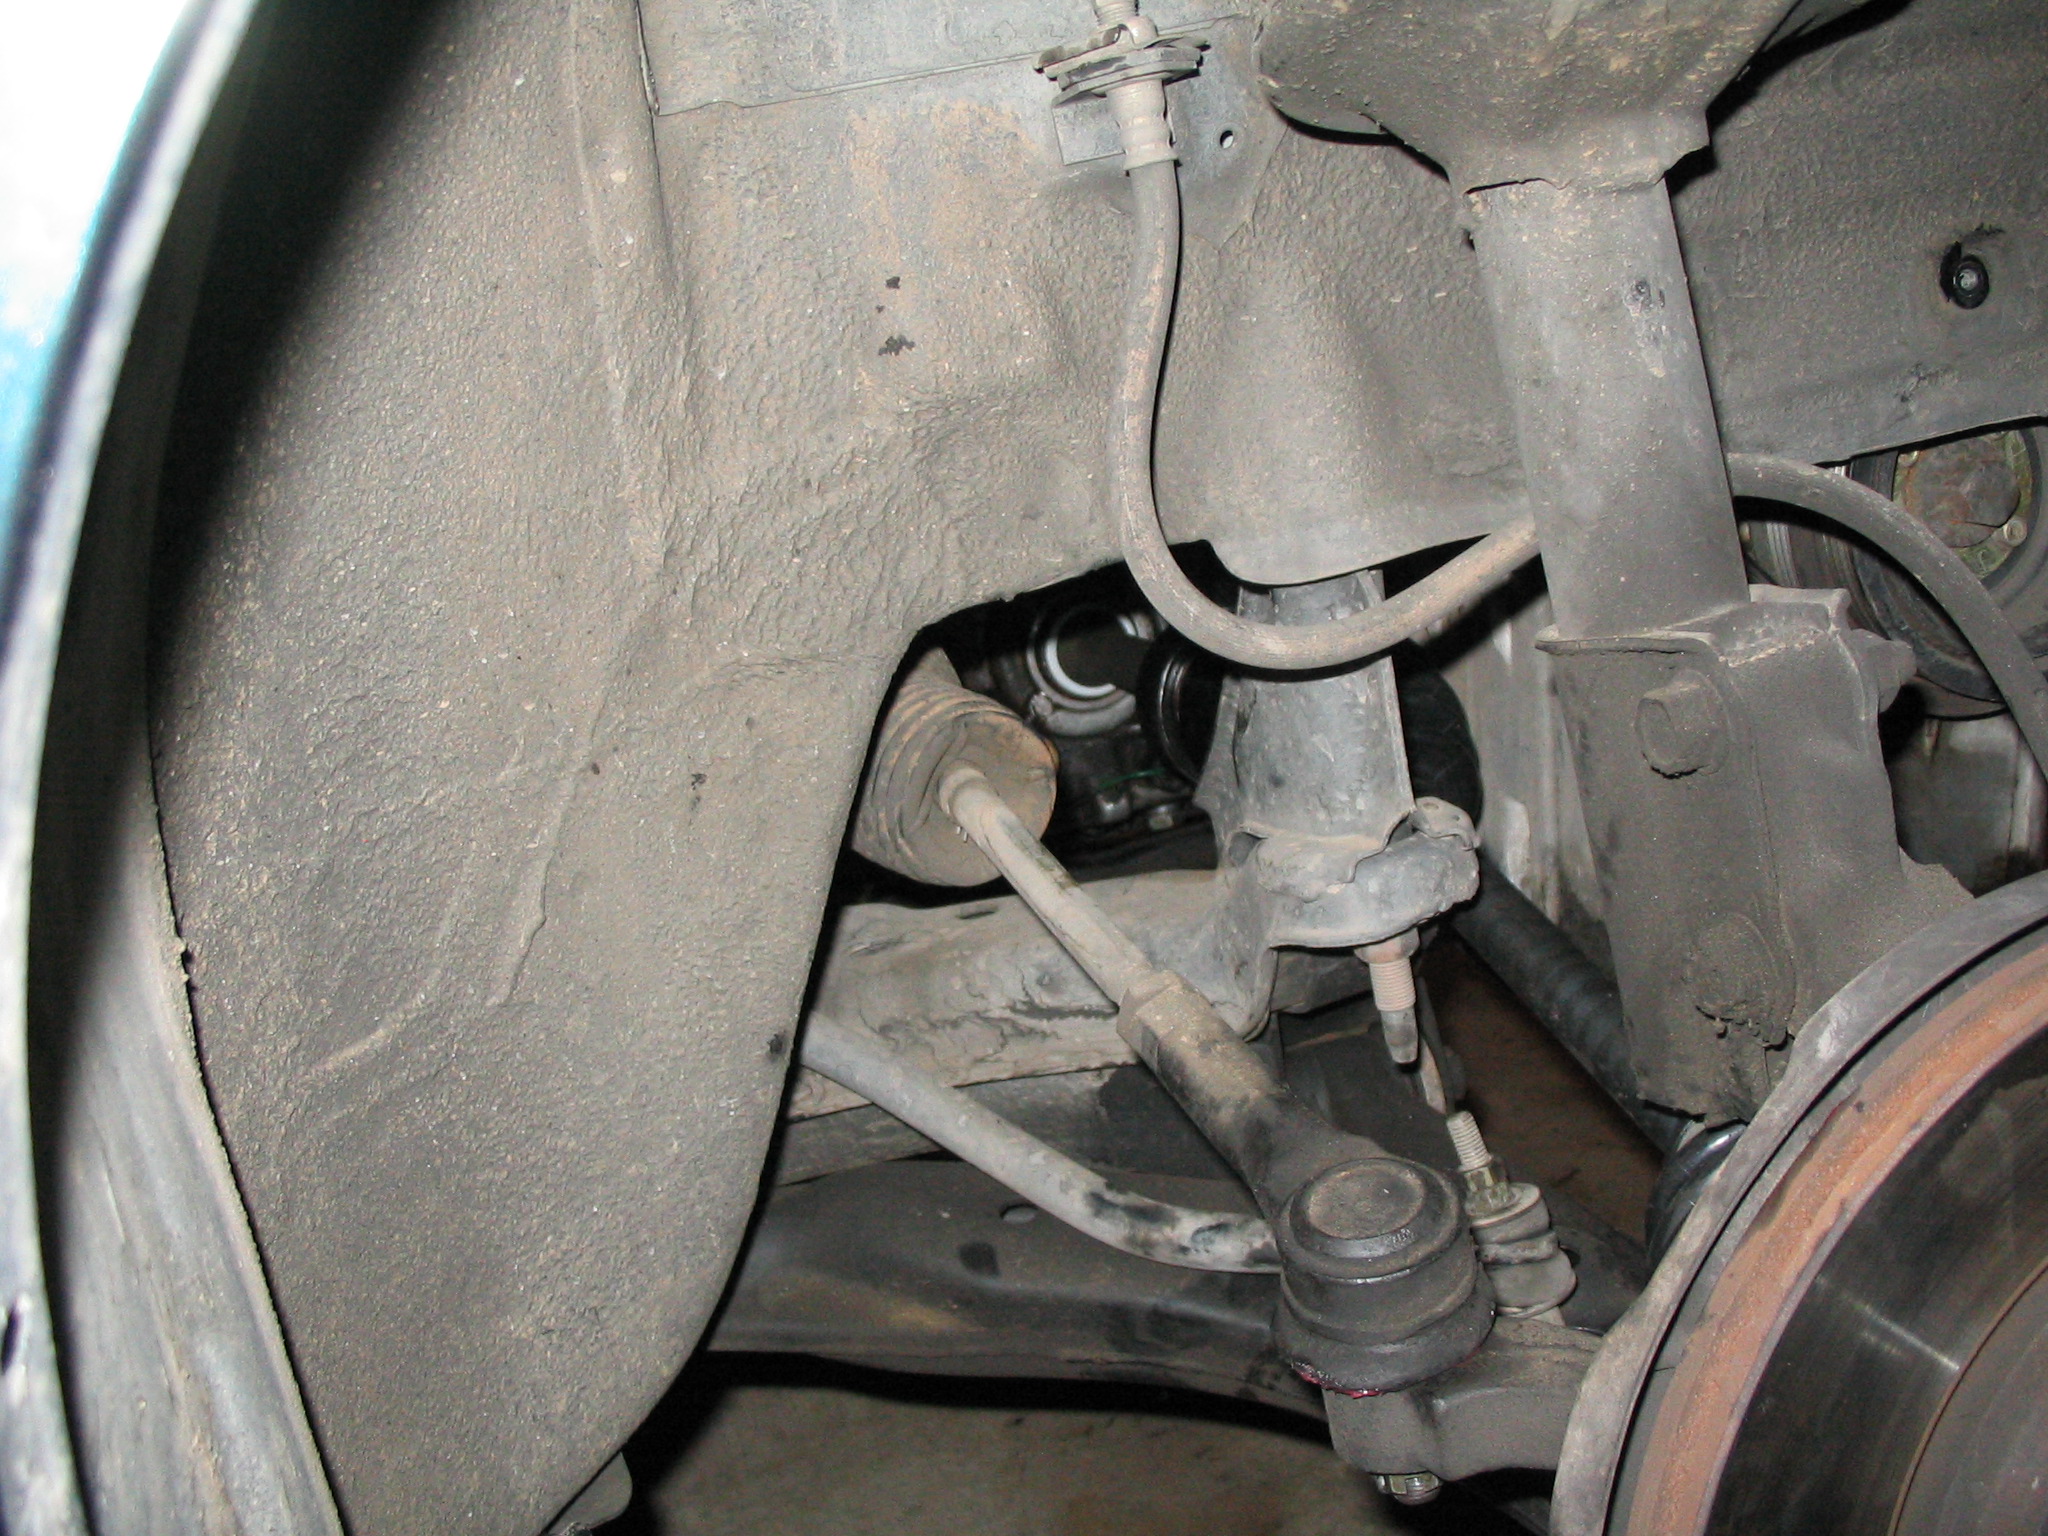
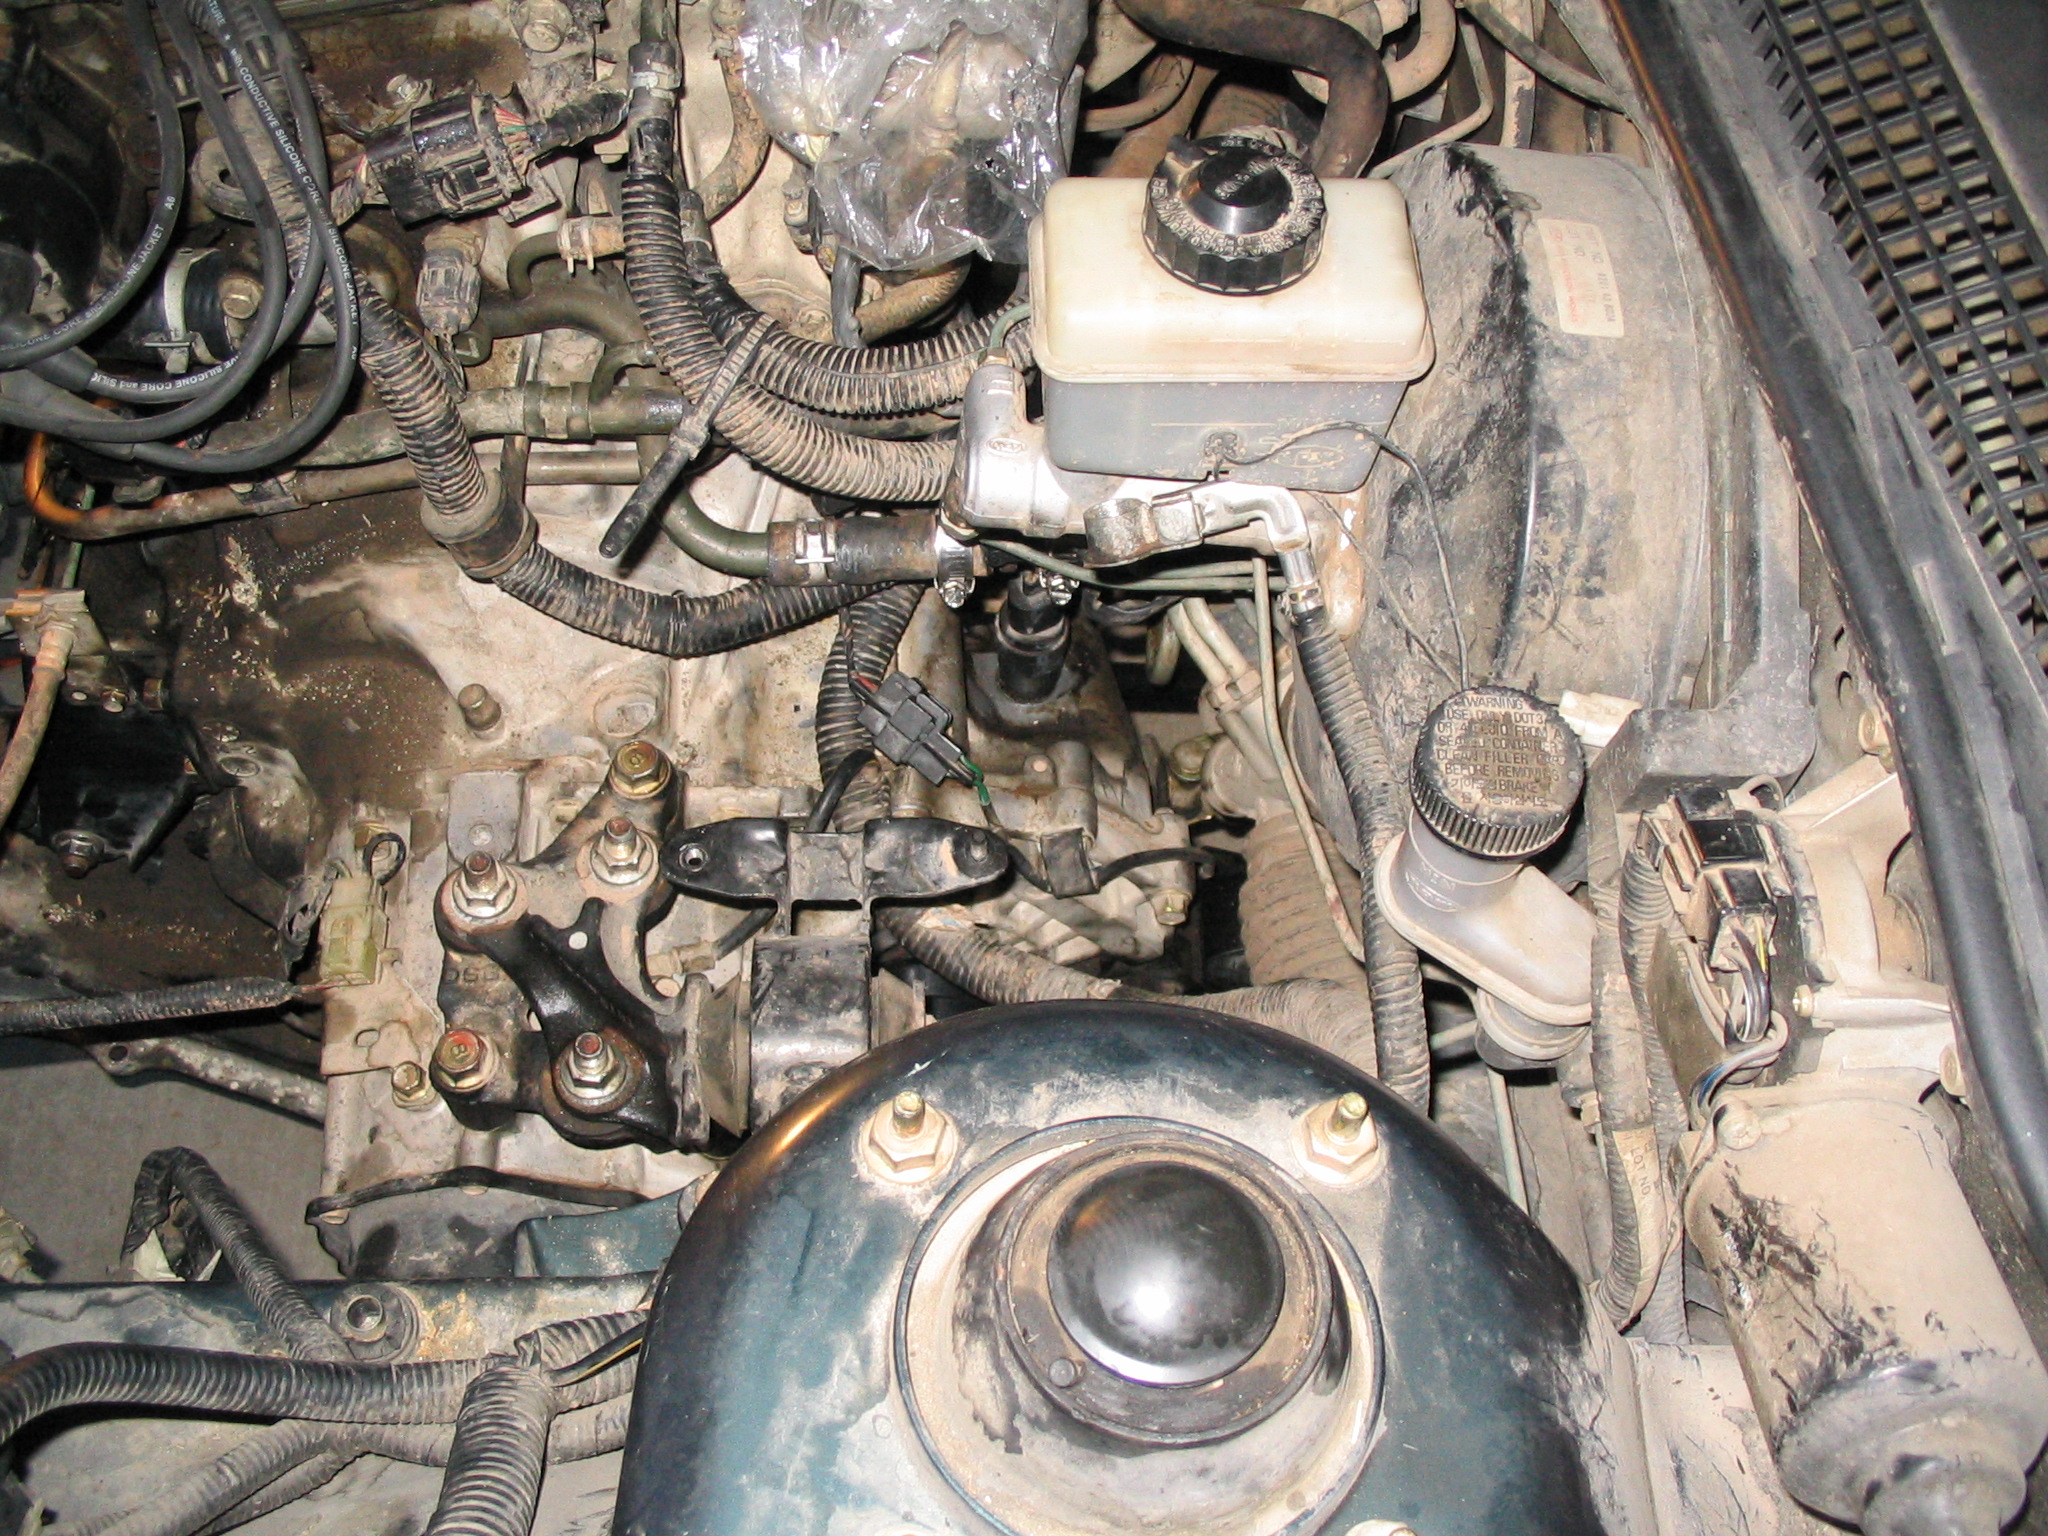
There were some suspension parts to be removed too. Since you will be taking off the axles anyway this may be a good time to replace them if they are worn (like they were in this car). Note the duct tape covering the hole in the transmission where the axle was removed:
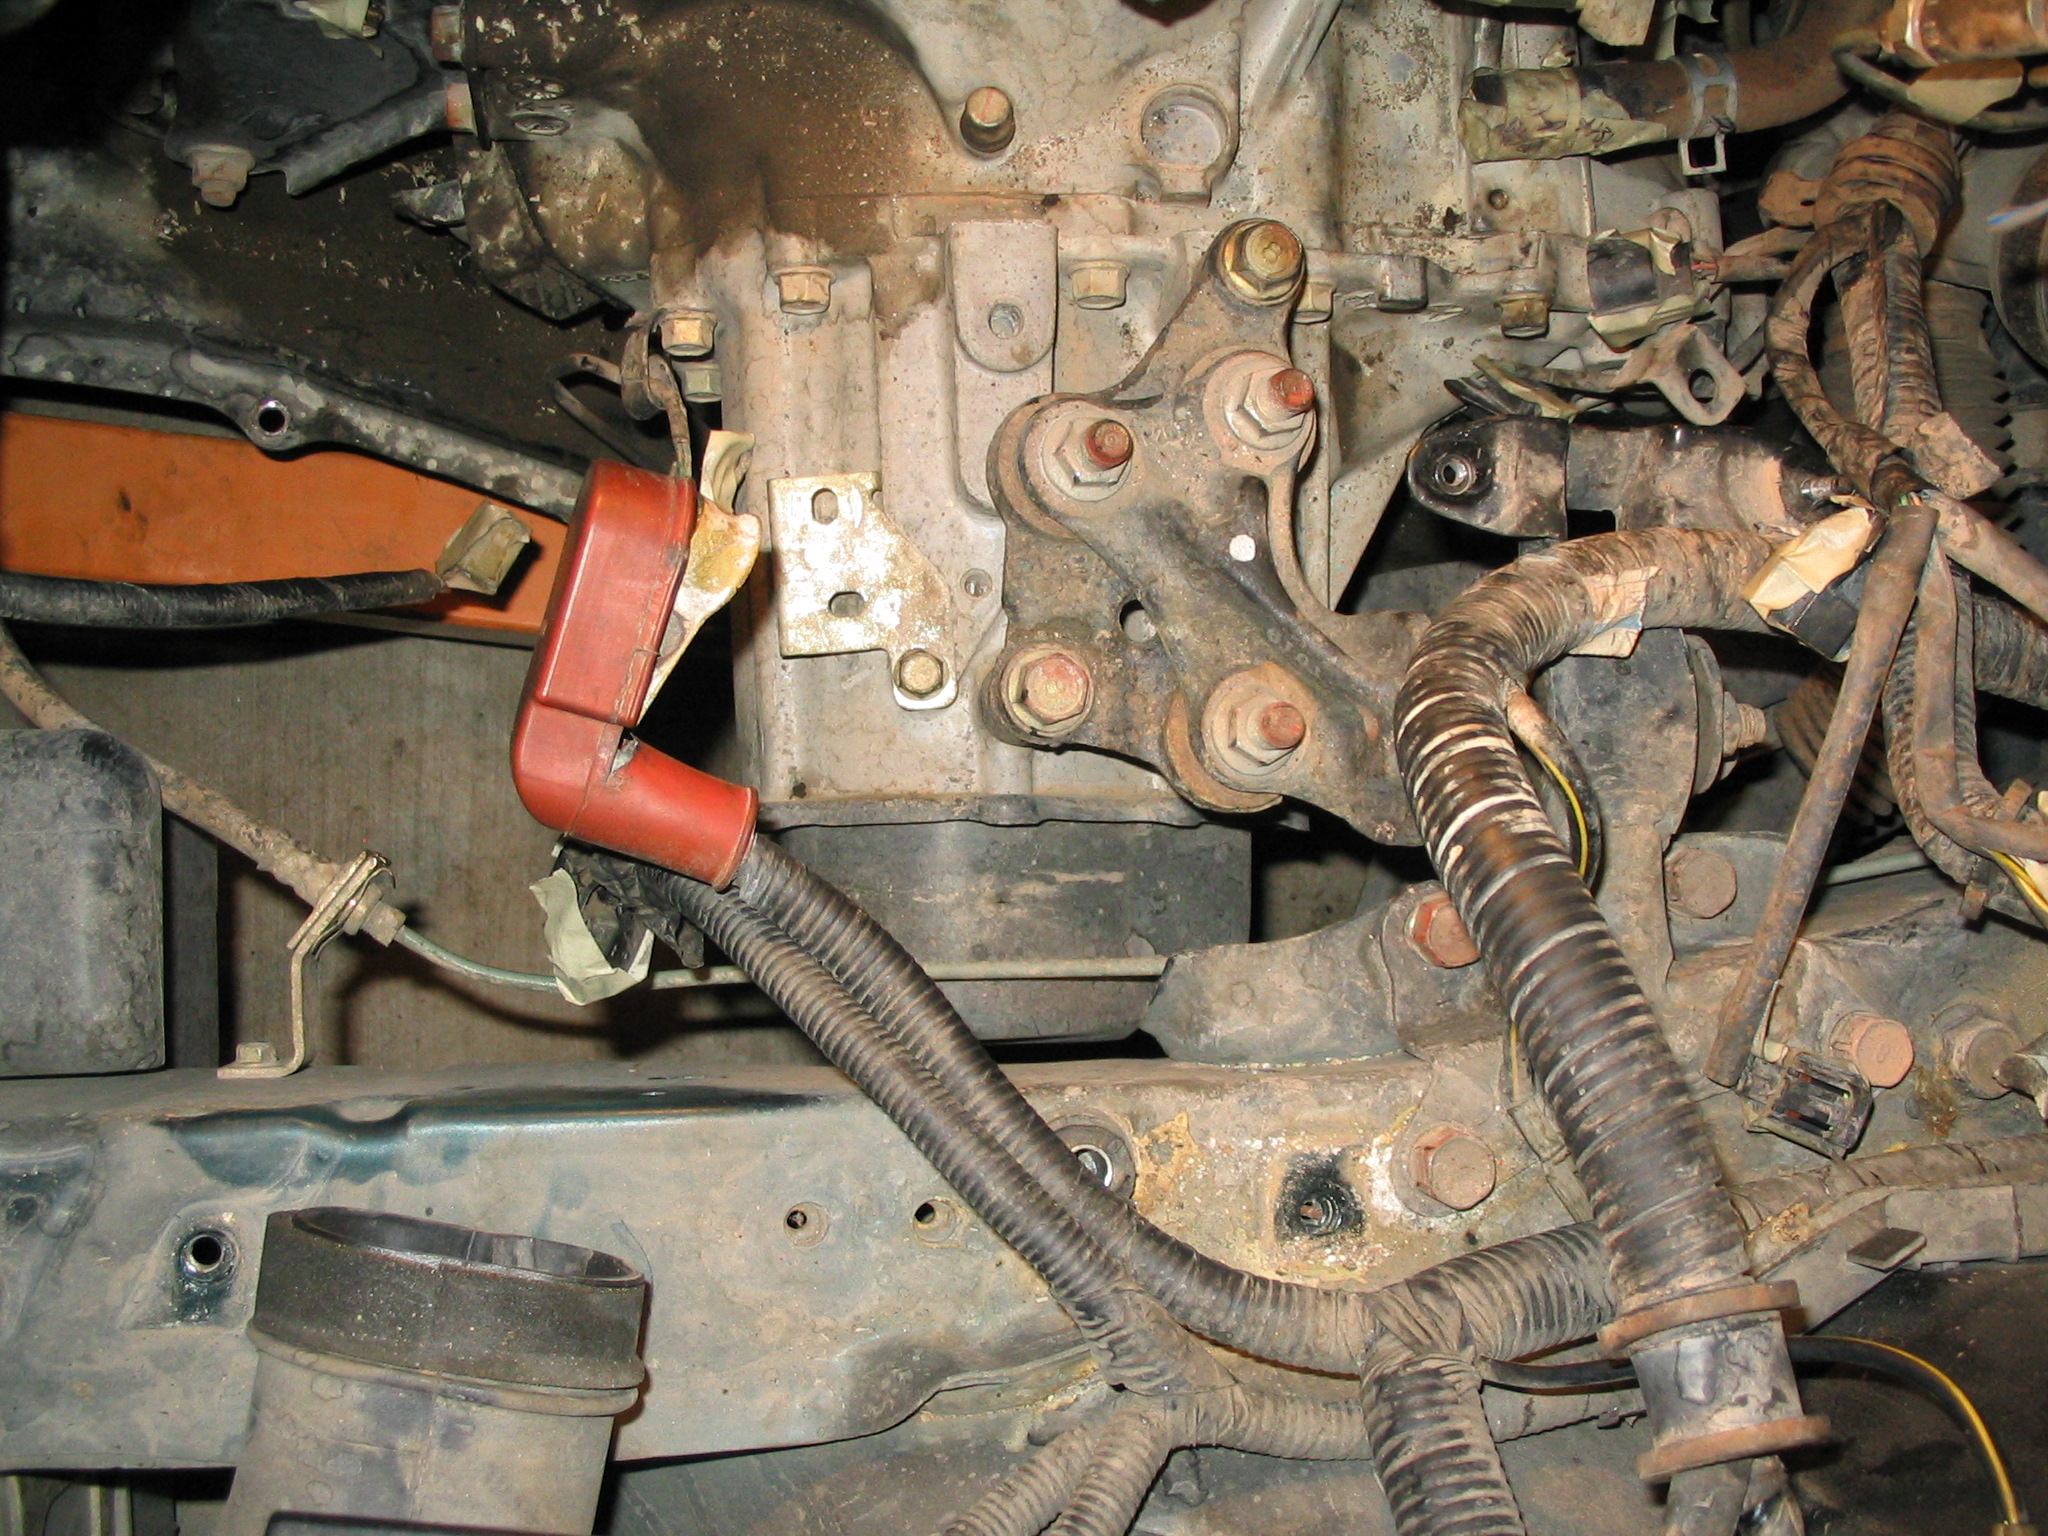
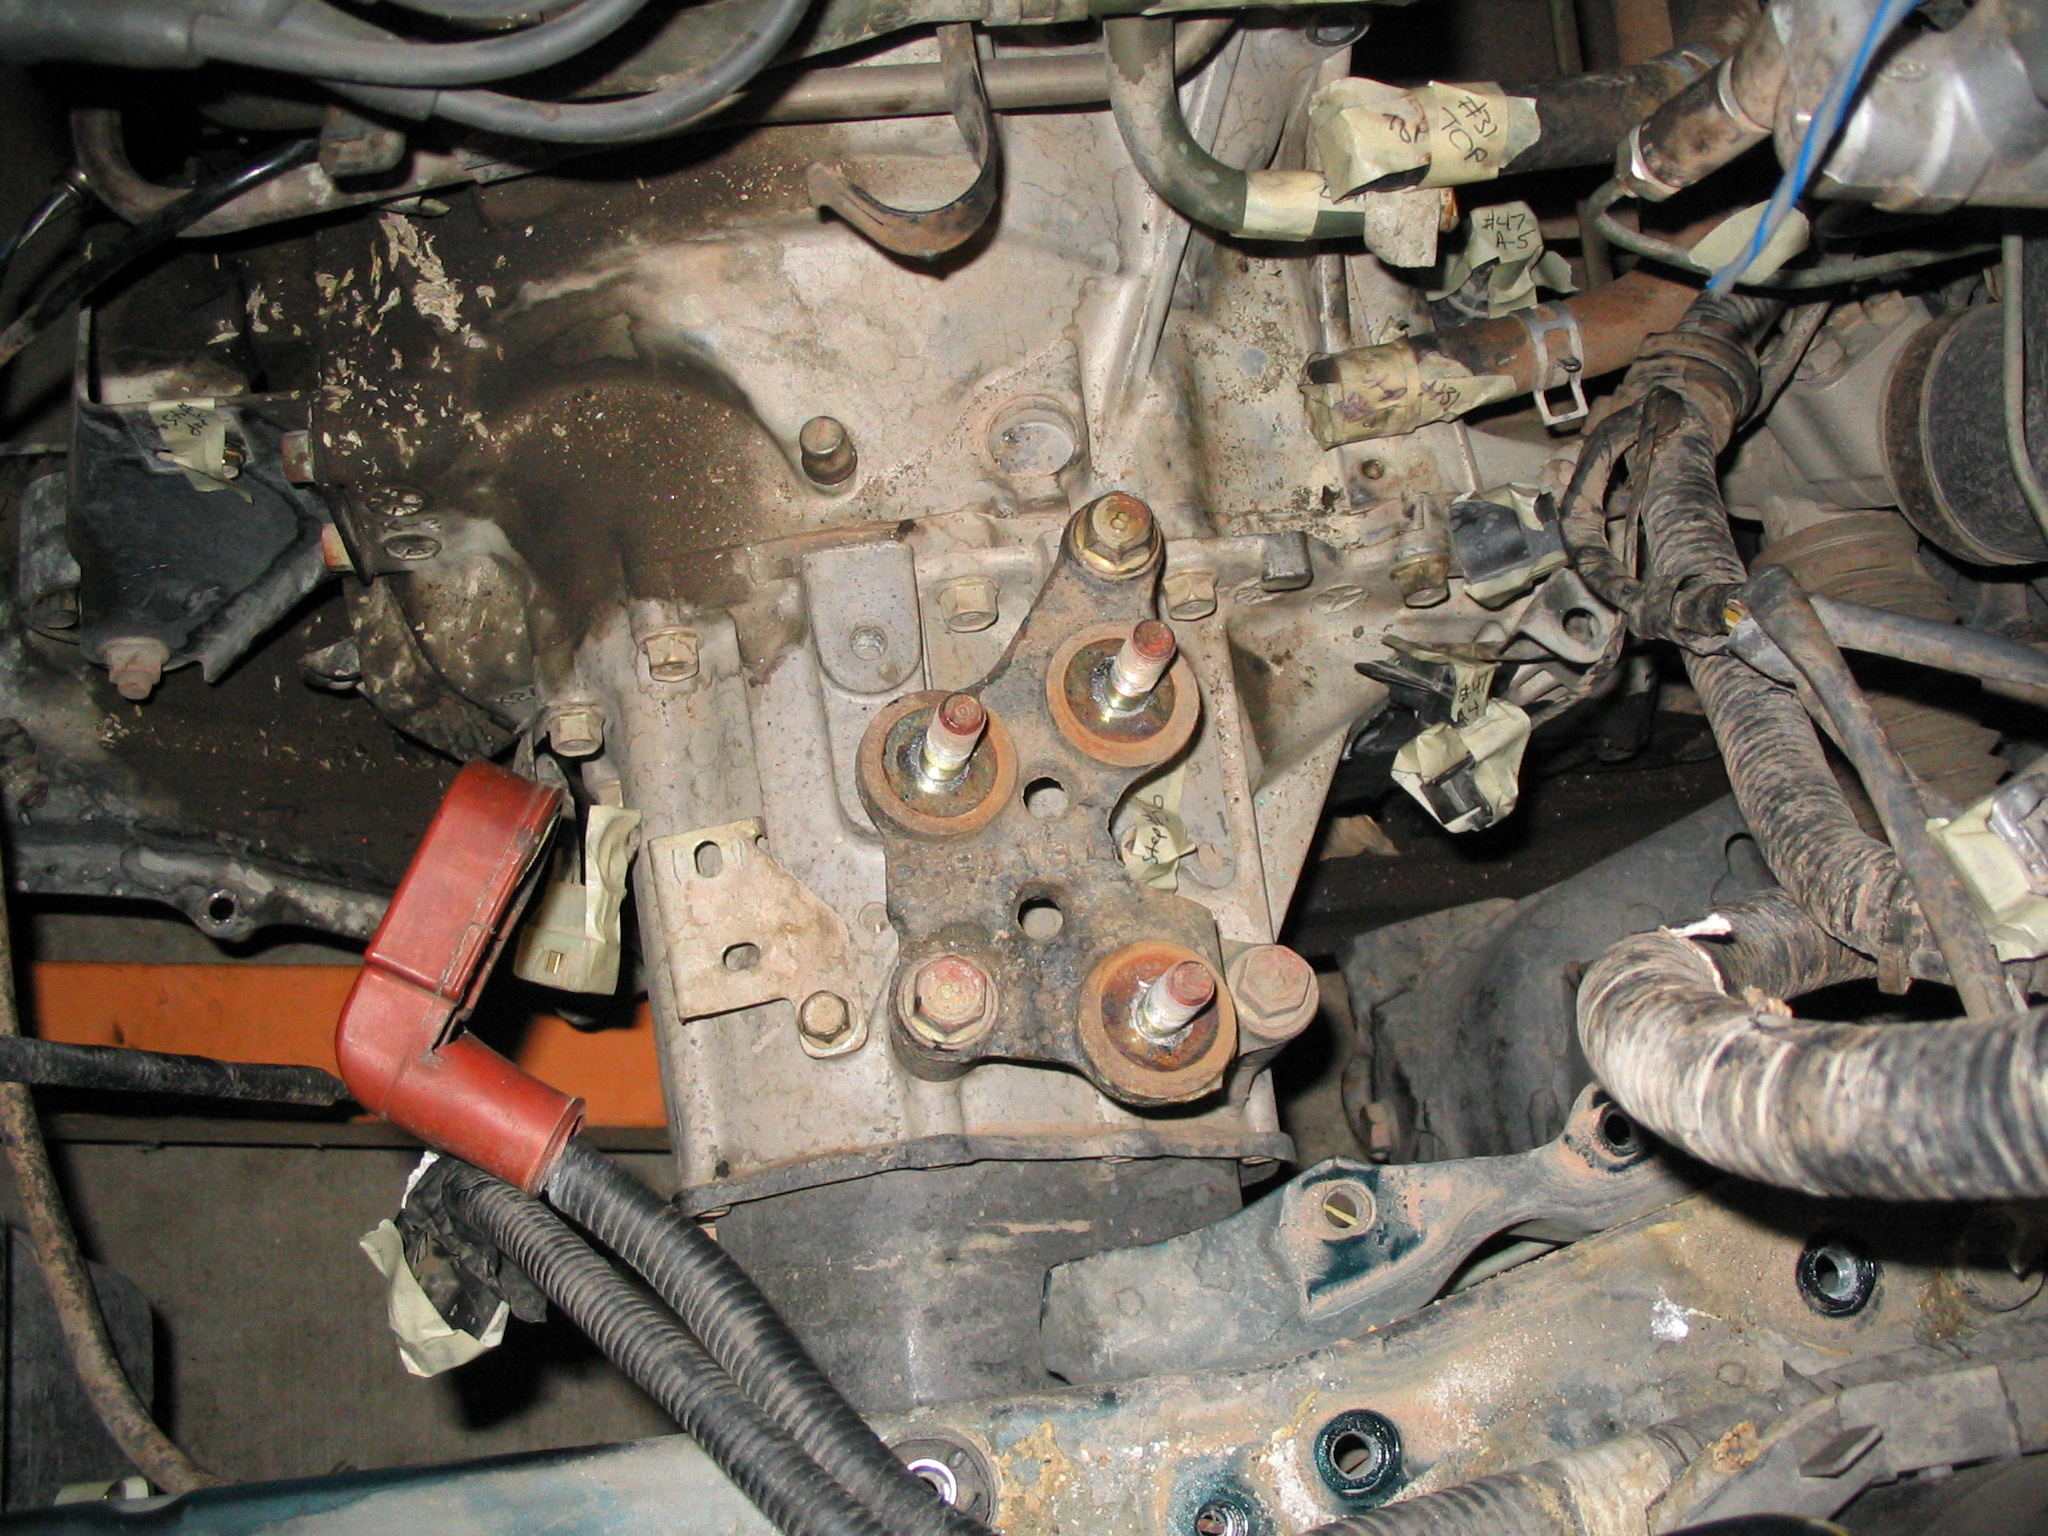
The last step is to remove the motor mounts (note, you may want to replace any of these that are bad too):
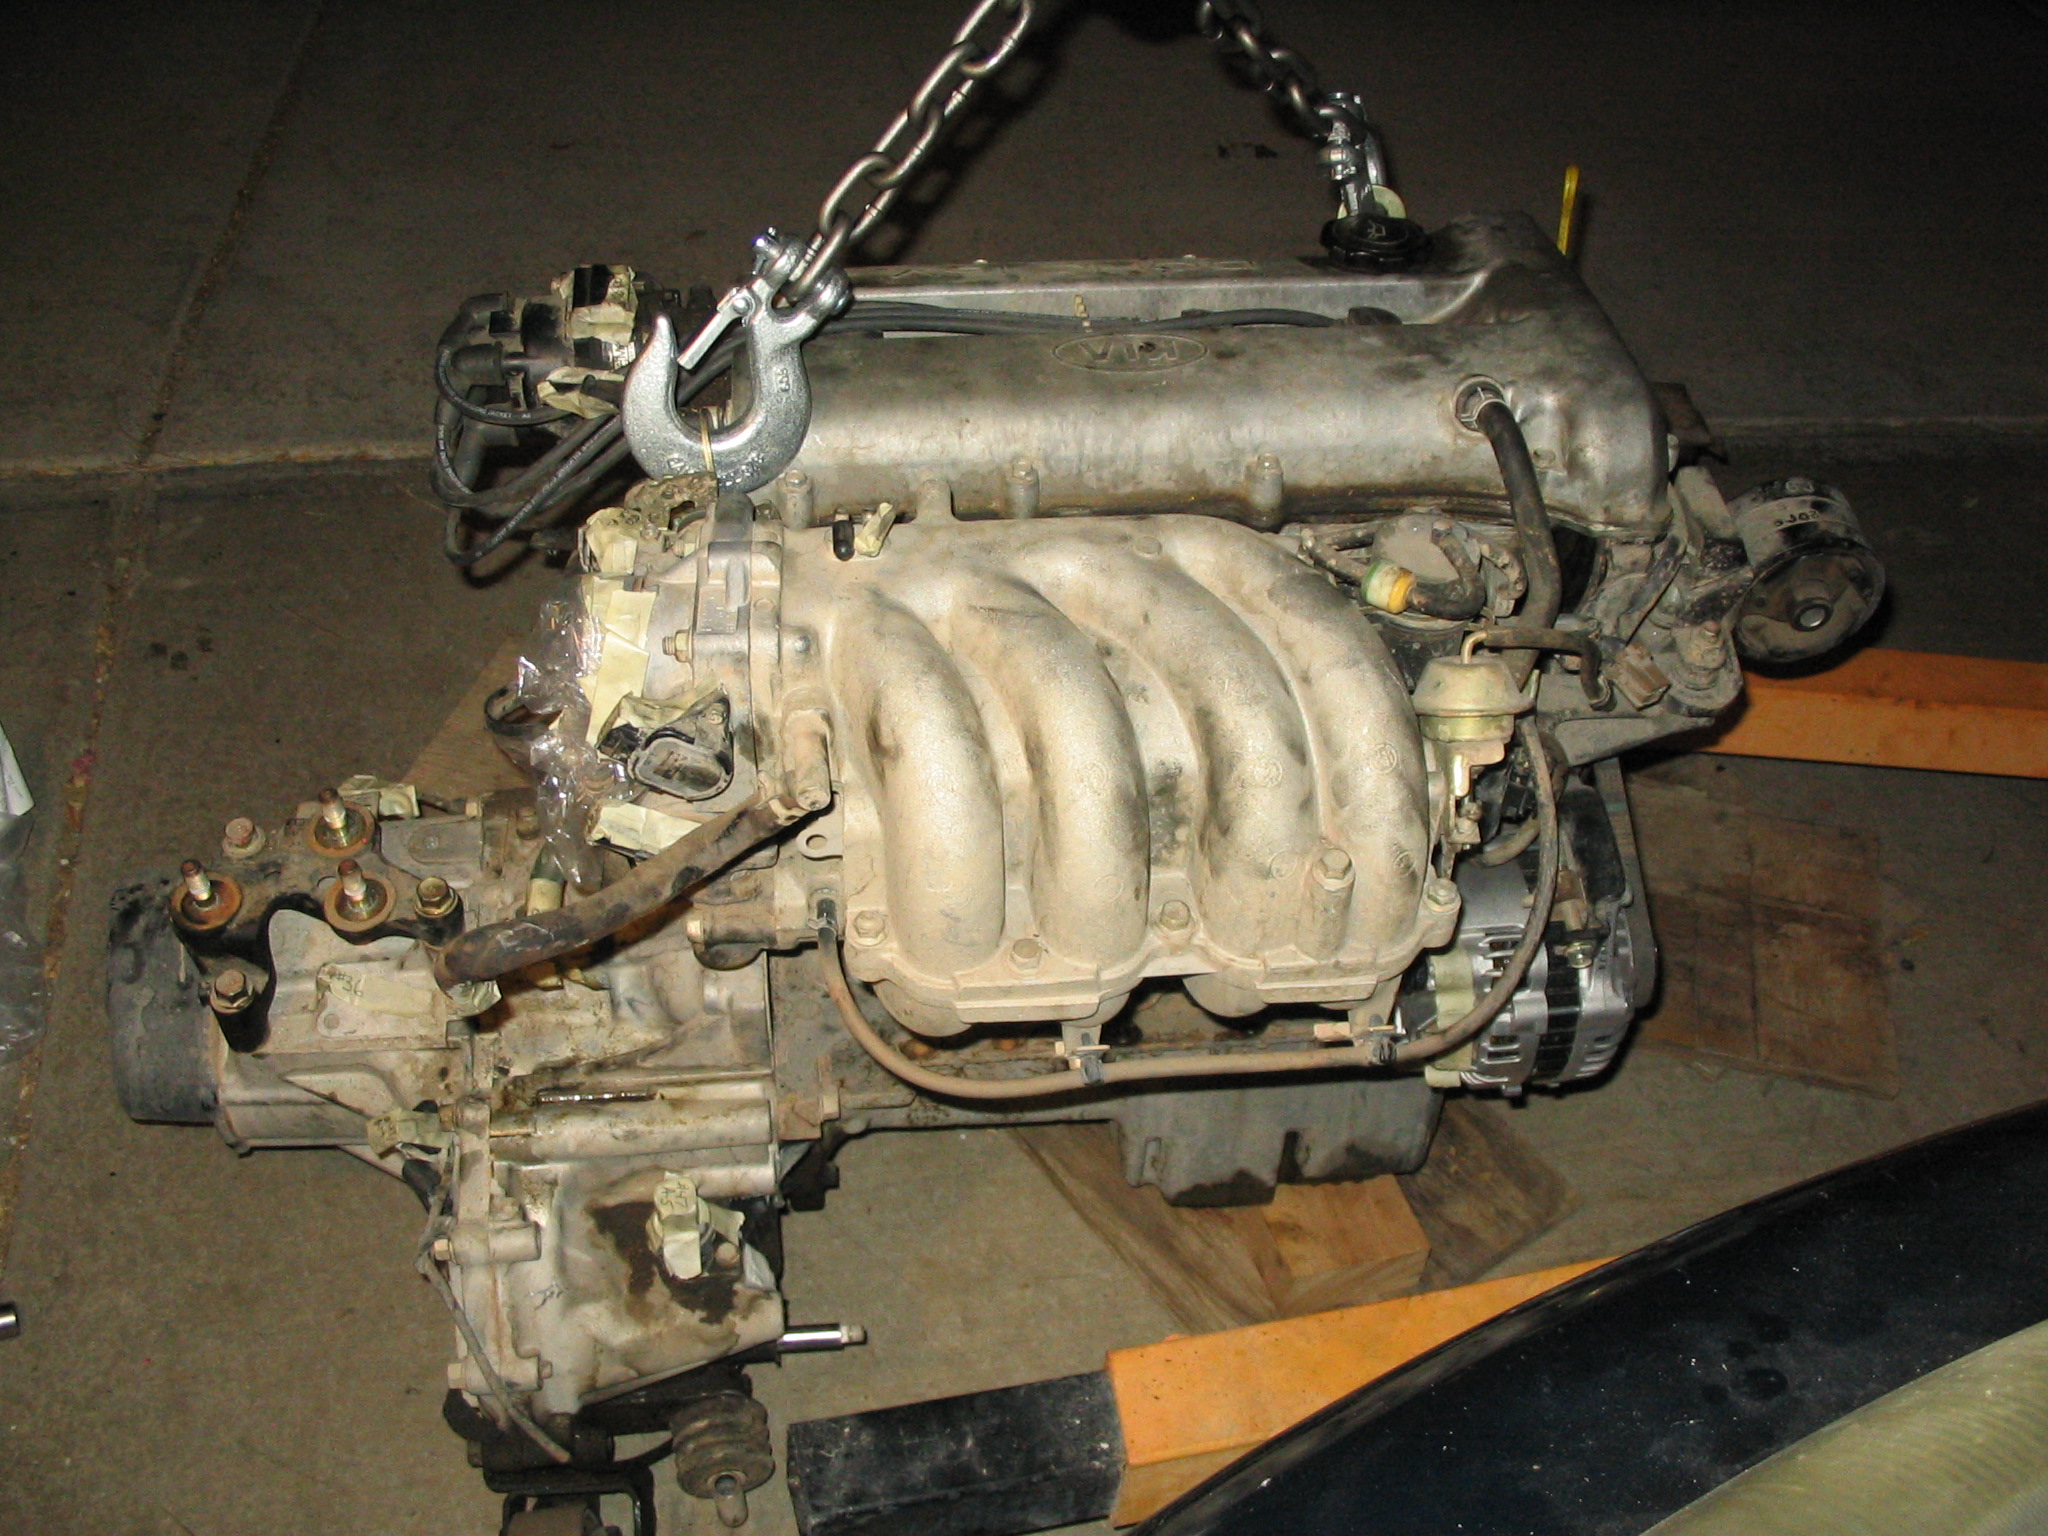
Pulling the engine is performed by slowly lifting it out while watching for any wires or hoses that may still be attached. You really need at least two people to do this step:
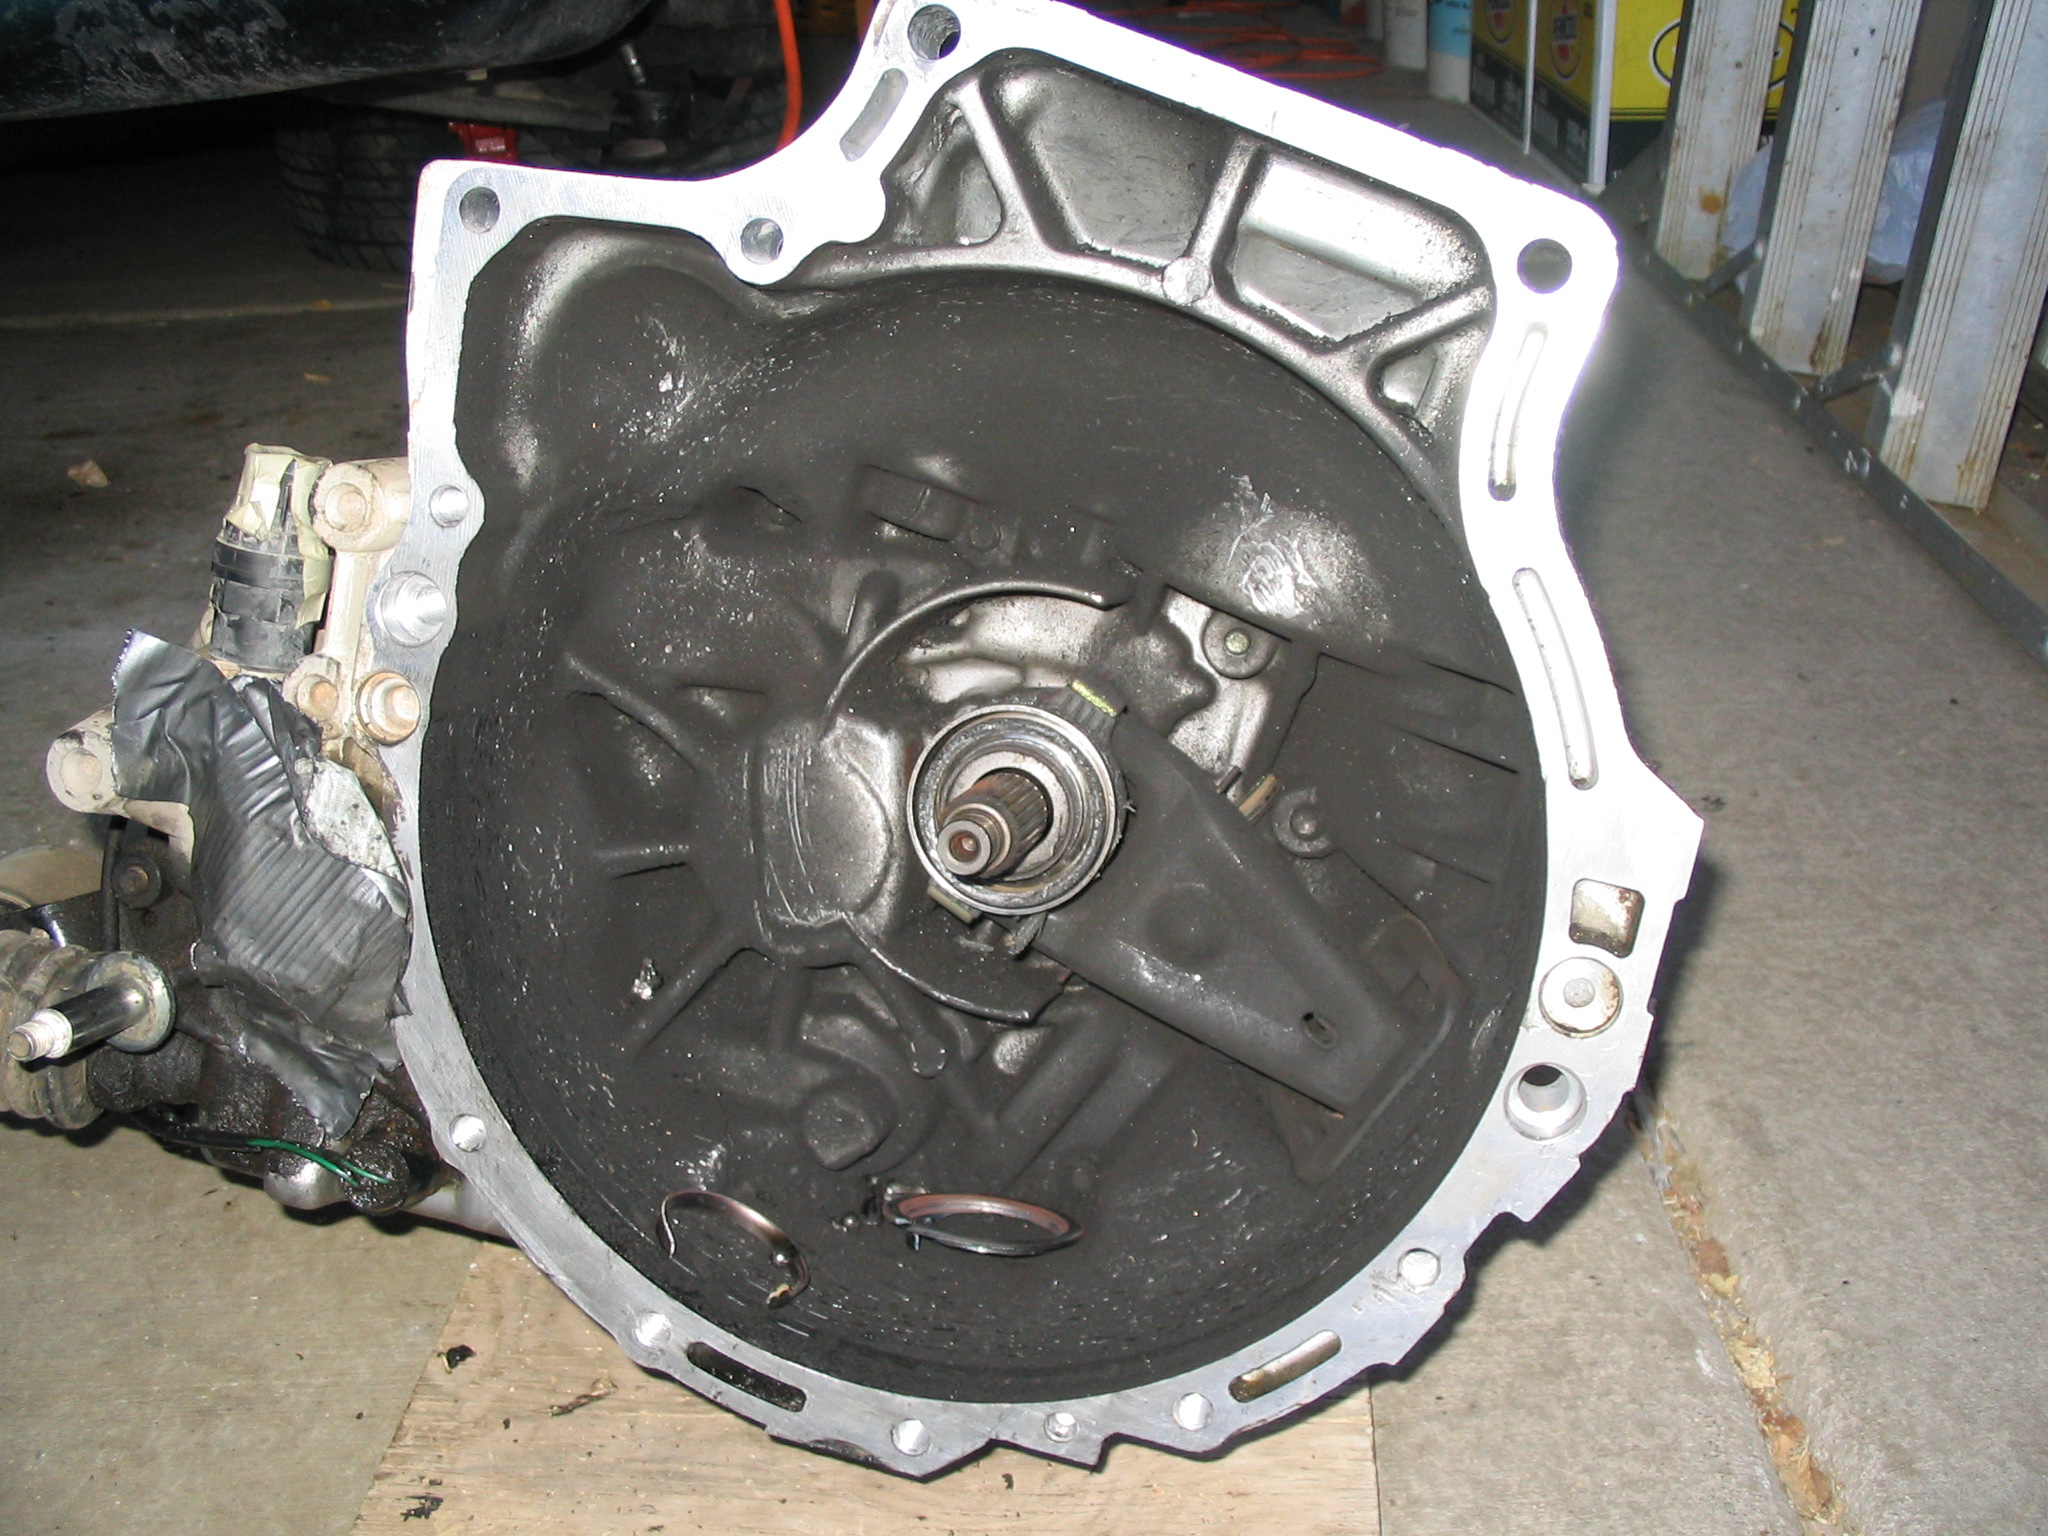
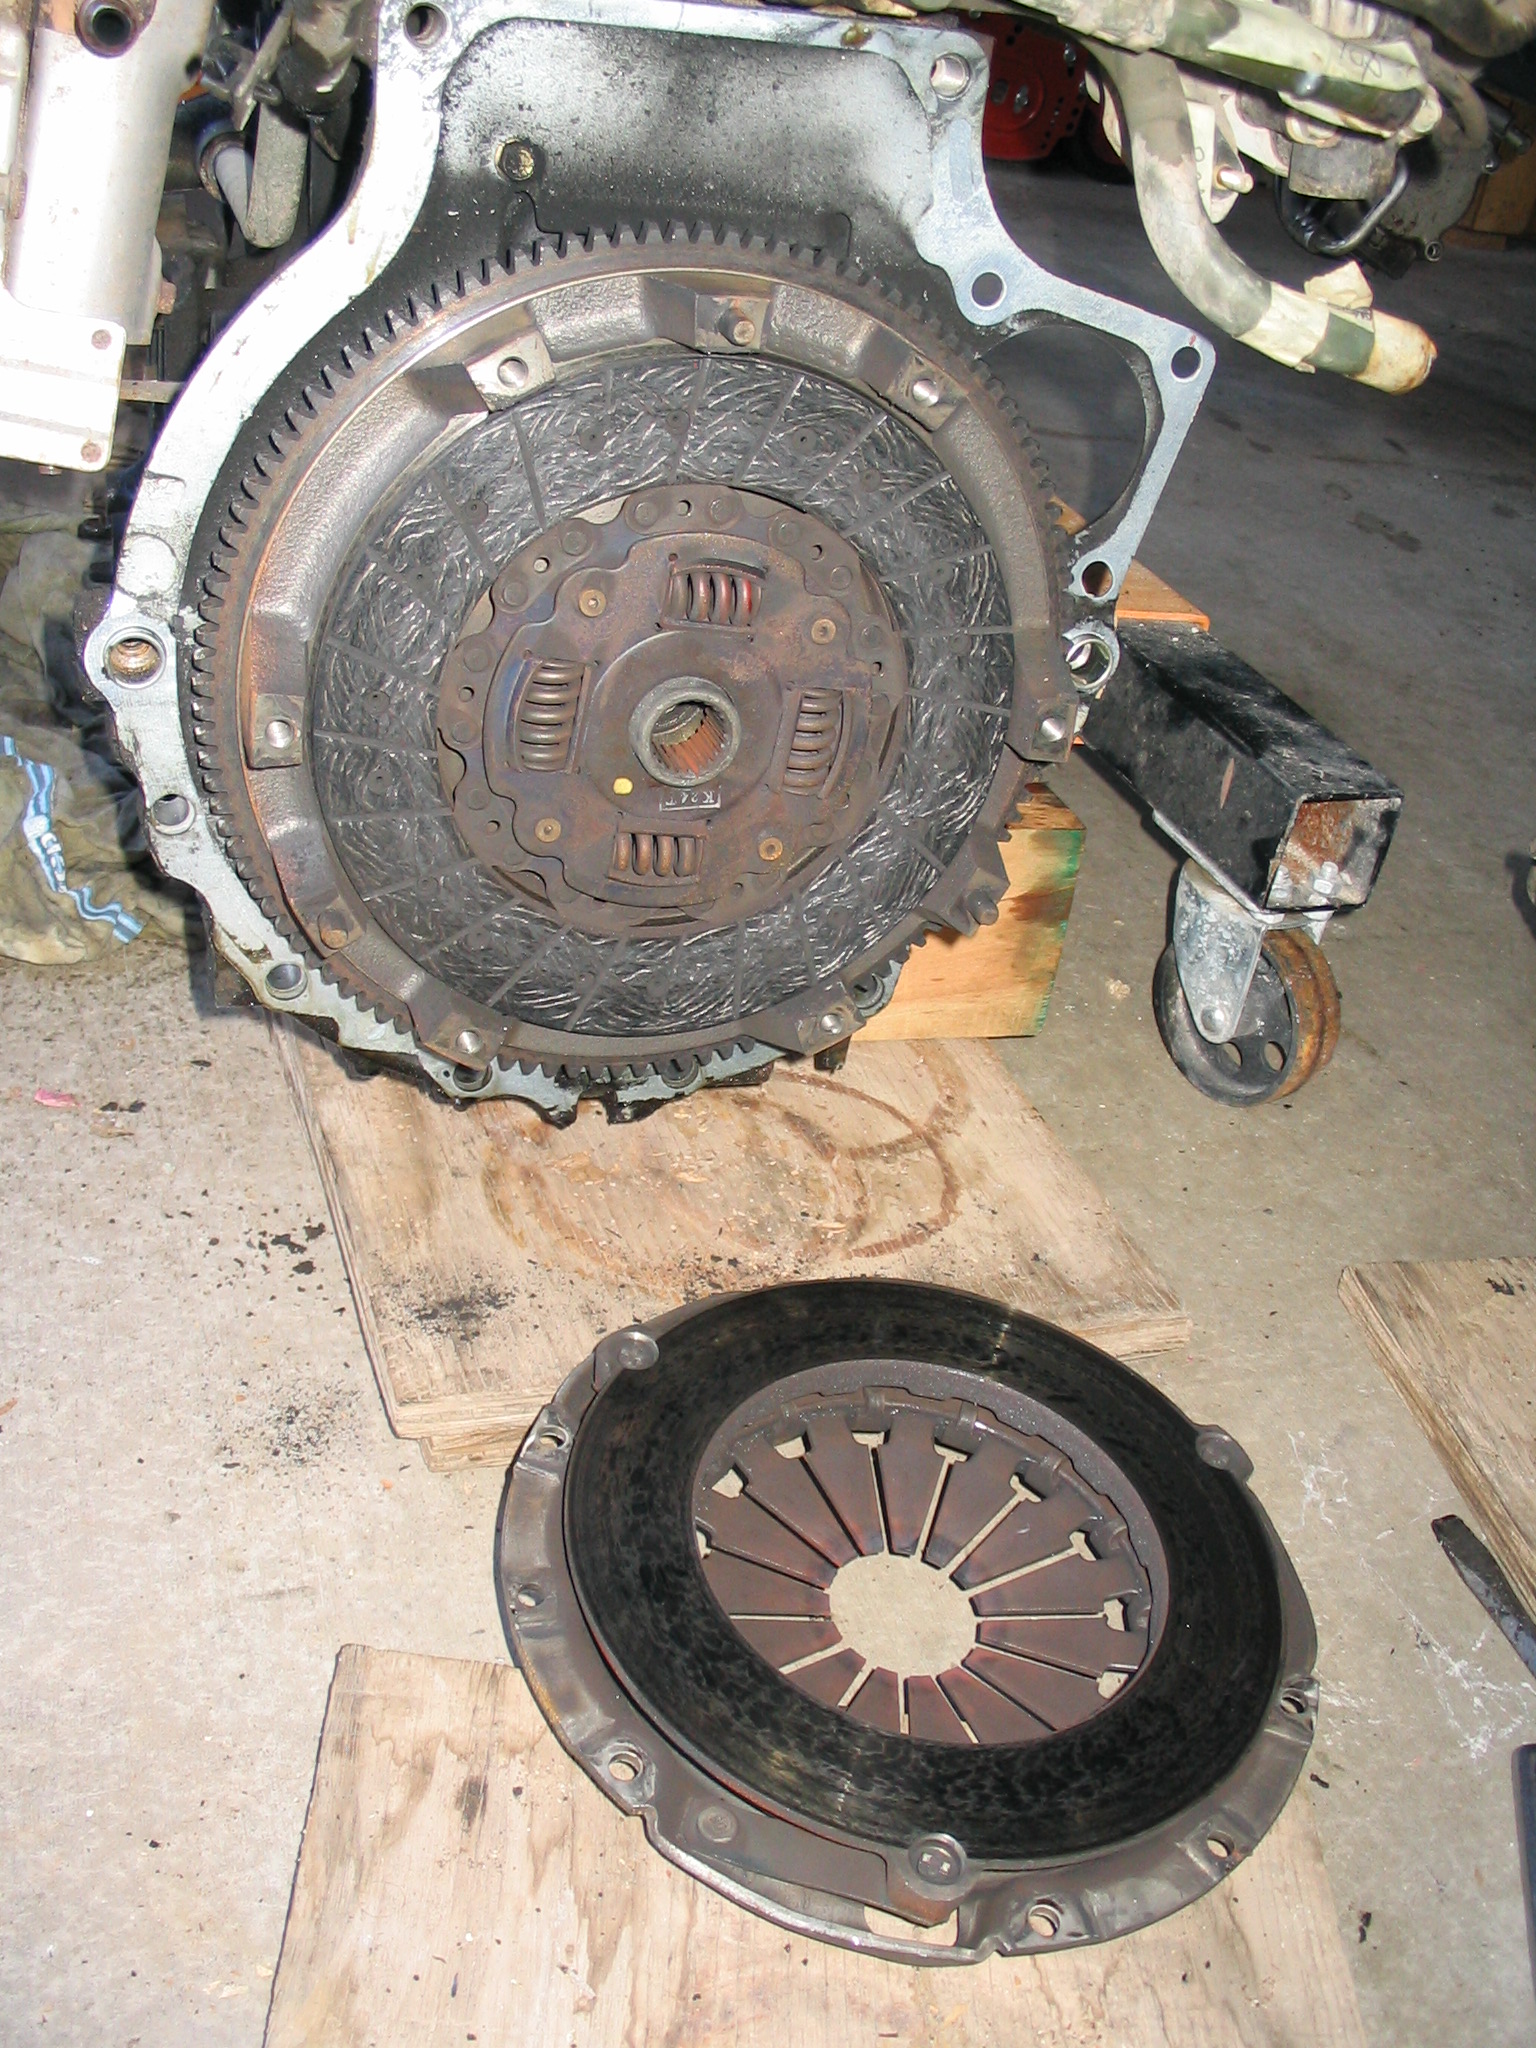
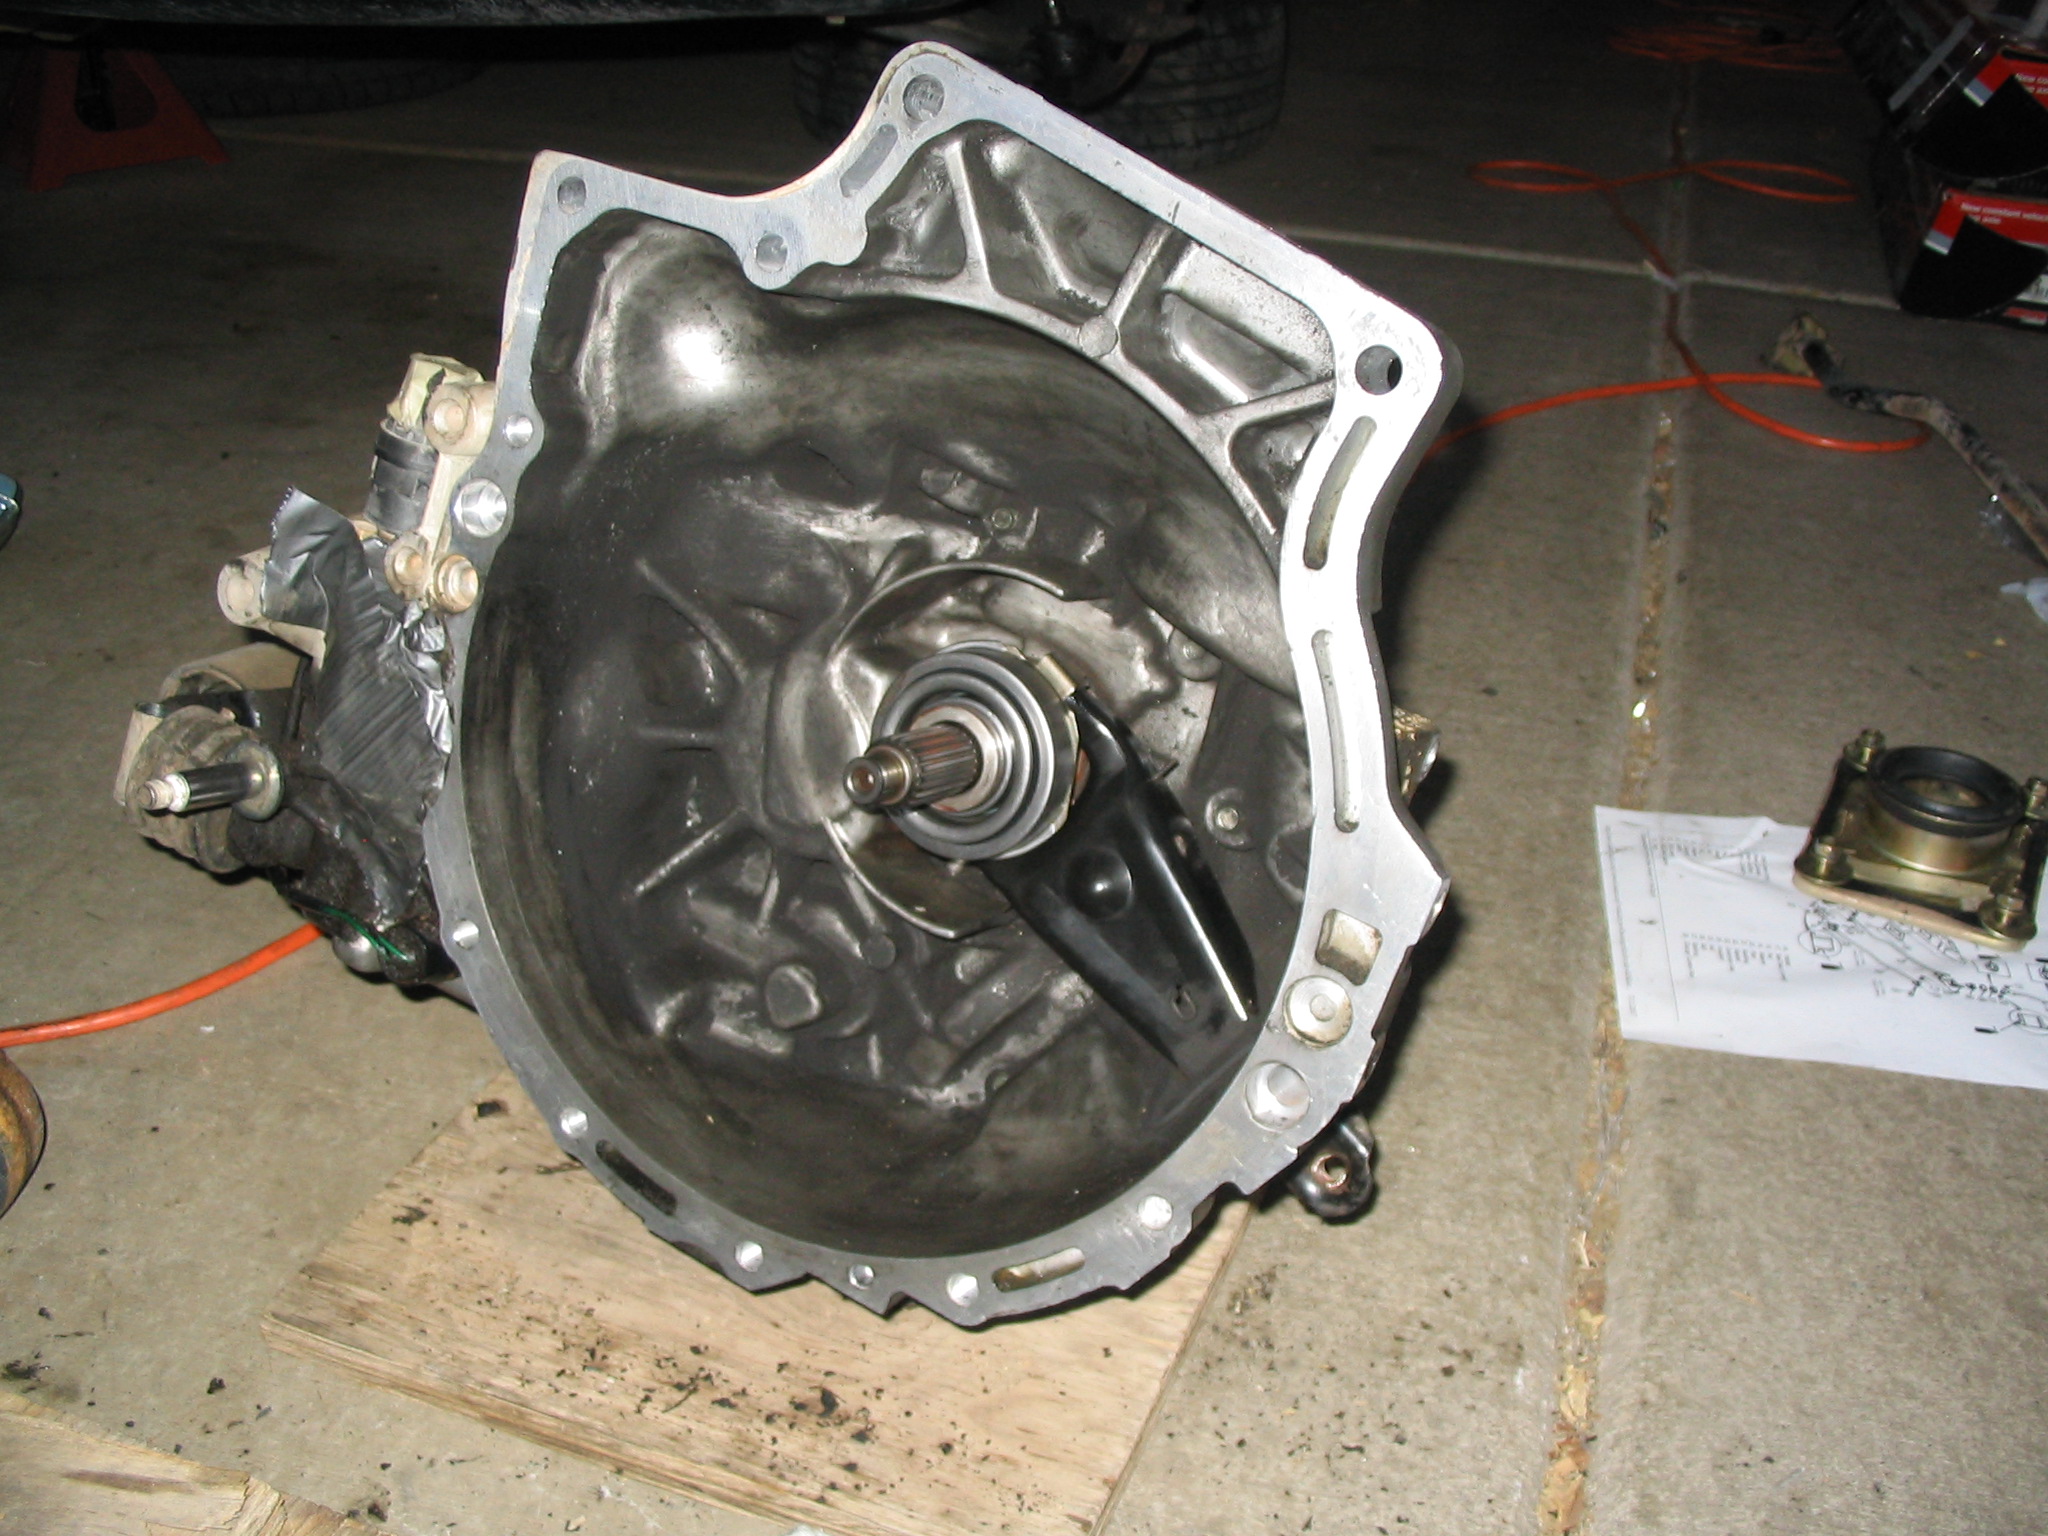
I removed the transmission from the engine, and saw that the clutch bearing was shot (the clutch itself didn't look bad, but it's going to be replaced anyway):
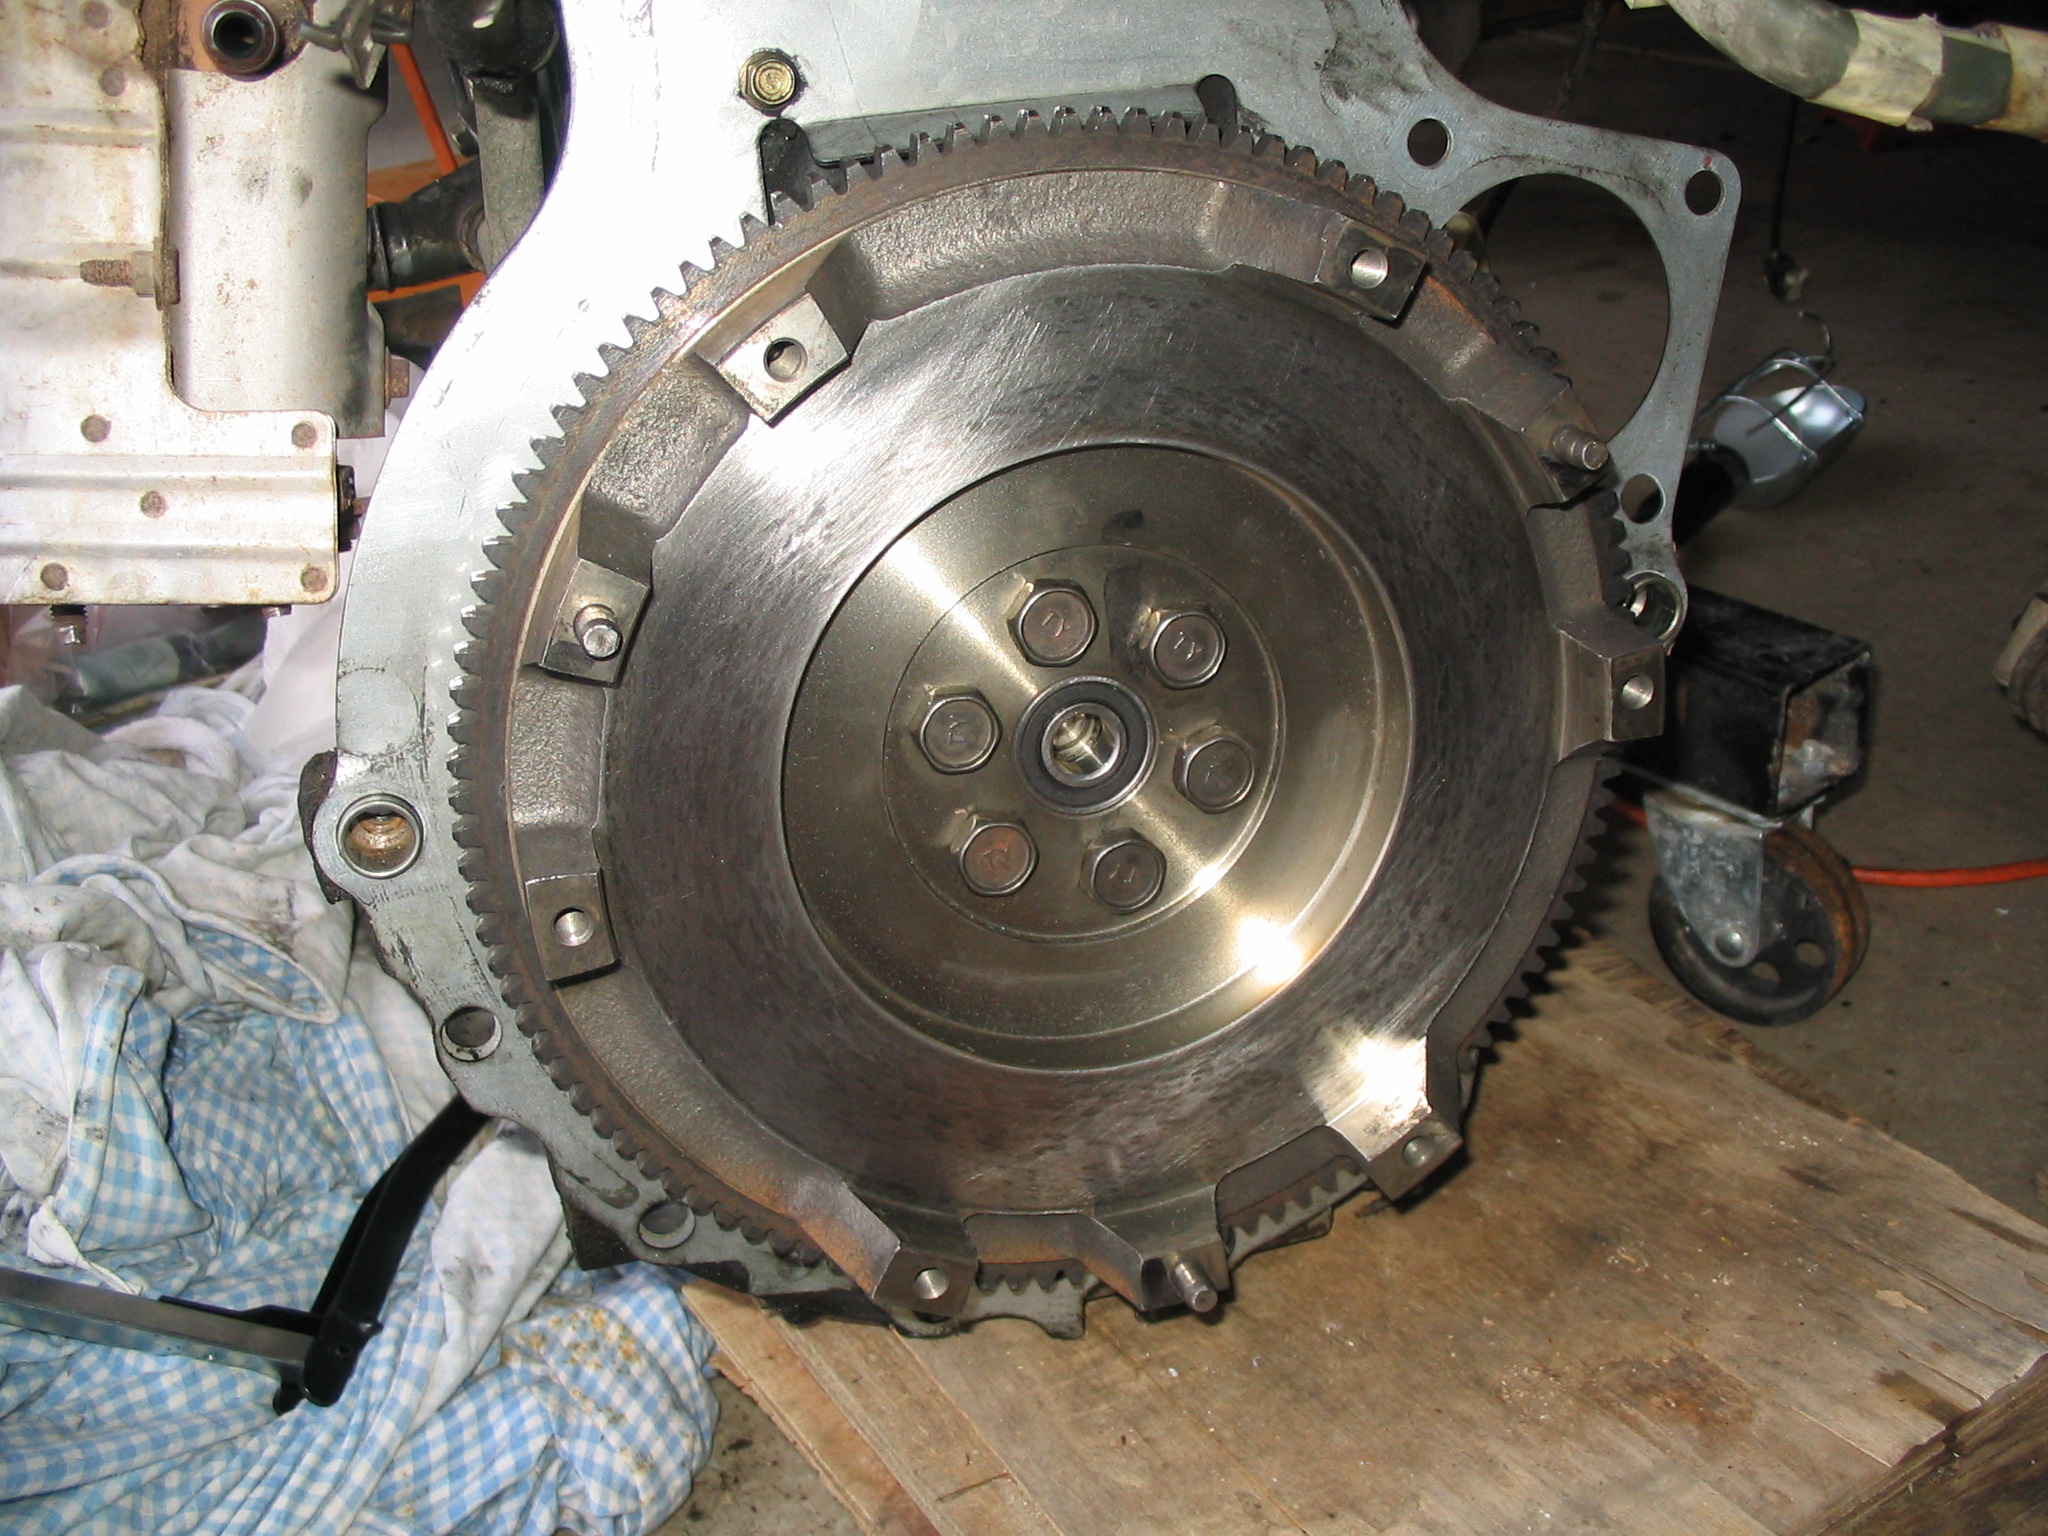
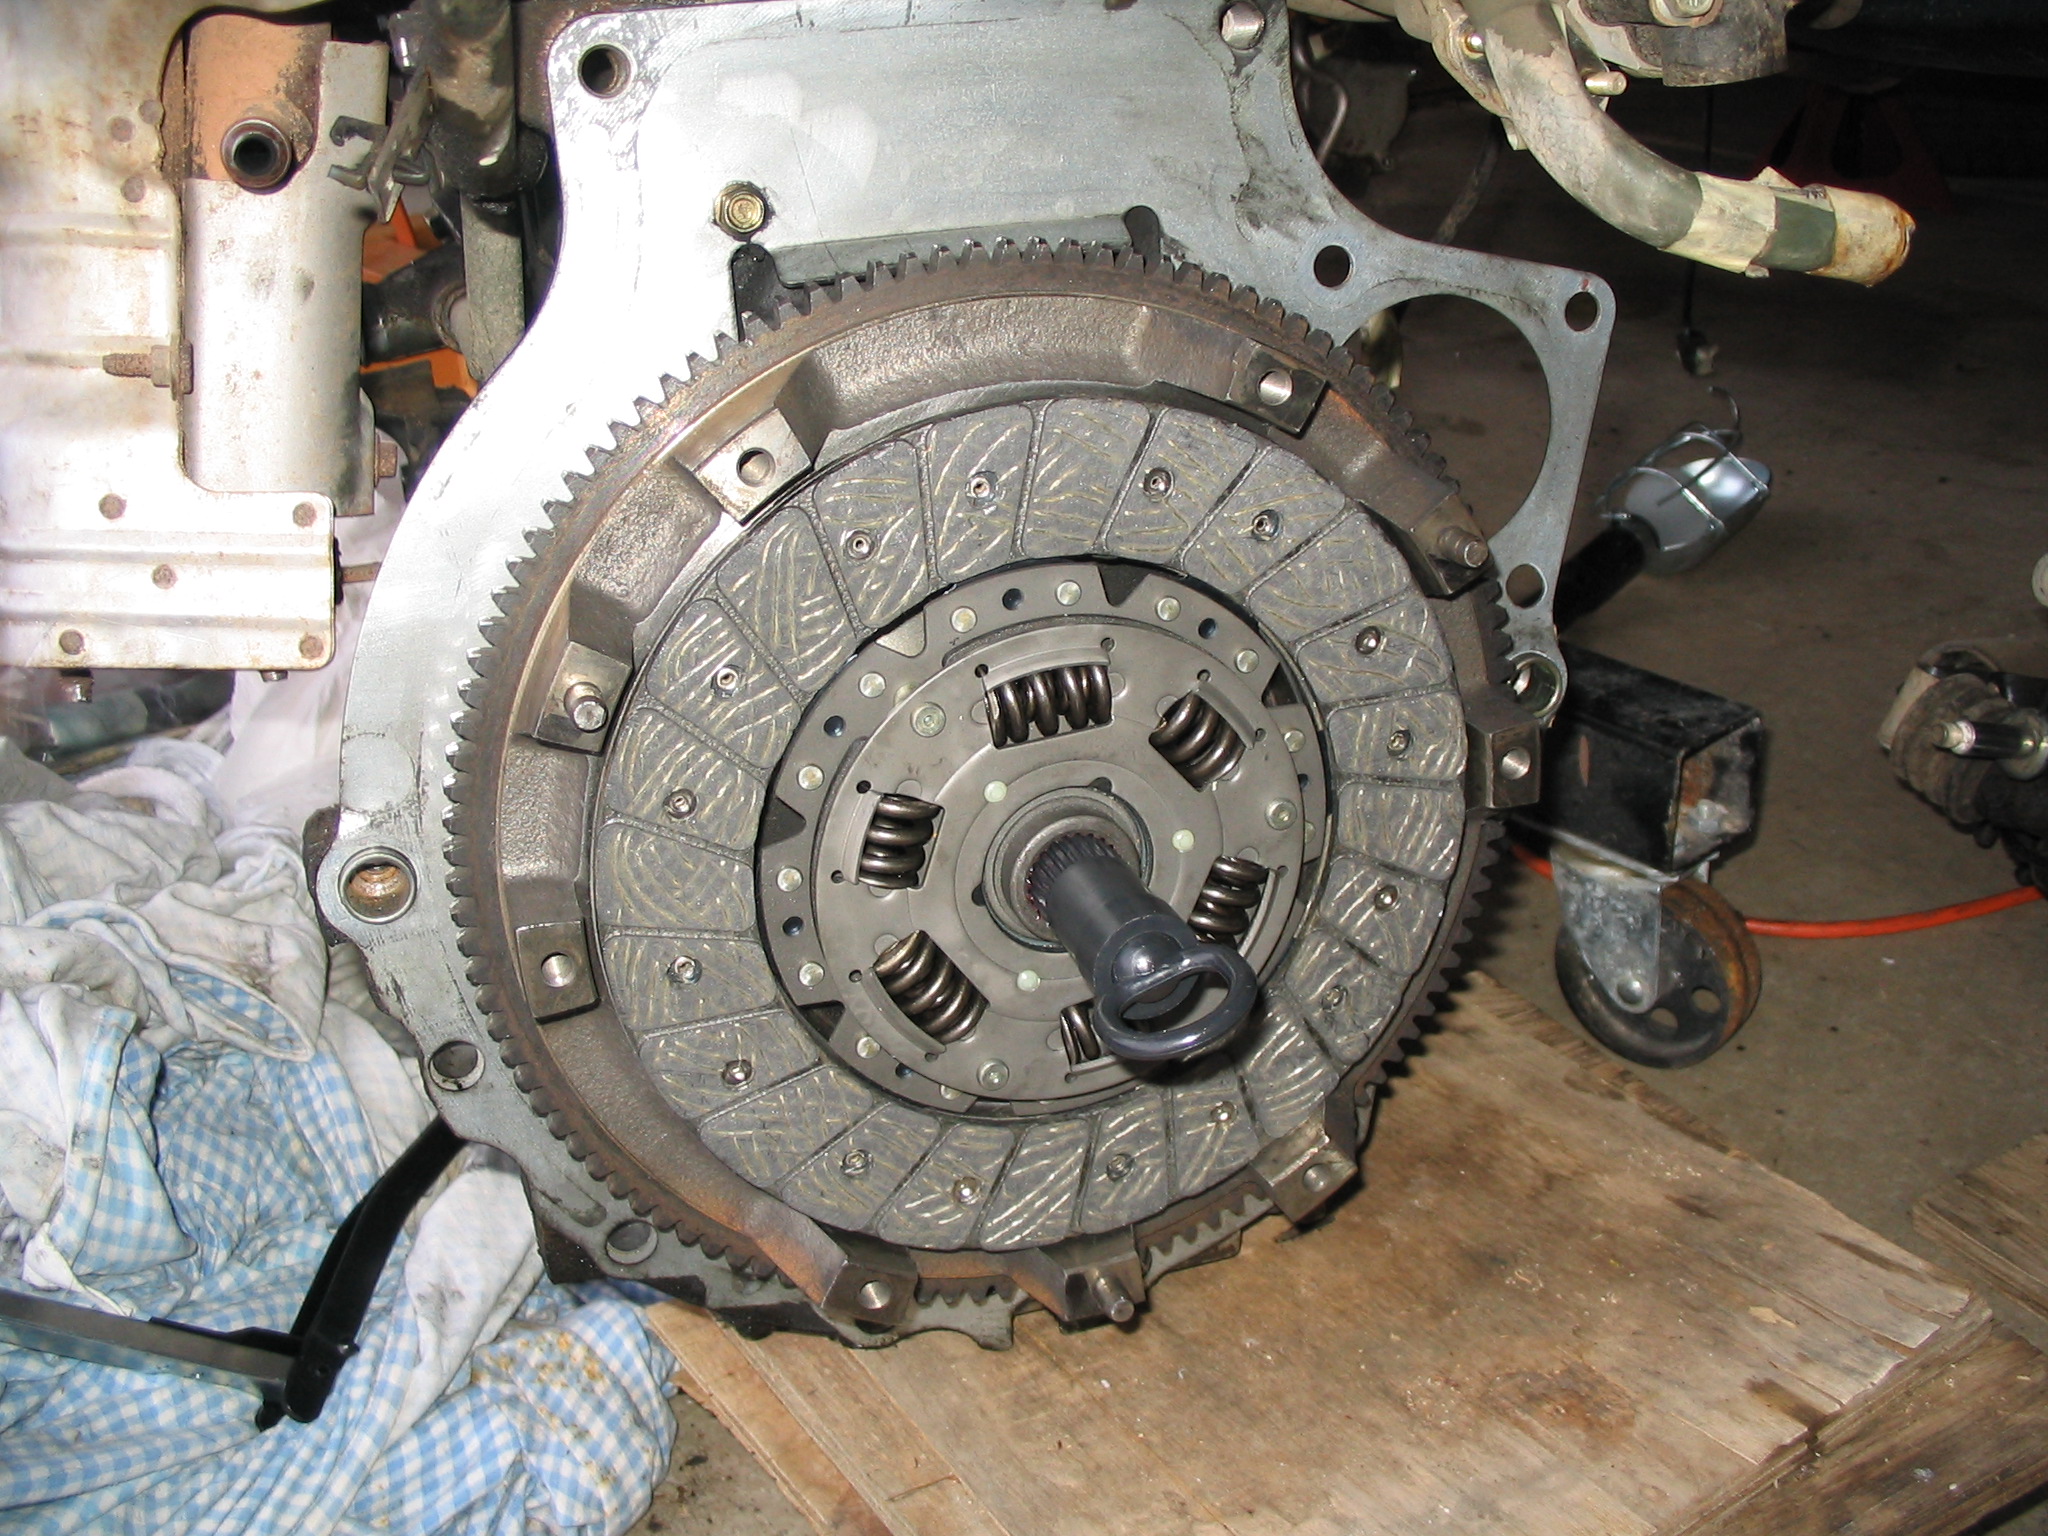
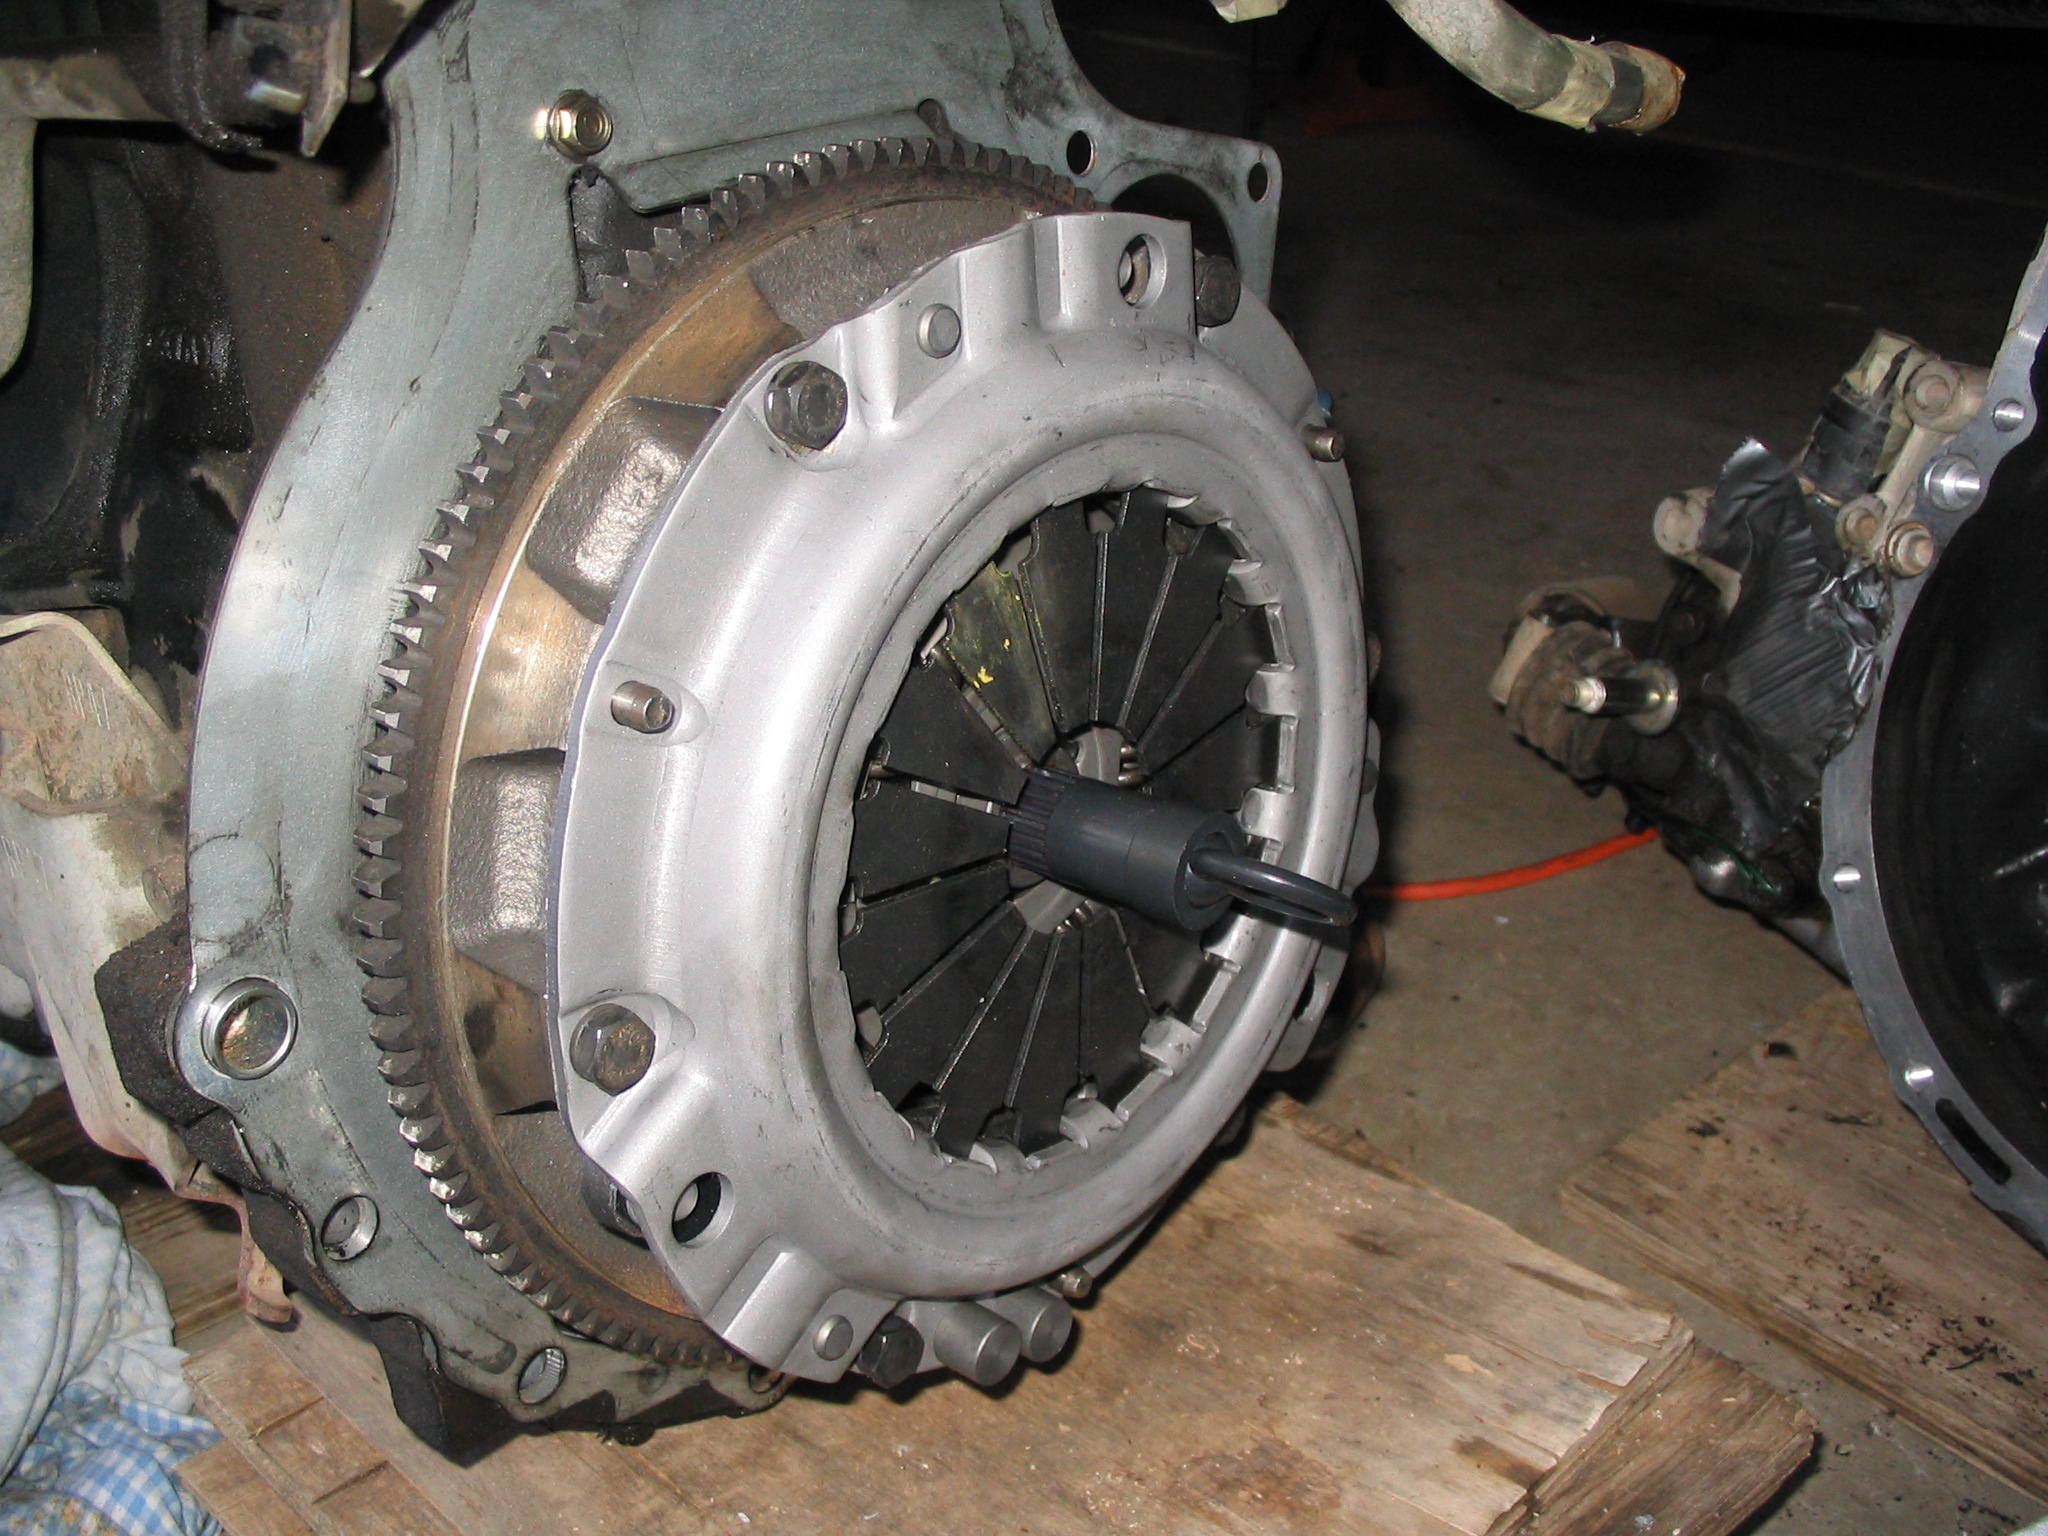
Ready to bolt the transmission back to the engine. The flywheel was cleaned up with a fine Emery cloth, a new pilot bearing was installed, the clutch and pressure plate were installed using the alignment tool and the new bearing was installed. The parts and alignment tool were all part of the clutch rebuild kit:
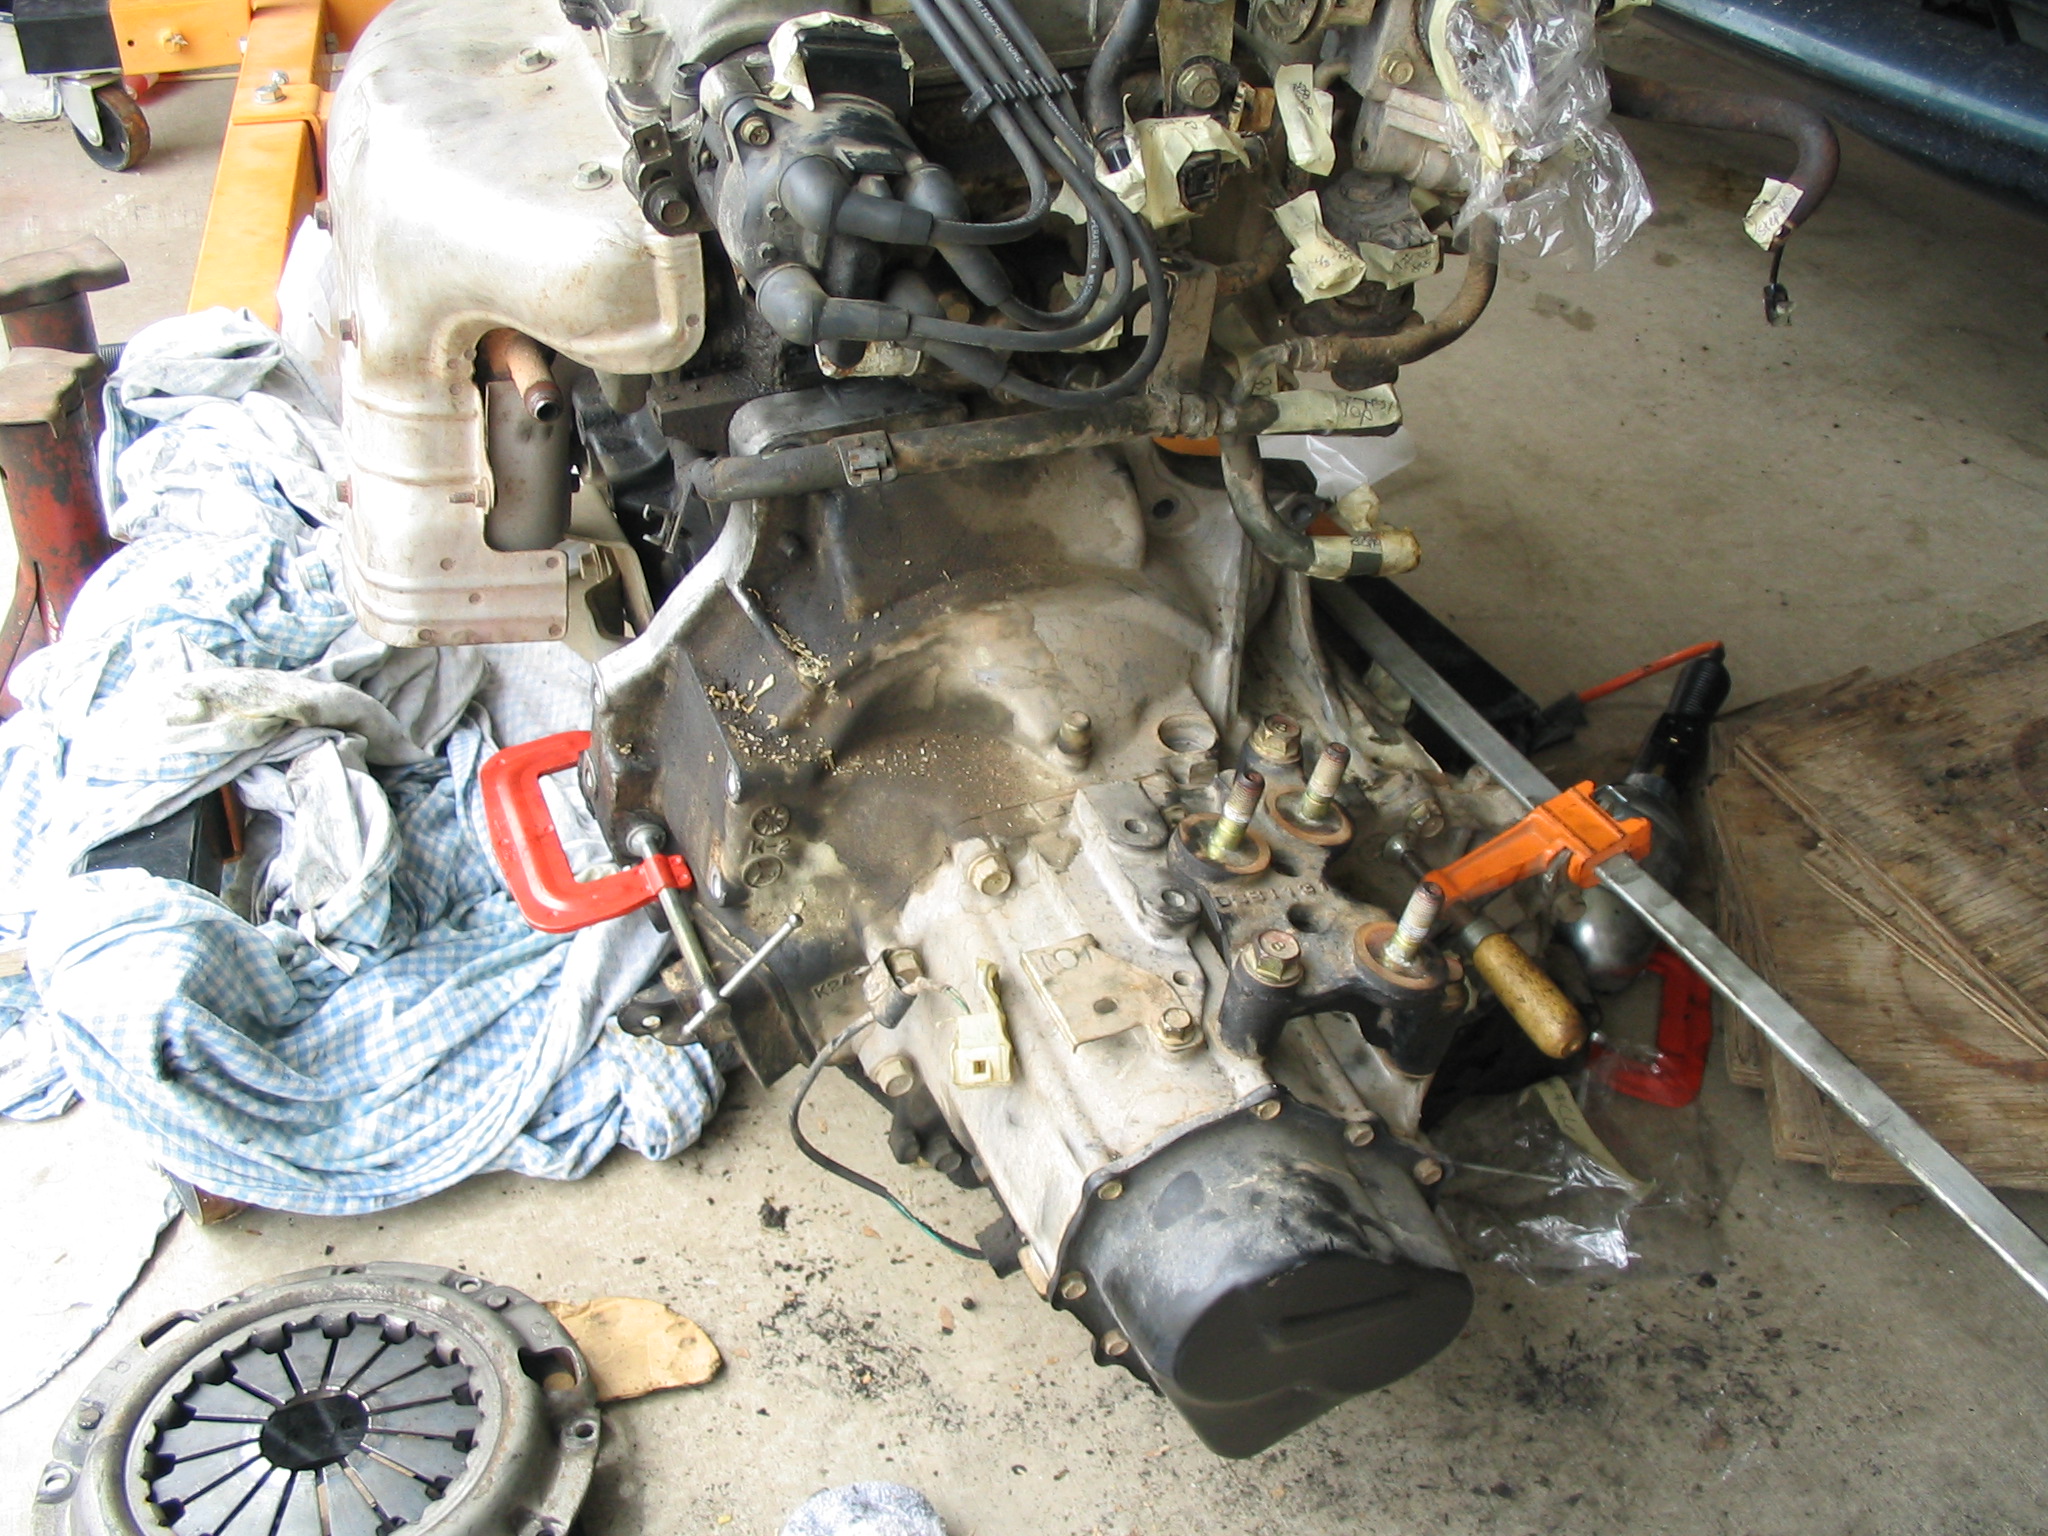
I found that it helped to use some large clamps to slowly get the transmission and engine connected back together:
Here are some shots putting it back together (note the "before" pictures on the windshield used to help put it back the way it was originally):
All finished - don't forget to put fresh oil in the engine and transmission before you start it up and get it rolling again!
Last Modified: September 11, 2010 02:12:52 PM |