|
|
|
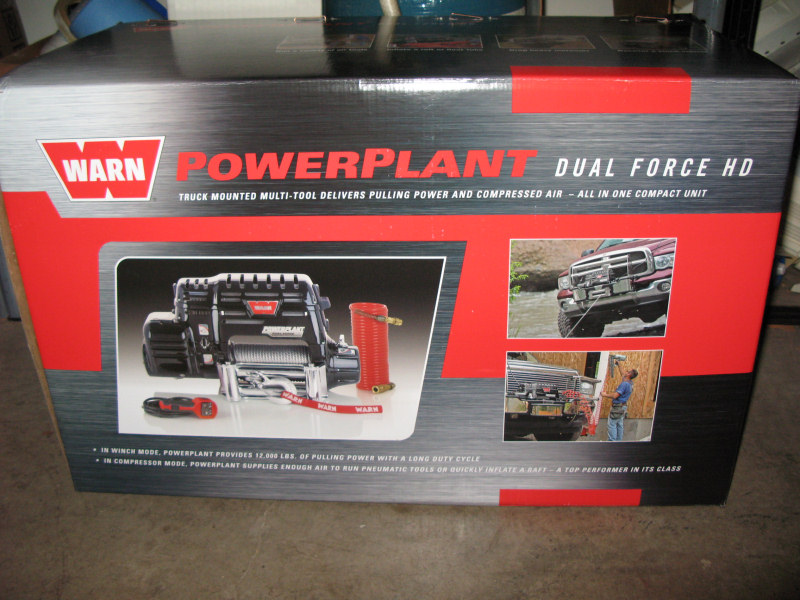
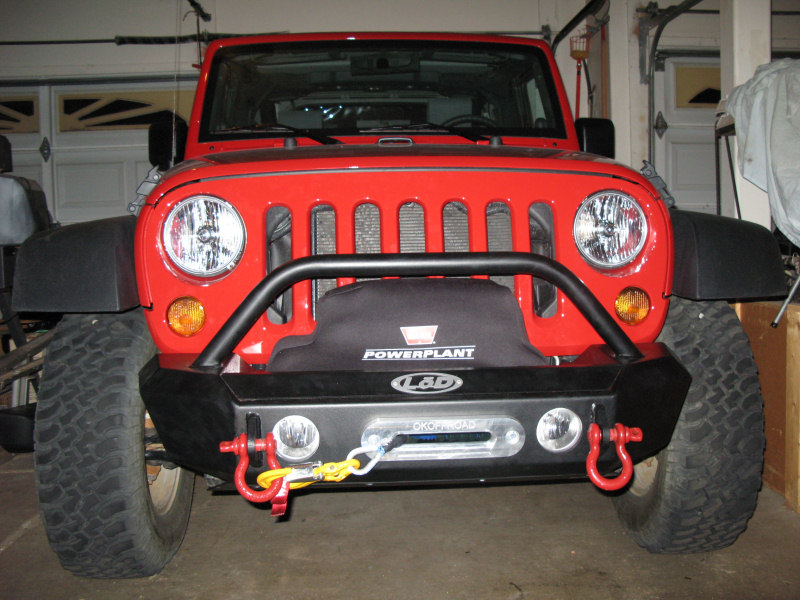
The Mod:Add a Warn PowerPlant HD to our LoD Shorty bumper with additional upgrades. What it does:Can help to get us (or others) un-stuck, and has an air compressor that we use to air up. Photos:Here's the box:
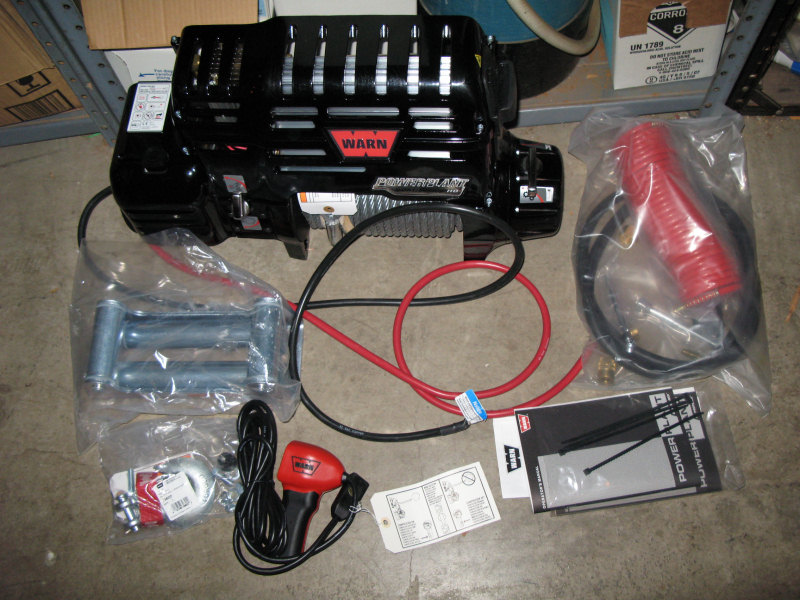
Unpacked:
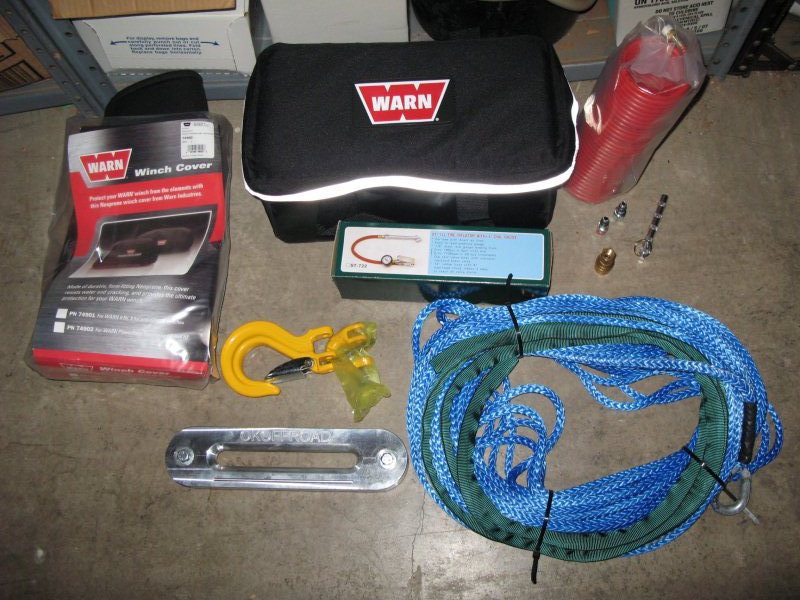
Upgrades - cover, bag, inflator/gauge, additional air line, adapters, air-down deflators, 135' Amsteel Blue synthetic line, aluminum fairlead, winch hook:
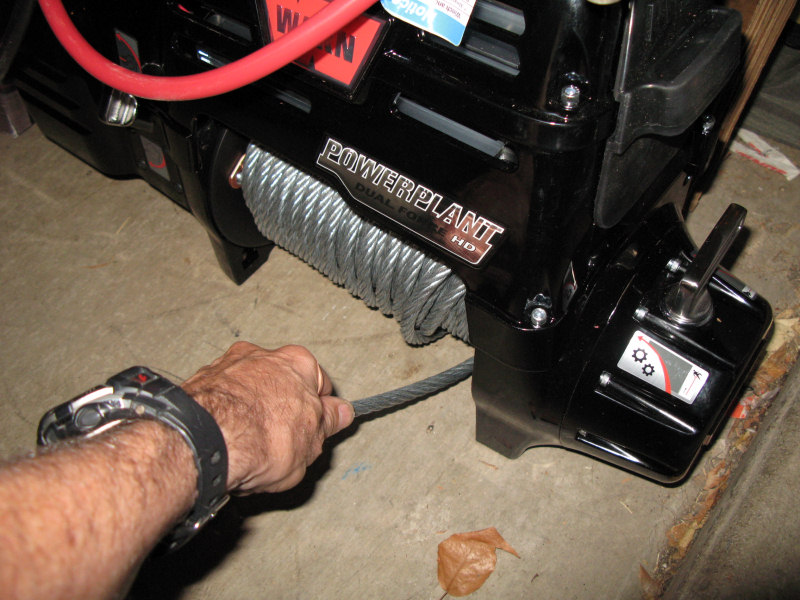
Before installing, unspool the stock 80' 3/8" steel cable which weighed 20 pounds and put it away for a rainy day:
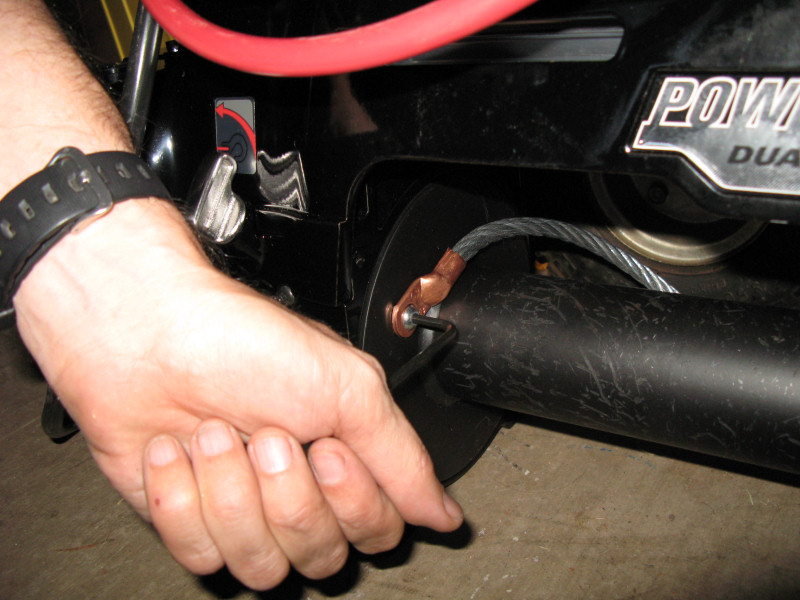
Use a Allen Wrench to remove it from the drum:
Connect the 125' 5/16" Amsteel Blue cable:
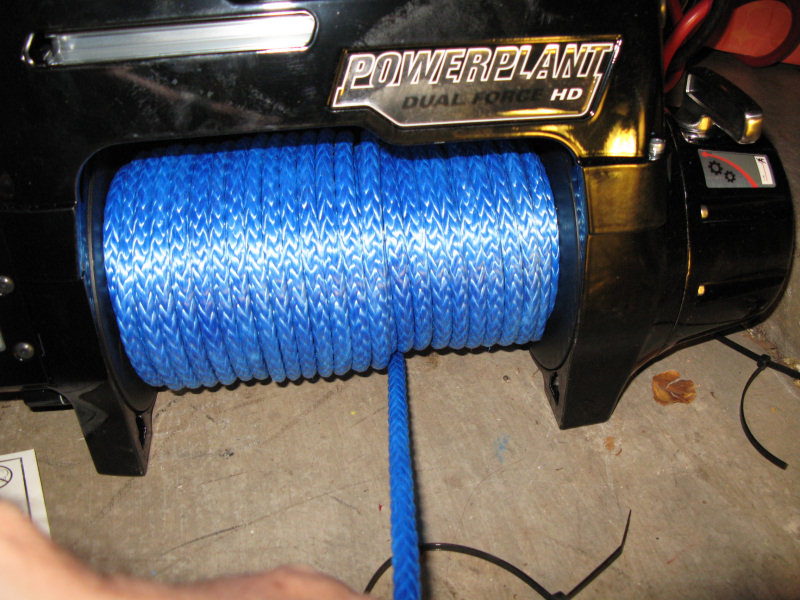
Temporarily hook up a battery to test it out (don't want to find out you have a bad winch after you installed it) and and spool the rope on:
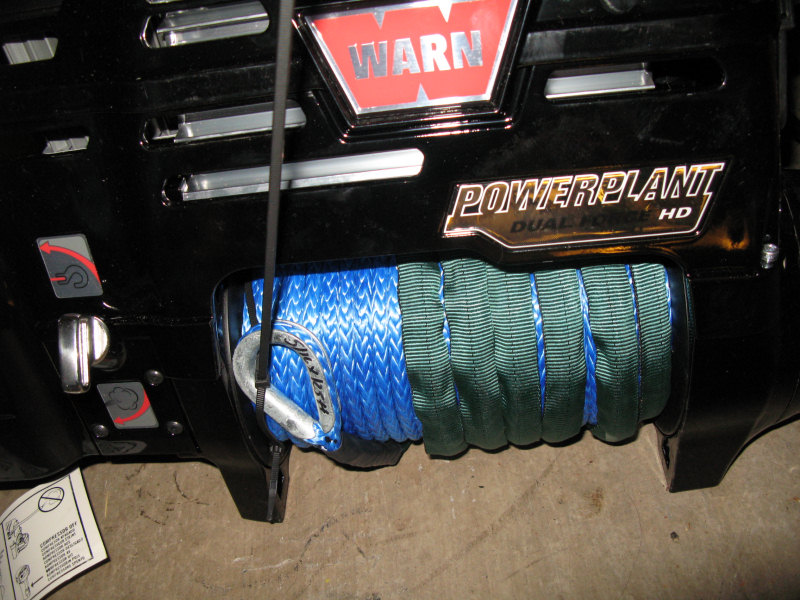
Tied off for installation:
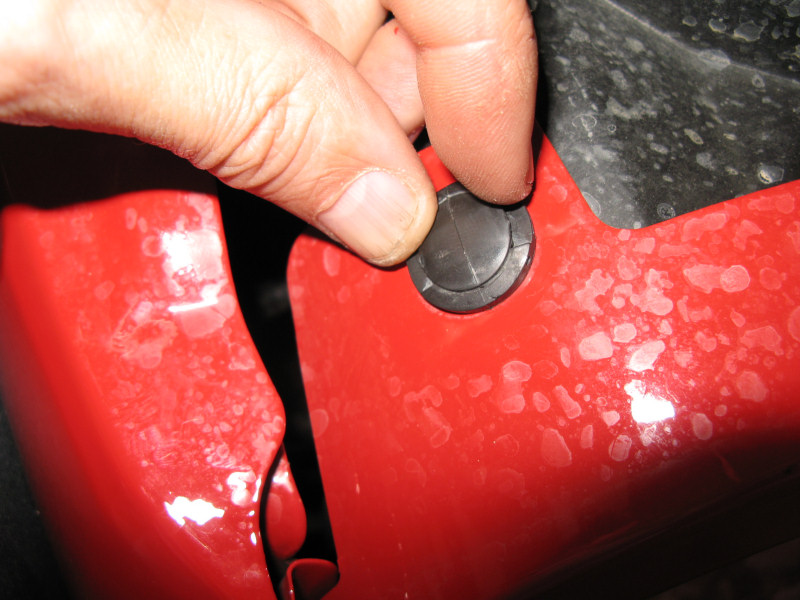
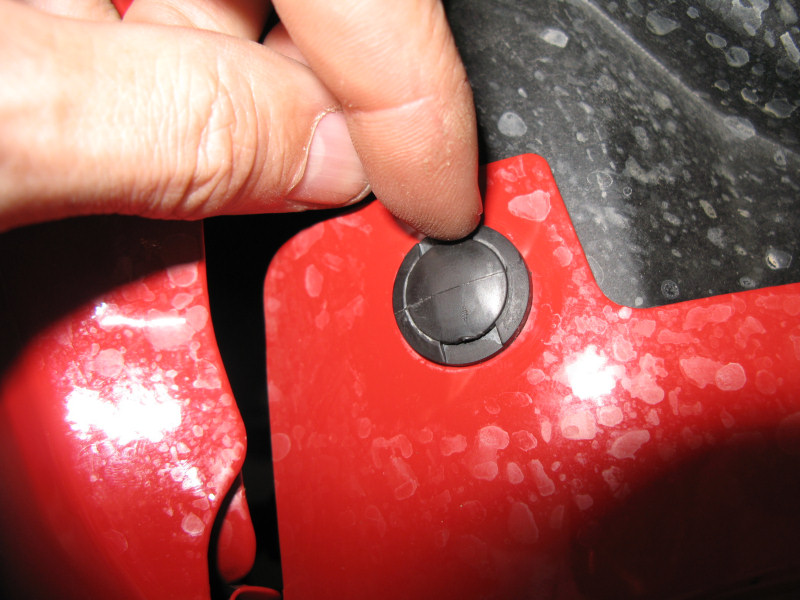
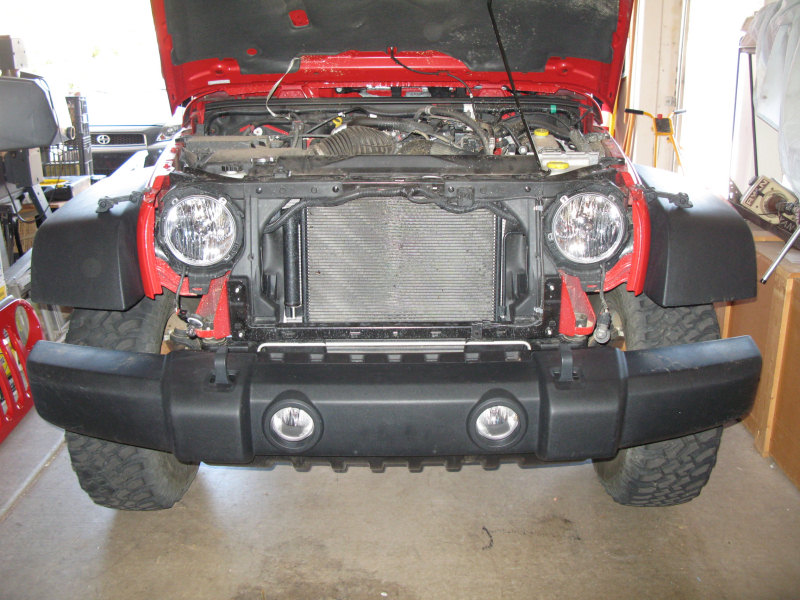
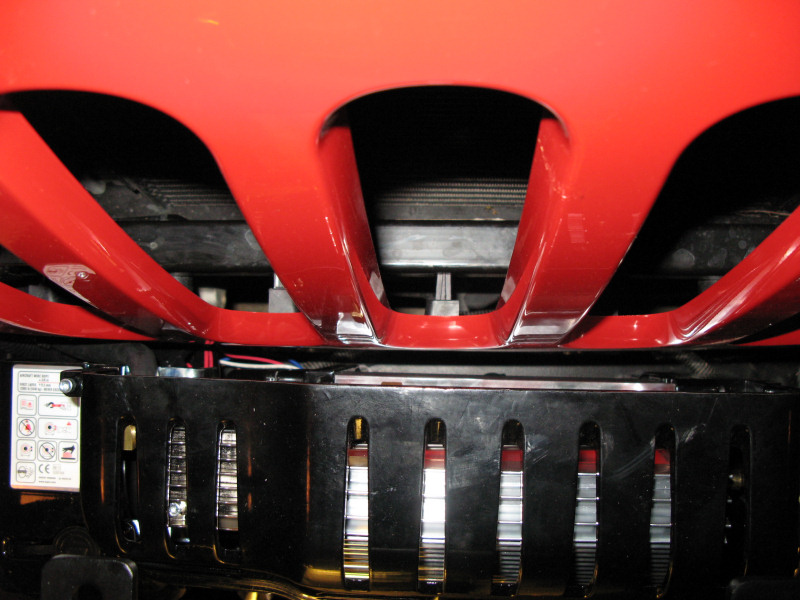
I installed the winch with the LoD Bumper. To make the winch installation easier the grill should be removed. There are 6 pushpin fasteners on the top of the grill that need to be removed:
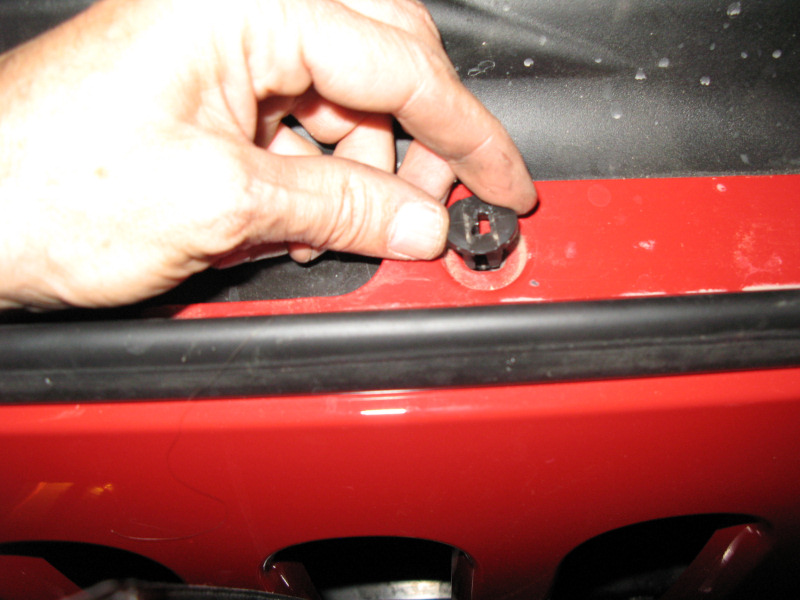
Turn the fasteners 1/4 turn so the plastic line in the center piece is horizontal (not vertical):
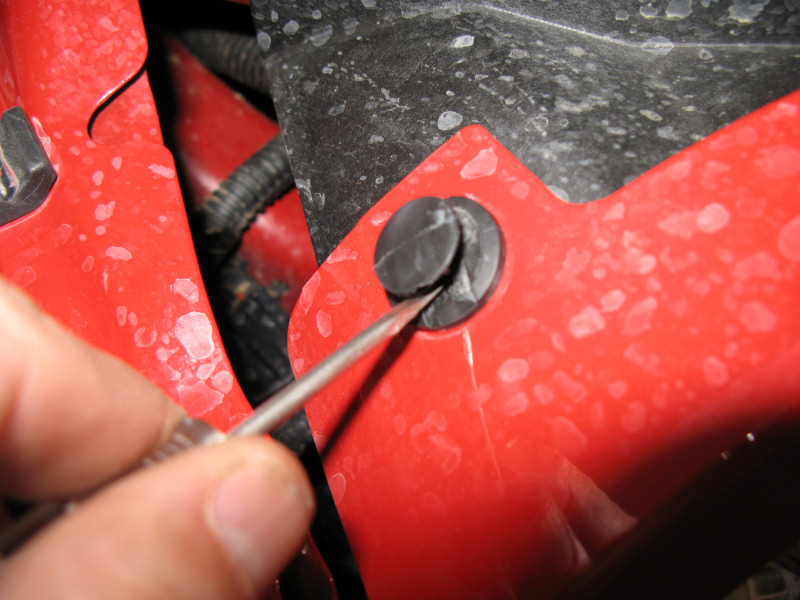
Carefully pry up on the center piece:
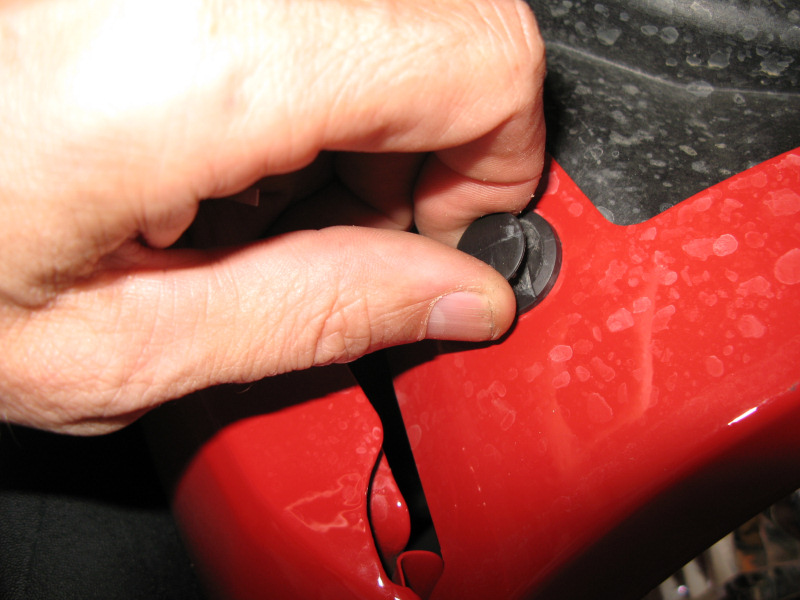
And pull it out:
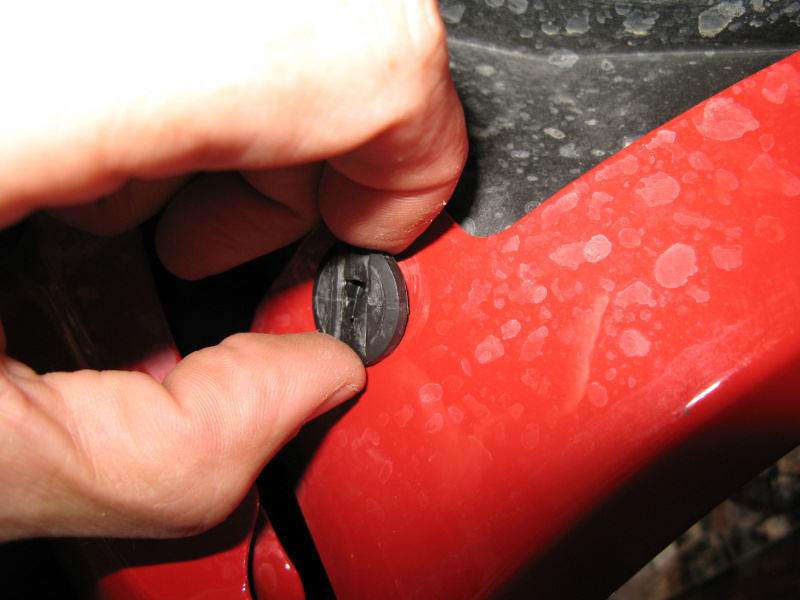
Now pull out the outside piece:
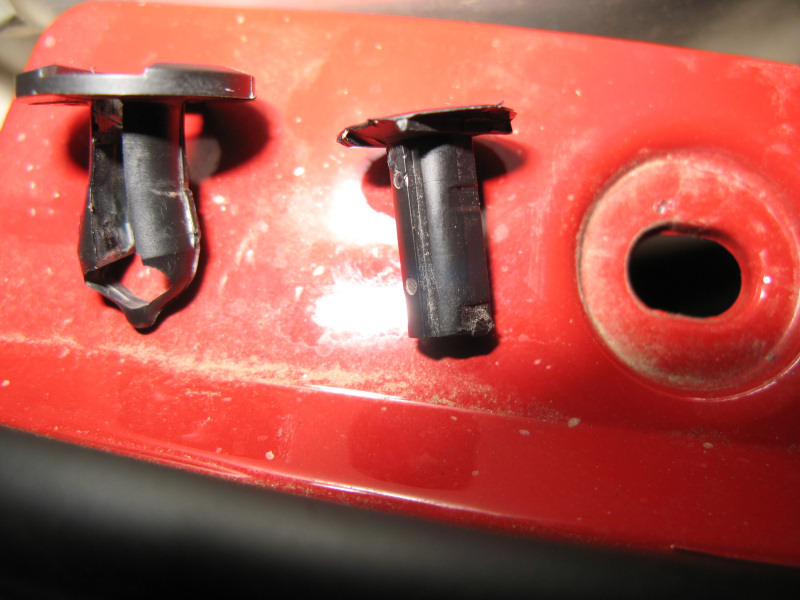
Here's what the pieces and the hole looks like:
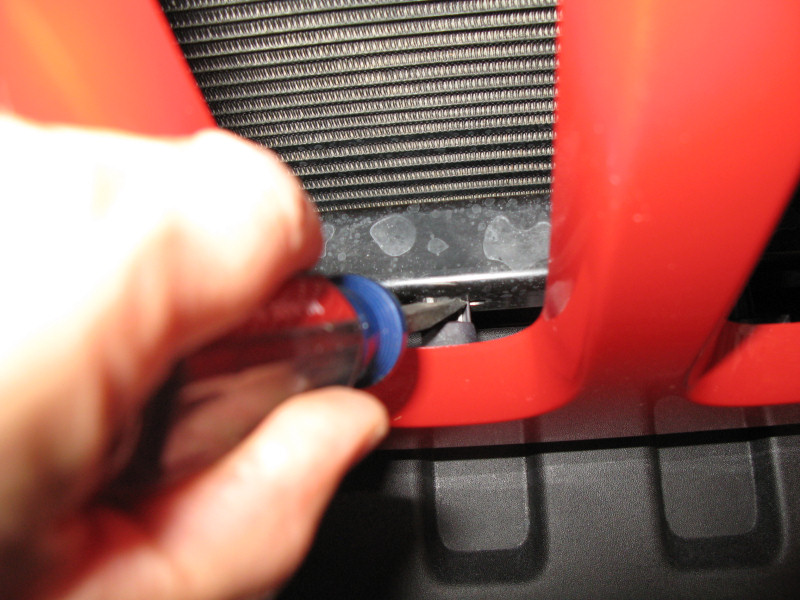
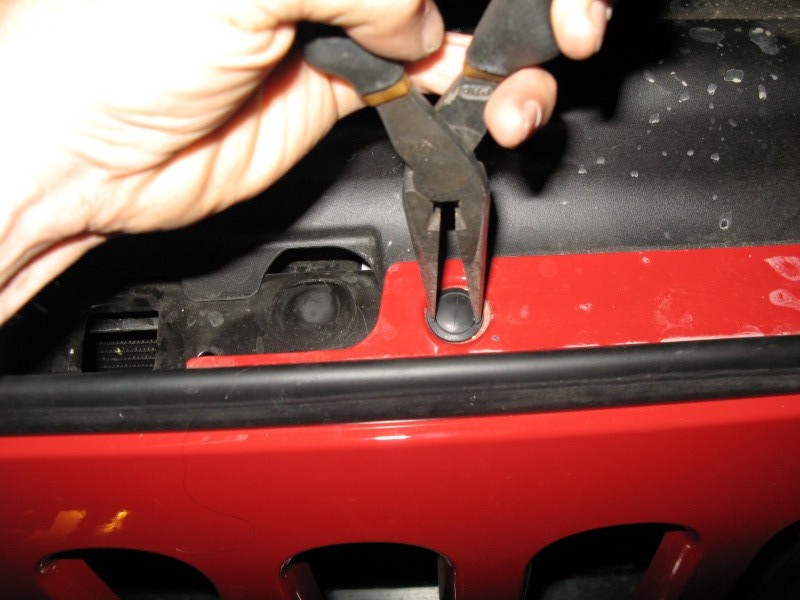
Next, there are 4 lower clips on the lower grill that need to be removed. Gently pry them off with a flat screw driver:
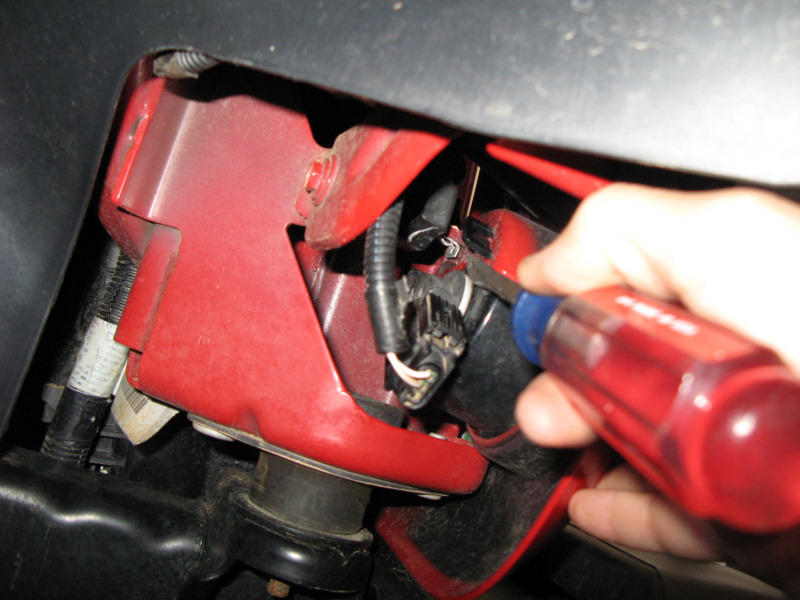
Next, there is a clip on the top of each turn signal that needs to come off. Gently pry it off with a flat screw driver:
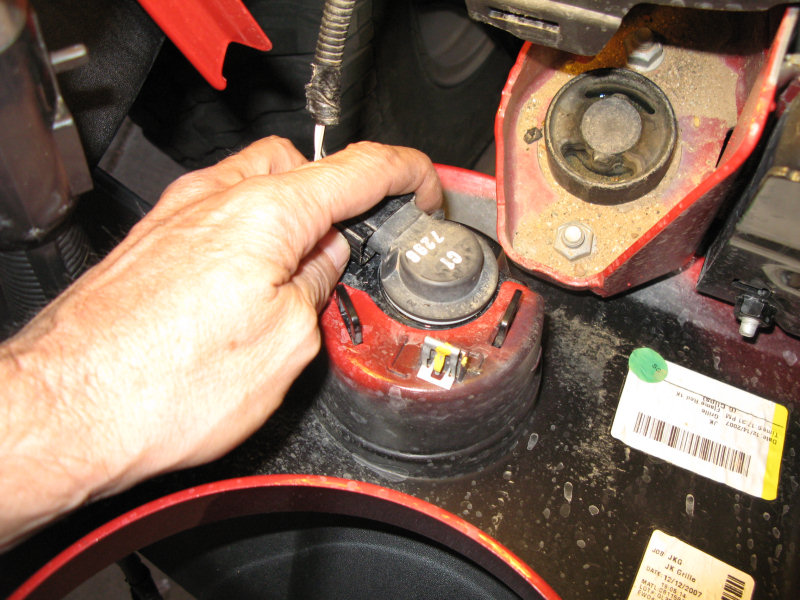
Pull the grill forward and unscrew the turn signal light from the mount:
Remove the grill and set it to the side:
Once the bumper is installed the fairlead can be installed. I slid it to the drivers side as far as possible, and used a level to check for alignment:
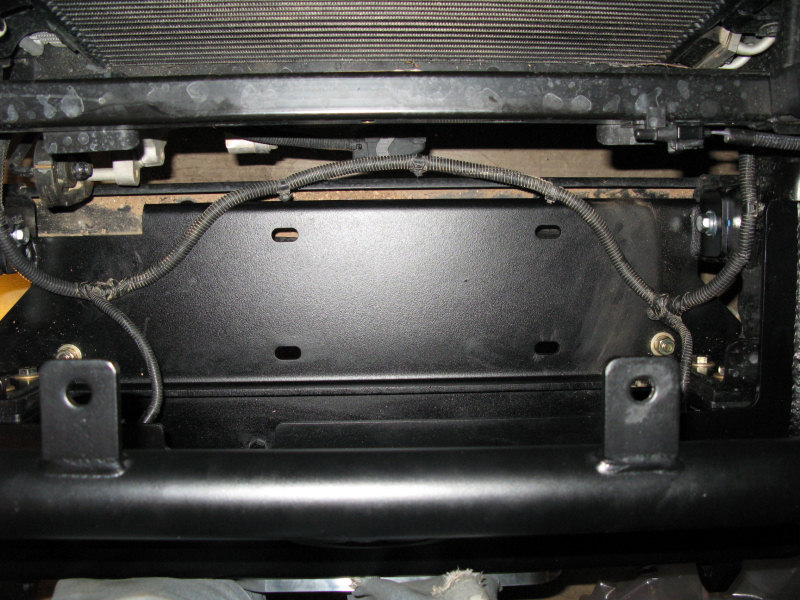
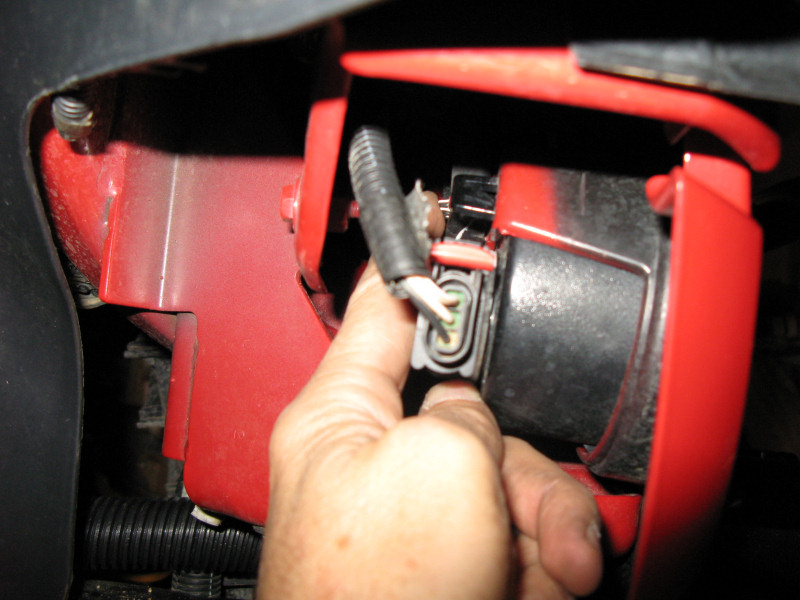
Get ready to drop the winch in place. The fog light wiring harness should be toward the rear:
Once inserted make sure no wires have been crushed under the winch:
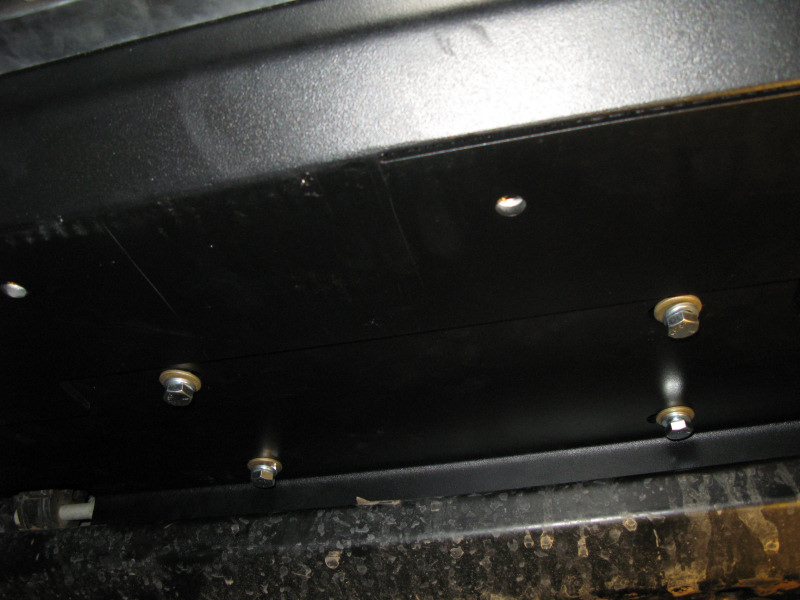
Slide the four square nuts that came with the winch into place:
Insert and tighten the bolts (I added a Grade 8 flat washer too). The manual says 30-35 ft. lbs.:
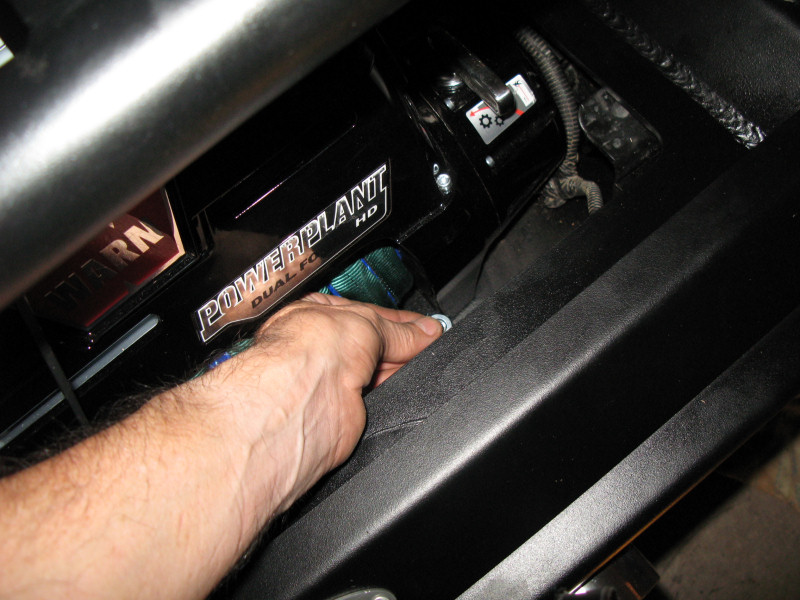
Pull the recovery rope through the fairlead:
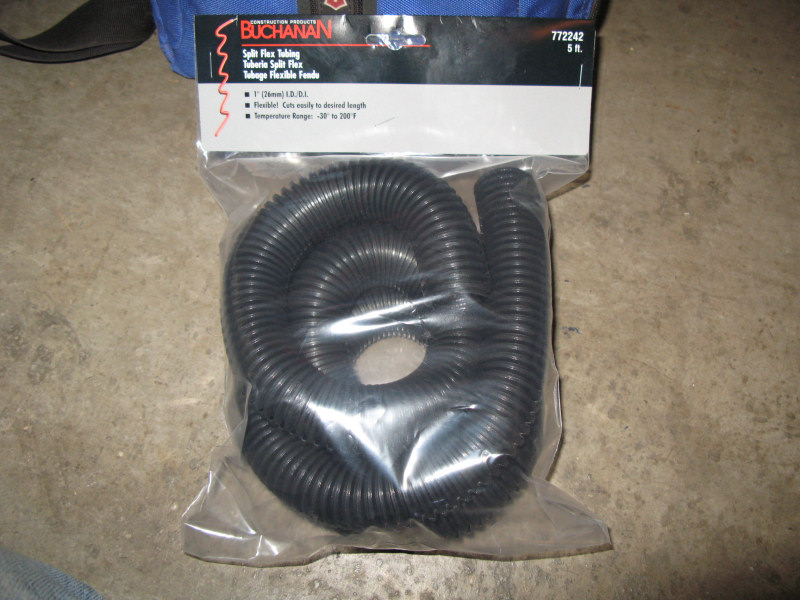
Now the wires and air intake hose needs to be routed. First, I wanted to wrap the wires with plastic flex tubing, so I got five feet of one inch diameter tubing at the local hardware store:
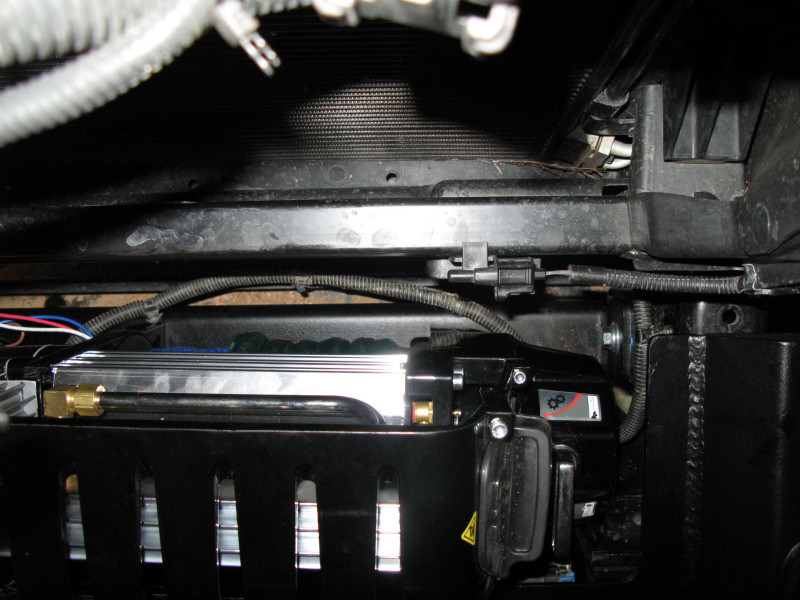
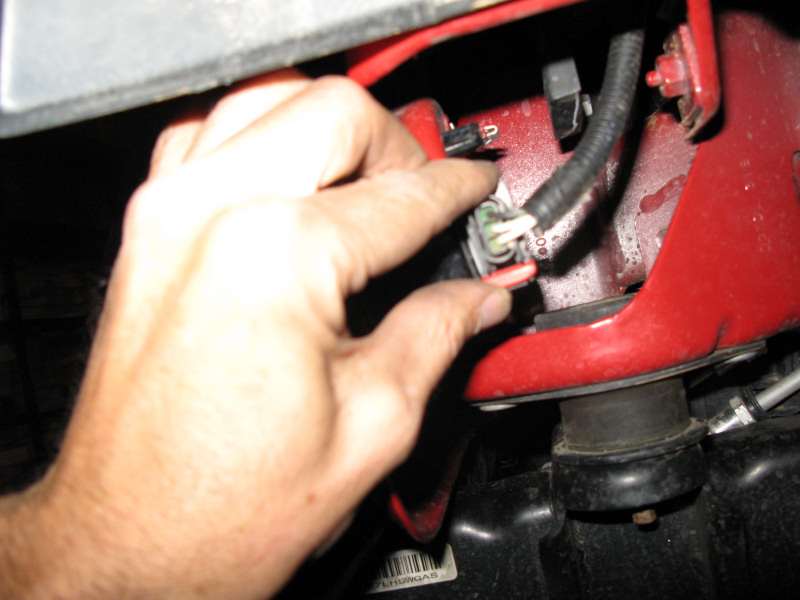
Install the rubber air intake hose and clamp on the compressor (passenger side):
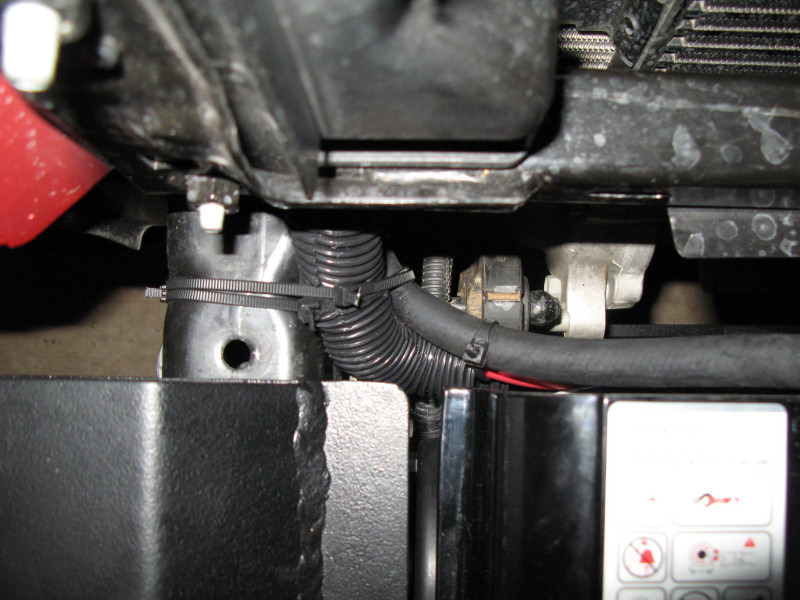
I then wrapped the wires in the tubing and routed the wiring and the air intake hose down on the passenger side and tied them down (ensure the hose and wires are low enough so the grill will fit):
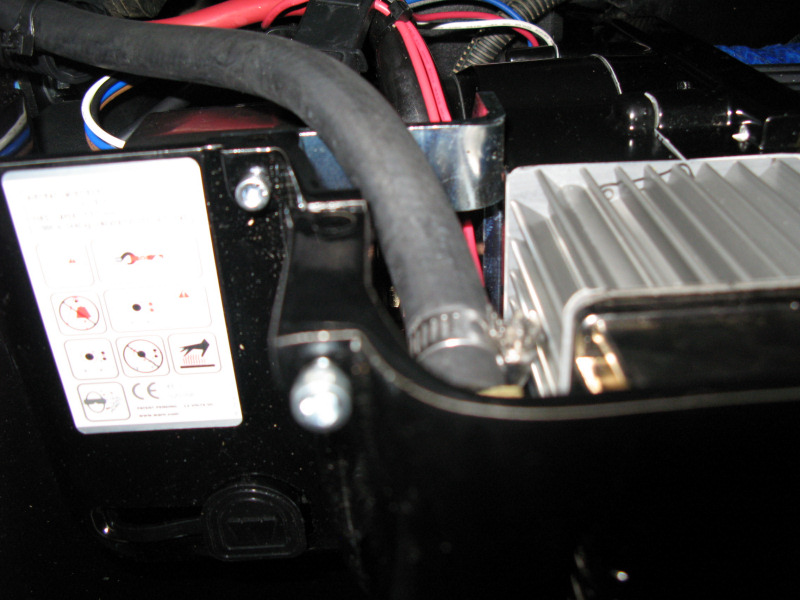
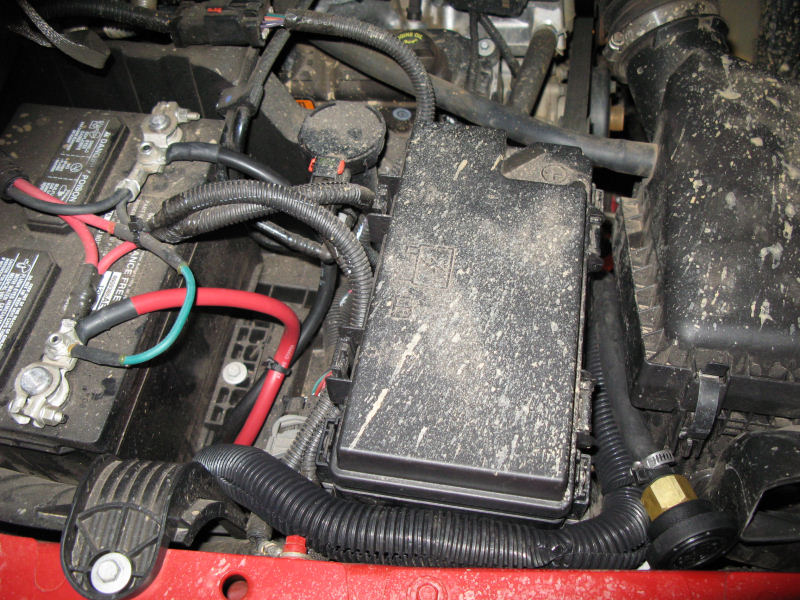
I then routed the wiring and hose up between the engine air intake and fuse box. The electrical wiring is routed to the battery and connected. The air hose is trimmed to fit by the engine air intake and the air filter is added and secured with a clamp (purchased at a hardware store). All wiring was secured with straps. Once installed ensure the winch and compressor still work properly. Note, changes in the wiring can be found here:
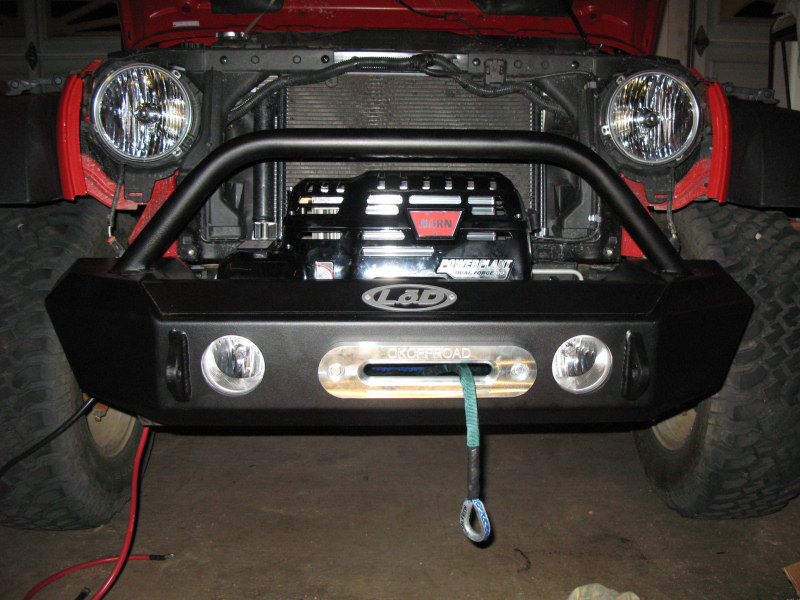
When the bumper installation is complete the grill can be put back on. Put the grill in place and re-insert the turn signals:
Next, click the tab above the turn signals into place:
Next click the four bottom tabs into place:
Next, insert the bottom part of the pushpin fasteners into place:
Insert the pin:
Turn 1/4 turn to lock in place:
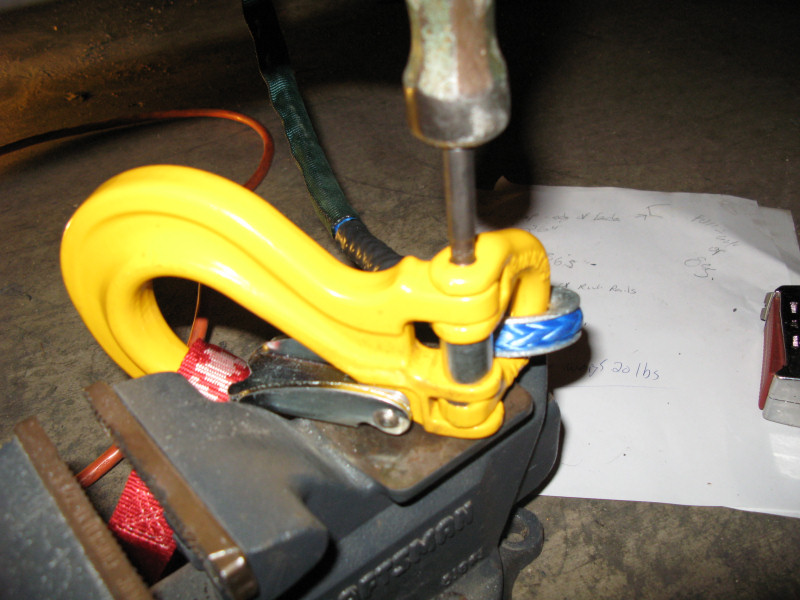
Put the recovery rope hoop through the winch hook half link and use a hammer to drive the sheer pin in place:
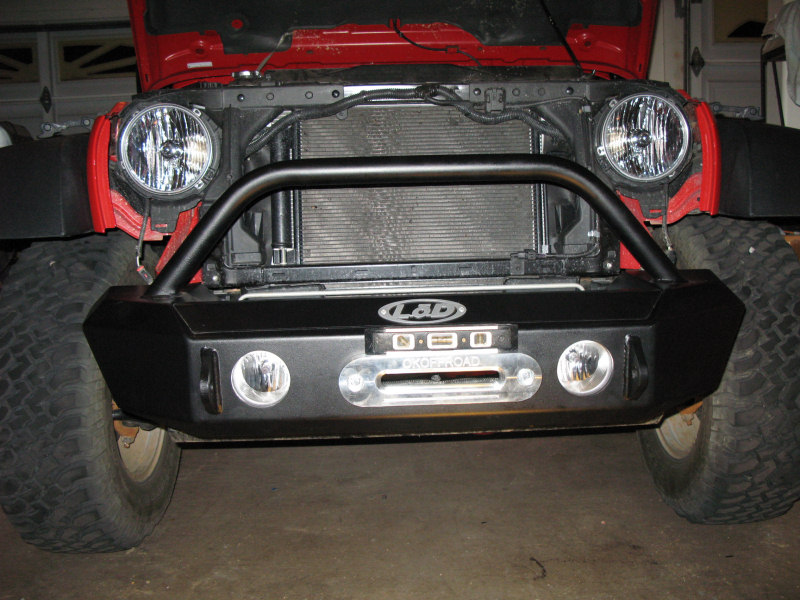
The neoprene cover won't fit perfectly because you won't have complete access to all four sides of the winch. I could fit seat the rear and driver side, but the front and passenger side was impossible, so I mounted rolled it up enough so it was seated fairly well. Here's what it looks like:
If you have any questions or comments about this page click here to send email.Last modified: January 31, 2010 11:46:59 PM |